How to create a marketplace website in 5 minutes has become a key question as the growth of online marketplaces fuels the global sharing economy at an incredible pace.
Today, companies and new businesses are adopting this model to connect with a wider audience.
With modern eCommerce tools, creating your own marketplace is now quicker and simpler than ever.
This guide will walk you through the steps to create your own marketplace website in just 5 minutes and launch a platform that supports multiple vendors.
A multi vendor marketplace platform allows merchants from various categories to sell products through one storefront.
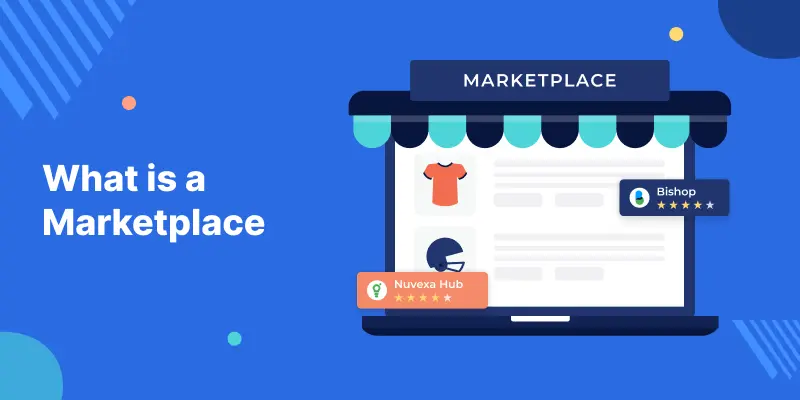
What is a Marketplace?
A marketplace is a website where many sellers can offer their products or services to the same group of customers.
Unlike websites that only have one seller, it lets different sellers show their items in one place, which gives customers more choices.
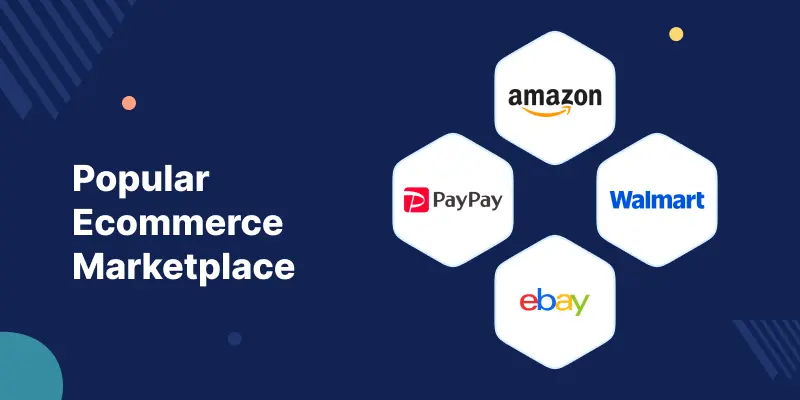
Some well known online marketplaces are Amazon, eBay, Walmart Marketplace, and PayPay Mall.
For sellers, this means they don’t have to create their own online store; instead, they can take advantage of the visitors and trust that come with a popular platform.
The person who owns the marketplace helps match the right sellers with the right buyers, takes care of the operations, and makes money through commissions.
A good multi vendor marketplace benefits everyone involved — sellers, buyers, and the owner of the platform.
What Features Does a Marketplace Website Need?
A marketplace website is more complicated than a normal e-commerce site because it has to cater to buyers, sellers, and admins all at once.
To keep everything running smoothly, the platform requires essential features that build trust, enhance usability, and promote growth.
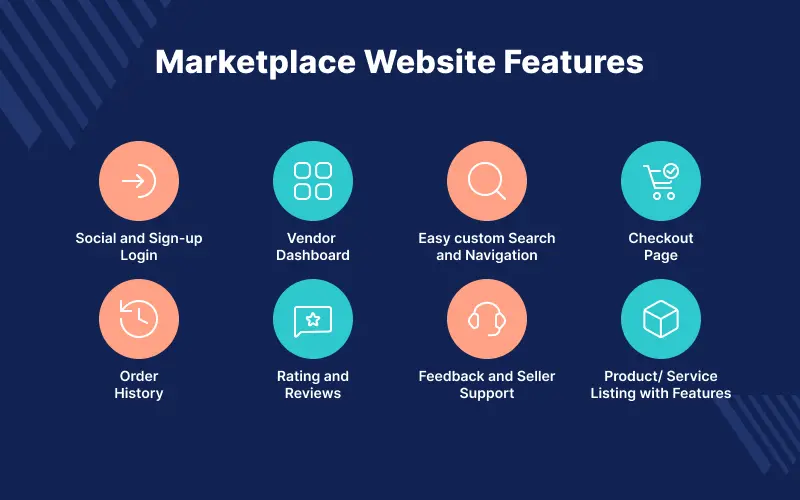
Essential Features for a Marketplace Website
- Secure login and social sign up
- Vendor dashboards
- Smart search and navigation
- Checkout page
- Order history and invoices
- Ratings and reviews
- Seller support and feedback tools
- Product and service listings
How to Build a Marketplace Website in 5 Minutes?
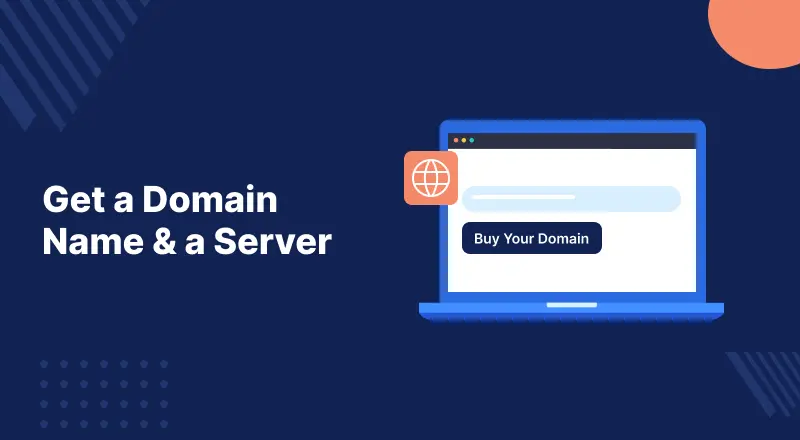
Step 1: How to Get a Domain Name and a Server?
The first step in how to build a marketplace website is getting a domain name, which serves as your web address.
You can find domains with endings like .com, .org, .net, and .info, and you can buy them from places like Google Domains, GoDaddy, or Bluehost.
After you have your domain, you will need a web server to host your site and show pages to visitors.
Some popular options are Amazon Web Services (AWS), Microsoft Azure, and Google Cloud Platform, which provide flexible hosting and allow you to sign up for free.
Utilize Bagisto AWS Speed & Security Optimization to enhance your website’s speed, handle DNS, ensure secure SSL logins, and safeguard database connections.
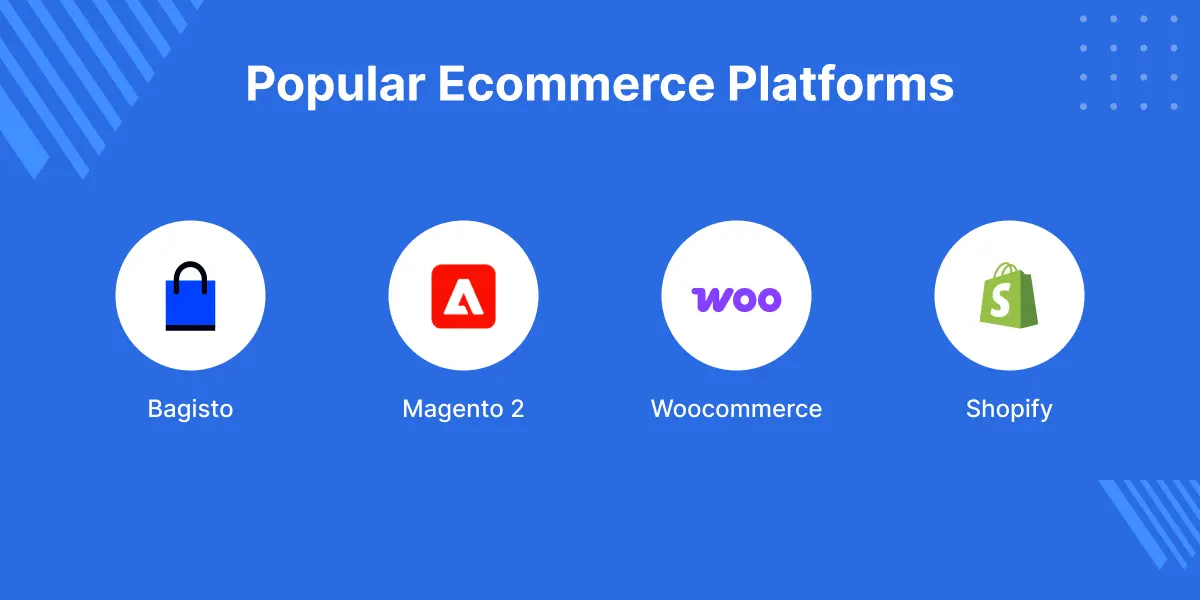
Step 2: Choose an Ecommerce Platform Such as Bagisto
Selecting the best eCommerce platform is crucial for your marketplace. Some well known choices are Magento, Shopify, WooCommerce, and Bagisto.
Out of these, Bagisto is unique because it is an open source solution powered by Laravel and Vue.js.
It offers customization, scalability, and is budget friendly for creating marketplaces.
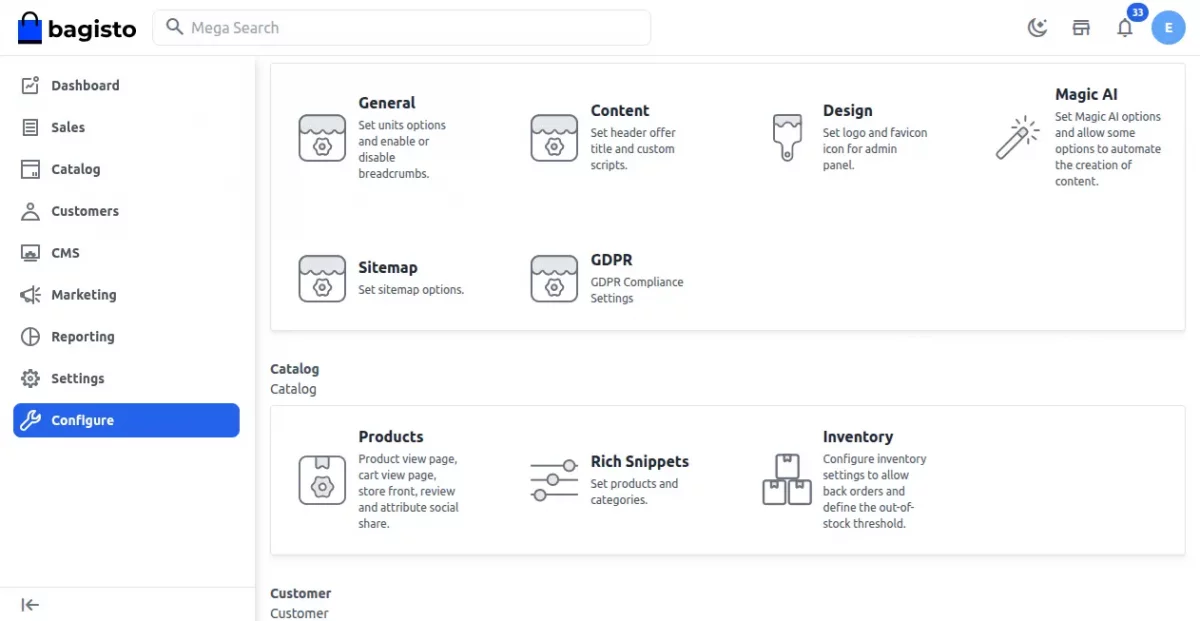
Bagisto features a user friendly admin dashboard that allows you to oversee sales, vendors, and customers all in one location.
This feature allows you to assign products to various stores, apply unique themes for each storefront, and customize your websites for different locations.
Additionally, Bagisto offers a lot of flexibility with product options and attributes, letting you include custom product variables whenever you need.
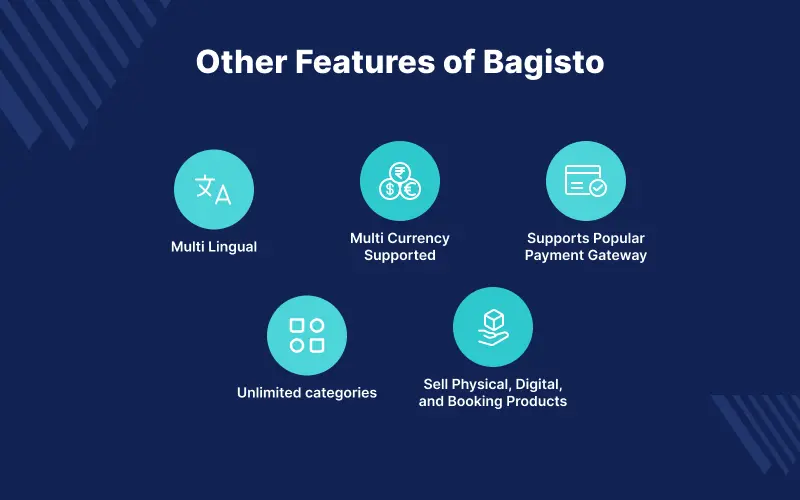
Other Features of Bagisto:
- Multi lingual
- Multi currency supported
- Supports popular payment gateways
- Unlimited categories
- Sell physical, digital, and booking products
Step 3: Configuring the Bagisto
Download the latest version of Bagisto from the official website or GitHub. Customers can also install it using Composer for a faster setup.
They can unzip the downloaded folder or install via Composer, then configure the .env file and run the installation commands for their Bagisto setup.
Step 4: Purchase the Required Marketplace Modules
Modules allow us to introduce, extend and modify the functionality of the core application.
For instance, the Bagisto Multi Vendor Marketplace module converts your Bagisto store into a complete marketplace similar to eBay, Amazon, Etsy, and Alibaba.
This module lets many vendors sign up, manage their products, and sell in one place, complete with ratings, reviews, and vendor-specific collections.
Key Features:
- Seller registration & approval
- Commission management
- Seller payouts & transactions
- Separate dashboards for sellers
- Product approval workflow
- Seller specific shipping methods
- Reviews & ratings
Installation Process –
Customers have two ways to install the Bagisto Marketplace module: they can either upload the package or use Composer.
Once you download it, unzip the folder and put it in the packages directory of Bagisto.
Then, you need to update the composer.json file, run composer dump autoload, and execute the migration and seeder commands to finish the setup.
In the end, you can activate and set up the module right from the Bagisto admin panel.
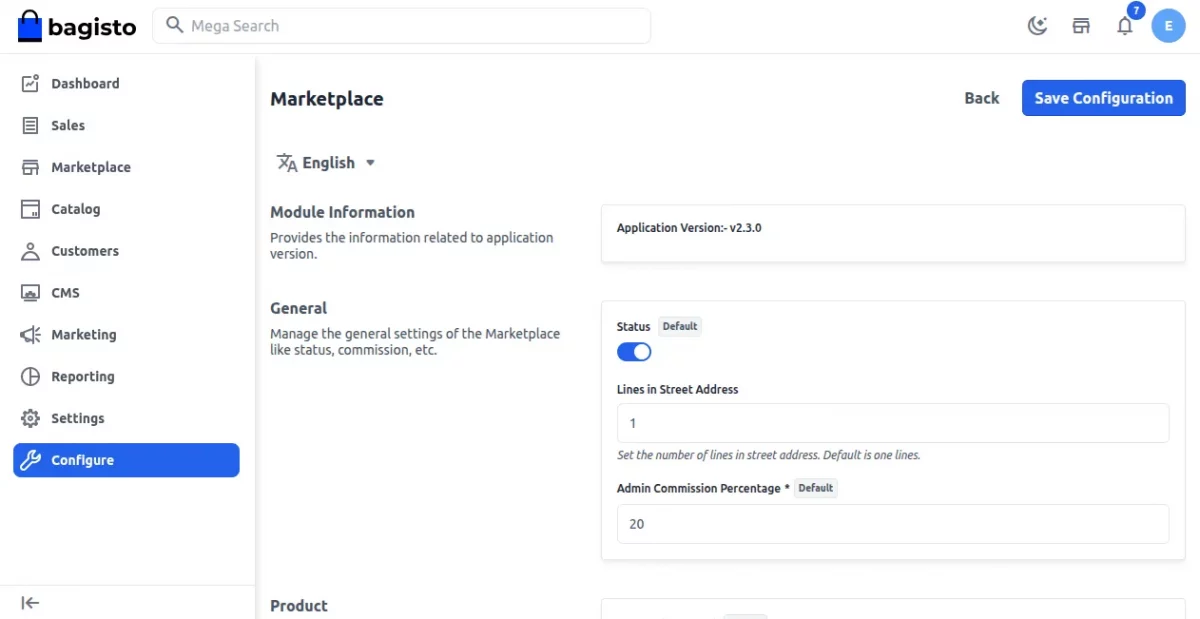
Step 5: Admin Panel
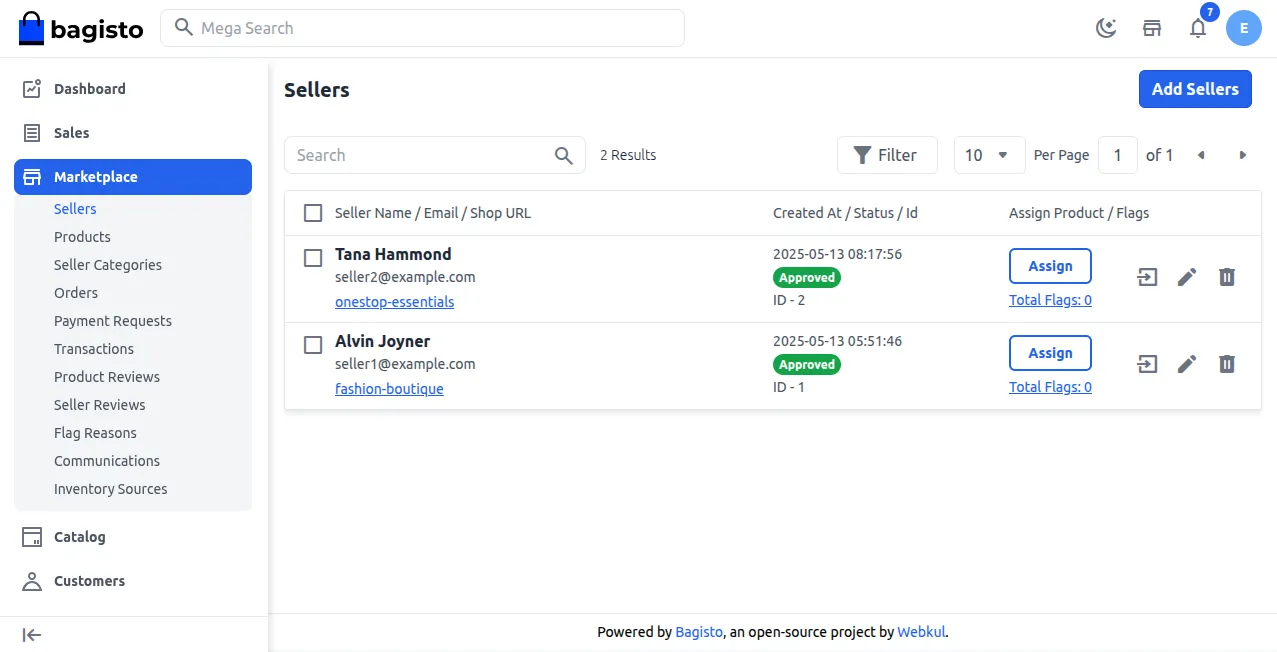
The Bagisto Admin Panel is like the main hub for easily managing your marketplace.
It has a dashboard that shows important information, marketplace add ons, and settings you can change.
From this point, the admin can turn the Marketplace module on or off and adjust the settings.
This helps in managing sellers, products, commissions, and making sure customers have a good experience.
Seller and Customer Login
Users can sign up on the marketplace as either a customer or a seller.
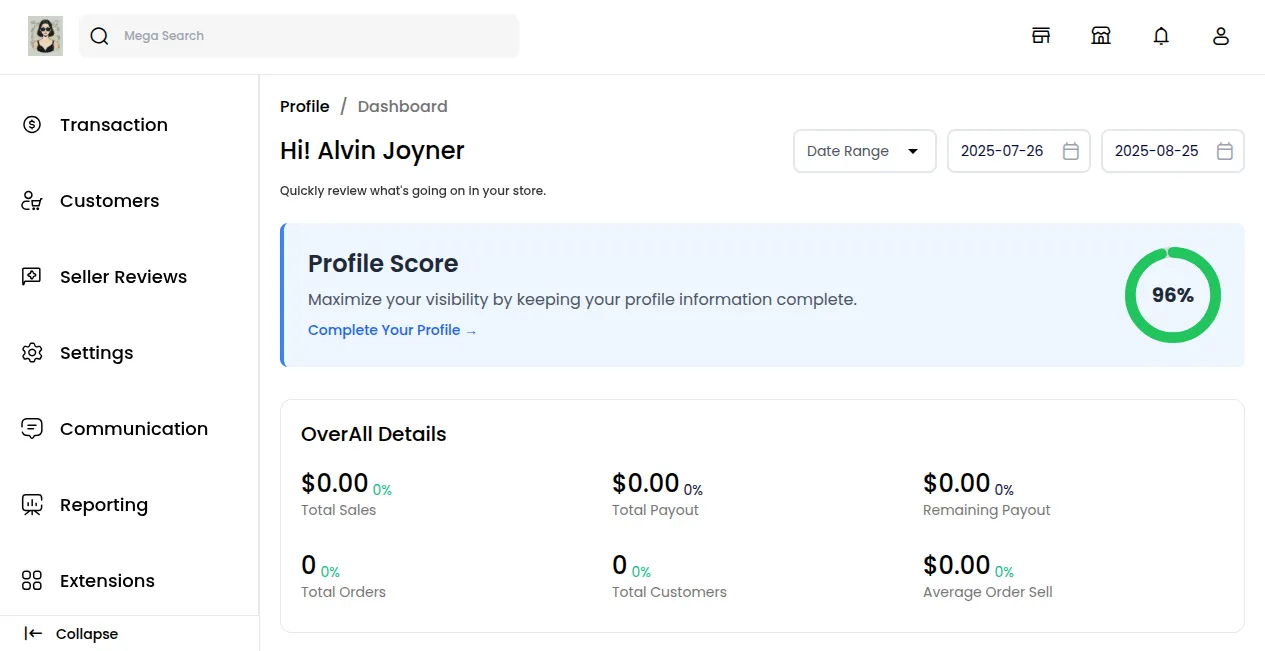
Marketplace – Seller Panel
Every seller receives a special profile page that they can change and personalize.
Sellers have their own dashboard to handle products, orders, and customers effectively.
They can also set prices for their products, determine stock limits, and impose buying restrictions for customers.
Marketplace – Customer Panel
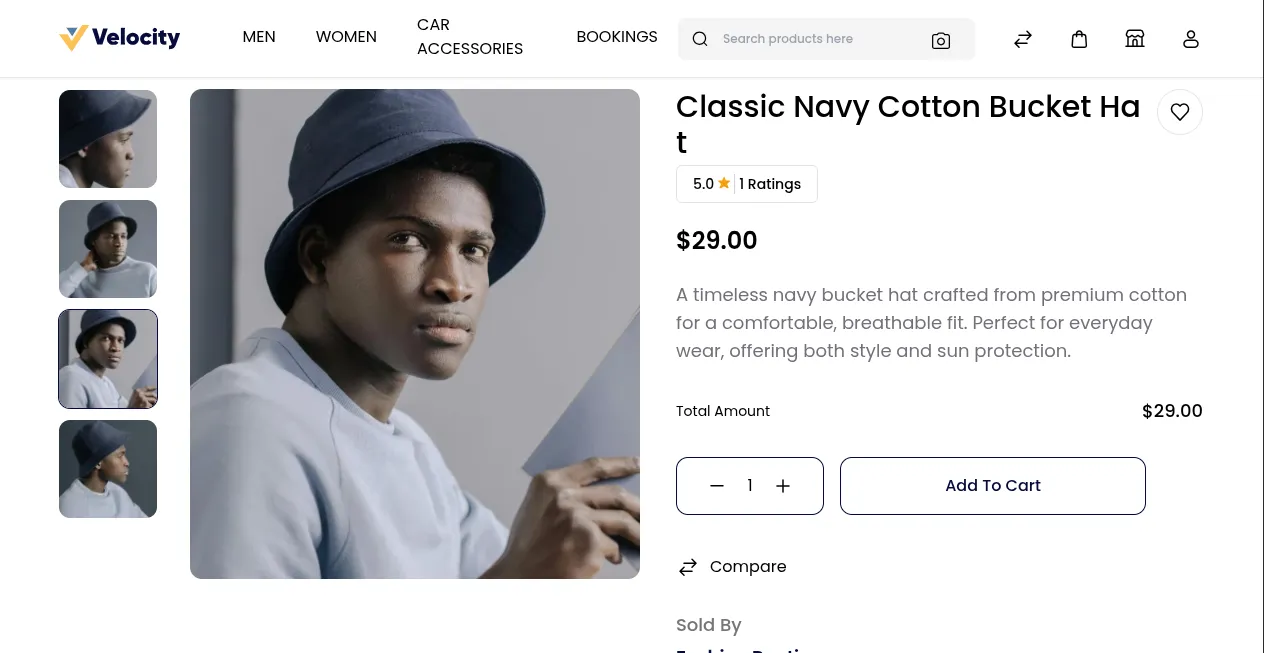
Customers can look through products, see details about each product, and check out seller profiles before they buy anything.
They can also see their order history, read reviews, and manage their accounts to make shopping easier.
Support
That’s all about how to build a marketplace website in just a few simple steps. We hope this guide helps you get started with ease.
For any questions, customizations, or technical support, feel free to reach us at [email protected].
You can also raise a ticket at webkul.uvdesk.com, and our team will be happy to assist you.

Be the first to comment.