Using this module, the customers can search for parts on an online store. Image Part finder for Shopware 6 module provides quick options to find the right parts. Various options are provided to store admin for managing the image part finder module.
Check a brief overview of the plugin –
Features
- The admin can enable or disable the module.
- Admin will be able to add a new diagram.
- The admin can edit the existing diagram.
- Admin can assign categories to the diagram.
- The admin can map multiple products to the diagram.
- Admin can enable or disable the status of the diagram.
- Also, the part finder can search the parts category-wise as per the admin setting.
- A customer can easily see the details of the parts by clicking on the mapping spot number.
- The customer can add parts directly to their shopping cart for checkout.
Installation Steps – By Running Commands & Manually
Customers will get a zip folder, and they have to extract the contents of this zip folder on their system.
After extracting the WebkulImagePartFinder folder, the customer needs to transfer this folder to custom > plugins on the server, as shown in the snapshot below.

After the successful transfer of the module folder, you have to run the below-mentioned commands in the Shopware root directory.
1 – Go to your Shopware installation root directory and run this command –
php bin/console plugin:install WebkulImagePartFinder
2 – To activate the plugin run this command –
php bin/console plugin:activate clearcache WebkulImagePartFinder
Manual installation from the plugin manager:
For the manual installation of the plugin follow the steps as mentioned below:
1) Extract the zip file of the plugin.
2) Goto your Shopware 6 installation backend panel and navigate to Extensions-> My Extensions after that you can find all the installed plugins in it.
For installing the plugin, the user can click on the Upload Extension button. The user can upload the plugin zip(WebkulImagePartFinder) here.
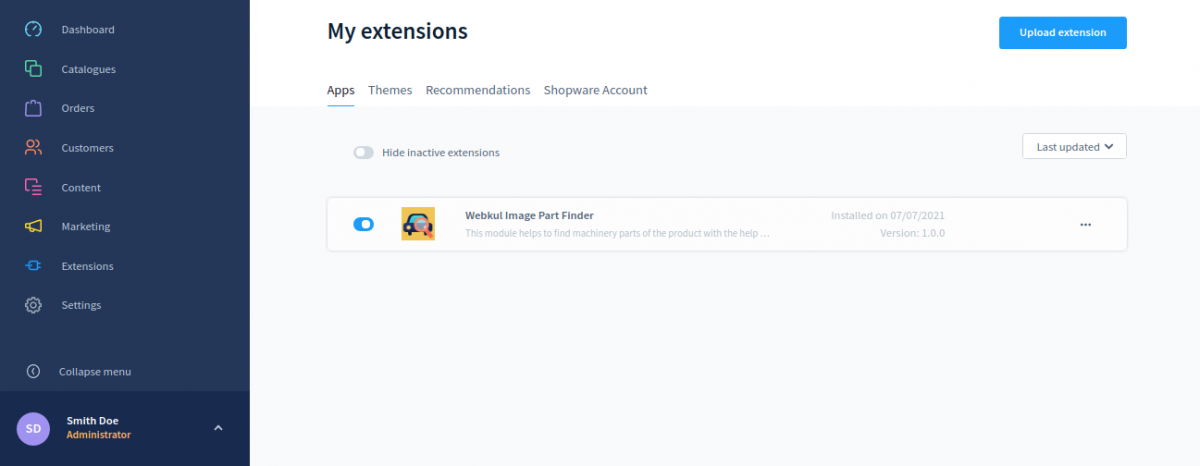
3) After uploading the plugin zip, the user can see the Extensions in the list.

4) Now the user can click on the install icon to install the Webkul Image Part Finder extension.
5) After the installation of the extension, the user can click to activate the extension.
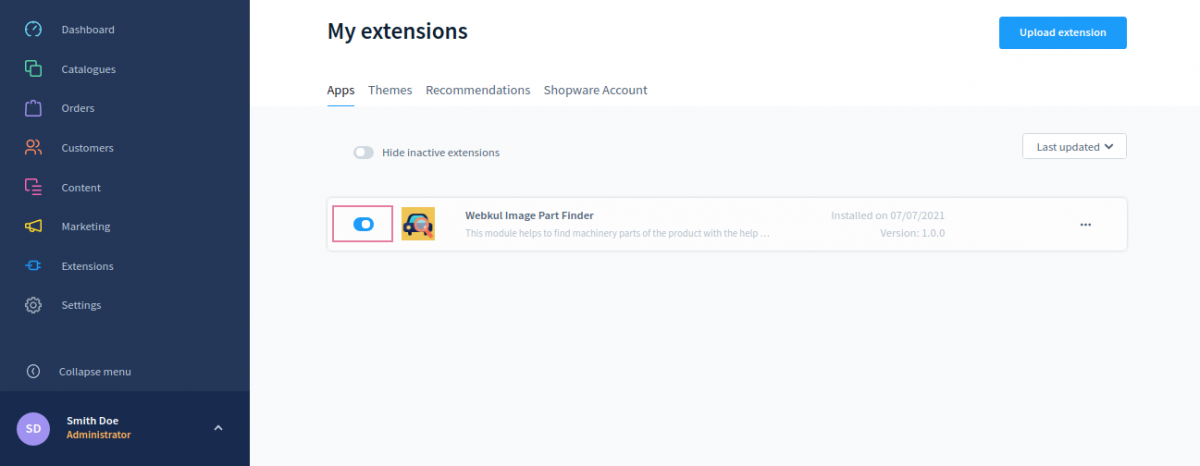
While in the process the admin can see the success message ‘Extension has been activated‘.
After the installation process and plugin configuration if the Image Part Finder icon option is not visible then run this command to clear the cache:
php bin/console cache:clear
Image Part Finder for Shopware 6– Configuration
After the successful installation of the module, the admin can configure this module under “Extensions > My Extensions > Webkul Image Part Finder > Config” in the drop-down as shown below snapshot.

Tapping on the Configuration button will bring you to the Webkul Image Part Finder configuration page. In the general setting, the admin can set the required settings for the image part finder.
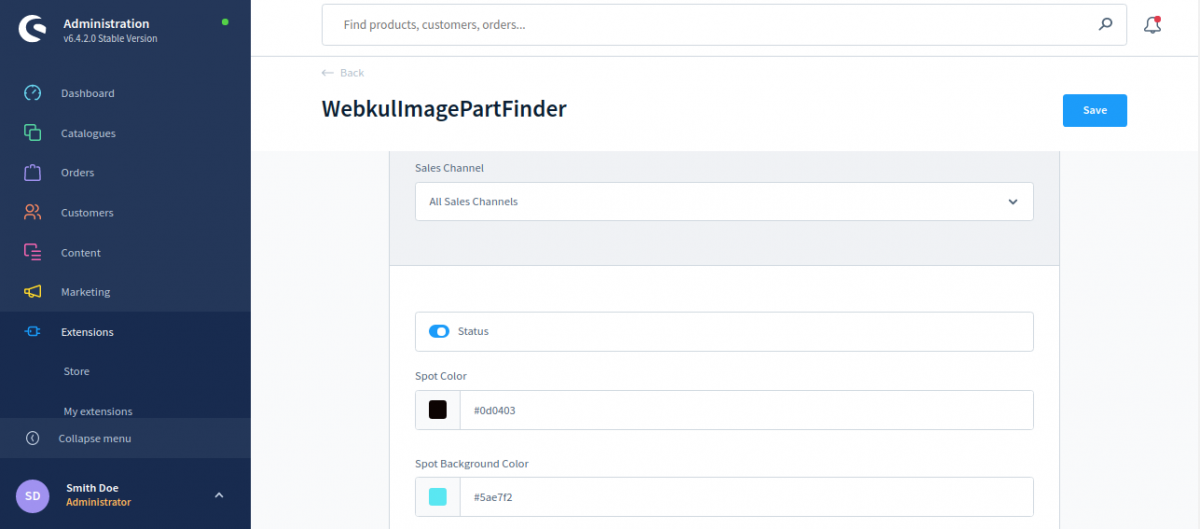
- Sales Channel: Select the sales channel either Headless or Shop.
- Spot Color: Here the admin needs to select the color of the mapping spot.
- Spot Background Color: Here the admin needs to select the background color of the mapping spot.
Image Part Finder for Shopware 6 – Admin Backend
After the Product Image Part Finder for Shopware 6 installation and configuration, the admin will Goto Settings >> Extensions>> Webkul Diagram tab in the admin panel.

On clicking on the “Webkul Diagram” tab, Afterward, a new page opens where the admin can see the list of diagrams as seen in the screenshot given below.

Add New Diagram
To add a new diagram, the admin needs to click on Add New Button as seen in the screenshot given below.

After Clicking on the Add New Button the admin needs to enter the following details as seen in the screenshot given below.

- Diagram Name The admin needs to enter the name of the diagram.
- Upload Image Diagram – Here the admin needs to upload the image of the diagram.
- Choose Category – Here the admin needs to select a category for the diagram.
- Status – The admin can enable or disable the status of the diagram.
After entering the following details, the admin needs to click on the Save button.

Edit Diagram
To edit a diagram, the admin needs to click on the Edit button as seen in the screenshot given below.

After Clicking on the Edit button the admin can edit the following details as seen in the screenshot given below.

After making changes the admin needs to click on the Save button.
The admin can also map the parts in the diagram by clicking on the Mapping button as seen in the screenshot given below.

After clicking on the “Mapping”, a new page opens where the admin can map the parts in the diagram as seen in the screenshot given below.
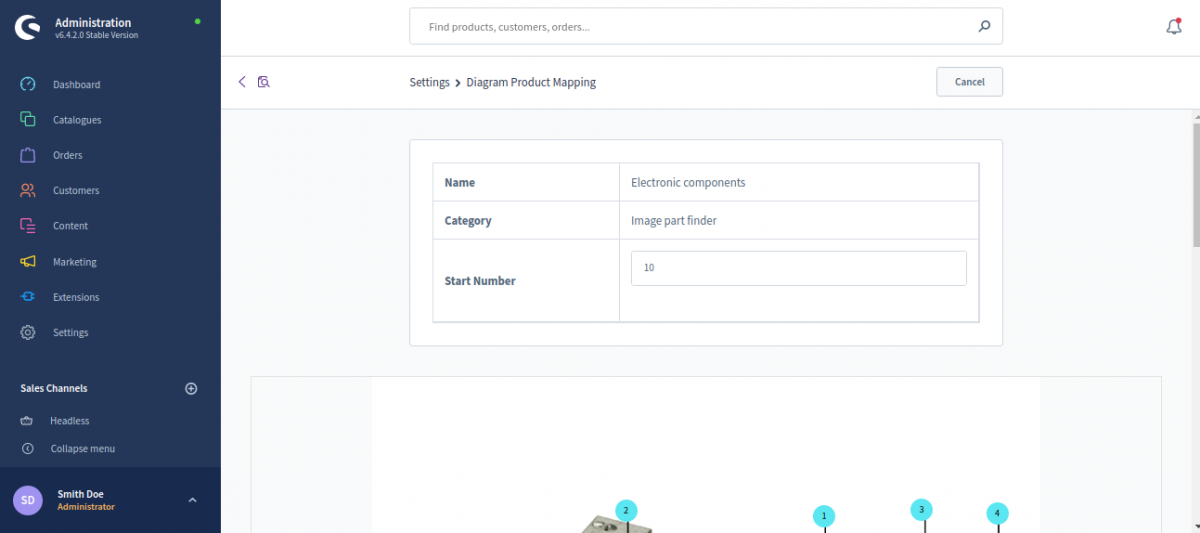
Start Number – Here the admin needs to enter the number for which he/she wants to map the part.
After entering the start number the admin needs to map the spots by clicking on the place where the admin wants to map the parts in the diagram.

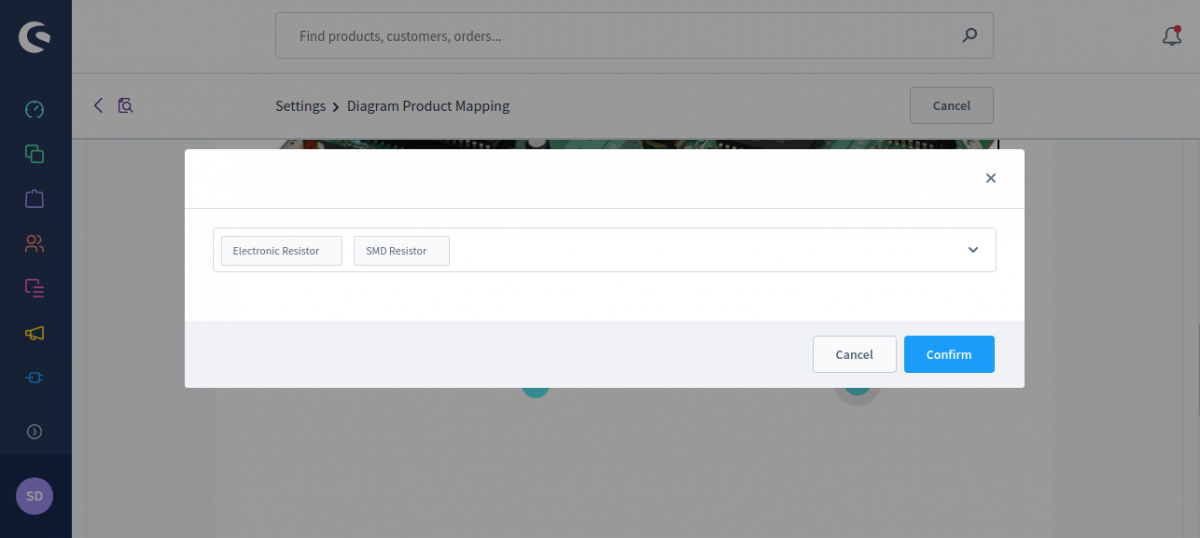
To assign the parts to a particular spot the admin needs to double click on that spot.

Afterward, the admin needs to select the parts to assign to a particular spot and click on Confirm button as seen in the screenshot given below.
After clicking on the Confirm button the admin will be able to see the list of parts assigned to the particular spots as seen in the screenshot given below.

Image Part Finder for Shopware 6 – Customer End
Now after creating “Image Part Finder, let us move into the customer end.
Here customers will find the categories in order to search for the parts using the image part finder feature as seen in the screenshot given below.

If the admin sets the status of the diagram Enabled in the backend, then the customer will be able to see the diagrams in the frontend as seen in the screenshot given below.
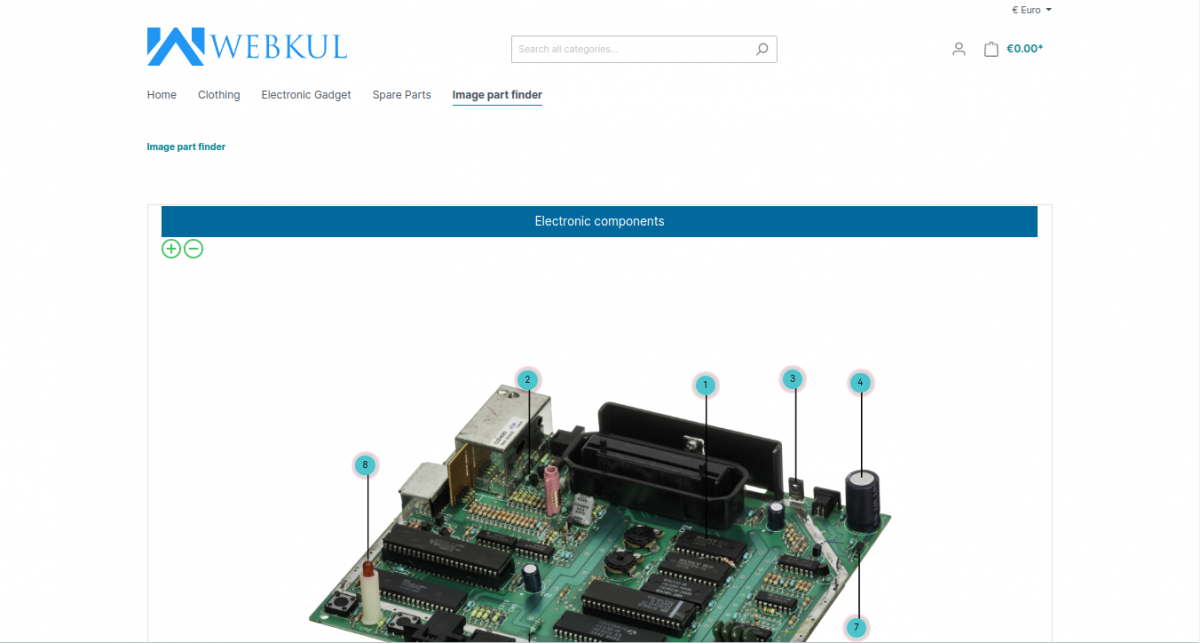
The customer can also zoom in and zoom out the image of the diagram by clicking on the ‘+‘ and ‘–‘ button on the top left corner as seen in the screenshot given below.

Afterward, the customer can check the parts in the given diagram by clicking on the spot numbers.

The customer can add the part directly to their shopping cart by clicking on Add to shopping cart button.

Support
That’s all for Image Part Finder for Shopware 6 still have any issues feel free to add a ticket and let us know your views to make the module better http://webkul.uvdesk.com/. Please explore our shopware development services and Quality shopware extensions
Current Product Version - 1.0.0
Supported Framework Version - 6.1.2, 6.2.0

Be the first to comment.