Building reusable Magewire components for Hyvä Themes is one of the cleanest ways to add interactive UI to Magento. On real Hyvä projects, this pattern replaces most of the custom JavaScript we used to write.
Magewire brings server-driven reactivity straight to your frontend. So you can skip complex tools like Knockout.js or React for most everyday tasks.
In this guide, we will build a simple counter step by step. You will connect a backend class, a Hyvä template, and a layout file.
What Is Magewire?
Magewire is a Magento adaptation of Laravel Livewire, built for the Hyvä frontend. It keeps a PHP class and a Hyvä template in sync on every request.
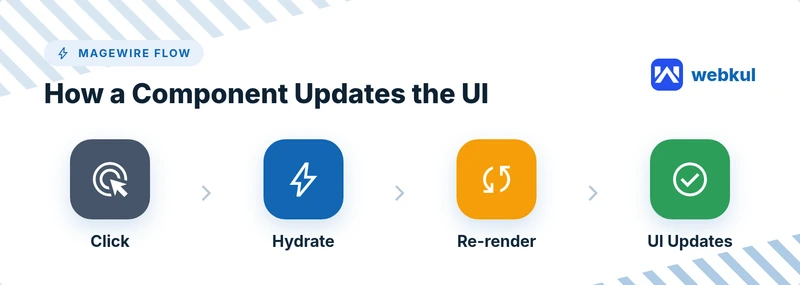
On each interaction, Magewire hydrates your component, runs the method, and returns fresh HTML. Your public properties hold the state between requests.
Why Reusable Magewire Components Matter
Reusable components save time across your whole project. You build the logic once, then use it anywhere you need it.
This keeps your code consistent and clean. It also makes future updates far simpler.
- Less duplicated code
- Faster development
- Easier long-term maintenance
- Consistent behavior across pages
What You Need Before You Start
You need a Magento 2 store with Hyvä Themes installed. The Magewire module must also be enabled.
Basic PHP and Tailwind CSS knowledge helps a lot. Alpine.js already ships with Hyvä, so you are ready to go.
1. Create the Backend PHP Component
The backend class manages the component state. Public properties sync automatically with the frontend.
Create the file app/code/Vendor/Module/Magewire/Counter.php with this code.
<?php
declare(strict_types=1);

namespace Vendor\Module\Magewire;

use Magewirephp\Magewire\Component;

class Counter extends Component
{
    // Public properties are synced with the frontend
    public int $count = 0;

    public function mount(): void
    {
        if ($this->count === 0) {
            $this->count = 1;
        }
    }

    public function increment(): void
    {
        $this->count++;
    }

    public function decrement(): void
    {
        if ($this->count > 0) {
            $this->count--;
        }
    }
}
The mount() method runs once on the first load. The increment() and decrement() methods run on each click and update the count instantly.
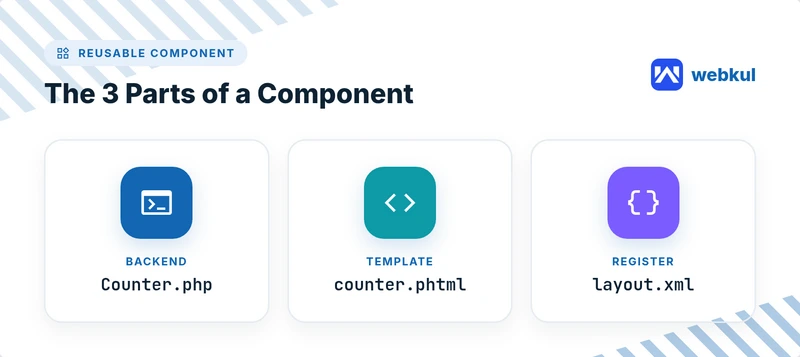
2. Create the Frontend Template
The template shows the data and captures user clicks. Use the Tailwind CSS classes that Hyvä already provides.
Create the file app/code/Vendor/Module/view/frontend/templates/counter.phtml.
<!-- Single root DOM element is required -->
<div>
    <p class="text-lg">Count: <span class="font-bold"><?= $magewire->count ?></span></p>

    <div class="flex gap-2 mt-4">
        <button type="button" wire:click="decrement" class="px-4 py-2 bg-red-500 text-white rounded">-</button>
        <button type="button" wire:click="increment" class="px-4 py-2 bg-green-500 text-white rounded">+</button>
    </div>
</div>
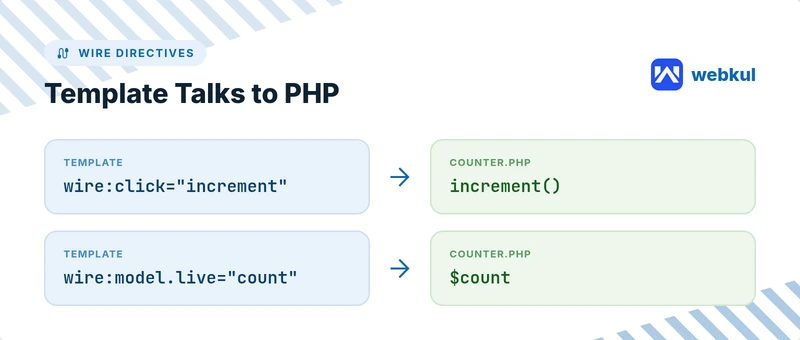
The wire:click directives call your PHP methods directly. For text inputs, reach for wire:model.live so values bind as the user types.
3. Register Your Reusable Magewire Component in Layout XML
The final step tells Magento where to render the component. You do this with a small layout XML block.
<?xml version="1.0"?>
<page xmlns:xsi="http://www.w3.org/2001/XMLSchema-instance"
      layout="1column"
      xsi:noNamespaceSchemaLocation="urn:magento:framework:View/Layout/etc/page_configuration.xsd">
    <body>
        <referenceContainer name="content">
            <block name="counter" template="Vendor_Module::counter.phtml">
                <arguments>
                    <argument name="magewire" xsi:type="object">Vendor\Module\Magewire\Counter</argument>
                </arguments>
            </block>
        </referenceContainer>
    </body>
</page>
Now your reusable Magewire component loads on the chosen page. You can drop the same block onto any layout.
Tips for Better Reusable Magewire Components
A few small habits make your components much easier to reuse.
- Keep public properties small and serializable
- Move shared logic into reusable PHP traits
- Add wire:loading states for slower actions
- Reach for wire:model.live only where you truly need it
Conclusion
You now have a working, reusable Magewire component for Hyvä Theme Developement. The same pattern works for forms, filters, and mini carts.
Start small, then combine your components over time. This approach keeps your Magento frontend fast and easy to maintain.

Be the first to comment.