INTRODUCTION
To achieve the efficiency at your sales, you need to manage the orders effectively.
Now, simplify your everyday tasks of managing multiple orders in the “Order Selector” of POS Screen.
In Point of Sale, at the time of creating orders, it is very hard to manage plenty of orders in “Order Selector Tab”. Also for those users who are working on Tablets, they can manage only two or three orders in Order Selector and if in a case there are more than three orders then it is very hard to handle those orders.
So in order to tackle this problem, we have come up with a module named ‘Odoo POS Manage Order Selector’. This module helps the POS user to manage the order in Order Selector in such a way that after a specific limit(set in backend) the orders will appear in a drop-down list. Also, it provides a special feature that the customer name will be shown in the “Order Selector” button so that a POS User can easily identify the order by the customer’s name.
FEATURES
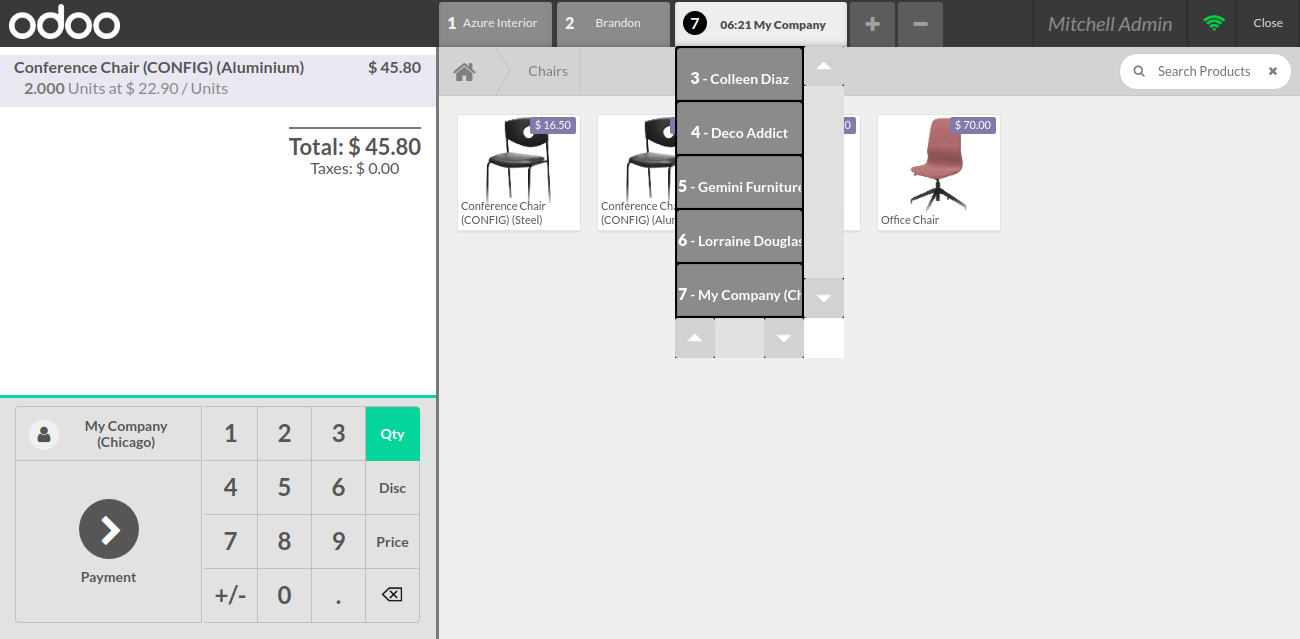
1. This Odoo POS Manage Order Selector module provides the feature of displaying the orders in a drop-down list if the number of orders in the “Order Selector” tab of POS crosses the limit set in the backend.
2. The maximum number of orders that a seller will configure in the backend only those orders will be shown on the “Order Selector” tab and the rest will be inside the “Drop Down Order Selector Tab” of POS.
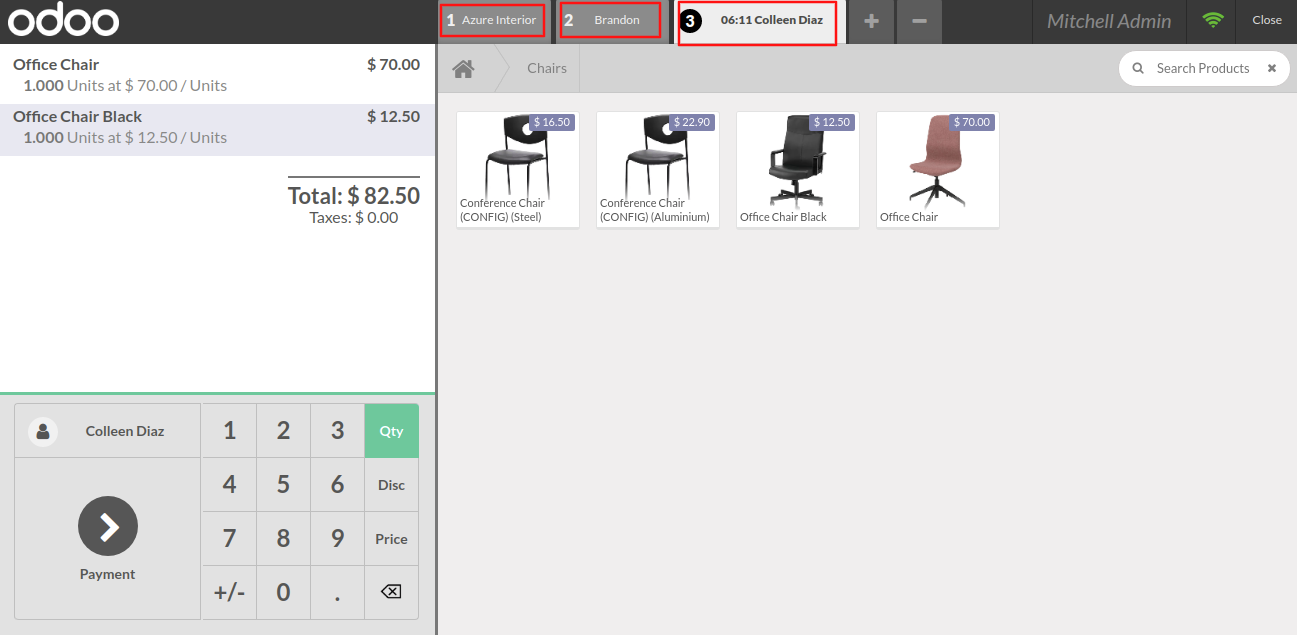
3. It displays the customer name in every Order Selector button, either selected or not.
4. It helps the seller to identify order from the drop down of order list on the basis of the customer’s name.
INSTALLATION
1.) Once you purchase the Odoo POS Manage Order Selector module From Webkul store, you will receive the link to download the zip file of the module.
2.) Extract the file on your system after the download finishes. You will be able to see a folder named- “pos_manage_order_selector”.
3.) Copy and paste this folder inside your Odoo Add-Ons path.
4.) Now, open the Odoo App and click on the Settings menu. Here, click on Activate the Developer Mode.
5.) Then, open on the Apps menu and click on the ‘Update Modules List’.
6.) In the search bar, remove all the filters and search “pos_manage_order_selector”.
7.) Now you will be able to see the module in the search result. Click on ‘Install’ to install it.
WORKFLOW
Back-end
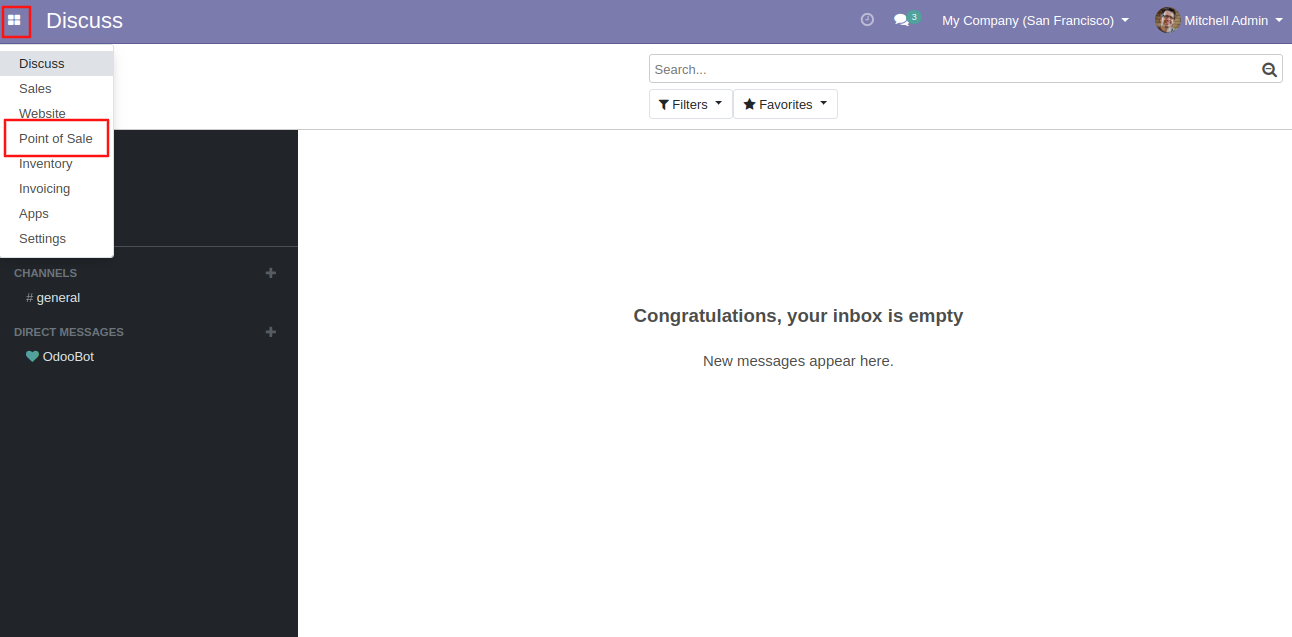
1. Initially, login to your Odoo database. Then navigate to the Point Of Sale application.
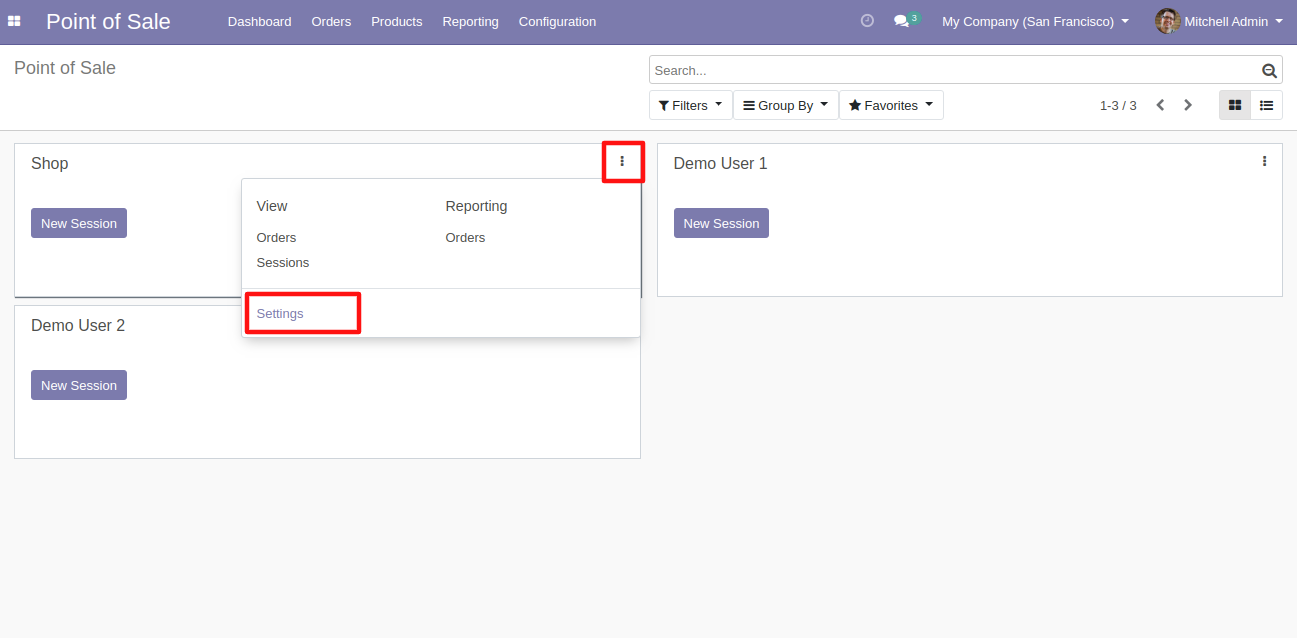
2. Now, click on the ellipsis & navigate to the POS session’s settings.
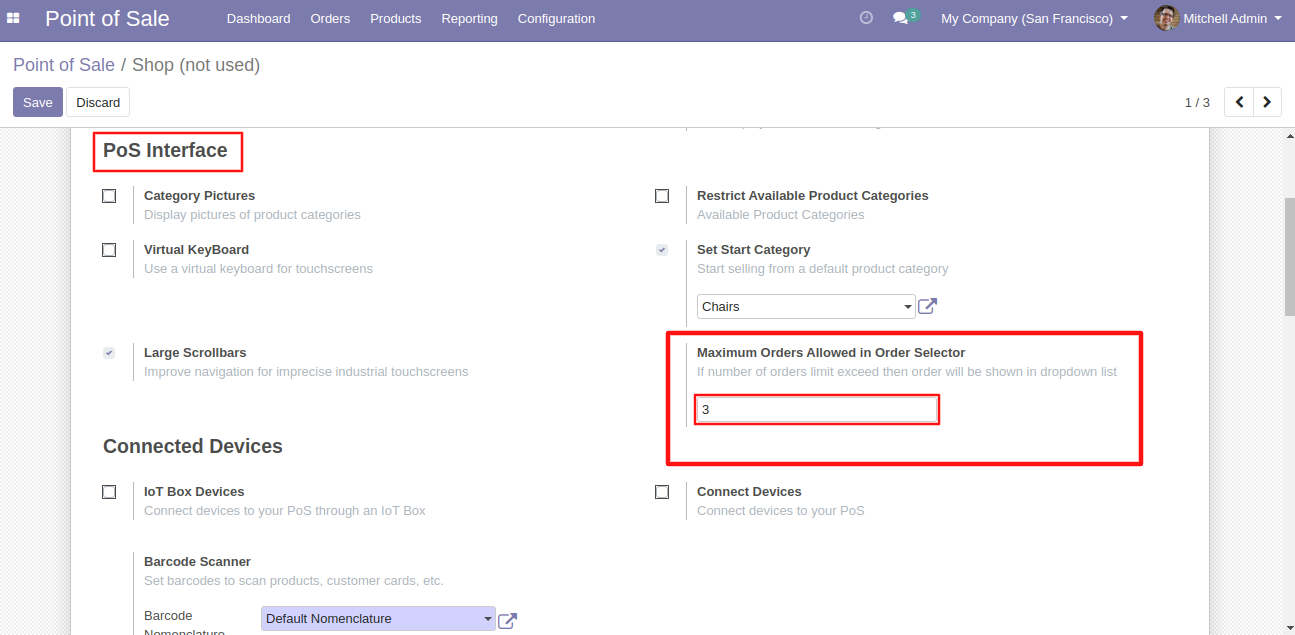
3. Then, scroll down to the ‘Maximum Orders Allowed in Order Selector’. Here set the limit for the number of orders shown in order selector.
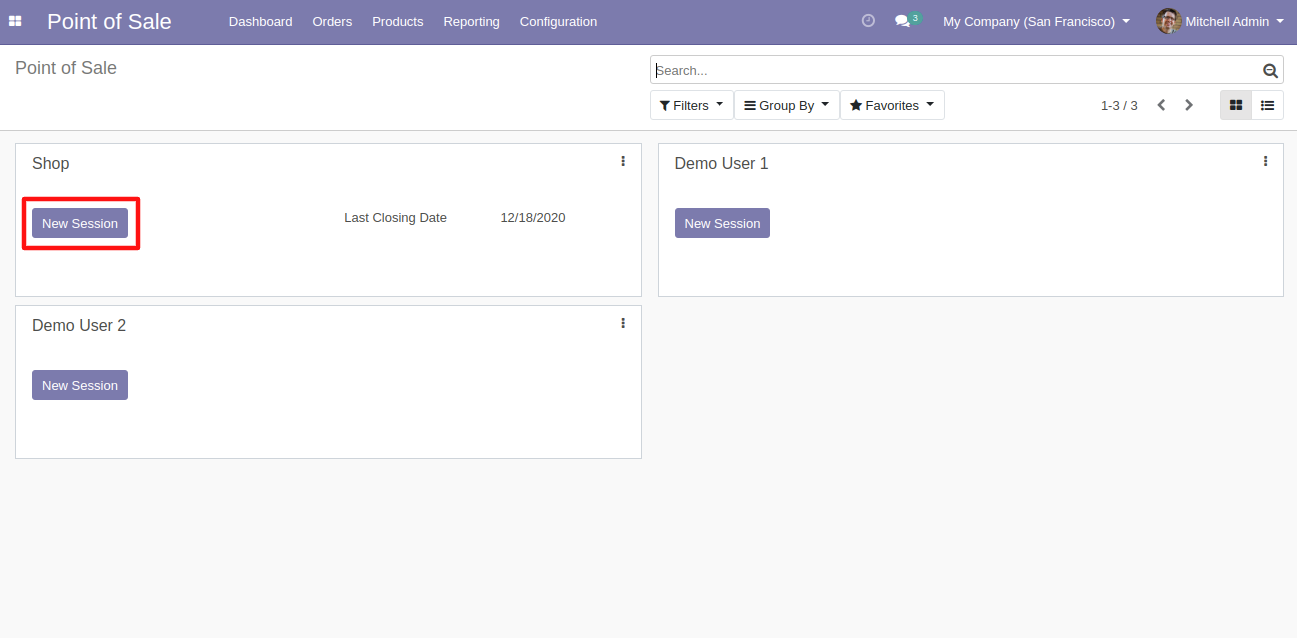
4. Now you can launch the POS session.
5. On every Order Selector button, the customer name will be displayed and when the number of orders exceeds the limit set on backend configuration then the drop down of order selector will appear.
Let’s say – the maximum limit of orders set in the backend -3, then if the number orders in “Order Selector” is more than 3, then a drop down list will appear and all orders after the second order will be displayed on that list.
6. Displaying Orders in the “Drop Down Order Selector Tab”–
When a user clicks on the Order Selector tab then a drop down list will appear. A user can select any order by clicking on the order button and then the details of that order will be displayed on the POS Screen.
Also, read the other modules user guide
Odoo POS Paypal Payment Acquirer
Odoo POS Send Receipt & Greetings via WhatsApp
NEED HELP?
Was this guide helpful? Please share your feedback in the comments below.
If you have any issues/queries regarding the module please raise a ticket at https://webkul.uvdesk.com/en/customer/create-tickehttp://tickett/
For any doubt contact us at [email protected]
Thanks for reading!!
Current Product Version - 1.0
Supported Framework Version - Odoo V13, V12, V11. V10, V9

Be the first to comment.