INTRODUCTION
In order to make things easier for the customer while placing the order at POS, it is important to know the choices of the customer. For instance- If a customer places an order for a Pizza, then the counter boy may ask him “Sir, would you like to have extra cheese with the pizza” wherein the customer will reply according to his taste and preferences. Odoo POS Forced Questions is the right way to let your customers add the “extra stuff” in the basic product.
Examining this situation, introducing you to our module Odoo POS Forced Questions which is used to ask multiple forced questions about the choice of customers like extra cheese, veg or non-veg, double or single toppings, etc before adding the product in POS. Consequently, the implementation of Odoo POS Forced Question will tell you about the different tastes and preferences of multiple customers.
FEATURES
- In Odoo POS Forced Question module, you can modify the answers even after adding the product to the cart
- Seller has the authority to change the question from the backend.
- The answer will be printed on the receipt (POS BOX and POS TICKET)
- The selected answer for the product will also save in backend.
INSTALLATION
- Once you have purchased the module from our Webkul store, you will receive a link to download the zip file of the module.
- Extract the file on your system after the download finishes. You will be able to see a folder named- ‘pos_forced_question’.
- Copy and paste this folder inside your Odoo Add-Ons path.
- Now, open the Odoo and click on the Settings menu. Here, click on Activate the Developer Mode. You can activate the developer mode by typing ‘debug’ after ‘web?’ in the URL as well.
- Now, open the Apps menu and click on ‘Update Modules List’.
- In the search bar, remove all the filters and search ‘pos_forced_question‘.
- You will be able to see the module in the search result. Click on ‘Install’ to install it.
WORKFLOW
Back-end
- Log in to your Odoo database, and navigate to the Point Of Sale.

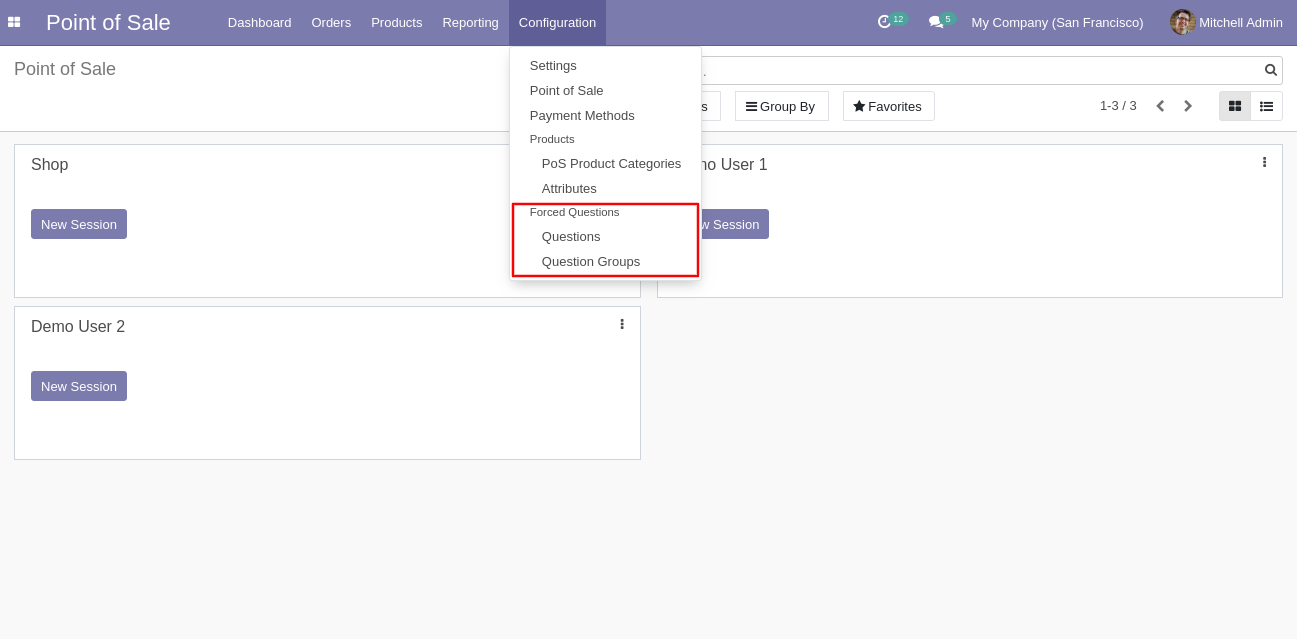
2. Now, go to configuration, here under the ‘Forced Questions” there are two options:
(i). Questions
(ii). Question Groups
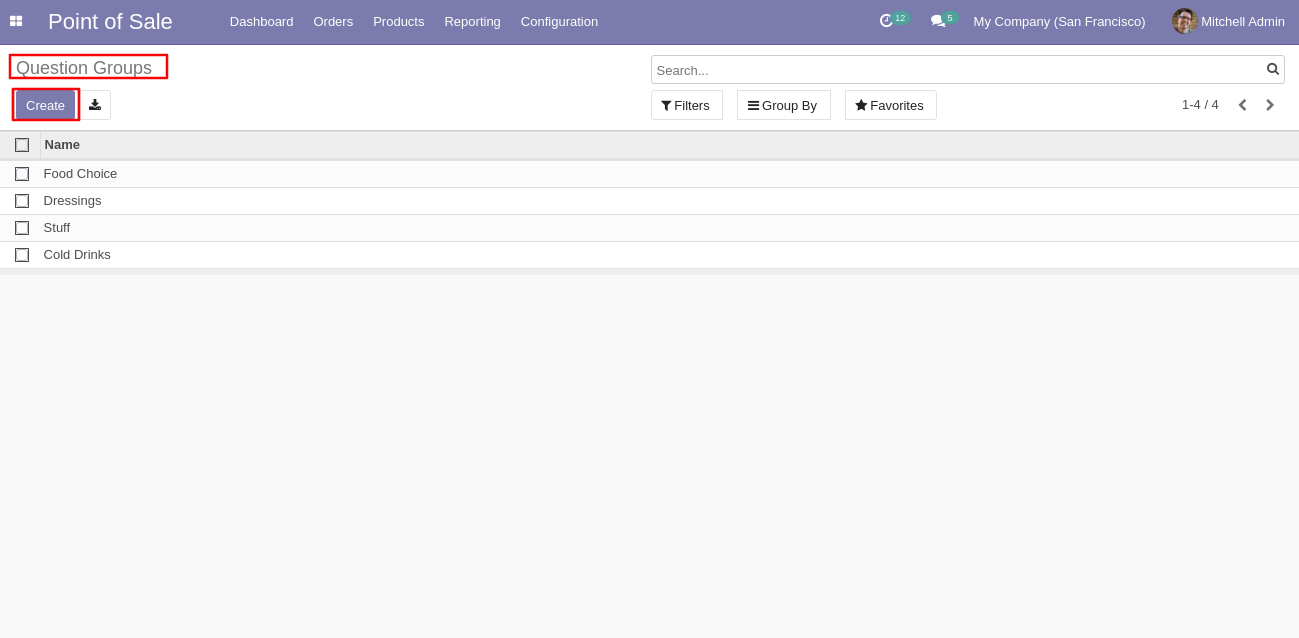
3. Here, you can see the list of question groups. Moreover, to create a new question group click on create.
4. Firstly, add the name of the Question Group, in the ‘Add A Line’ you can add multiple questions under this question group.

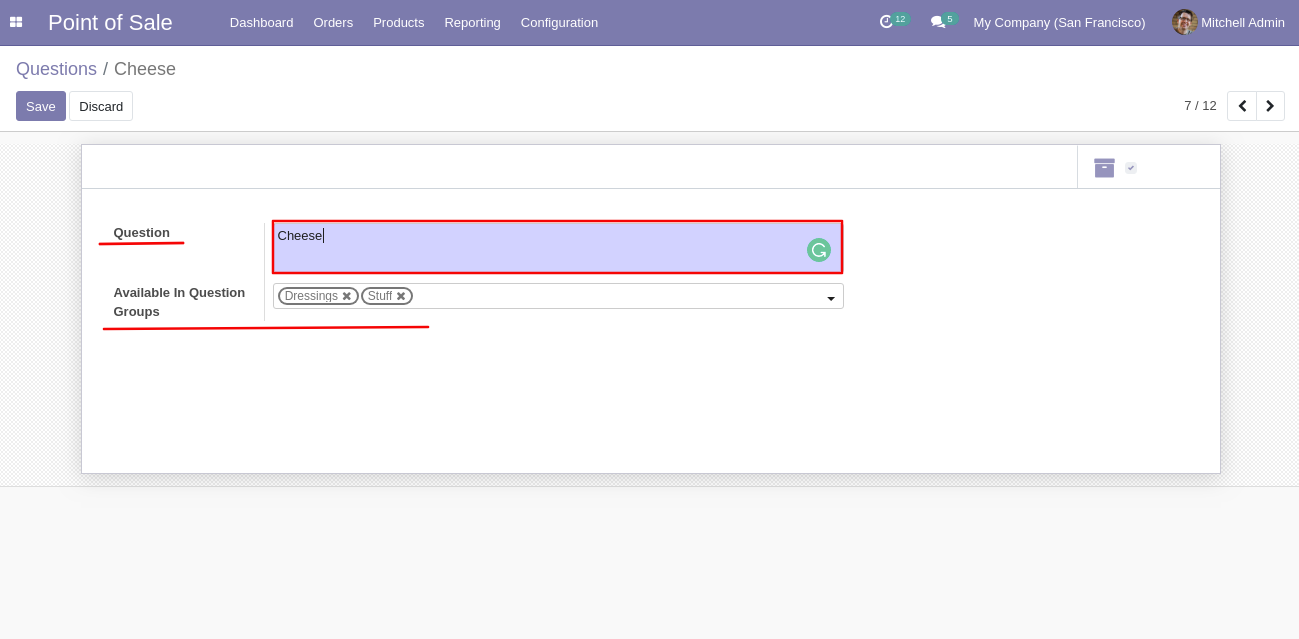
5. Here is the list of all the questions list. You can create new questions by clicking the ‘Create’.

6. Add question name and associated question group. You can associate a question to multiple question groups.
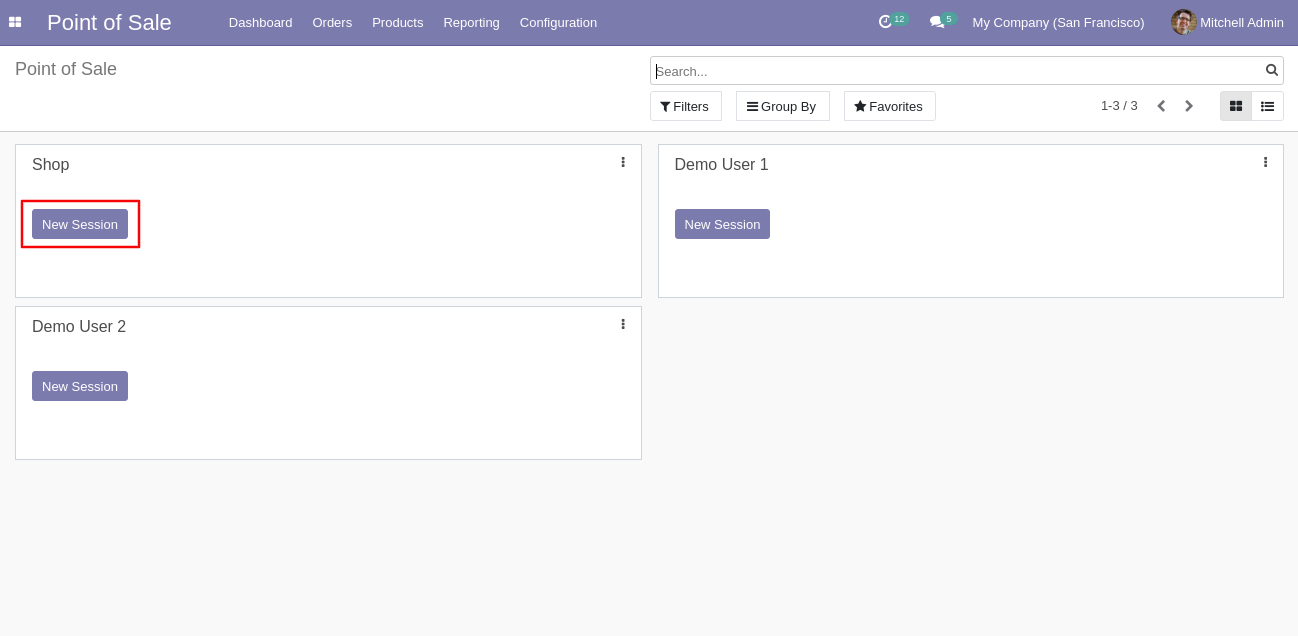
7. Now, you can launch the POS session.
Front-end
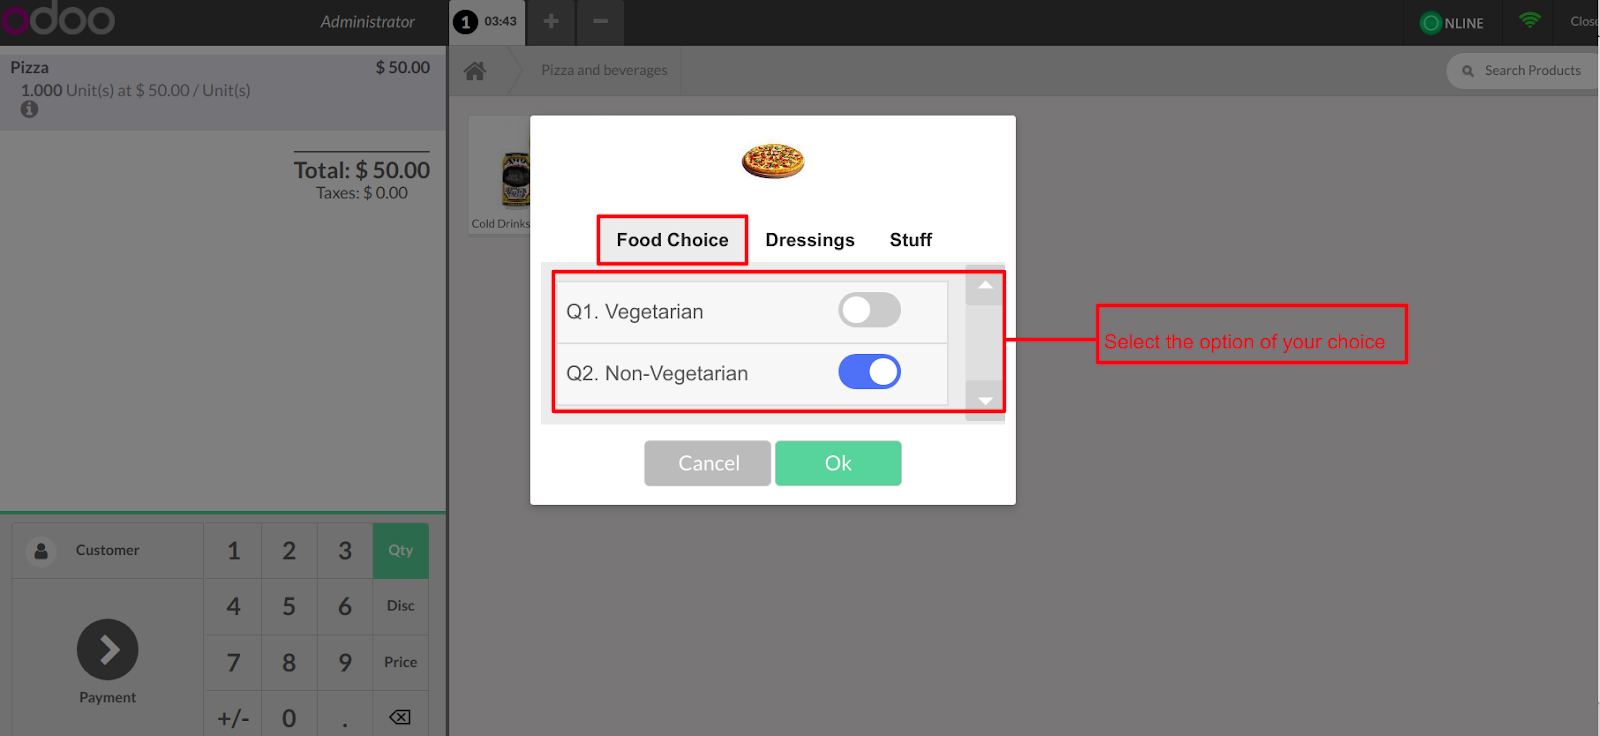
8. When you will click the “Product” and it will ask your food choice like vegetarian or non-vegetarian etc.
9. Click on the next option to choose the “Dressings” and select the option according to your customer’s taste and preference.

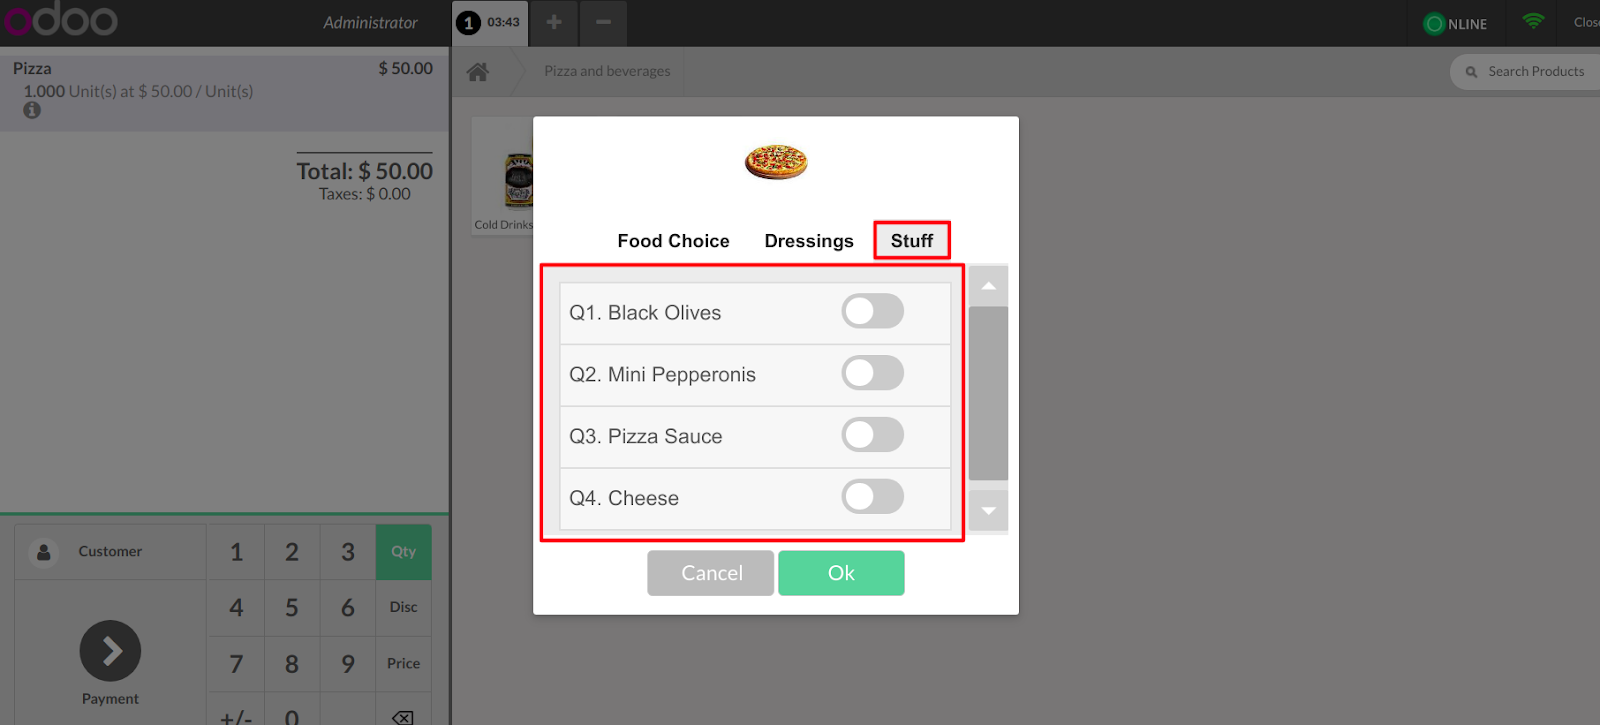
10. Again click on the third option to “Stuff” and choose one of the options according to your customer’s preference from the forced question window.
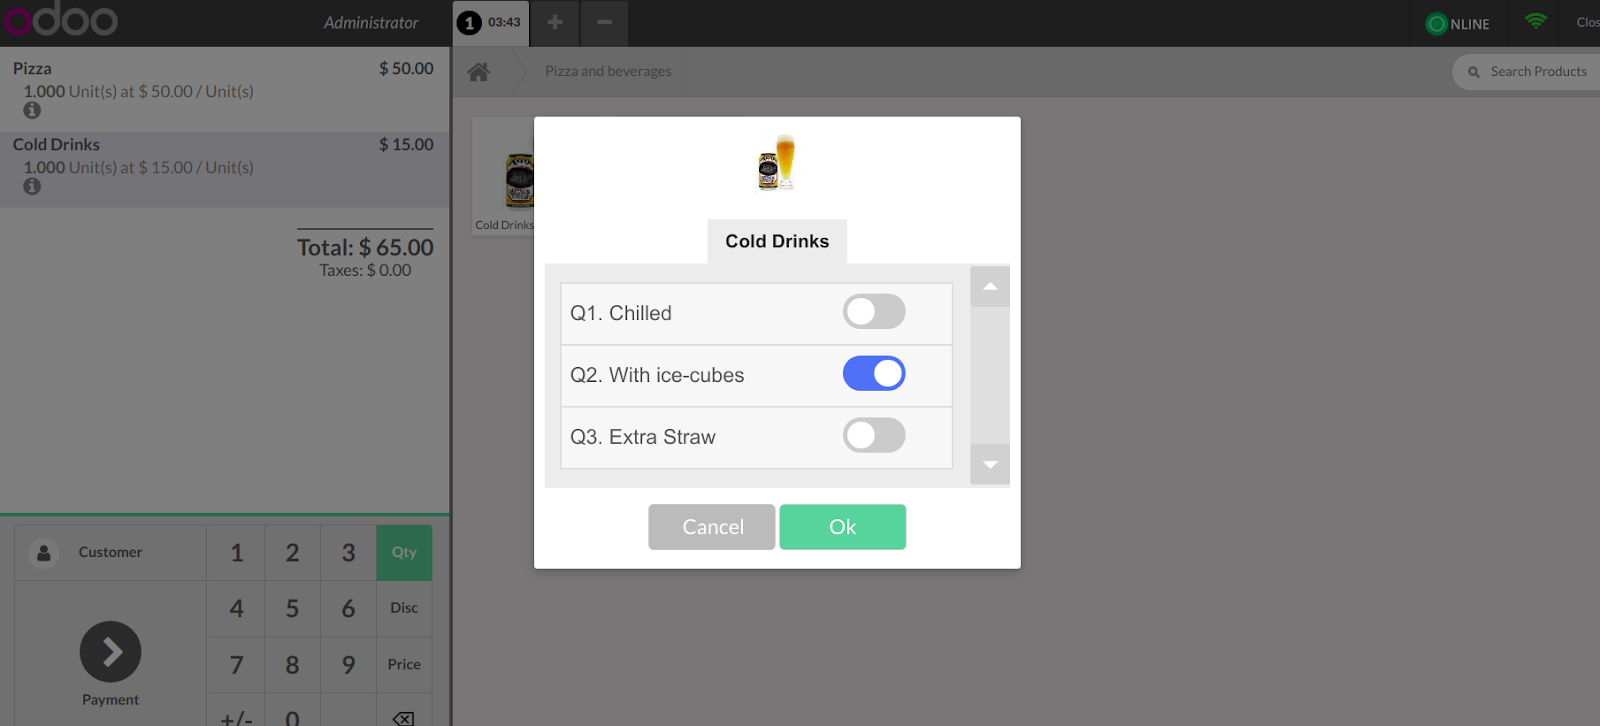
11. Now jumping on to the next product, Click on “Cold Drinks” and the forced question window will display then choose options according to the customer’s likings.
12. Any modifications can be done in the answers even after submitting the choice. When you click on the “i” icon, a window of forced questions will appear again which allows you to do necessary modifications in your orderline.

13. Receipt view with the forced questions.

Back-end
14. If you want to create Question Groups from the backend, follow the path > Forced Questions>Question Groups>Create.
The selected question group will appear on the product form(refer to the below screenshot).

15. All the selected answers are saved in the backend under “Extra Comments” subheading.

Also Read The User Guides For The Other Modules
NEED HELP?
Was this guide helpful? Please share your feedback in the comments below.
If you have any issues/queries regarding the module please raise a ticket at
https://webkul.uvdesk.com/en/customer/create-ticket/
For any doubt contact us at [email protected].
Thanks for reading!!
Current Product Version - 1.0.2
Supported Framework Version - Odoo V14, V13, V12, V11 & V10

Be the first to comment.