INTRODUCTION
At work, sometimes people tend to miss/forget things. Even if something is quite significant. which makes the work not as active as it should be. Let’s say, you want to have a meeting with the POS user at 2 pm. So, you need to inform him/her. So that he/she could be aware of it while working on the POS.
Therefore, we have come up with the ‘Odoo POS Custom Messages’ module, which facilitates you to create a custom message like a warning, alert, etc. Moreover, that message is displayed at a specific time on the Point Of Sale screen. Additionally, you can assign one custom message to multiple Point Of Sale.
FEATURES
- Odoo POS custom messages module helps you to show custom messages at a specific time in Point Of Sale Session.
- You can create a custom message like a warning, alert, etc.
- The custom message is displayed at a specific time on the Point Of Sale screen.
- Moreover, you can assign one custom message to multiple Point Of Sale.
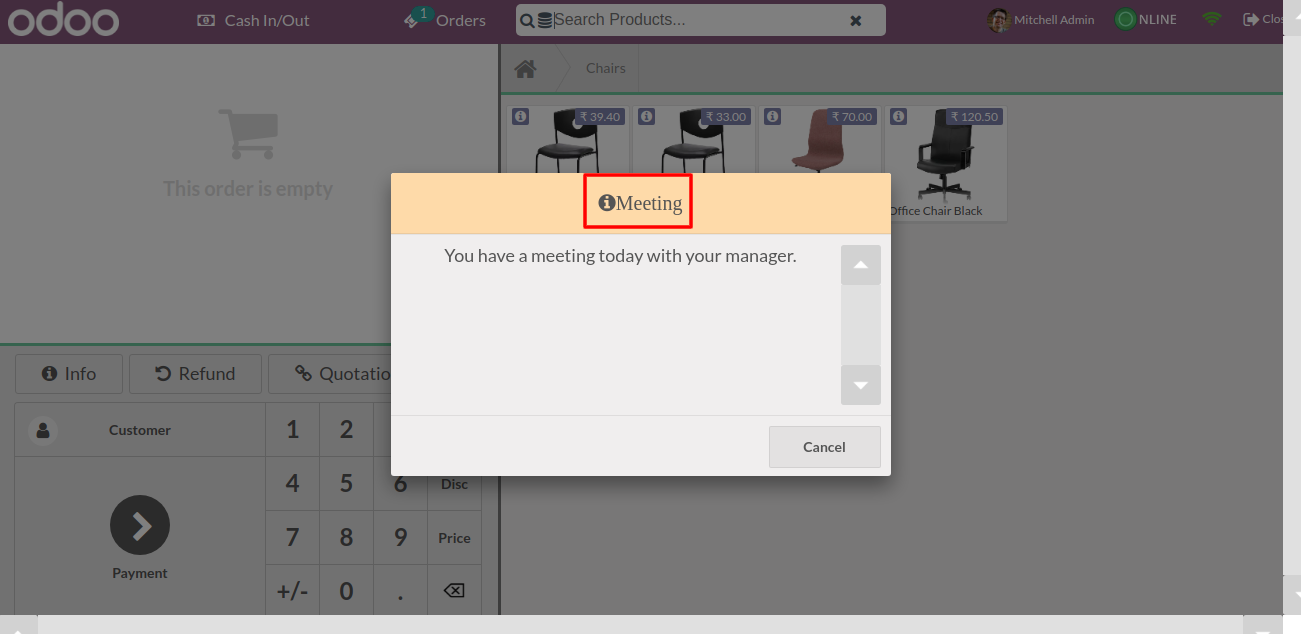
- The Colour of the pop-up message will be changed according to the ‘Message Type’.
INSTALLATION
- Once you purchase the Odoo POS Custom Messages module From the Webkul store, you will receive the link to download the zip file of the module.
- Extract the file from your system after the download finishes. You will be able to see a folder named- “pos_custom_messages”.
- Copy and paste this folder inside your Odoo Add-Ons path.
- Now, open the Odoo App and click on the Settings menu. Here, click on Activate the Developer Mode.
- Then, open on the Apps menu and click on the ‘Update Modules List’.
- In the search bar, remove all the filters and search “pos_custom_messages”.
- Now you will be able to see the module in the search result. Click on ‘Install’ to install it.
WORKFLOW
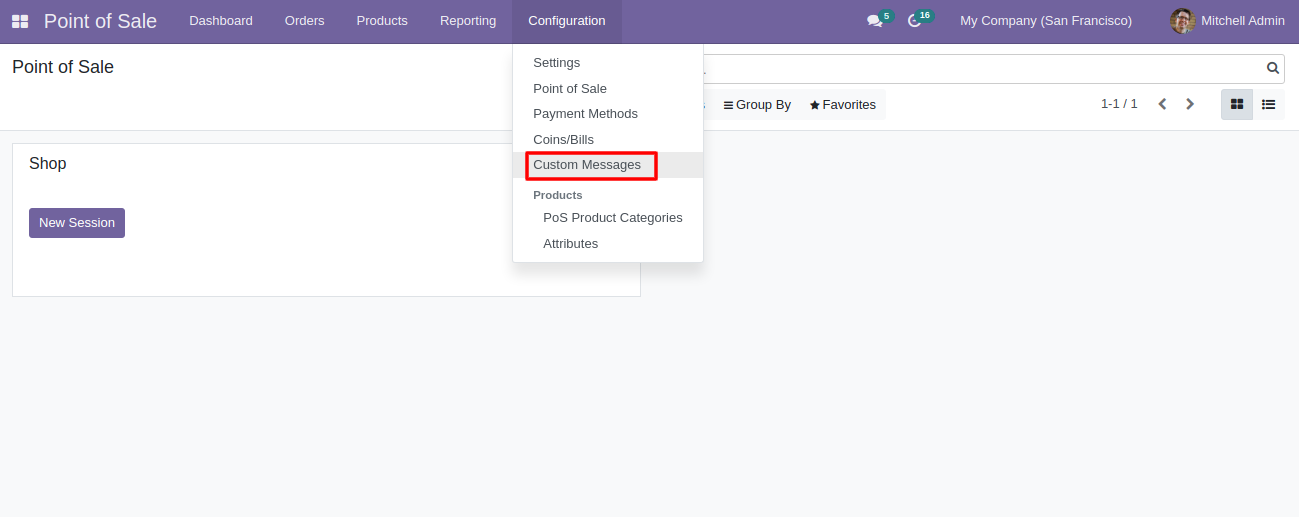
- Initially, login to your Odoo database and navigate to the Point Of Sale App as shown.

- Then go to the ‘Custom Messages’ under the ‘Configuration’ tab.
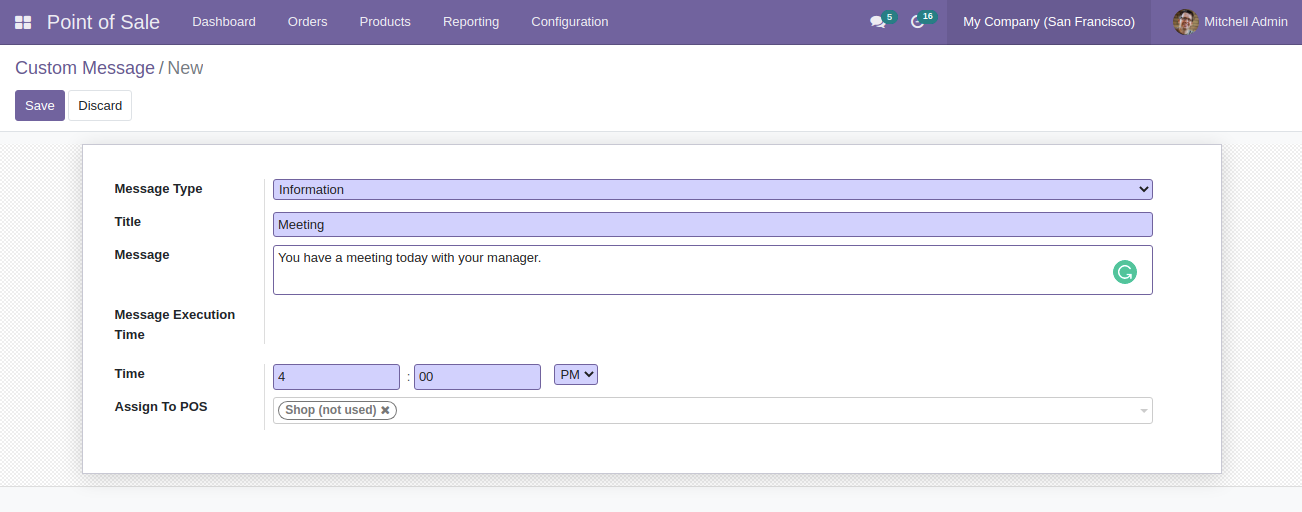
- Here, you will see the list of all the custom messages created from the backend. Click on the ‘Create’ button to create a custom message.

- Here, you need to select the ‘Message Type’ and add the ‘Title’ of the custom message. Moreover, you can set the time to appear this reminder.
- Additionally, you can assign this custom message to multiple POS sessions.
- Moving on, now you can launch the POS session.

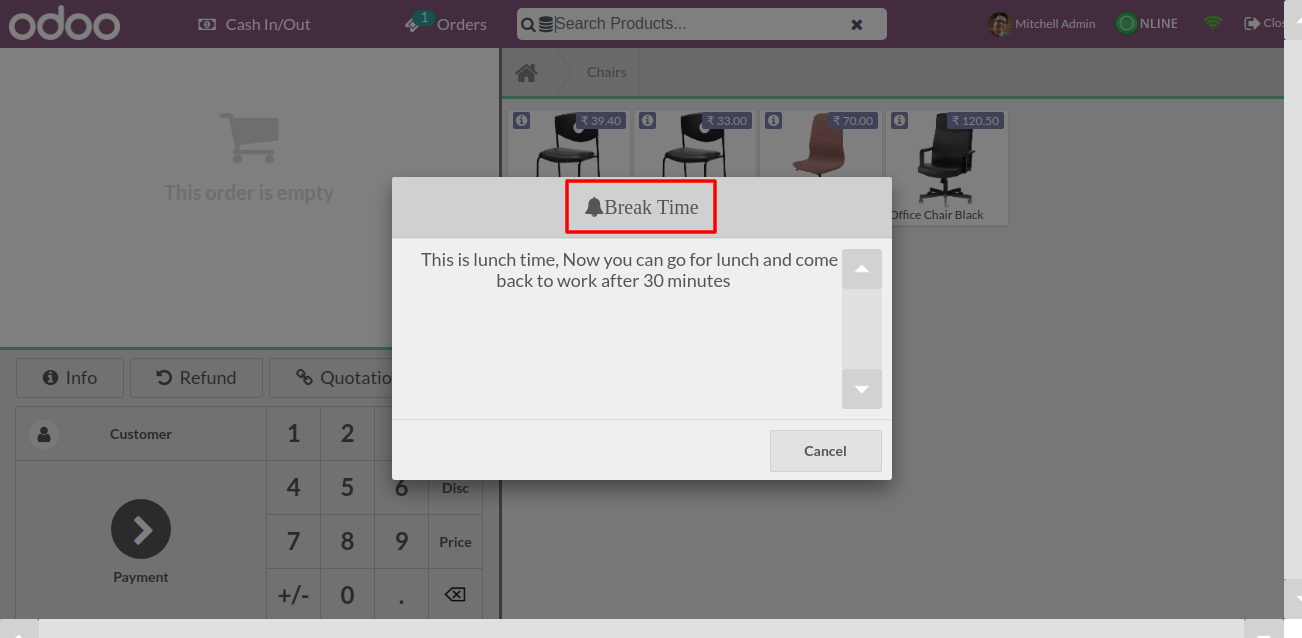
POS Session Screen
- This is the pre-set Break Time reminder pop up, appearing on the POS Session screen.
- This is the Meeting reminder pop-up appearing on the POS Session Screen.
OTHER RELATED MODULES FOR ODOO
NEED HELP?
If you have any issues/queries regarding the module please raise a ticket at https://webkul.uvdesk.com/en/customer/create-ticket/.
Did you find the guide helpful? Please feel free to share your feedback in the comments below.
For any doubt contact us at [email protected].
Thanks for paying attention!!
Current Product Version - 1.0
Supported Framework Version - Odoo V15, V14

Be the first to comment.