The Bagisto Shopify Connector links your Bagisto Marketplace to one or more Shopify stores. It imports Shopify products into Bagisto and keeps the stock of both platforms aligned.
Every admin and every seller connects their own stores. Each connection has its own credentials, so sellers never see each other’s stores.
The connector talks to Shopify through the GraphQL Admin API. It uses the client credentials grant, so you never paste a long-lived token. The access token is fetched and refreshed automatically.
The connector extends the seller panel, so the Laravel Multi Vendor Marketplace module must be installed first.
Features of the Bagisto Shopify Connector
- Connect many Shopify stores. Each store has its own Client ID and Client Secret.
- Admins and sellers each manage their own stores. A seller sees only their own stores and products.
- Import simple, configurable and virtual products from Shopify. The connector picks the Bagisto product type for you.
- Map Shopify fields, such as the title, price and tags, to Bagisto attributes. Save defaults for all stores and override them for a single store.
- Map Shopify metafields to Bagisto attributes.
- Map Shopify categories, variant options and inventory locations to their Bagisto counterparts.
- Import images, videos, categories, variants, options and stock for each product.
- Filter, search and sort the live Shopify product list before you import.
- Update imported products later. Only products changed in Shopify since the last update are pulled again.
- Push stock changes to Shopify when an invoice or a shipment is created in Bagisto.
- Pull stock changes from Shopify through signed webhooks for inventory and order updates.
- Heavy work runs in background jobs on a dedicated queue.
- Email the admin or the seller when an import succeeds or fails. Each email can be switched off.
- Review import problems in the Shopify Notifications list in the admin panel.
- Turn the module on or off for the whole store, or only for admins.
- A dedicated log file records everything the connector does.
Installation of the Bagisto Shopify Connector
The installation works like any other Bagisto package. The connector needs Bagisto v2.5.0 with the Marketplace module already installed, PHP 8.3 or later, and a queue driver other than sync.
Step 1:
Unzip the extension and merge the “packages/Webkul” folder into the project root directory.
Step 2:
Open the composer.json file and add the following line under the “psr-4” section:
"Webkul\\ShopifyConnector\\": "packages/Webkul/ShopifyConnector/src"
Step 3:
Autoload the composer:
composer dump-autoload
Step 4:
In the bootstrap/providers.php file, add the following import and the class in the return array. Place it after the Marketplace provider:
use Webkul\ShopifyConnector\Providers\ShopifyConnectorServiceProvider;
ShopifyConnectorServiceProvider::class,
Step 5:
Shopify sends webhooks without a CSRF token. In the bootstrap/app.php file, exclude the webhook URLs inside the withMiddleware callback:
$middleware->validateCsrfTokens(except: [
    'api/shopify/webhook/*',
]);
Step 6:
Set a real queue driver in the .env file. The connector refuses to import while QUEUE_CONNECTION is sync. The attribute family is the one imported products use:
QUEUE_CONNECTION=database
ATTRIBUTE_FAMILY_ID=1
Step 7:
Run the following command. It runs the migrations, adds the default attributes and the default attribute mapping, publishes the assets and clears the caches:
php artisan shopify:connect
Step 8:
Keep two background processes running. The first is a worker for the Shopify queue. The second is the Laravel scheduler, which refreshes the access tokens every 45 minutes:
php artisan shopify:queue-work
* * * * * cd /path/to/project && php artisan schedule:run >> /dev/null 2>&1
A plain php artisan queue:work also processes the Shopify queue. The shopify:queue-work command only processes Shopify jobs.
After these steps, the Shopify menu appears in the admin panel. Sellers see it too when the module is enabled for sellers.
Initial Configuration
Go to Configure > Marketplace > Shopify. The page has three cards.
- General: Enable Module and Enable for Sellers switch the connector on. Max Request Limit (Daily) and Import Chunk Size are number fields. The chunk size is how many products each import job handles, five by default.
- Synchronization: Enable Inventory Sync pushes Bagisto stock changes to Shopify. Enable Webhooks accepts real-time Shopify webhooks.
- Emails: Import Success Email and Import Failure Email switch the notification emails on or off.
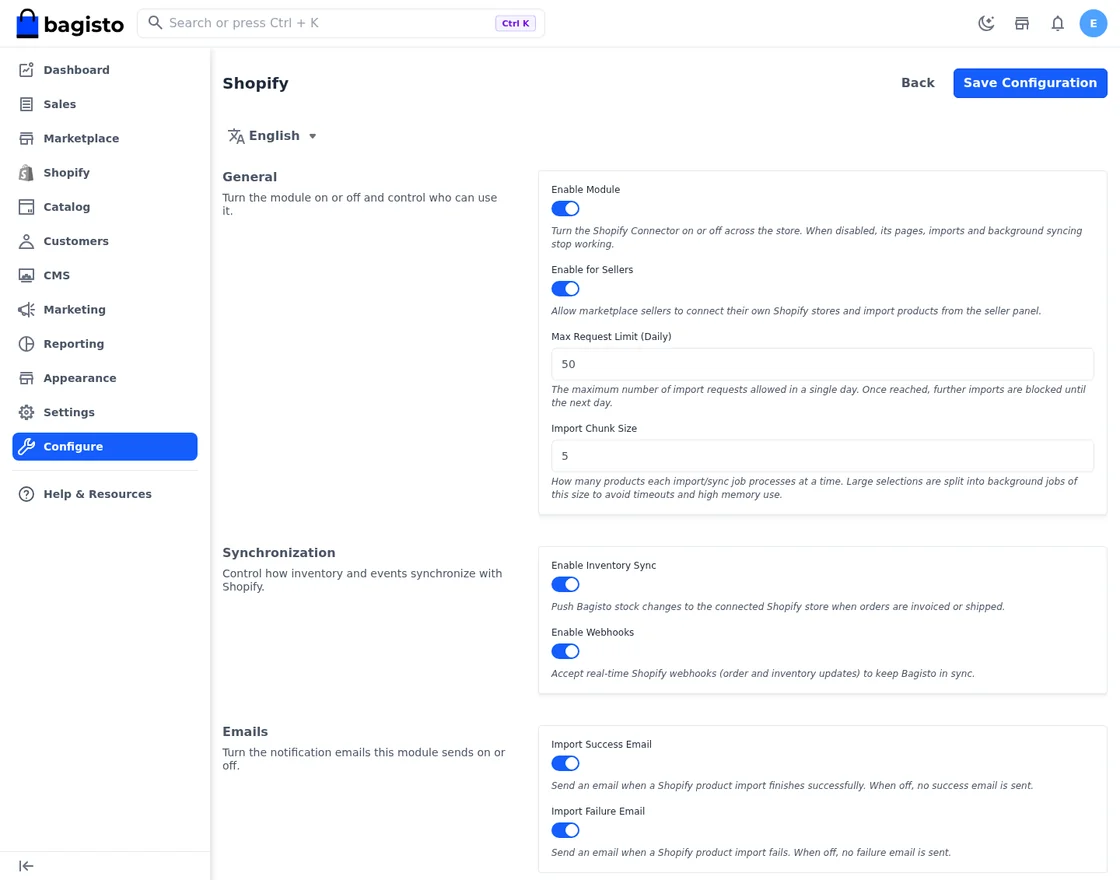
When the module is disabled, every connector page returns a 404 error and background syncing stops.
Connect a Shopify Store
To use the Bagisto Shopify Connector, first register an app for your store in the Shopify Dev Dashboard. Grant the app these six access scopes, and install it on the store:
read_productsandwrite_productsread_localesread_publicationsread_locationswrite_inventory
Now open Shopify > Stores and click Create Store. Enter the store name in Store URL. The https:// and .myshopify.com parts are already in the field. Then enter the API Key (Client ID) and the API Secret Key (Client Secret) of the app.
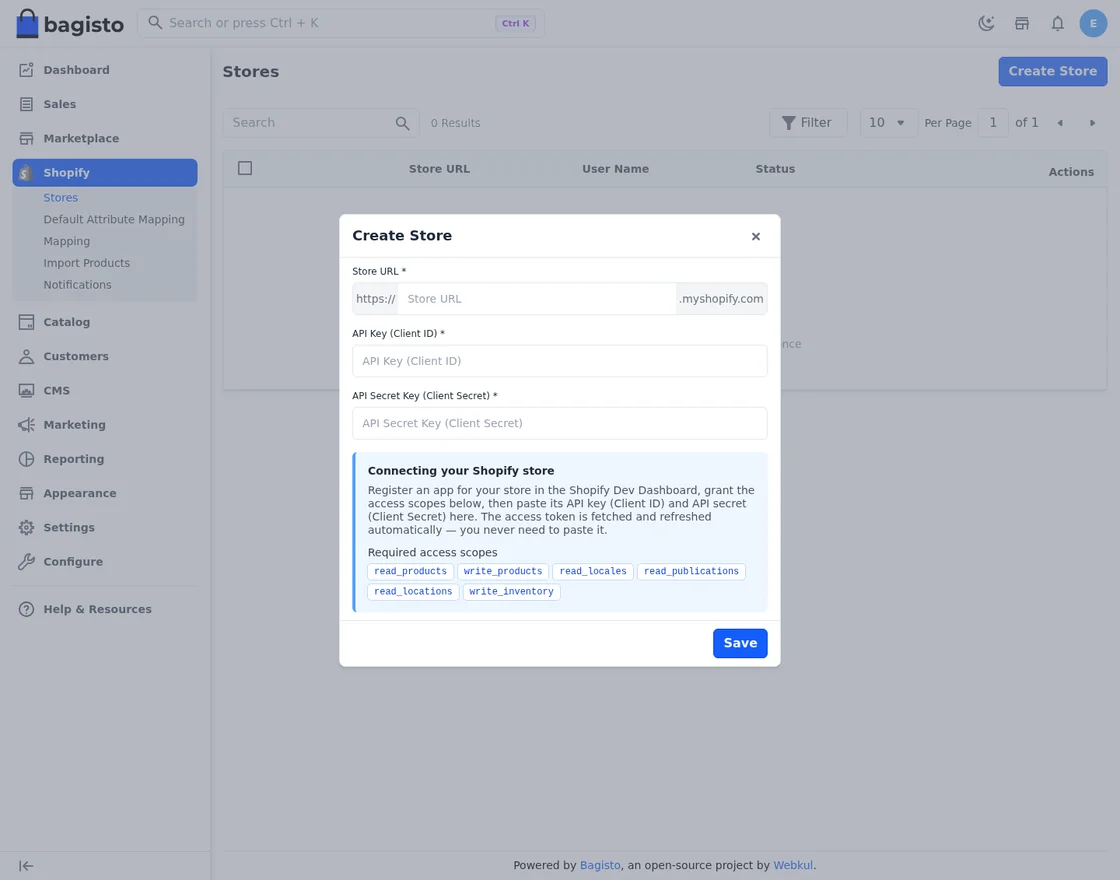
On save, the connector requests a token from Shopify and checks the granted scopes. It shows an error if the credentials are wrong or a scope is missing. It also rejects a store URL that already exists.
After a successful save, the connector does two things for the new store. It creates the bagisto.is_on_marketplace metafield definition in Shopify. It also registers the orders/create and inventory_levels/update webhooks. The webhook URLs are built from your APP_URL, so the store must be reachable from the internet.
The client secret and the access token are stored encrypted.
Manage Stores in the Bagisto Shopify Connector
The Stores list shows the Store URL, the User Name and the Status of each store. The User Name column marks each store as Admin or Seller. You can search, filter and sort by all three columns.
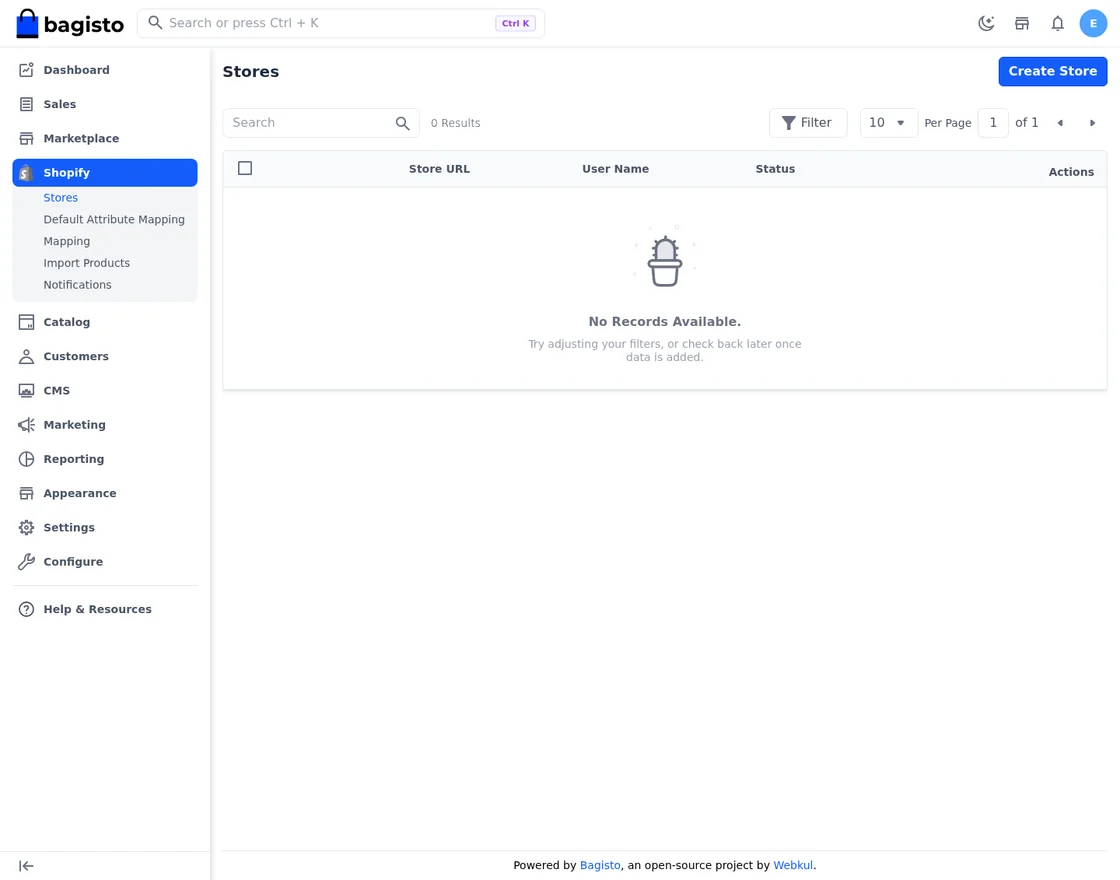
- Edit: opens the store. The Edit Store tab has the Store URL, the client ID, the masked client secret and a Status switch. Saving checks the credentials again.
- Delete: removes the store and its webhooks.
- Update Status: a mass action that sets the selected stores to Active or Inactive. Only active stores appear in the import list.
- Re-indexed Existing Products: a mass action that clears the imported flag on the store’s Shopify products. The Import Products list then stops marking them as imported.
Default Attribute Mapping
The Bagisto Shopify Connector maps Shopify fields to Bagisto attributes. Open Shopify > Default Attribute Mapping. The page lists 16 Shopify fields. Beside each one is the Bagisto attribute that receives its value:
- Name, Description, Price and Weight
- Inventory Tracked and Allow Purchase Out of Stock
- Vendor, Product Type, Tags and Barcode
- Compare Price and Cost per item
- SEO Title, SEO Description and Handle
- Taxable
The installer adds six Bagisto attributes for this: Purchase Out of Stock, Vendor, Shopify Product Type, Tags, Barcode and Taxable. It also fills in a default mapping. For example, the Shopify title goes to Name, the Shopify price goes to Price, and the compare price goes to Special Price.
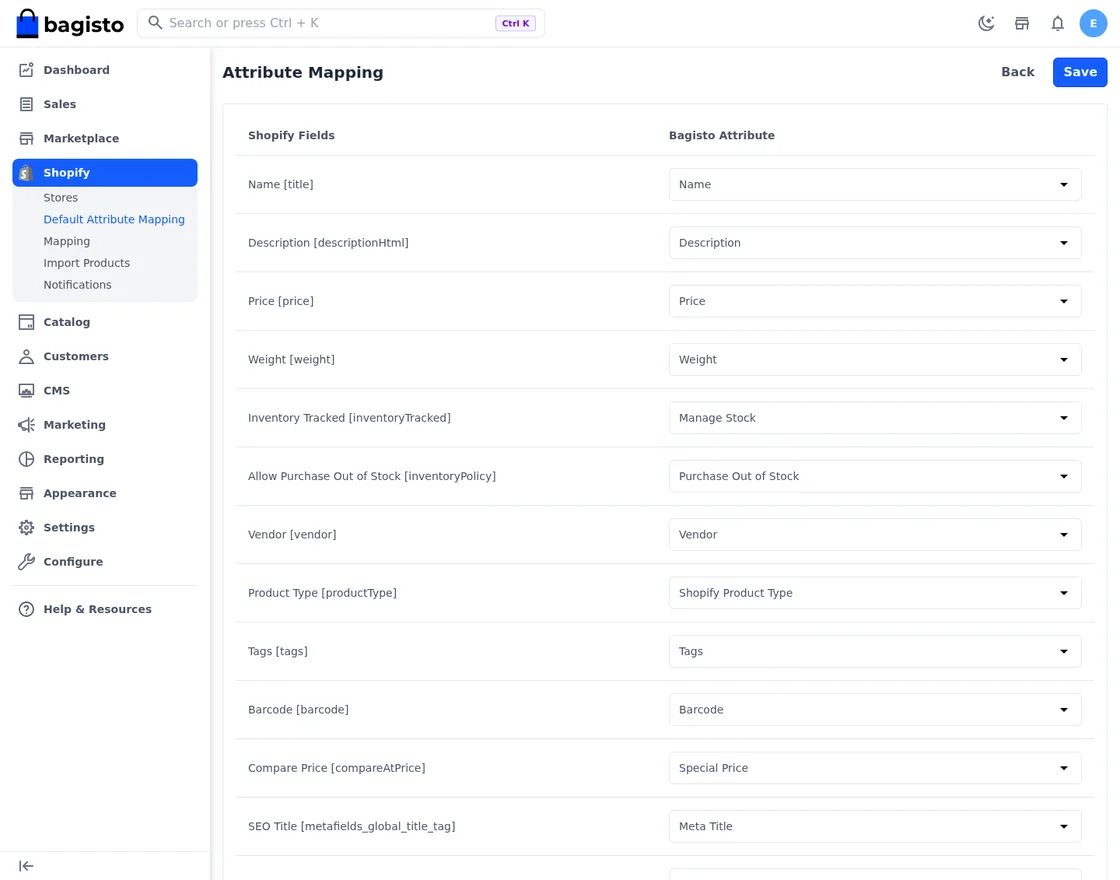
Below the field list, the Meta Field Mapping card maps Shopify metafields to Bagisto attributes. Pick the Namespace & Key of a metafield and the Bagisto attribute, then use Add New for more rows.
These defaults apply to every store. Open a store and go to its Attribute Mapping tab to override them for that store only.
Category, Variant and Inventory Mapping
The Bagisto Shopify Connector also maps categories, variants and locations. Open Shopify > Mapping and click Add Mapping. Choose a Store, or choose Global (For All Stores). Then pick the mapping Type:
- Category: pairs a Shopify Category with a Bagisto category. Imported products land in the mapped category.
- Variant: pairs a Shopify Variant Type and Shopify Variant, such as a size or a colour, with a Bagisto attribute option.
- Inventory: pairs a Shopify Location with a Bagisto Inventory Source. This type always needs a store, because locations belong to one store.
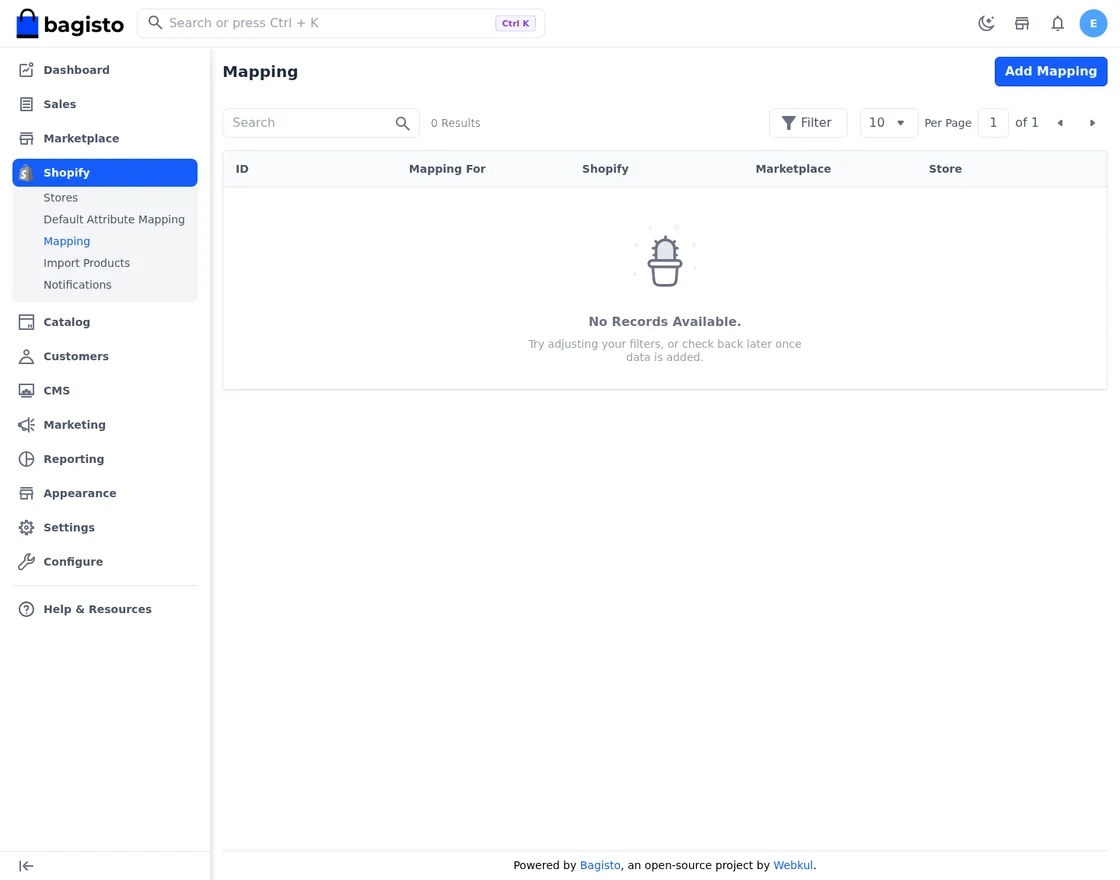
The list shows the ID, what the mapping is for, the Shopify value, the Marketplace value and the store. Mappings can be edited and deleted from the list.
Create the variant mappings before you import. If a variant option has no mapping, the import tells you which one to create.
Import Products from Shopify
This is the main job of the Bagisto Shopify Connector. Open Shopify > Import Products and choose a store in the Select Store for Import Products list. The grid shows the live product list from Shopify. It has these columns:
- Id, Image and Title
- Status: Active, Archived or Draft
- Imported: Yes or No
- Gift Card, Inventory and Category
- Product Type, Vendor and Tag
- Sales Channel, Categories and Collection
You can search by ID, title, product type, vendor and tag. You can filter by status, the Imported state (Imported or Not Imported), gift card, product type, vendor, tag, sales channel, category and collection. The Sort button orders the list by title, created date, updated date, inventory, product type or vendor.
Select the products and run the import. The connector splits the selection into jobs of the configured chunk size. Each job runs on the Shopify queue with a 60-second timeout.
The connector picks the Bagisto product type from the Shopify variants:
- A variant that needs shipping becomes a simple product.
- Two or more shipping variants with an option such as size or colour become a configurable product with simple children.
- A variant that does not need shipping becomes its own virtual product.
Each import brings in the images, videos, categories, status, variants, options and metafields. It also brings the stock of every Shopify location that has an inventory mapping.
Update Imported Products
Use Update imported product to refresh products you imported earlier. It walks the store page by page. It only pulls products that Shopify flags as imported and that changed since the last update.
If the queue driver is sync, the import stops with a message that background processing is turned off. If a seller reaches the daily limit, the import stops until the next day. The default limit is 50 requests a day, and a seller attribute named Shopify Max Import Request Limit (Daily) holds a per-seller value.
Inventory Sync with the Bagisto Shopify Connector
Stock moves in both directions. Both directions need the module enabled in the configuration.
Bagisto to Shopify: with Enable Inventory Sync on, the connector reacts when an invoice or a shipment is created for an imported product. It lowers the Shopify quantity of the variant. It touches only the Shopify locations you mapped to an inventory source. All other locations stay as they are.
Shopify to Bagisto: with Enable Webhooks on, Shopify posts to two public URLs of your store:
api/shopify/webhook/order/{id}
api/shopify/webhook/inventory-update/{id}
The order webhook lowers the Bagisto stock for each ordered line. The inventory webhook reads the current Shopify quantity and updates the matching Bagisto variant. The id in each URL is the store’s connection ID.
The connector checks the Shopify signature of every webhook against the store’s client secret. A request with a missing or wrong signature gets a 401 response.
Because the connector lowers the stock when it invoices or ships, keep one source of truth for each product. Do not edit the same stock by hand in both systems.
Notifications and Emails
The Bagisto Shopify Connector reports problems in the admin panel. Open Shopify > Notifications. The list has the Message, Type, Status and Created At of each notification. The type is either Shopify Connection or Shopify Products Import.
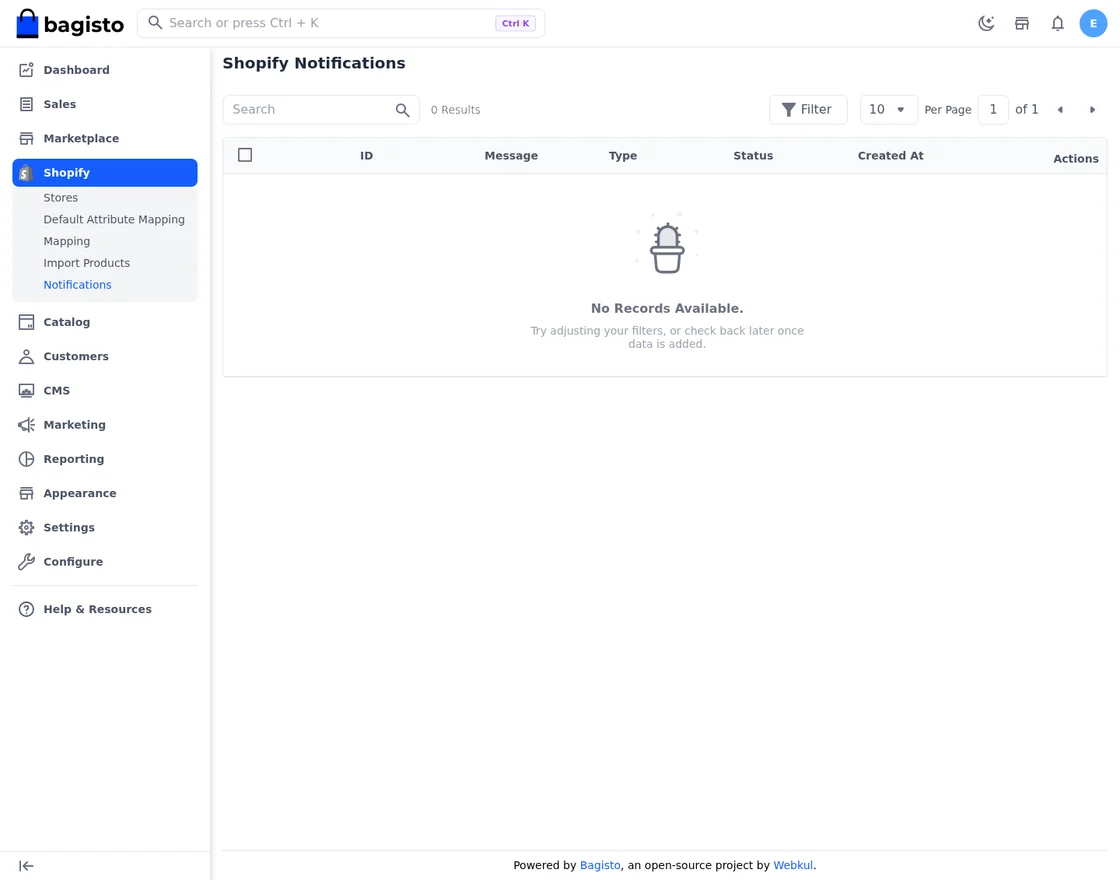
- View: marks the notification as read and opens its linked page.
- Delete: removes it.
- Mark as Read: a mass action for the selected rows. You can also delete the selected rows in bulk.
A notification is created when a store fails to connect, when a product fails to import or update, and when an import finishes. The import success email lists the imported products. The failure email explains what went wrong. Switch either one off in the configuration.
Bagisto Shopify Connector for Sellers
When Enable for Sellers is on, the seller panel gets a Shopify menu with three pages: Stores, Mapping and Import Products.
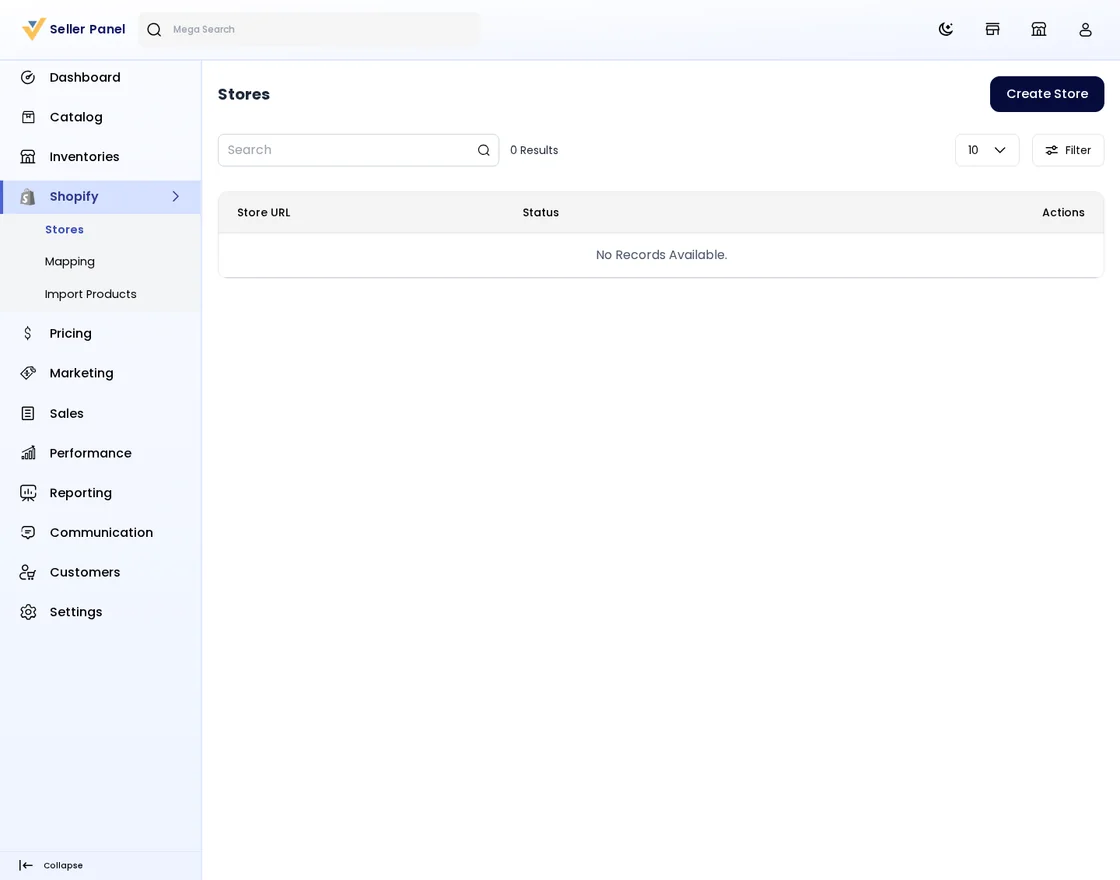
These pages work like the admin pages of the Bagisto Shopify Connector. A seller creates stores with their own credentials, maps categories, variants and locations, and imports products. The seller edits the attribute mapping of a store from the Attribute Mapping tab of that store.
Products imported by a seller become that seller’s marketplace products. The seller and the admin both get the success email when the import finishes. The admin sees all stores in the admin list, with the owner shown in the User Name column.
Logs and Commands
php artisan shopify:connectinstalls the connector.php artisan shopify:queue-workruns the Shopify queue worker.php artisan shopify:refresh-tokensrefreshes the token of every active store. The scheduler runs it every 45 minutes.
The connector writes all its activity to storage/logs/shopify-connector.log. Check this file first when an import or a webhook does not behave as expected.
Support
So that is all for the Bagisto Shopify Connector guide.
If you want one order per seller after checkout, see the Bagisto Marketplace Order Split module. For a fashion storefront, see the Bagisto Fashion Commerce theme.
For any further queries or assistance, you can drop us an email at [email protected]. You can also raise a ticket at our HelpDesk System.
Please explore our Laravel Development Services and Quality Bagisto Extensions.
Current Product Version - v2.5.0
Supported Framework Version - v2.5.0

Be the first to comment.