INTRODUCTION
Ease address entering with Odoo Website Adress City!
While filling in addresses, customers often make mistakes and fill in the wrong addresses or cities. This cause millions of dollars in loss to business owners.
To overcome this issue and save millions of dollars, we created Odoo Website Address City. This module overrides the default functionality of entering the city and provides a drop-down in its place.
Moreover, with this module, after state selection, a dropdown will appear in the city section for users to choose their city. Further, from the backend, the admin can enable or disable city selection with just a click at their convenience.
Also check: Odoo Customer Default Delivery Address allows customers to set their default shipping address on the Odoo website effortlessly. This feature makes it convenient for customers to select their preferred default shipping location.
FEATURES
- Manually enter cities in the Odoo backend for customers to select them on the website.
- From the backend, you can enable or disable city selection.
- Also, you can enter zip codes while creating cities.
- While entering the address, the customer can select cities from the dropdown.
- Users can easily edit the address while placing orders for a product.
- Further, the customers can change their address from their profile too.
INSTALLATION
- Once you purchase the App from Webkul store, you will receive the link to download the zip file of the module.
- Extract the file on your system after the download finishes. You will be able to see a folder named- ‘website_address_city.’
- Copy and paste this folder inside your Odoo Add-Ons path.
- Now, open the Odoo App and click on the Settings menu. Here, click on Activate the Developer Mode.
- Then, open the Apps menu and click on ‘Update Modules List.’
- In the search bar, remove all the filters and search ‘website_address_city.’
- You will be able to see the module in the search result. Click on ‘Install’ to install it.
WORKFLOW
1. Firstly, log in to your Odoo backend, and locate ‘Contacts>Configuration> Countries.’

2. On the new page, find and click on your country name to open it.
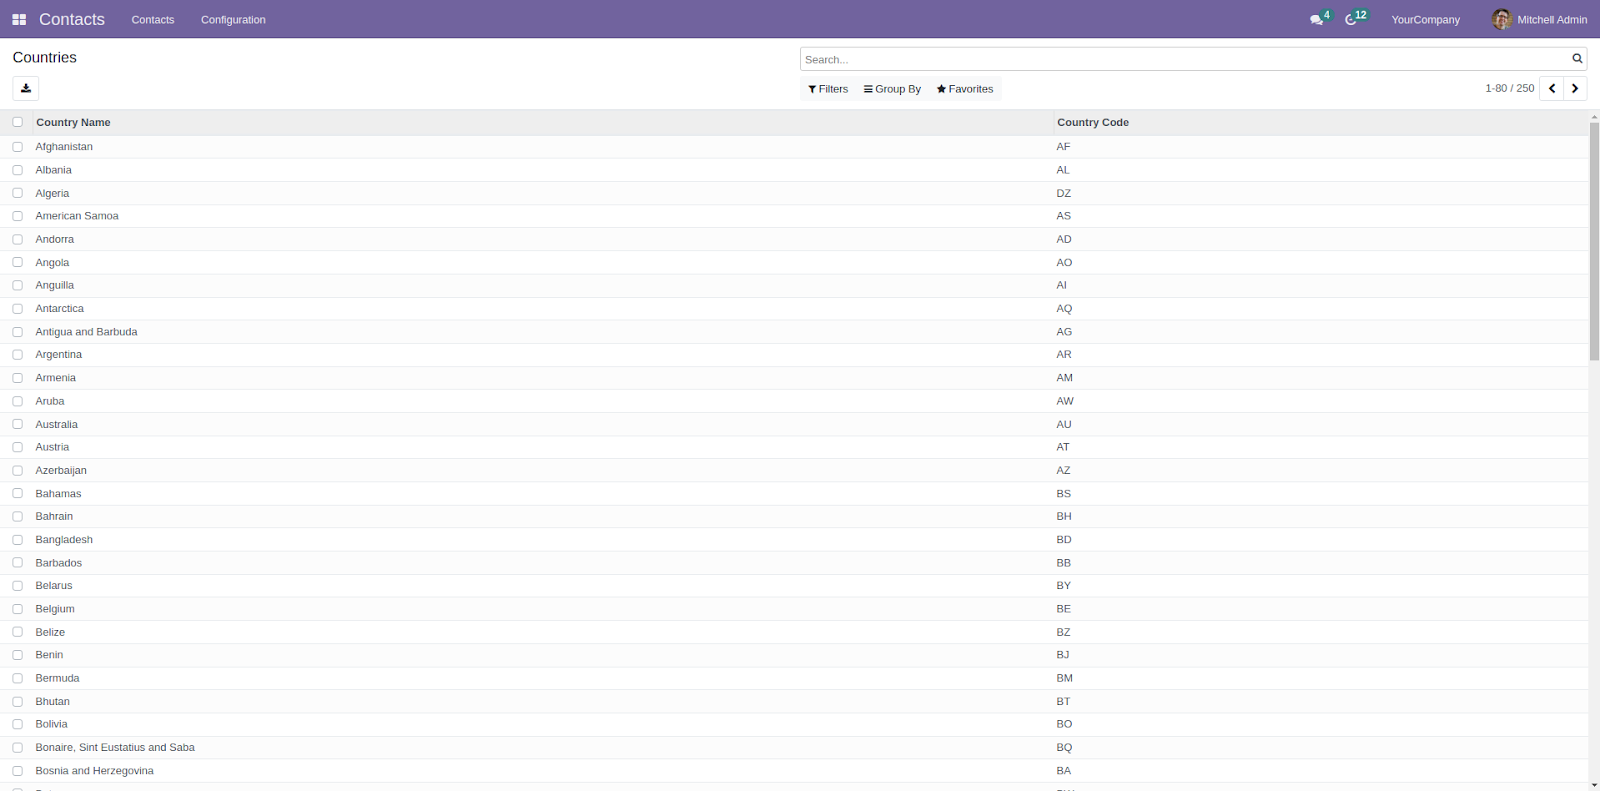
3. Once opened, you can see the list of all the states. Click on ‘Enforce Cities’ to enable the city dropdown. After that, ‘Save’ the changes and click the ‘Cities’ Option.

4. Next, click the ‘Create’ button, fill in the city name, zip code (if you want), and state. Once done, click the ‘Save’ button.

WEBSITE VIEW
5. Now, open your website frontend and open ‘My Account,’ located under Username.

6. Next, on the Profile page, click the ‘Edit’ option next to Details.

7. After that, you will see a drop-down arrow in the city block.

8. Similarly, you can edit or change the city while placing the order. Add a product to the cart. And on the address page, click on the ‘Edit’ icon.
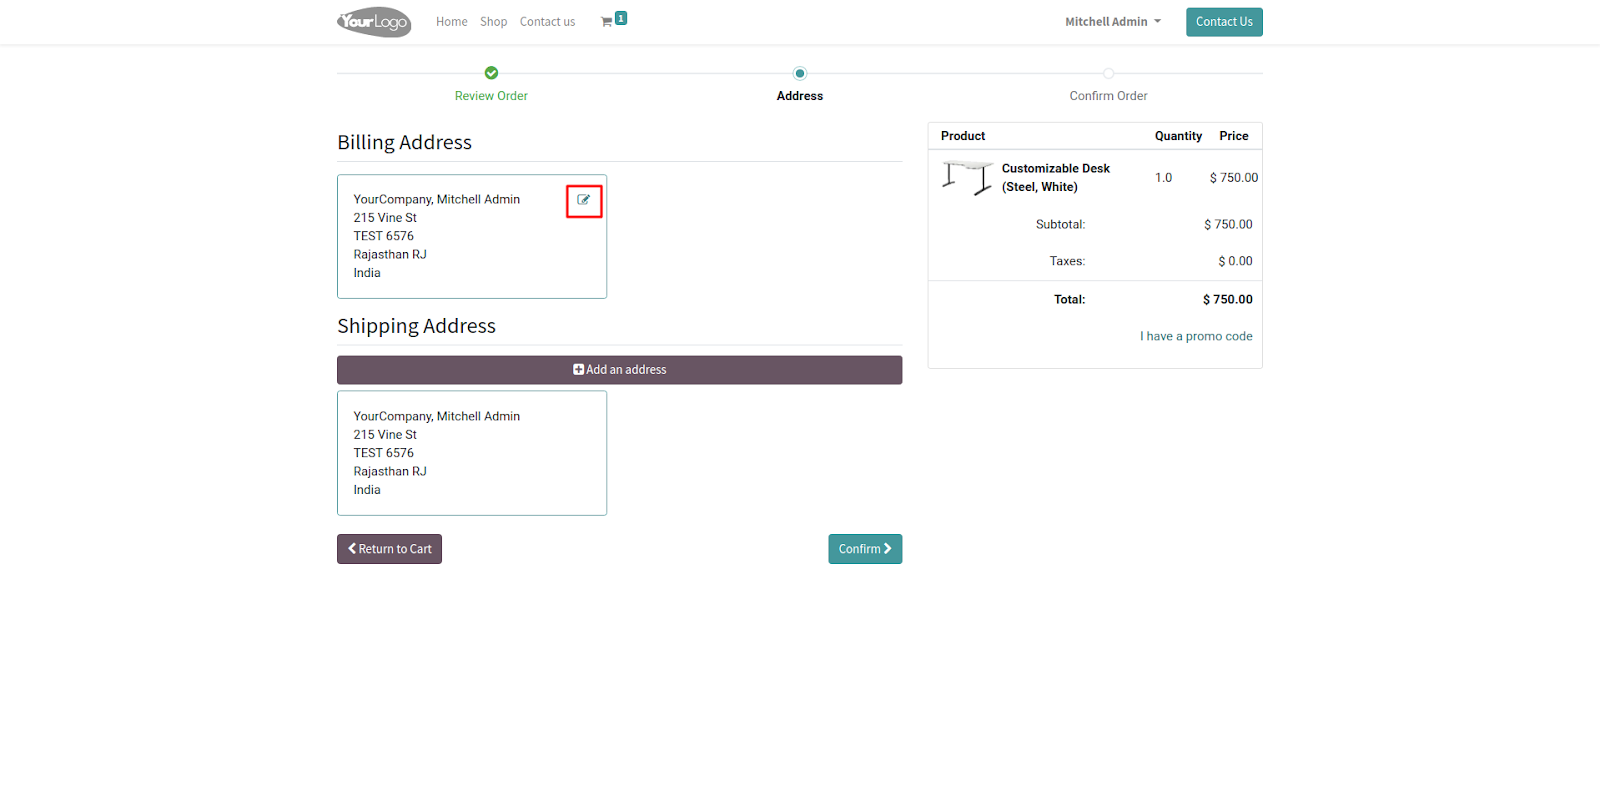
9. After that, the ‘Your Address’ page will open and you can see a dropdown in the City block.

OTHER ODOO WEBSITE MODULES
- Odoo Keep Initial Address For Orders
- Website Customer Geolocation Address
- Odoo Keep Initial Address For Purchase
- Odoo Website Customer Address Book
- Website Customer Geolocation Openstreetmap Address
- Odoo Keep Initial Address For Delivery
NEED HELP?
Hope you find the guide helpful! Please feel free to share your feedback in the comments below.
If you still have any issues/queries regarding the module, please raise a ticket at https://webkul.uvdesk.com/en/customer/create-ticket/.
Also, please explore our Odoo development services & an extensive range of quality Odoo Apps.
For any doubt, contact us at [email protected].
Thanks for paying attention!!
Current Product Version - 1.0.3
Supported Framework Version - Odoo 16, 15

Be the first to comment.