Introduction
Odoo Brevo Connector allows you to connect your Odoo system with your Brevo account and manage email marketing easily. You can import and export contacts, campaigns, folders, and senders between both platforms.
With this module, businesses can handle bulk mailing and email campaigns directly from Odoo. It helps keep your data synced and organized in one place
Features
- Two-way data sync keeps Odoo and Brevo records updated on both sides.
- Bulk mail management helps you handle email campaigns and mailing lists easily.
- Manual and cron sync let you update data anytime or at scheduled times.
- Easy Brevo integration connects your account and manages email data smoothly.
- Import and export feature transfers contacts, campaigns, folders, and senders easily.
- Secure API setup ensures a safe and reliable connection between Odoo and Brevo.
- Campaign management helps you create, track, and manage email campaigns easily.
- Sendin ID verification helps you check and confirm all import and export data.
Installation
- Once you purchase the App from the Webkul store, you will receive a link to download the module’s zip file.
- Extract the file on your system after the download finishes. As a result, you will be able to see a folder named ‘odoo_sendinblue_connector’.
- Copy and paste this folder inside your Odoo Add-Ons path.
- Now, open Odoo App and click on the Settings menu. Here, click on Activate Developer Mode.
- Then, open the Apps menu and click on ‘Update Modules List’.
- In the search bar, remove all the filters and search ‘odoo_sendinblue_connector’.
- You will be able to see the module in the search results. Click on ‘Activate’ to install it.
Workflow
1. After installing the Odoo Brevo(SendinBlue) Connector module, go to Email Marketing > SendinBlue Connector > SendinBlue Connection.
Click on “New” and enter the Account name with Brevo API Key to connect Odoo with Brevo.
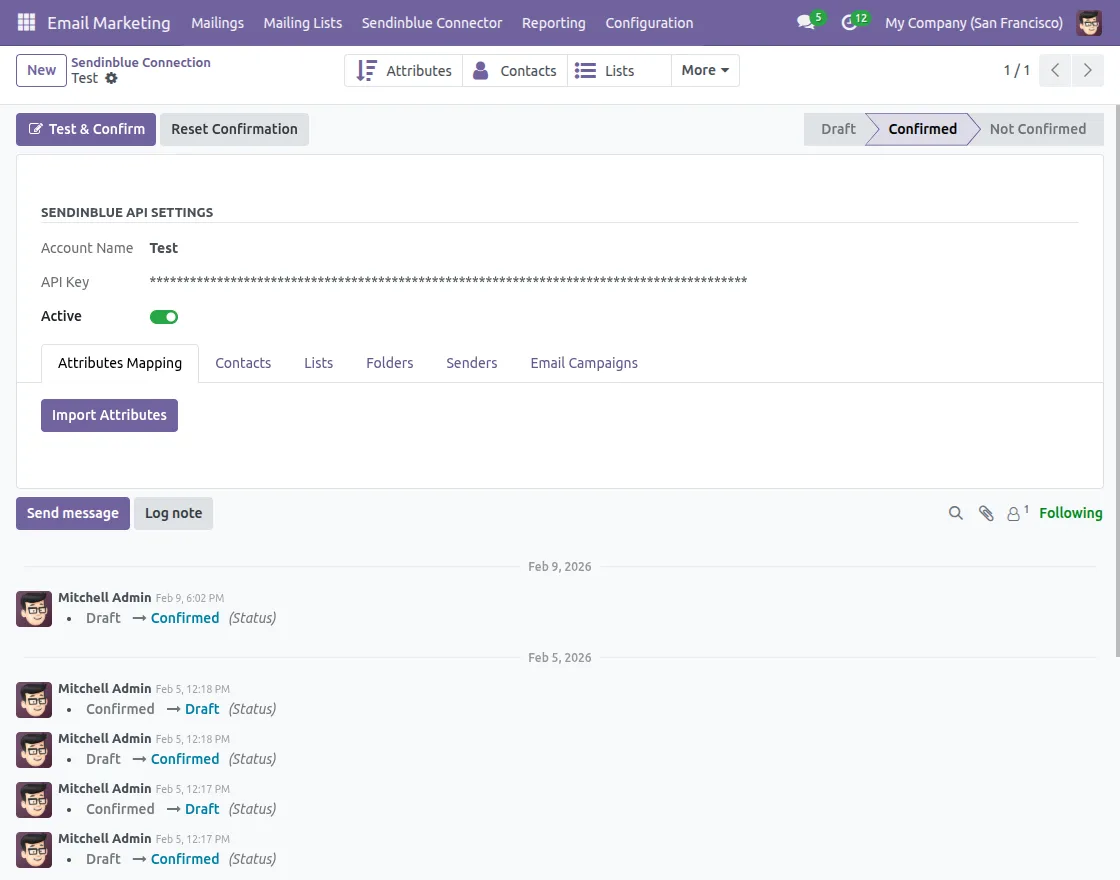
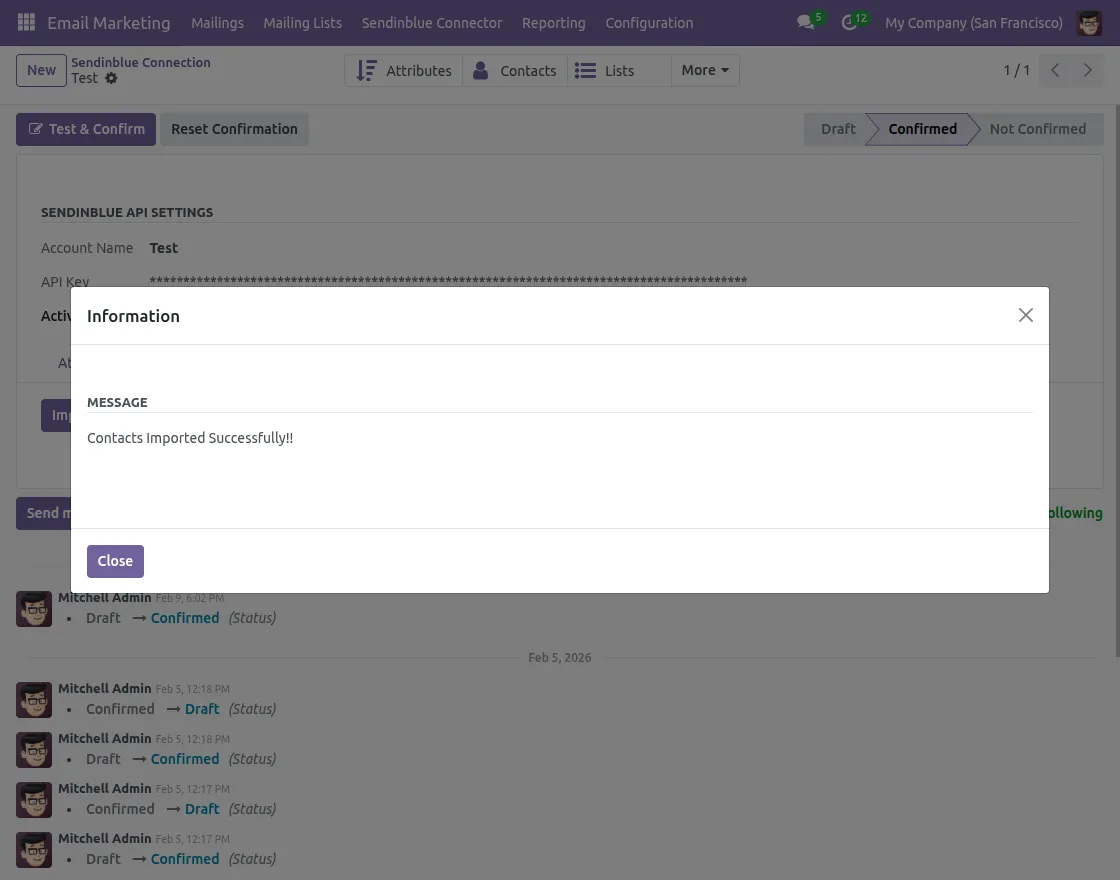
2. Click on the Import button of the data you want, such as attributes, contacts, email campaigns, folders, lists, or senders, to import into Odoo
3. Click the Export button for the data you want to export to Brevo, such as attributes, contacts, email campaigns, folders, lists, or senders.

4. All exported contacts are successfully synced and available in your Brevo account for use.

Need Help?
Hope you find the guide helpful! Please feel free to share your feedback in the comments below.
If you still have any issues/queries, please create a ticket at the UV Desk.
I hope this helps. In case of any further queries, contact us at our support mail.
Thanks for paying attention!!
Current Product Version - 1.0.1
Supported Framework Version - Odoo V14, 15, 16, 17, 18, 19

When I save an Sendinblue API credential , it is shown in the dedicated servers in Odoo? Or I need to create another server.