Hyvä Theme is a modern frontend theme/framework for Magento 2 — rebuilt from the ground up to provide a lightning-fast, minimal, developer-friendly storefront experience.
Key aspects:
- Instead of relying on Magento’s older frontend stack (with many JS/CSS dependencies, complex UI-Components, RequireJS, Knockout, etc.), Hyvä uses a much simpler and modern tech stack: Tailwind CSS for styling + Alpine.js for interactivity.
- It embraces clean and lean code — minimizing unnecessary assets, reducing page weight and HTTP requests, which significantly improves frontend performance.
- Hyvä aims to deliver a storefront that passes modern web performance standards, including good Core Web Vitals, better page-speed scores, smoother browsing, and improved user experience.
Before creating your own custom Hyvä theme, you must install the base Hyvä Theme in your Magento 2 project.
Requirements
- Magento
2.4.4-p9,2.4.5-p8,2.4.6-p7,2.4.7-p1or higher - A Hyvä packagist.com key
- PHP
7.4,8.1,8.2,8.3or8.4
Installation – Hyvä Theme Is Now Open Source
You need a valid Hyvä packagist.com key.
Get a free key by registering an account at hyva.io and creating one from your account dashboard.
You will receive instruction like the following after creating your packagist.com key:
# this command adds your key to your projects auth.json file
# replace yourLicenseAuthentificationKey with your own key
composer config --auth http-basic.hyva-themes.repo.packagist.com token yourLicenseAuthentificationKey
# replace yourProjectName with your project name
composer config repositories.private-packagist composer https://hyva-themes.repo.packagist.com/yourProjectName/
Run those commands, and then, install the theme and its dependencies with composer:
composer require hyva-themes/magento2-default-theme
Next, run the Magento installer:
bin/magento setup:upgrade
Navigate to the Content > Design > Configuration admin section and activate the hyva/default theme
There are two ways to create your own theme
- By creating a child theme like default Magento works
- By duplicating
hyva-themes/magento2-default-themeand modify that
As a beginner, we will go for the first way and later we will create a separate blog for the second approach
To create a child theme is Hyvä theme is slightly the same as the default Magento 2 except for adding a few more steps in Hyvä will see in this blog.
Step 1
Create a folder Webkul/hyva_child inside the “app/design/frontend”
Step 2
create a theme.xml file inside the folder path “app/design/frontend/Webkul/hyva_child” and in the theme.xml file add the few lines of code
<theme xmlns:xsi="http://www.w3.org/2001/XMLSchema-instance" xsi:noNamespaceSchemaLocation="urn:magento:framework:Config/etc/theme.xsd">
    <title>Webkul Hyva Theme</title>
    <parent>Hyva/default</parent>
    <media>
        <preview_image>media/preview.png</preview_image>
    </media>
</theme>
Step 3
create a registration.php file inside the folder path “app/design/frontend/Webkul/hyva_child” and in the registration.php file add the few lines of code
<?php

\Magento\Framework\Component\ComponentRegistrar::register(

  \Magento\Framework\Component\ComponentRegistrar::THEME,

  'frontend/Webkul/hyva_child',

  __DIR__
);
Step 4
create a composer.json file inside the folder path “app/design/frontend/Webkul/hyva_child” and in the composer.json file add the few lines of code
{
    "name": "webkul/theme-frontend-hyva-child",
    "description": "N/A",
    "require": {
        "php": "~5.5.0|~5.6.0|~7.0.0",
        "magento/luma": "100.0.*",
        "magento/framework": "100.0.*"
    },
    "type": "magento2-theme",
    "version": "2.2.1",
    "license": [
        "OSL-3.0",
        "AFL-3.0"
    ],
    "autoload": {
        "files": [
            "registration.php"
        ]
    }
}
Step 5
Copy web folder from vendor/hyva-themes/magento2-default-theme/web/ to the app/design/frontend/Webkul/hyva_child .
Because in later you will do customize css for that it will be required to add in purgeCSS.
If you are not aware of TailwindCSS please check this blog Working with TailwindCSS in Hyvä Theme.
Also check the tutorials of TailwindCSS by creators : – https://www.youtube.com/playlist?list=PL5f_mz_zU5eXWYDXHUDOLBE0scnuJofO0
Step 6
You must configure the parent theme path in the web/tailwind/tailwind.config.js file of your child theme.
To do this check this code in
app/design/frontend/Webkul/hyva_child/web/tailwind/tailwind.config.js and just uncomment the line below the commented line written with “parent theme in Vendor”.
if this line is not available then add this line as shown in the code below.
module.exports = {
  ...
  // keep the original settings from tailwind.config.js
  // only add the path below to the purge > content settings
  ...
  purge: {
    content: [
        ...
        // parent theme in Vendor
        '../../../../../../../vendor/hyva-themes/magento2-default-theme/**/*.phtml',
        ...
    ]
  }
}
...
Step 7
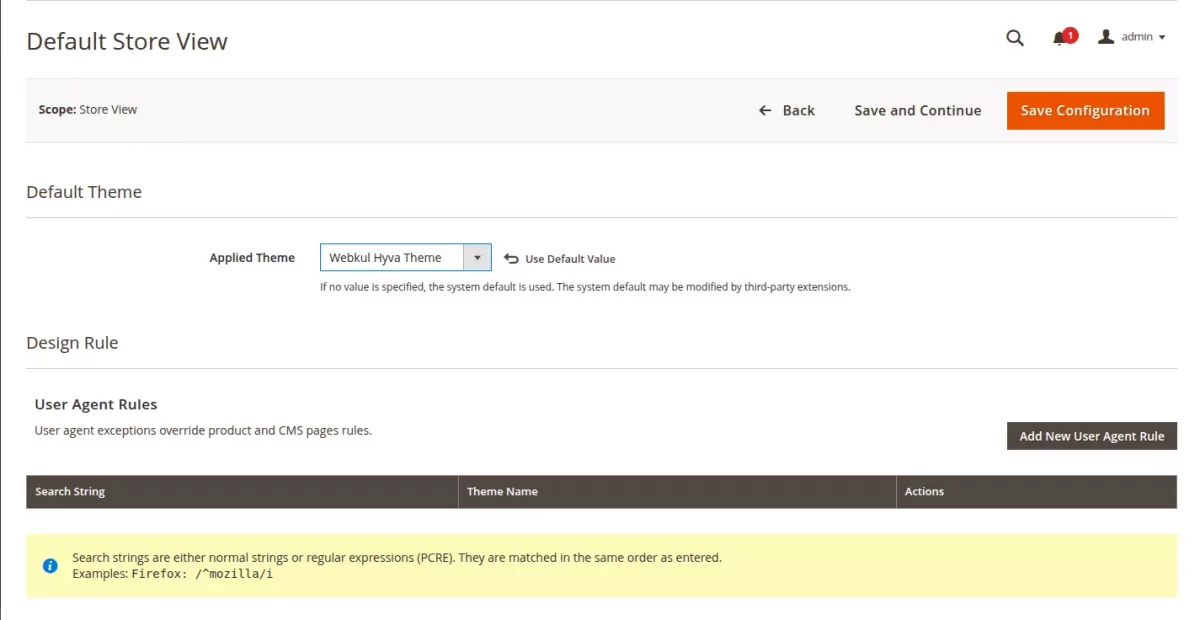
Go to the Admin Dashboard Content->Design->Configuration and select your child theme Hyva Webkul from the dropdown and save and Flush the cache.
Step 8
Take a backup of pub/static folder for images, CSS, and js. Also, delete the static folder and run the static content deploy
php bin/magento setup:static-content:deploy
Extending your theme works just like with default Magento Themes. You can override .pthml files and extend layout xml the same way as you could with a default Magento theme based on Luma.
Previous blog Working with TailwindCSS in Hyvä Theme

Be the first to comment.