Laravel Aramex Shipping adds Aramex shipping services to your Bagisto store. The module quotes rates at checkout, and it also lets the admin track shipments.
Aramex is a global shipping company. With this module, customers pick a service, so they see the price before they pay.
You control it all from one page. First, add the account details. Then pick the services, countries and channels.
Requirements
- Bagisto: v2.5.0
- PHP: 8.4 with the SOAP extension
- Database: MySQL, MariaDB or PostgreSQL
Features of Laravel Aramex Shipping
- First, turn Aramex shipping on or off at checkout.
- Use Mock Mode to test with fixed rates, or Sandbox Mode to test with the Aramex test endpoint.
- Also offer Aramex in all channels or in selected ones.
- Likewise, ship to all countries or to selected ones.
- Then pick the domestic and international services to offer.
- Turn the Cash on Delivery service on or off, but document services never offer it.
- Next, set the title and description that customers see at checkout.
- Choose whether tax applies to the shipping rate.
- Finally, track shipments by waybill number from the admin panel.
- Besides, the module runs on Bagisto v2.5.0 with MySQL, MariaDB and PostgreSQL.
Installation of Laravel Aramex Shipping
1. Extract and merge the package
First, unzip the extension package. Then merge the packages directory into your project root.
2. Update composer.json
Add the following line under ‘psr-4‘ in composer.json:
"Webkul\\Aramex\\": "packages/Webkul/Aramex/src"
3. Dump the autoload
composer dump-autoload
4. Register the service provider
Open bootstrap/providers.php and add the following line under Provider:
Webkul\Aramex\Providers\AramexServiceProvider::class,
5. Clear the cache
php artisan optimize:clear
6. Run the Aramex installer
The command clears the caches and also prints the next steps.
php artisan aramex:install
Admin Management
Open the configuration
After the installation, go to Configuration>Sales>Shipping Methods>Aramex Shipping. Then fill in the fields below.
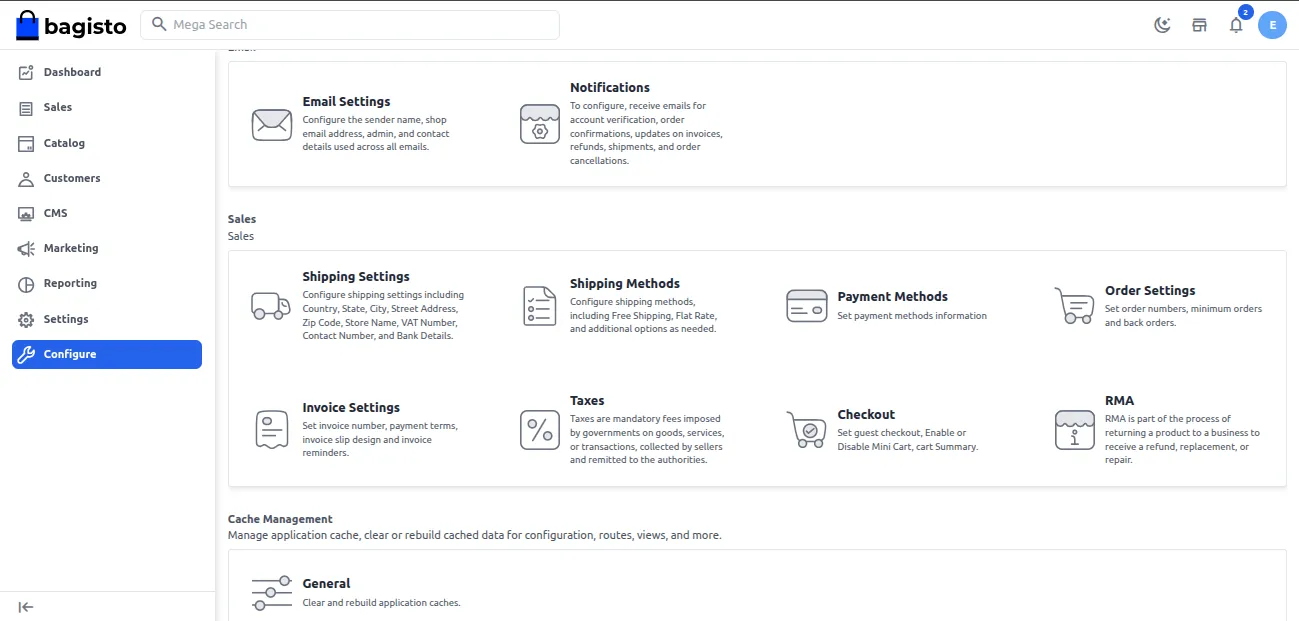
General settings
- Status: turns Aramex on or off, so customers see it only when on.
- Title: sets the shipping method name that customers see at checkout.
- Description: adds short text under the method name, for example a note.
- Mock Mode: returns fixed test rates, so the module never contacts Aramex while it is on.
- Sandbox Mode: uses the Aramex test endpoint if enabled, but the live one if disabled.
- Weight Unit: sets Kilograms or Pounds, because Aramex needs the unit of your weights.
- Calculate Tax: adds tax to the rate and shows it in the order summary if enabled. However, shipping stays tax-free if disabled.
- Enable COD Service: lets Aramex collect cash from your customers for parcels, so they can pay on delivery.
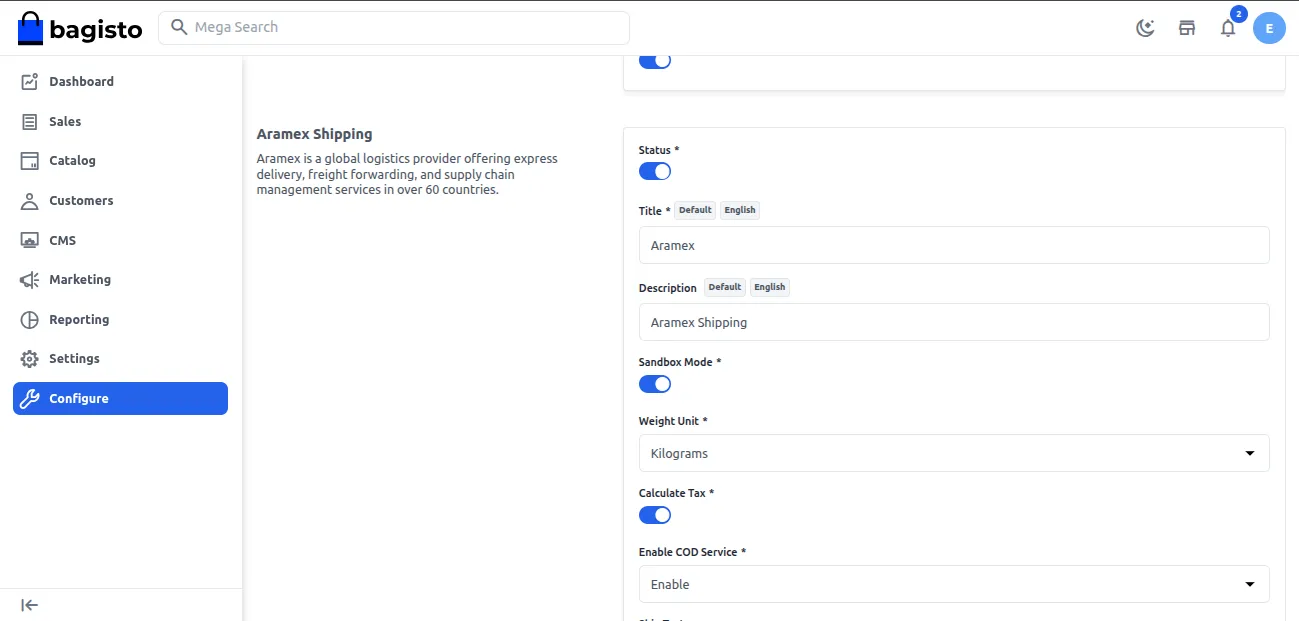
Countries and channels
First, Ship To offers Aramex to all allowed countries or to the countries you pick. Then Ship To Countries lists the countries.
Likewise, Ship To Applicable Channel works the same way for channels. Also, you can save the title and description for each channel and locale.
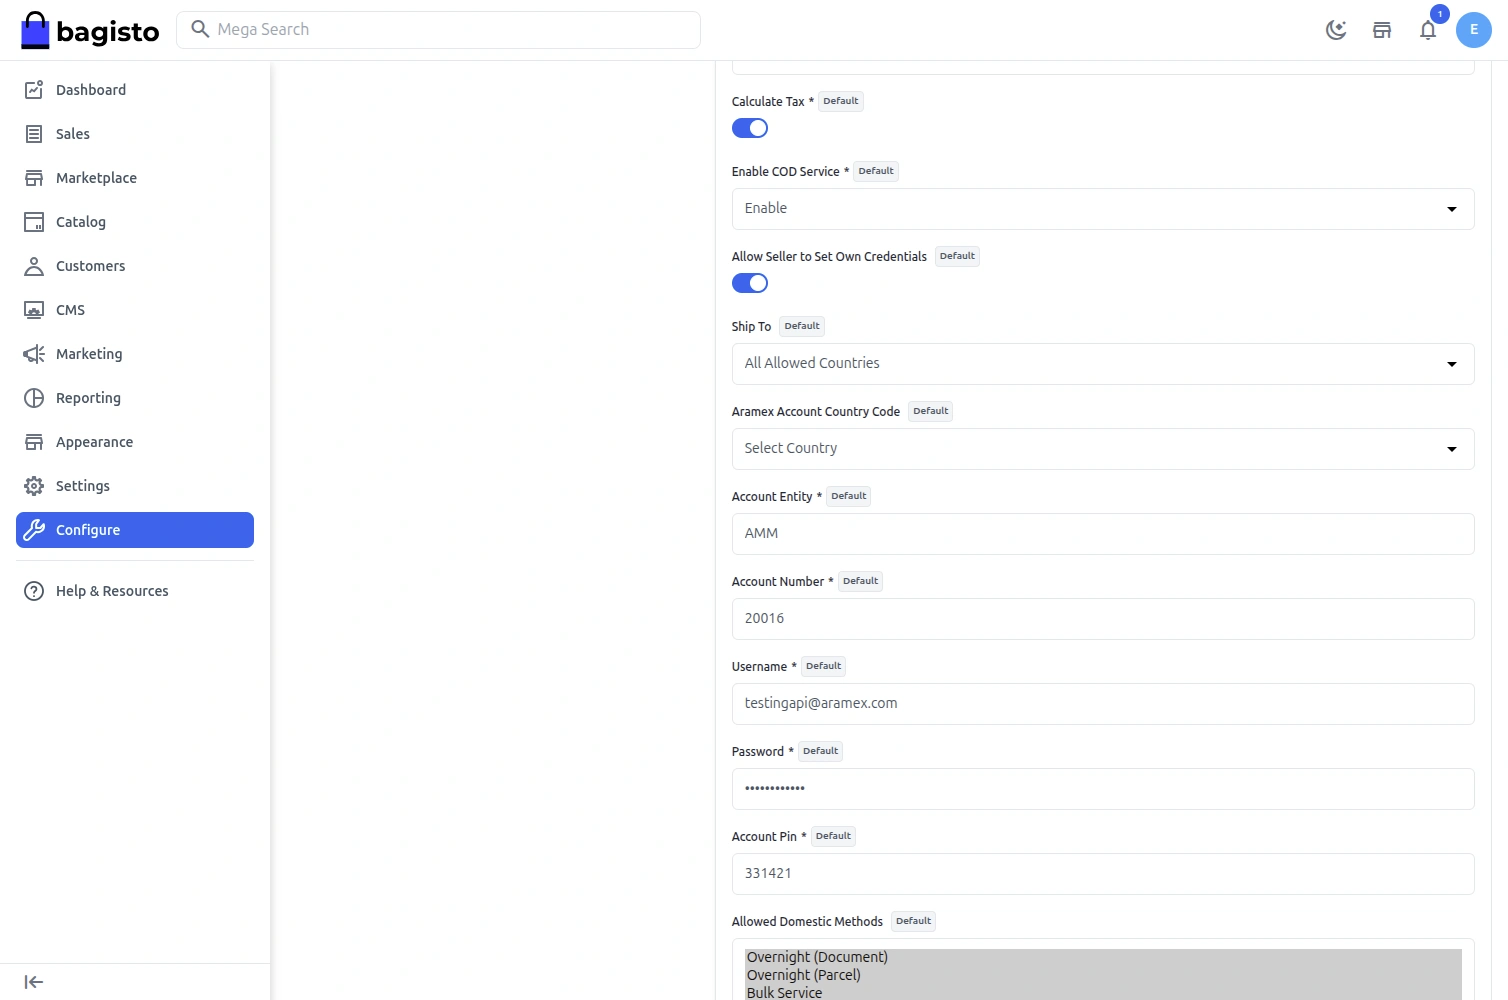
Account credentials
These fields show when Mock Mode is off, so enter the details of your Aramex account there.
- Aramex Account Country Code: select the country from the list first.
- Account Entity: enter the code of the Aramex branch that handles your account.
- Account Number: add the number that Aramex gave you.
- Username and Password: then type the login that the Aramex API uses.
- Account Pin: finally, add the key that links each request to your account.
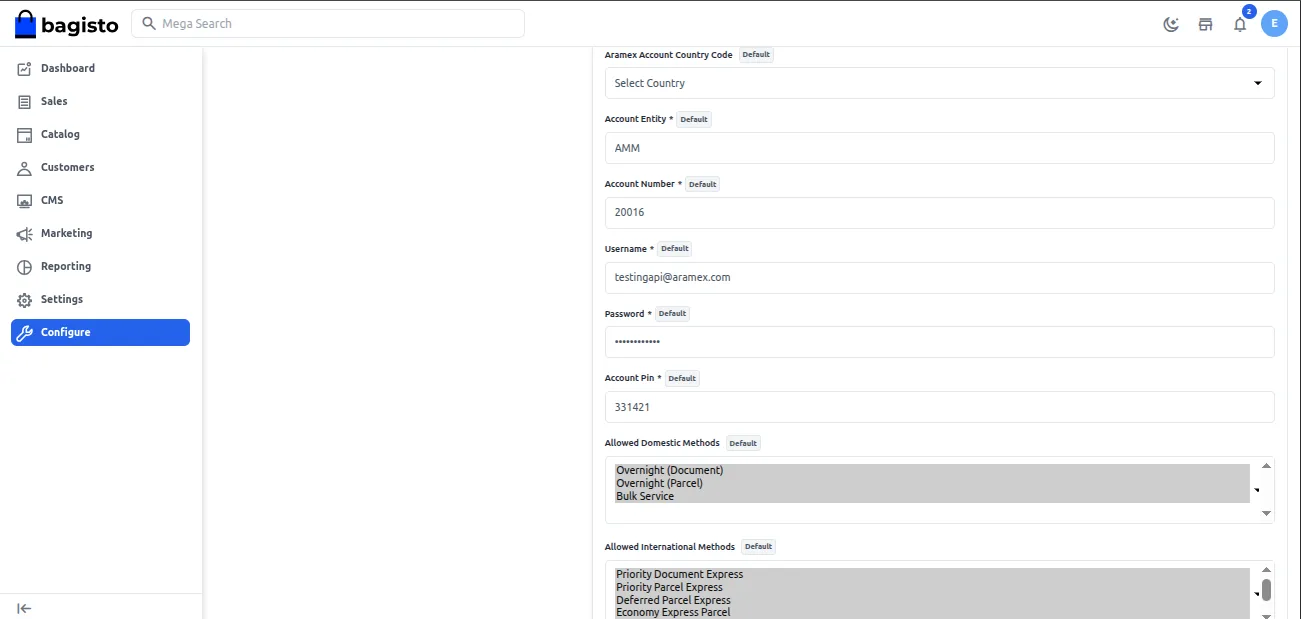
Allowed services
First, Allowed Domestic Methods lists the services inside one country. Then Allowed International Methods lists the services for other countries.
Next, set the shipping origin under Configuration>Sales>Shipping>Origin, because Aramex needs it to quote a price.
Track a shipment
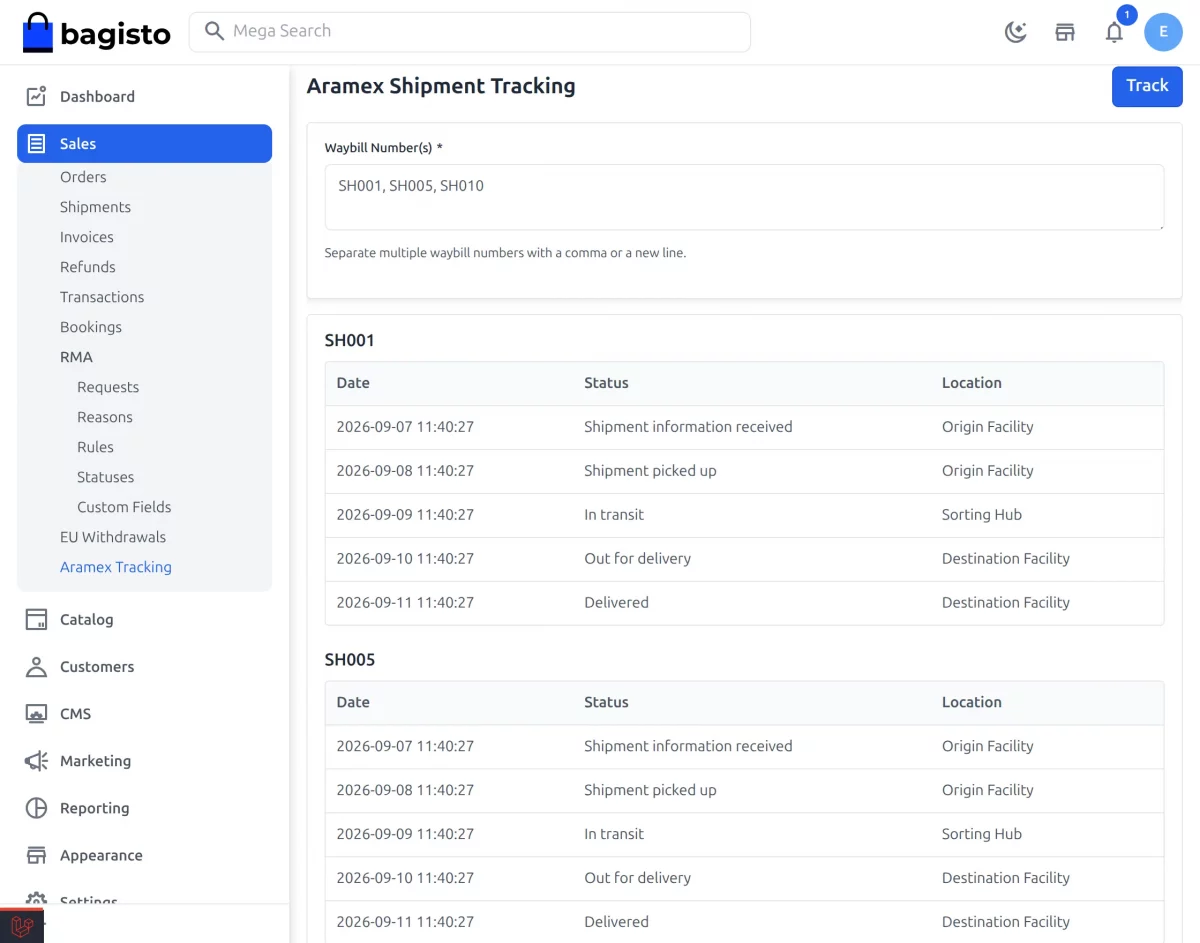
First, open Sales>Aramex Tracking and enter one or more waybill numbers. Separate them with a comma or a new line.
Then click Track, and the page lists the date, status and place of every event.
Customer View
After the setup, customers use Aramex like any other shipping method. For example, the steps below show the checkout.
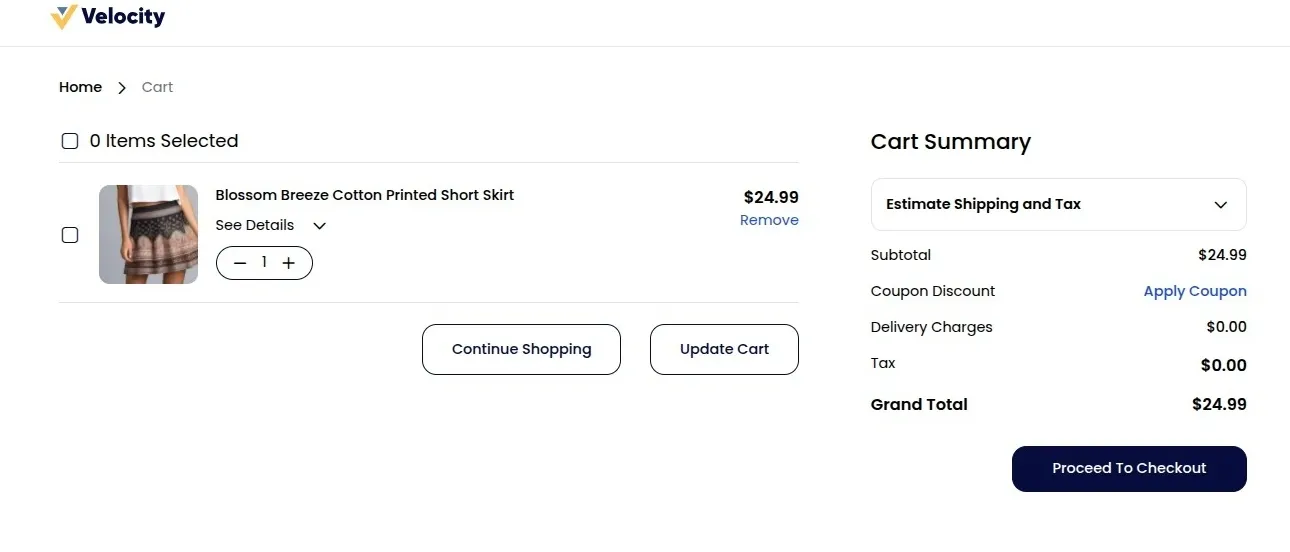
1. Add a product to the cart
First, the customer adds items to the cart and goes to checkout.
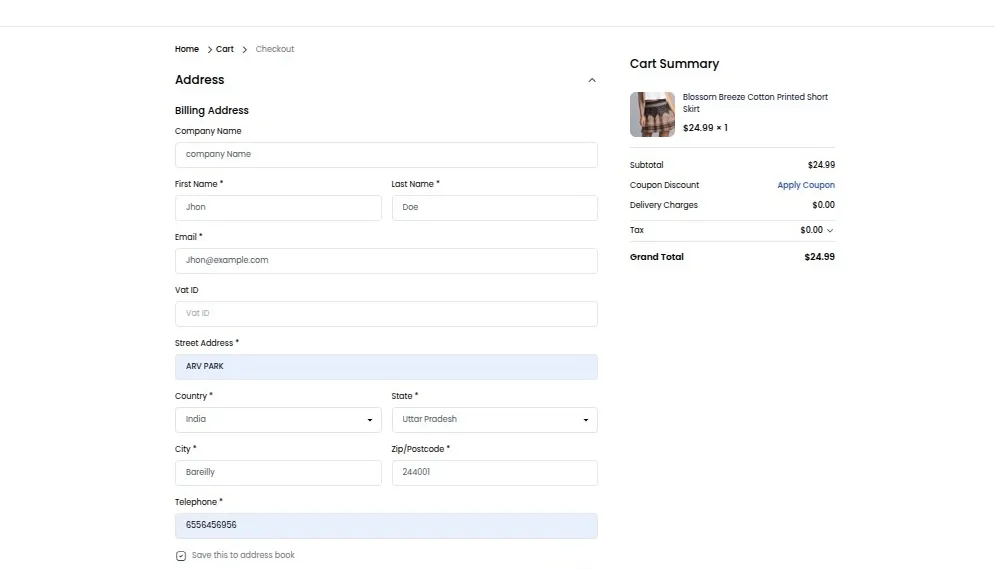
2. Enter the billing address
Next, the customer enters an address with a valid ZIP or postal code. However, the Aramex option does not appear if the details are wrong.
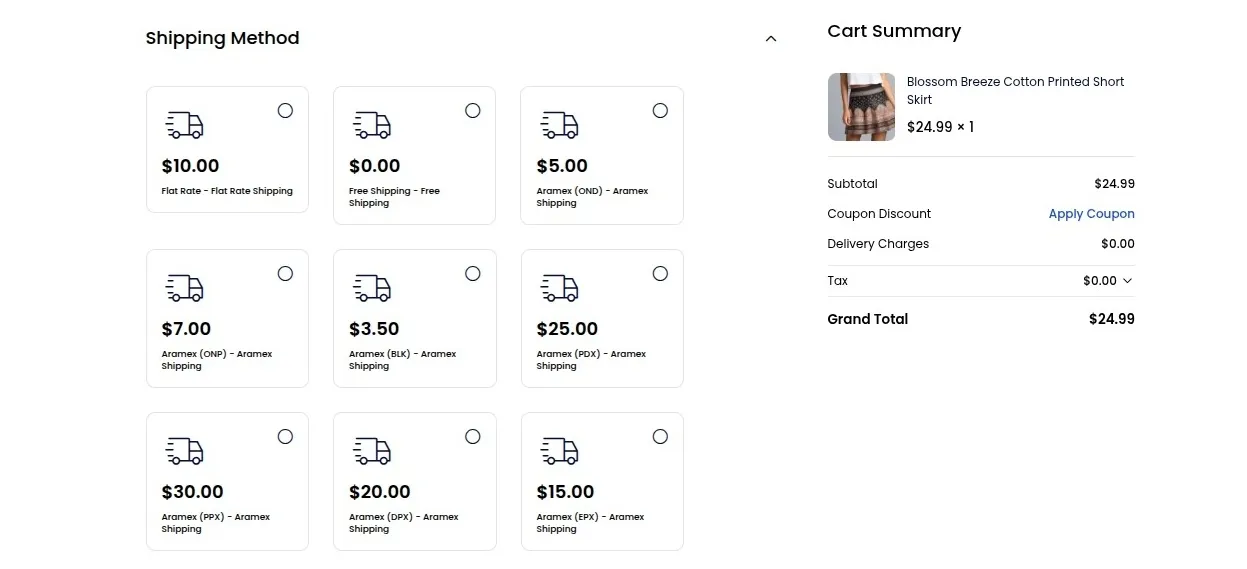
3. Select the shipping method
Then the Aramex services appear with their prices, so the customer selects one.
4. Choose the payment method
After that, the customer picks a payment method. Also, Cash on Delivery shows only for the Aramex services that support it.
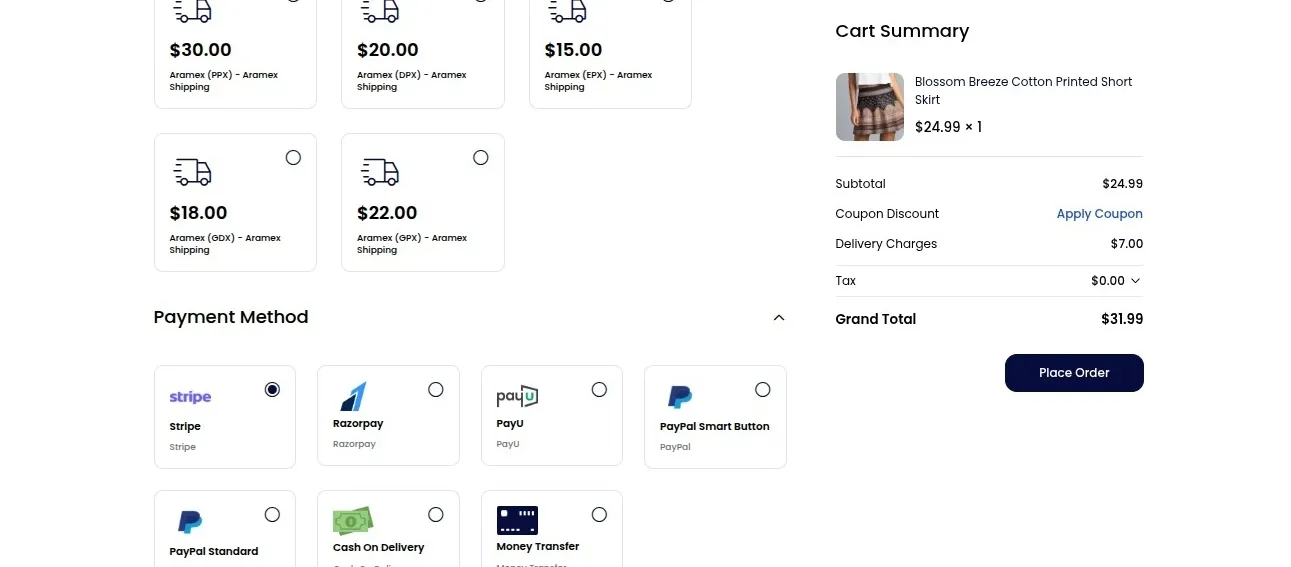
5. Place the order
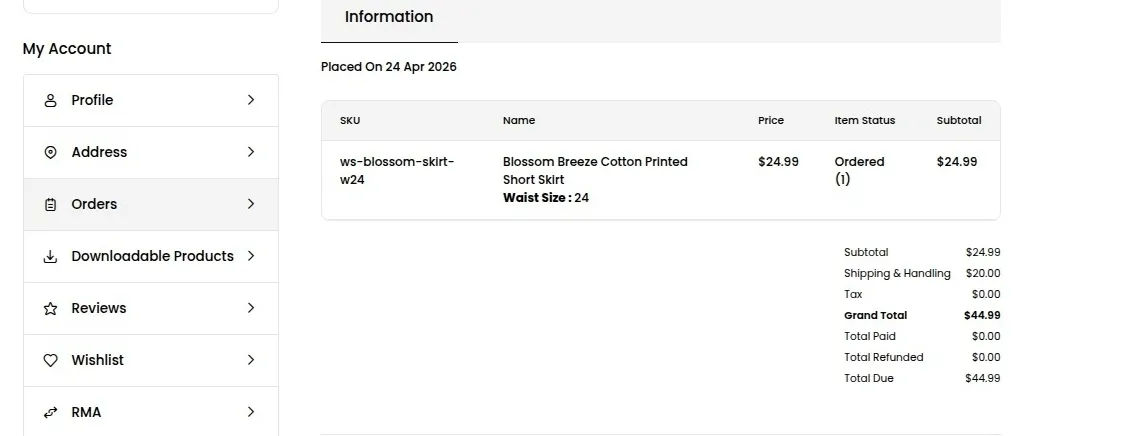
Finally, the customer reviews the details and places the order.
Support
So, that is all for Laravel Aramex Shipping. If you have any query, write to us at [email protected].
You can also raise a ticket at our HelpDesk System. Please explore our Laravel Development Services and quality Bagisto Extensions.
Current Product Version - v2.5.0
Supported Framework Version - Bagisto v2.5.0

Be the first to comment.