A memory leak is likely the culprit behind these frustrating website crashes.
Understanding how caching and memory management work can help you find performance bottlenecks.
This article will guide you through understanding, troubleshooting, and preventing these memory issues.
Understanding a WordPress Memory Leak
WordPress is built on PHP, which requires server memory to execute its processes.
When a component demands more memory than allocated, a memory exhaustion error occurs.
A WordPress memory leak happens when a plugin or theme fails to release unused RAM.
This leads to a gradual accumulation of memory, eventually crashing your server.
To optimize your server, read the WordPress Optimization Guide.
Common Causes of a WordPress Memory Leak
While memory issues can be due to low resources, they are usually caused by WordPress components.
Understanding these root causes is key to diagnosing a WordPress memory leak before it crashes your site.
Here are the primary causes behind these memory exhaustion errors.
Poorly Coded Plugins and WordPress Memory Leak Issues
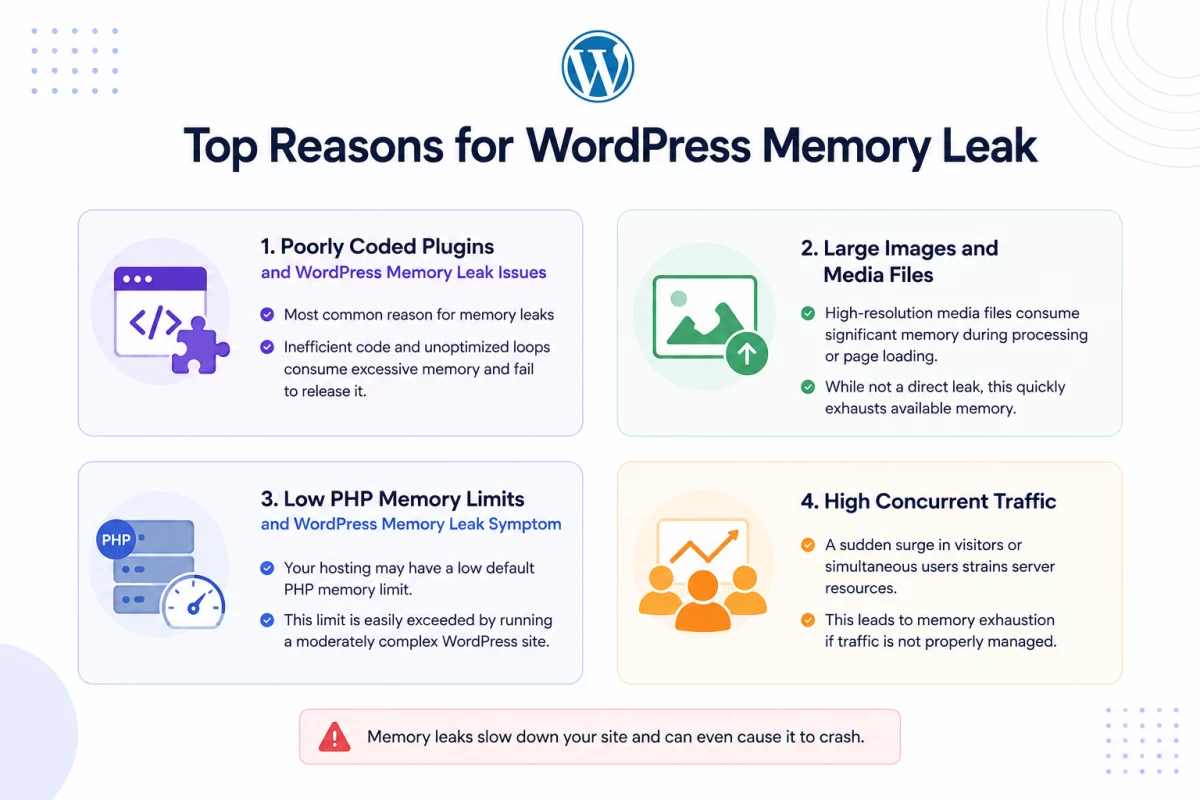
This is by far the most common reason for memory leaks in WordPress.
Inefficient code and unoptimized loops consume excessive memory and fail to release it.
Large Images and Media Files
High-resolution media files consume significant memory during processing or page loading.
While not a direct leak, this quickly exhausts the available memory capacity.
Low PHP Memory Limits and WordPress Memory Leak Symptom
Your hosting environment might have a low default PHP memory limit set.
This limit is easily exceeded by running a moderately complex WordPress site.
High Concurrent Traffic
A sudden surge in visitors or simultaneous users can strain available server resources.
This leads to memory exhaustion if the traffic is not properly managed.
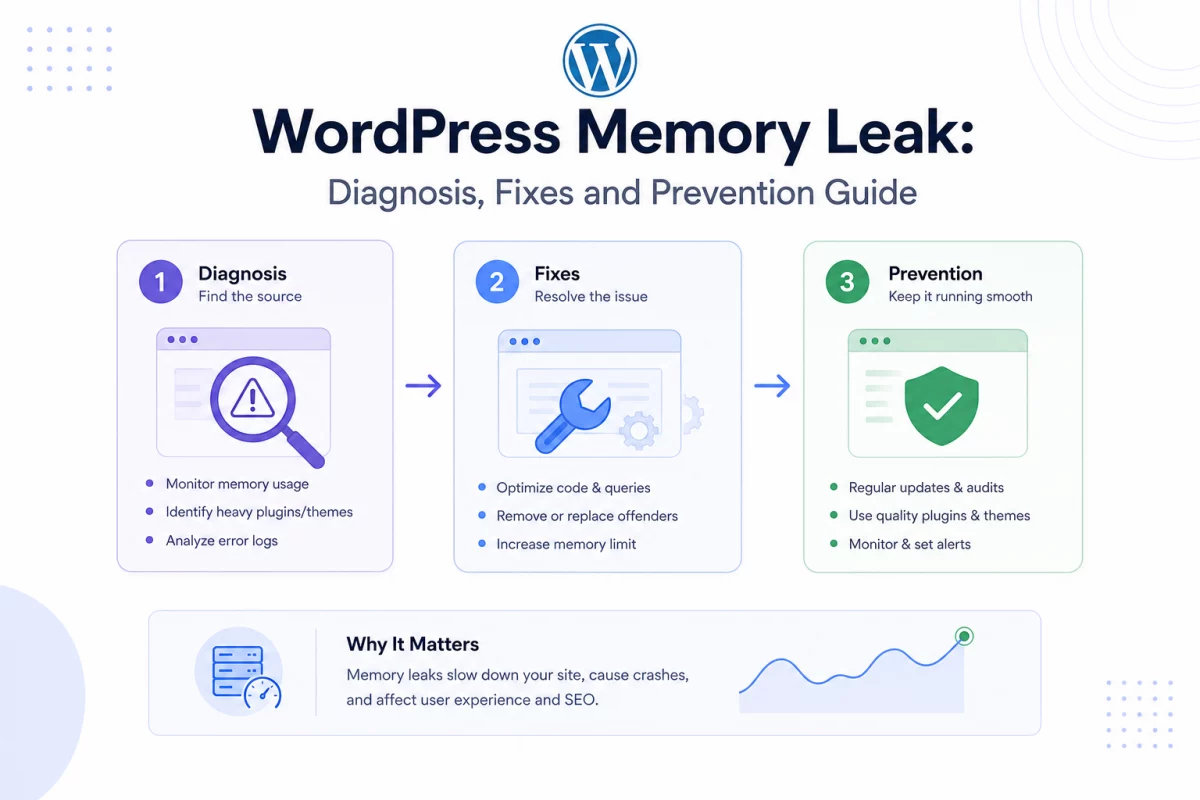
How to Fix a WordPress Memory Leak
By following a systematic approach, you can successfully isolate and resolve a WordPress memory leak.
Follow these steps to diagnose and resolve memory issues on your WordPress site.
1. Increase the PHP Memory Limit
This gives your site enough breathing room while you pinpoint the exact cause of the leak.
Method 1: Edit wp-config.php (Recommended)
Access your site’s files using an FTP client or hosting File Manager.
Locate the wp-config.php file in your site’s root directory.
Create a backup of this file before making any changes.
Open the file and add the following line just above the “Happy blogging” comment:
define( 'WP_MEMORY_LIMIT', '256M' );
For more details, check the [official WordPress wp-config.php documentation](https://developer.wordpress.org/advanced-administration/server/wp-config/).
This code increases the PHP memory limit for your WordPress site to 256 megabytes.
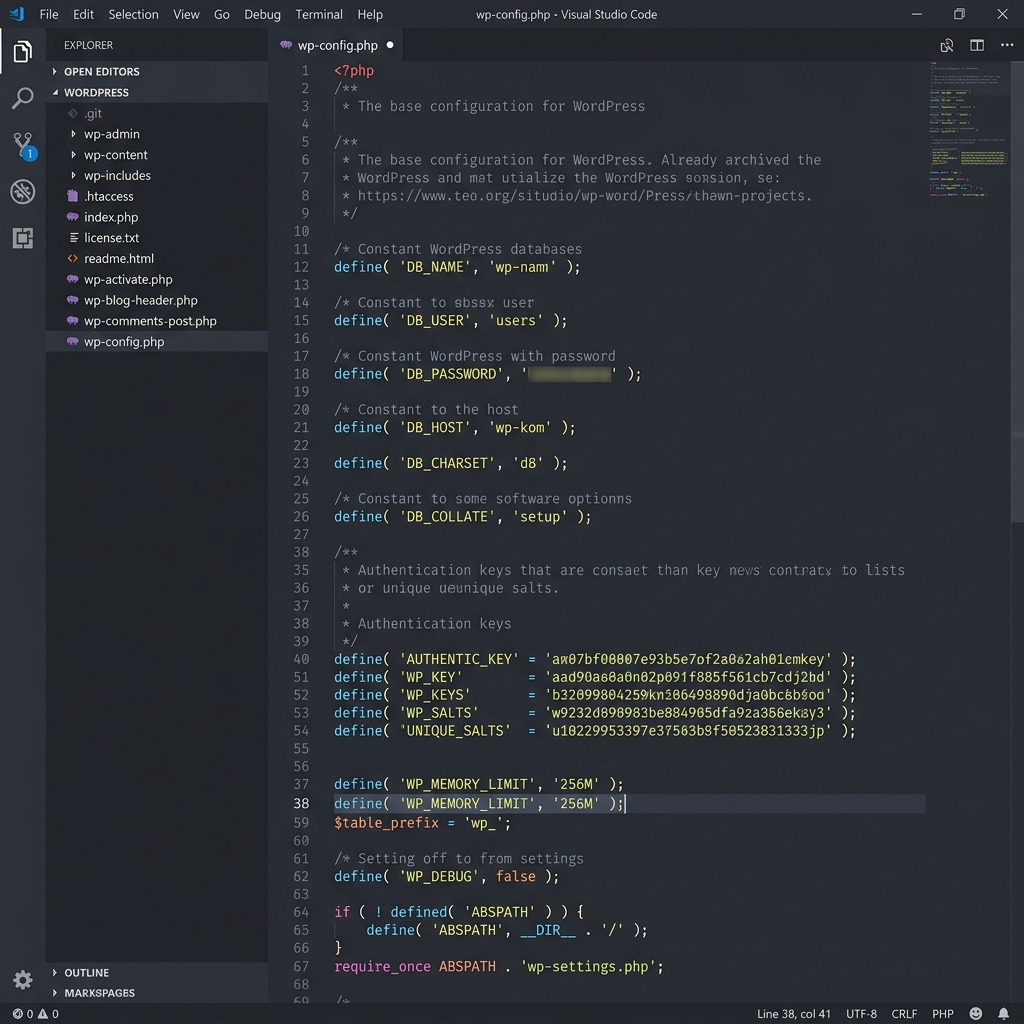
If the problem persists, try increasing the value to ‘512M’.
Method 2: Edit .htaccess or php.ini (Advanced)
If the wp-config.php method does not work, your host might be overriding it.
For .htaccess, add the following line to increase the limit:
php_value memory_limit 256M
This configuration directive sets the PHP memory limit via the Apache server configuration.
For php.ini, add this line to adjust the configuration:
memory_limit = 256M
This line configures the maximum memory allocation directly in the PHP configuration file.
Warning: Modifying these files incorrectly can break your site. Contact your host if unsure.
2. Identify the Problematic Plugin or Theme
This is the most critical step to finding the source of the memory leak.
Method 1: Manual Deactivation (Recommended)
This method isolates the cause through a simple process of elimination.
Log in to your WordPress dashboard and navigate to Plugins > Installed Plugins.
Deactivate all plugins and check if the memory issues disappear.
Reactivate your plugins one by one, testing your site after each activation.
The moment the memory issue returns, you have found the culprit.
If the issue persists, switch to a default theme like Twenty Twenty-Four.
Troubleshooting Without Dashboard Access
If you cannot access your dashboard, use FTP to rename the plugins folder.
Rename wp-content/plugins to wp-content/plugins_old to temporarily deactivate all plugins.
Rename it back to plugins and log in to reactivate them one by one.
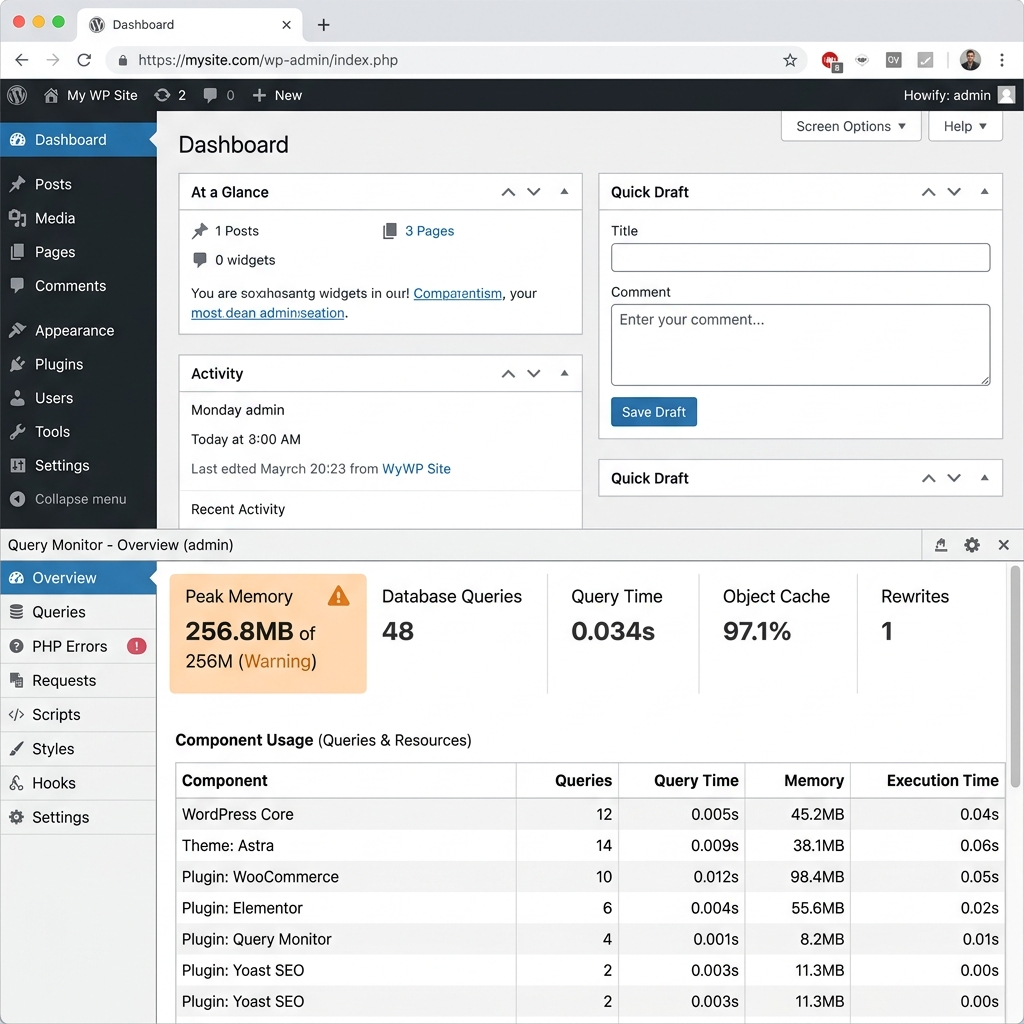
Method 2: Use a Debugging Plugin
Tools like Query Monitor show detailed memory usage of different components.
Install and activate the Query Monitor plugin from the WordPress repository.
Check the new performance metrics in your WordPress admin bar.
Open the detailed panel to see which plugins consume the most memory.
How to Prevent a WordPress Memory Leak
Adopting these best practices reduces the likelihood of encountering memory issues.
Choose Quality Themes and Plugins
Opt for plugins from reputable developers with regular updates and positive reviews.
Avoid using too many plugins, as each active plugin adds server overhead.
Keep Everything Updated
Regularly update your WordPress core, themes, active plugins, and PHP version.
Updates frequently contain bug fixes that resolve underlying memory leaks.
Optimize Your Media Files
Large, unoptimized images are a common cause of heavy server memory usage.
Use image optimization plugins to compress images automatically.
Implement Caching
Caching plugins reduce the need to regenerate page content on every visit.
This significantly lowers overall server load and memory consumption.
Monitor Site Performance
Regularly check your hosting provider’s resource usage metrics and logs.
Upgrade Your Hosting Plan
If memory issues persist after optimization, consider upgrading your host.
Managed WordPress hosting provides better resource allocation and management.
Conclusion
Applying these troubleshooting steps helps you prevent unexpected site crashes.
Regular monitoring and optimization will keep your WordPress site stable.

Be the first to comment.