Using the WooCommerce Ezidebit Payment Gateway businesses can take order payments via debit/credit card or the Bpay payment method from the customers of your WooCommerce website.
Apart from that, this payment gateway provides multiple payment methods and offers robust security features like PCI compliance and SSL encryption to ensure secure transactions.
What is Ezidebit Payment Gateway?
Ezidebit is a payment gateway service provider based in Australia. It allows businesses to accept payments from their customers via various methods. It includes direct debit, credit card, and BPAY.
The service is primarily for catering to the needs of small and medium-sized businesses. It is for businesses that require a reliable and secure payment processing solution.
The Ezidebit payment gateway enables businesses to automate their payment collections. It reduces the risk of fraud and chargebacks.
It also provides businesses with detailed transaction reporting. This helps them gain insights into their customer payments and cash flow.
Note: This plugin is now compatible with WooCommerce’s latest High-Performance Order Storage (HPOS) and Cart and Checkout block.
We provide a production version of the plugin. If you want a development version then you can get it at an additional cost. Please contact [email protected] for it.
Features
- It implements two payment methods: credit/debit cards and Bpay.
- Admin can easily configure both payment methods from the backend.
- Customers can see the payment methods on the checkout page.
- A refund for the order is done from the order edit page from the backend.
- Both gateways are integrated as self-hosted(online) payment gateway types.
- The Ezidebit payment method is a PCI DSS-compliant payment system.
Installation
The user will get a zip file that he has to upload in the “Add New” menu option in the WordPress admin panel.
For this, login to WordPress Admin Panel, and Under the Dashboard hover your mouse over the “Plugins” menu option which brings out a Sub-Menu, and then select the “Add New” option.

After this, you will see an option on the top of your page that is “Upload Plugin”, click the option to upload the zip file.

By clicking on the “Upload Plugin” option, below that you will see a button “Choose File” click on the button to browse for the zip file as per the snapshot below.

After browsing the file, click the “Install Now” button to install the plugin as per the snapshot.

Now when the plugin is installed correctly, you will see the success message and an option to activate the plugin. Henceforth now, click on “Activate Plugin” to activate the installed plugin.

Activate Plugin
Check out how to Activate the WooCommerce Plugin through the purchase code and get updates on Webkul Modules directly on the Plugins page.
How to get the Sandbox Credentials – Ezidebit Gateway
Navigate to the developer page of Ezidebit by tapping here and the below page will appear.

Here, tap on the Developers option on the top right-hand side and the below page appears. You can also directly navigate to the below page by tapping here.

Here, enter all the required information and submit your sandbox credential request.
After that, it will take 24 hrs for the revert back with details of the sandbox account on your entered email address.

Initial Configuration – Ezidebit Payment Gateway
After the successful installation of the WooCommerce Ezidebit payment integration plugin, the admin will make the initial configuration settings.

To do so, the admin will navigate through WooCommerce WC addons-> Webkul WC Addons here the Ezidebit addon will display click on the settings to do further configuration.
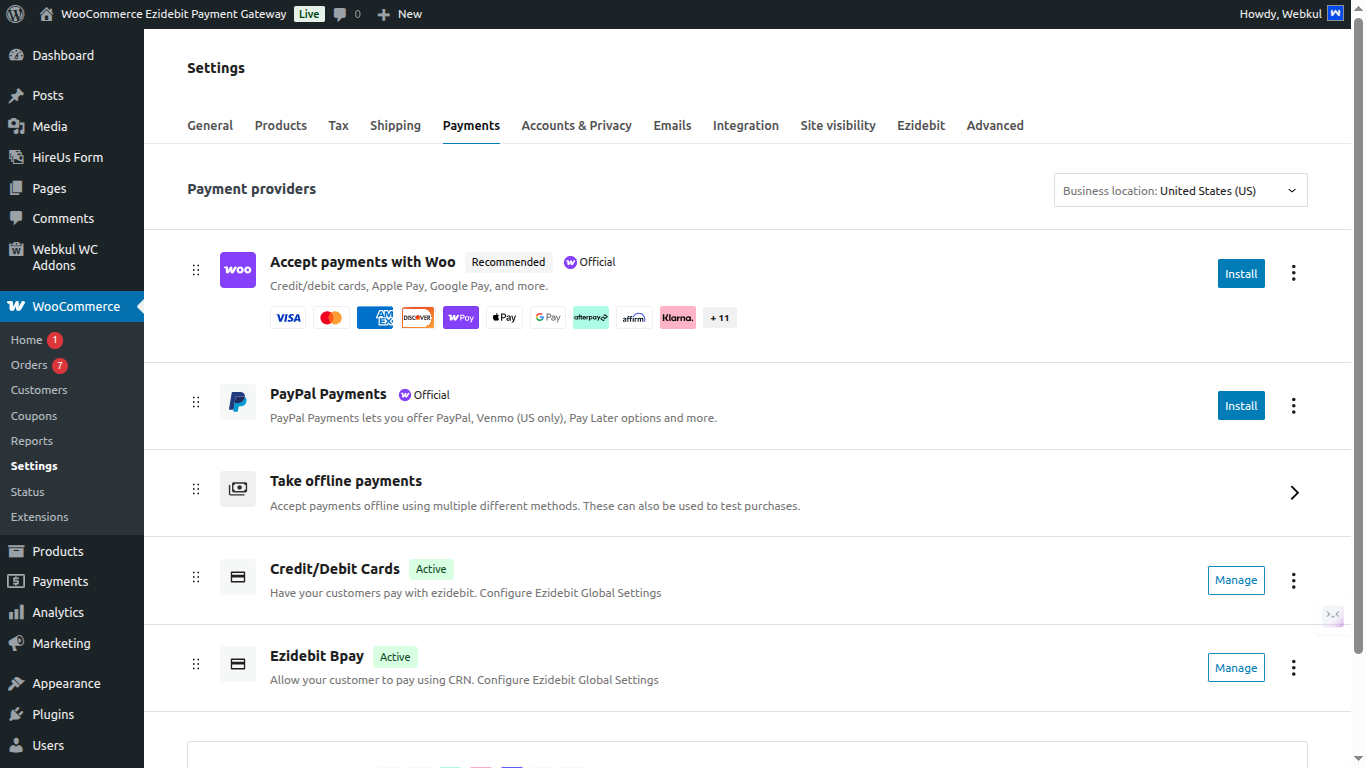
Now move to Settings->Payments. Here, first enable the payment methods that are the Ezidebit credit/debit card and Bpay.
Credit/Debit Cards – Ezidebit :
To manage the payment method, tap the Manage button, and that brings up the below-mentioned section to configure the settings for the payment method.
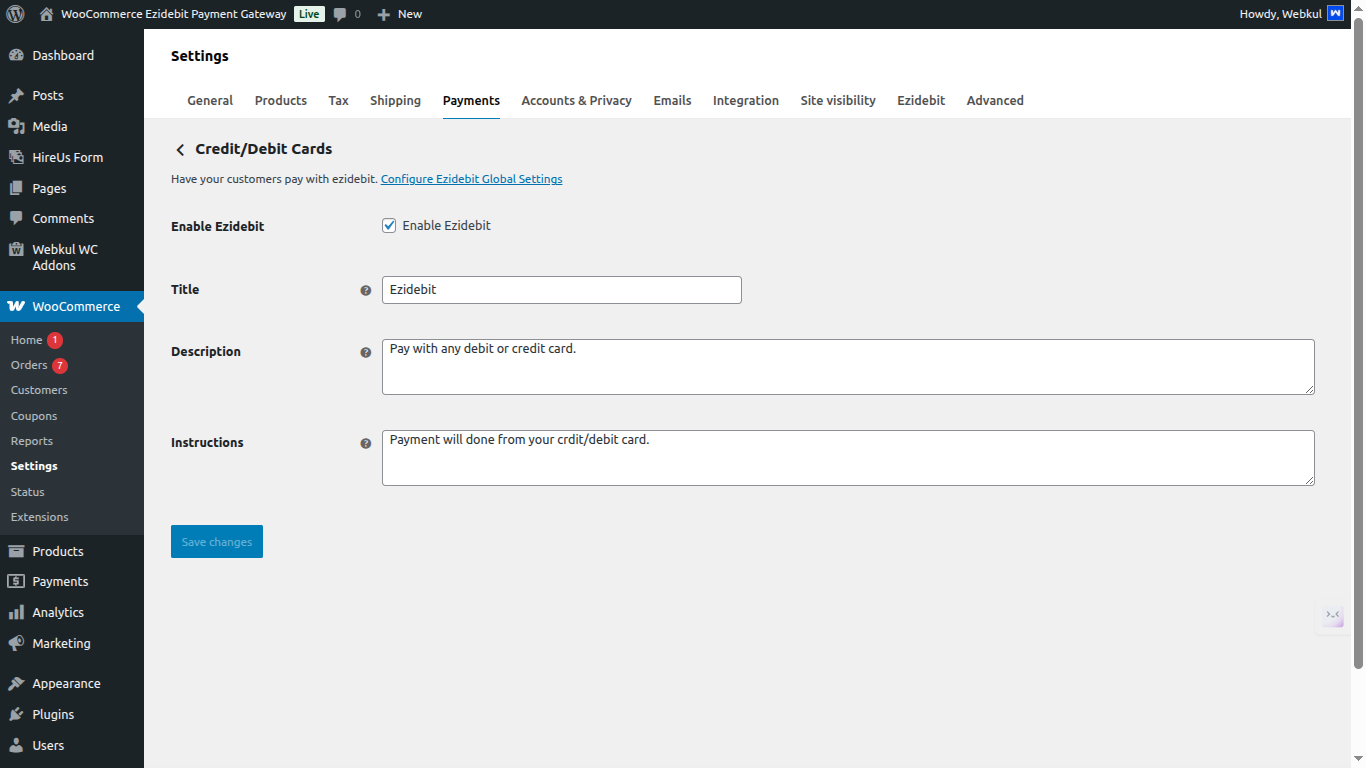
Here, the admin will –
- Enter the title that is visible to the customers at the checkout page.
- Set the description of the payment method.
- Enter the instructions for the payment method.
Lastly, tap the Save Changes button.
Ezidebit Bpay :
To manage the payment method, tap the Manage button, and that brings up the below-mentioned section to configure the settings for the payment method.
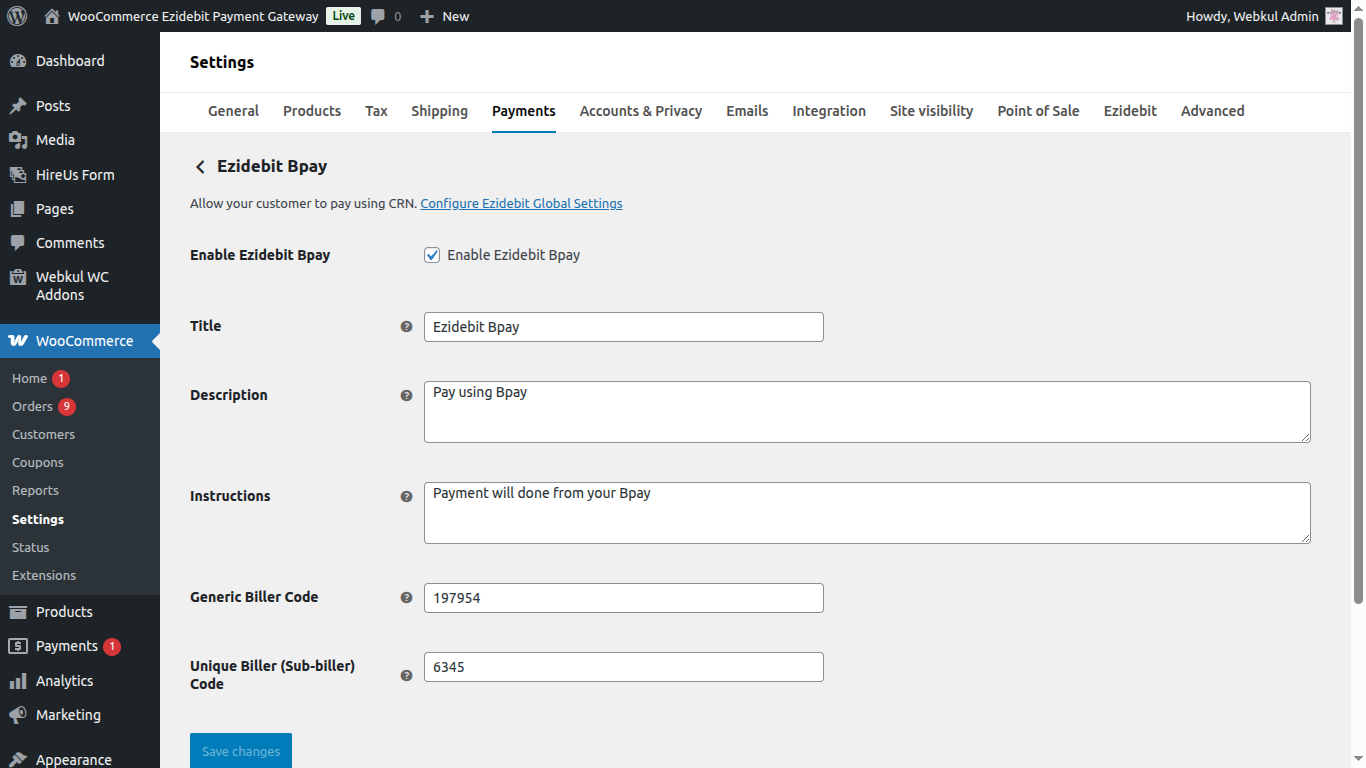
Here, the admin will –
- Enter the title that is visible to the customers at the checkout page.
- Set the description of the payment method.
- Enter the instructions for the payment method.
- Enter the Payer number of the admin for receiving the payments.
Lastly, tap the Save Changes button.
Tapping on the Configure Ezidebit Global settings brings up the below section.
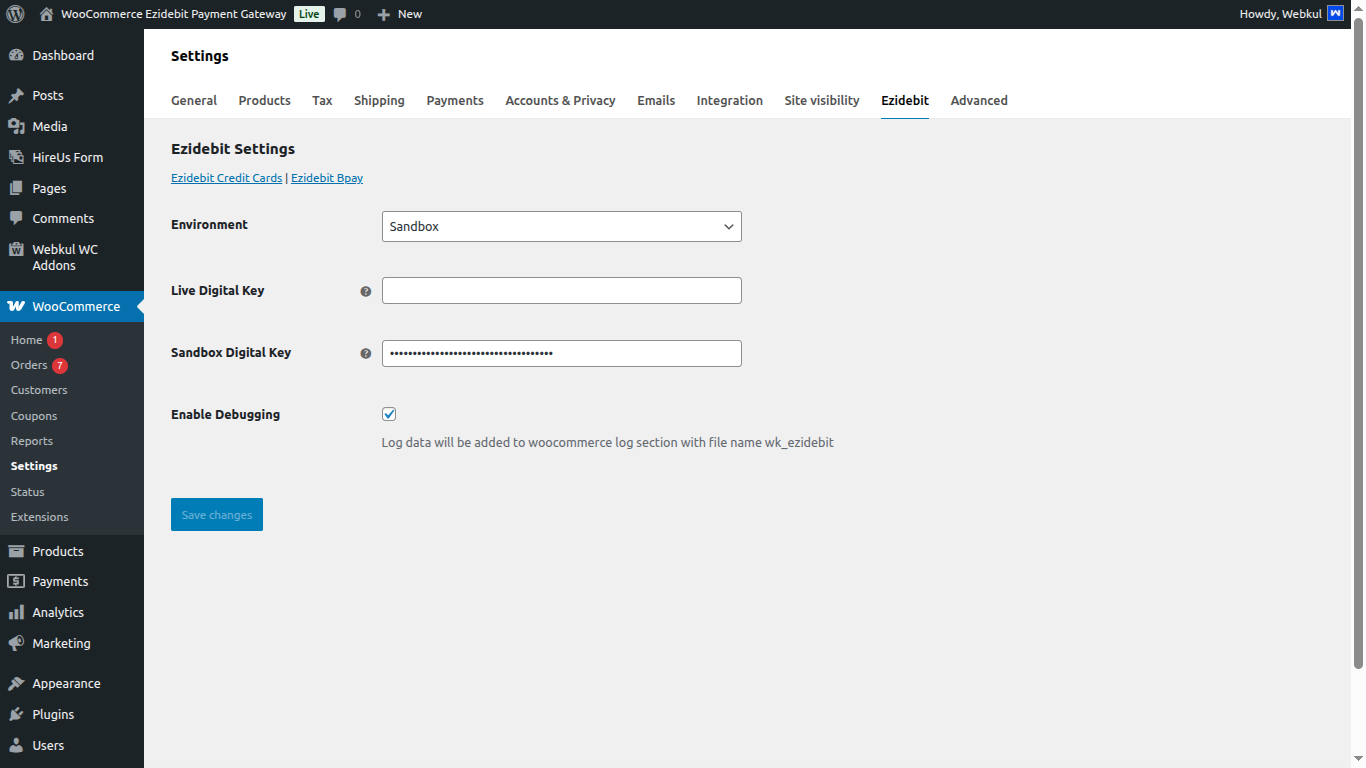
Here, the admin will –
- Choose the environment as Live or Sandbox as required.
- Enter the Ezidebit Live digital key in case you have chosen the environment as Live.
- Enter the Ezidebit Sandbox digital key in case you have chosen the environment as Sandbox.
- Click the enable debugging for log data will be added to WooCommerce log section with file name wk_ezidebit.
Lastly, tap on the Save button to save the changes.
Checkout Procedure – Customer’s End
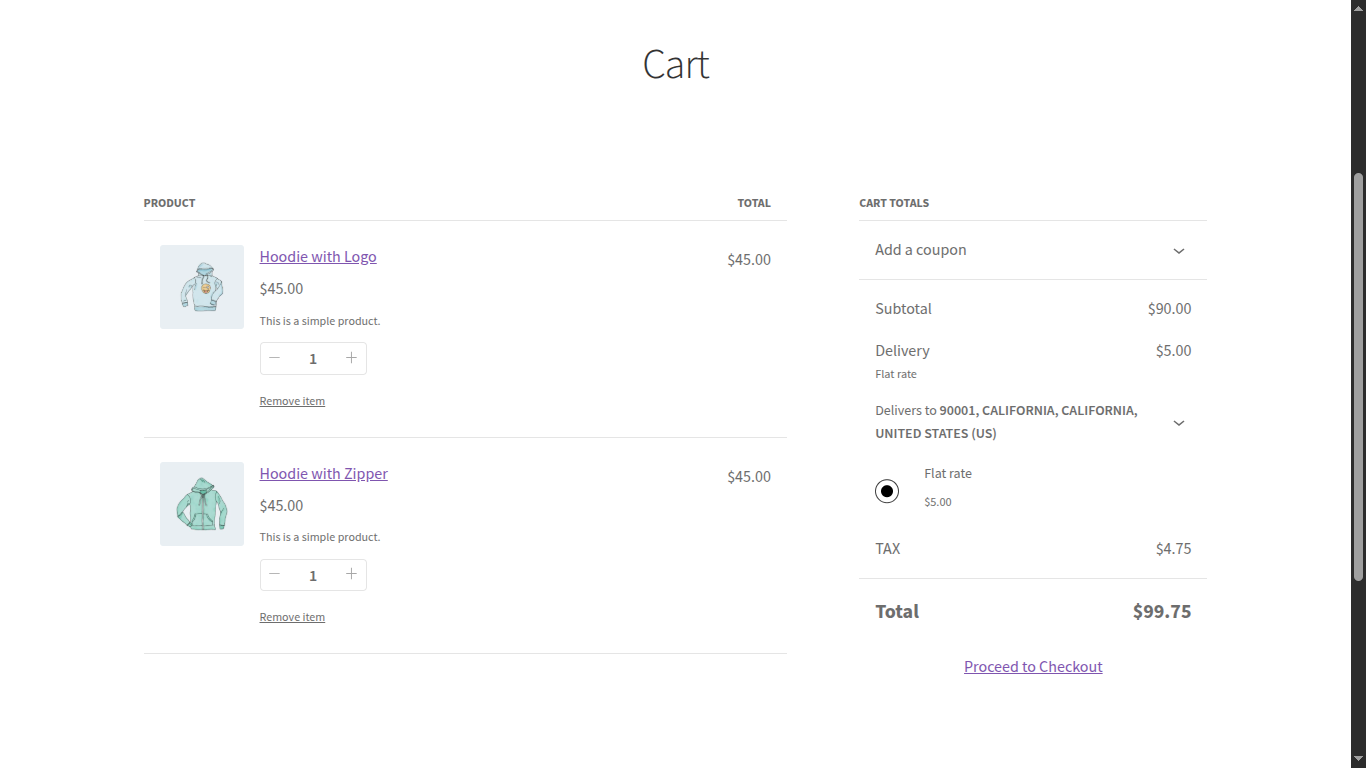
After adding the products to the cart the users of your website can proceed further by tapping the Proceed to checkout button.
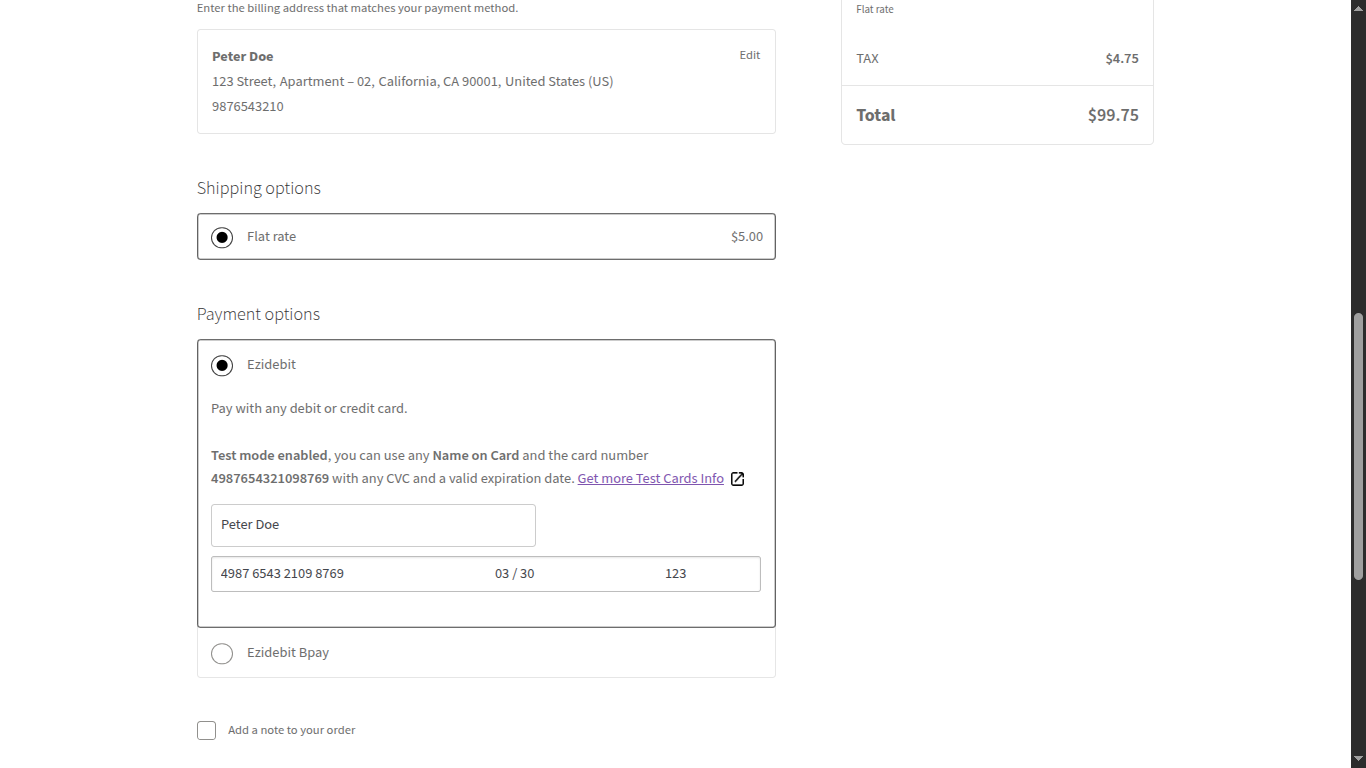
At the checkout page, the customers/users will find two payment methods: Credit/Debit card and Bpay. The customer can choose one to make the payment for the order.
After placing the order, the customers can see the order success message with the selected payment method.
Also, if you want to provide advanced features like a shopping bot, placing orders on WhatsApp, and more then you can check the WooCommerce WhatsApp Purchase Assistant plugin.

For Bpay, the customer just needs to select the Bpay payment option at the checkout page. After that tap the Place Order button.

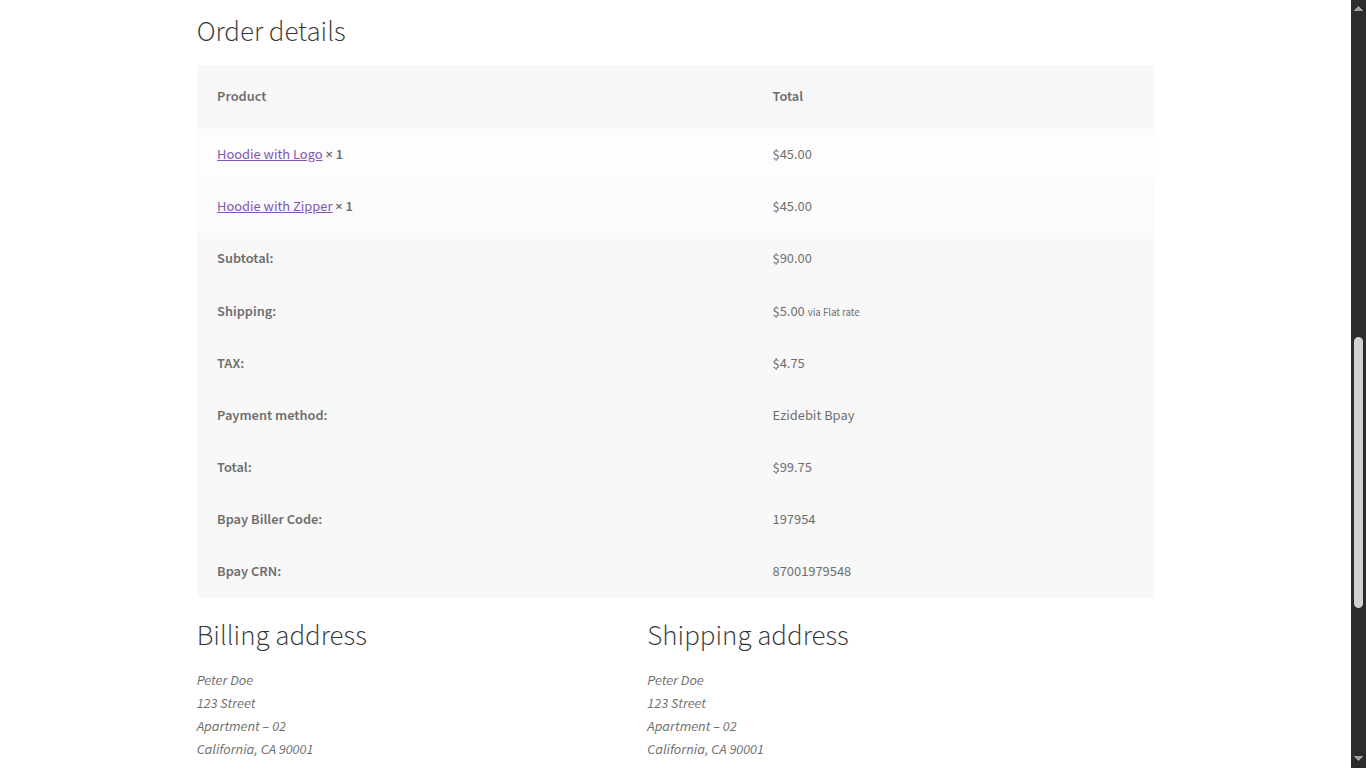
After placing the order, an order success message can be seen by the customer with the selected payment method. A Bpay CRN number is also generated for the order.
Order Refund – Admin
The admin can make a refund from the order edit page as per the snapshot below.

After tapping on the refund button, the admin can enter the amount and tap the Refund via Credit/Debit Cards button.
Also, if you want to lower the cart abandonment rate by sending customers email reminders for the abandoned cart then you can check the WooCommerce Abandoned Cart Email Reminder plugin.

After the refund, you can view the details of the refunded amount.

That is all about the WooCommerce Ezidebit Payment Gateway plugin. If you have any queries regarding the plugin, please contact us at Webkul Support System.
You can also check our complete WooCommerce plugin list.
Current Product Version - 1.4.0
Supported Framework Version - WordPress: 6.8.2 WooCommerce: 10.1.2

Be the first to comment.