Multivendor Marketplace app for Shopify allows merchants & sellers to set two types of Seller Policies.
Normal Seller Policy and Advanced Seller Policy.
By default, the Normal seller policy will be selected in the app. Thus, sellers will get simply the text area to add seller policy that will reflect on the seller’s profile page.
Advanced Seller Policy Feature: With the help of this feature admin can set up the policy for the seller in an advanced version like Delivery days, Delivery Time, Delivery method name and much more.
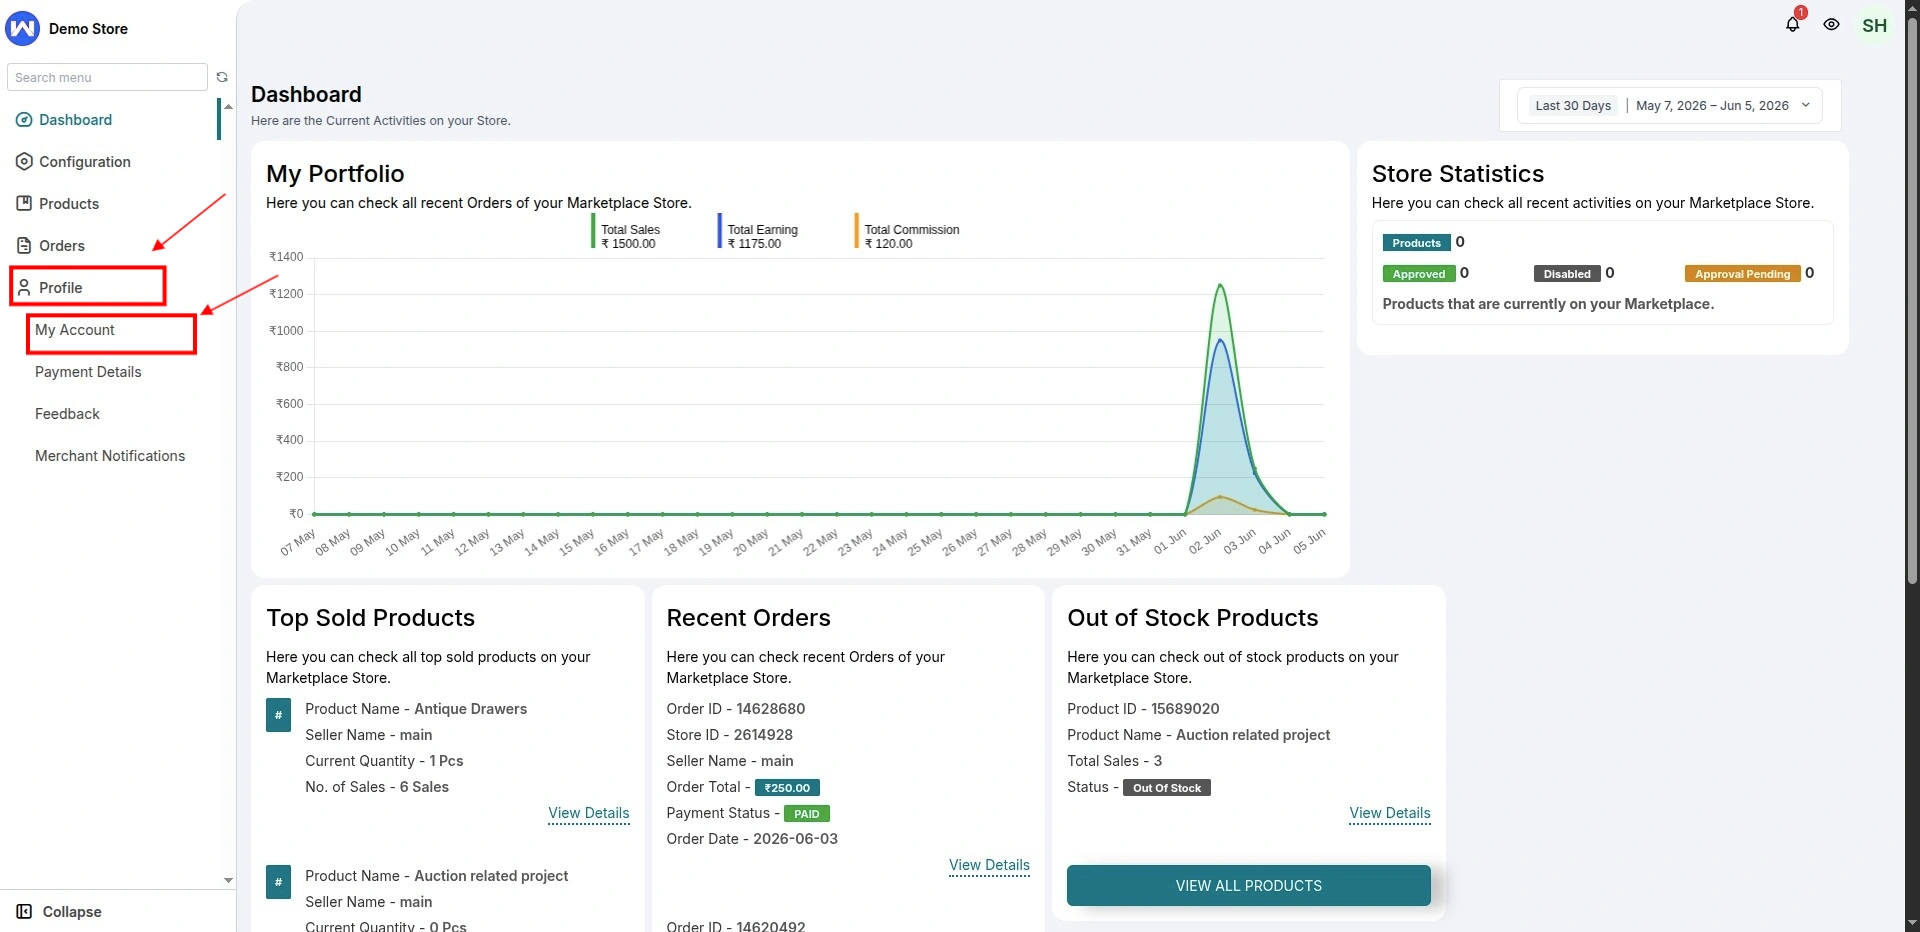
The seller can too set up the policy from the “My Account” section from the Profile menu from their account in the multivendor marketplace app.
Further, let’s understand its workflow:-
WORKFLOW
Normal Seller Policy
To add the normal seller policy in the app, the admin needs to keep this option enabled from the Seller Configuration menu of the app.
Go to Multi-vendor Admin Panel>>Configuration>>Seller Configuration>>Select Normal Seller Policy>> Save Changes.

Once selected, the admin will get the option to add a seller policy for any seller by editing his/her profile.
Go to Multi-vendor Admin Panel>>Sellers>>Select a Seller>>Edit (Action menu)>>Add Normal Policy>>Save.

Further, in the Edit Seller section, you can add the normal policy for your seller.

Moreover, sellers can add Normal Policy from their respective “My Account” section.
Multi-vendor Seller Panel>>Profile>>My Account>>Write Seller Policy>>Save.

This way, the Normal Seller Policy can also be written in the app that will reflect on the respective seller profile page.

Furthermore, let’s proceed to understand the Advanced Seller Policy in the app.
Advance Seller Policy
Firstly Select the “advanced seller policy” option from the “seller configuration” section of configuration in your multivendor marketplace app.
Configuration>> Seller Configuration>> Choose “advance seller policy” from drop-down menu of “seller policy” section>> Save Changes


Now, the admin can also set up the advanced seller policy by simply clicking on to the “Edit Button”. Refer:

Furthermore, Seller can also set up his policy by simply visiting the “My Account” option in the “profile Section” of his account on a multivendor marketplace app.
Seller Panel>> Profile>> My account >> fill up the details like delivery time, delivery days and much more >> Save Changes.

Customers can see the seller policy on the seller’s profile page.

Note:-
If the admin wants to set specific content and fields of the Advanced seller policy then he can edit the content and variables highlighted below in the seller policy section
the details saved by the seller/admin for the respective seller policy will be visible on the seller profile page.

DEMO
Furthermore, check out: https://multivendor-marketplace-5.myshopify.com/
SUPPORT
Moreover, if you need any support/consultancy then please raise a ticket at http://webkul.uvdesk.com/. Or send us an email at [email protected].

Be the first to comment.