Visualize the performance of your online store by connecting PrestaShop to Google Looker Studio, formerly Google Data Studio. The extension lets you convert your data into detailed reports.
Analyze your sales, best-selling products, orders, abandoned carts, and much more to make data-driven decisions.
Features of Prestashop Google Looker Studio Connector
- Easily integrate your PrestaShop store with Google Looker Studio account.
- Connect PrestaShop to Looker Studio and turn it into graphs, charts, tables, etc.
- Visualize sales, orders, conversion rate, registrations, and subscribers on the dashboard.
- View the number of orders received for specific products, categories, countries, etc.
- Create date wise reports of sales, cart value, visits, conversion rate, registrations, and subscribers.
- View total money spent and orders placed by customers in your store on Google Looker Studio.
- View statistics for the available product, average number of purchases, products purchased, etc.
- PrestaShop Looker Studio Connector module is MultiShop Compatible.
How to Install Prestashop Looker Studio Connector
- Firstly, go to the module manager in the back office and click on ‘upload a module’.
- After that, drag and drop the module file or select the file from the system.
- In this way, the module installation will be successful.


Module Configuration
General
After the successful installation of the module, the API endpoint gets automatically created and the admin can view it under the General tab.
Admin requires API endpoint to connect PrestaShop data to Google Looker Studio.

How to Connect PrestaShop to Google Looker Studio
Steps to connect Google Looker Studio to PrestaShop
Visit “Google Looker Studio Data Source”. Search keyword “Webkul Prestashop” and click on the webkul prestashop connector.
In order to connect PrestaShop to Google Looker Studio, the admin needs to log in to his Google Looker Studio account.

Once logged in, click on Data Source under Create as shown below.

Enter Webkul PrestaShop in the search bar and then click on the Webkul PrestaShop connector.


Now, the admin has to specify the API endpoint in the URL field. After entering the API endpoint, select the service type and click on Next.

Admin can now select the service he wants and click on the connect button in the top right corner.

Types of Webservices
Dashboard Statistics
This web service allows the admin to view the overall statistics of the PrestaShop on Google Looker Studio.

Under Dashboard Statistics, the admin can enable the parameters he wishes to view on Google Looker Studio.
To view the dashboard statistics, select Statistics in the service type and Dashboard in Service fields.

After selecting service type and service, when the admin clicks on Connect button he can view all the dimensions and create a report by clicking on Create Report button.

Stats by type
This web service enables the admin to track the total sales, orders, cart value, visits, conversion rate, net profit, registration, and subscribers date wise.

Suppose, the admin wants to view day wise orders. To do so, the admin has to select “Stats By Type” in Service Type and “Orders – Day Wise” in Service.
After selecting the service type and service, create a report.

Orders
The web service lets the admin create reports of product, category, country, status, and payment method wise orders.

Status Wise Orders
Create reports to view the orders according to the status.

Customers
The admin can use this web service to create reports of best and country-wise customers.

Suppose the admin wants to view a list of best customers. Select “Customers” in service type and “Best” in service field. After selecting service type and serve, create a report.

In the above report, the admin can view best customers, the total money spent by them on store, their total visits and valid orders.
View country-wise customers
Select “Customers” in service type and “country wise” in service. After selecting service type and serve, create a report.

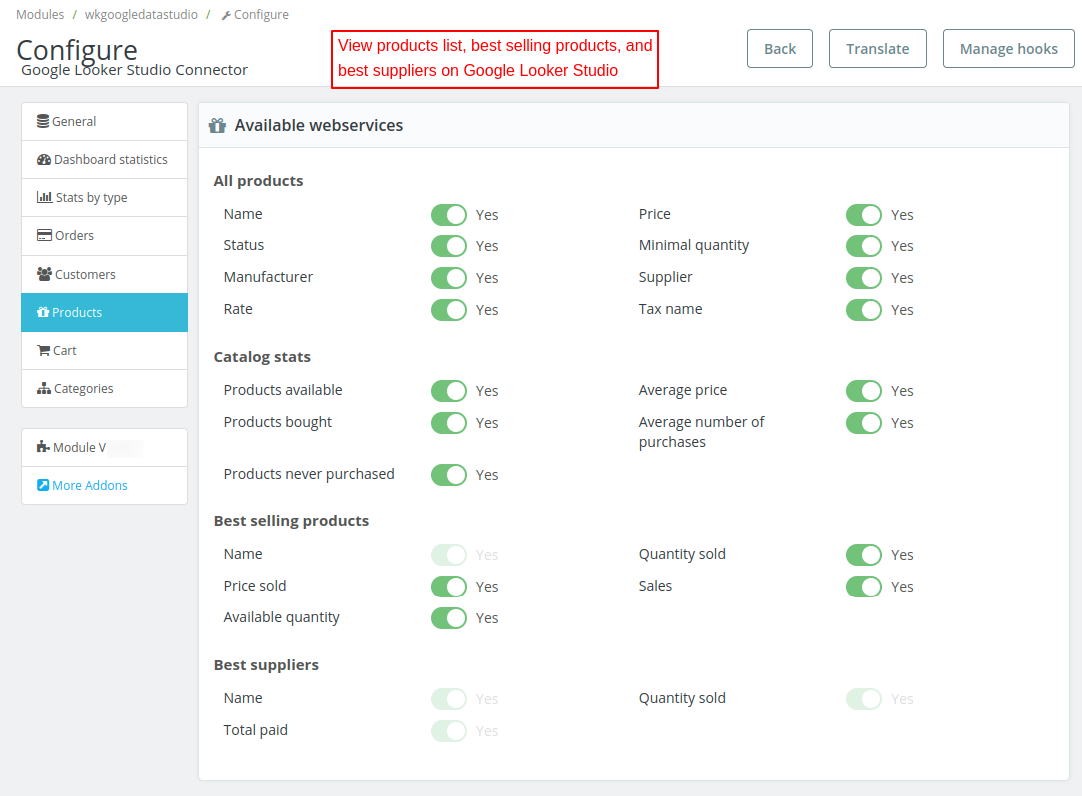
Products
This web service enables the admin to view all, best selling products, catalog statistics, and the best suppliers for the store.
Track & analyze the available products, quantity, quantity sold, available products, and much more.

Carts
View number of products ordered, customers who have placed orders, abandoned carts, non ordered carts with this web service.
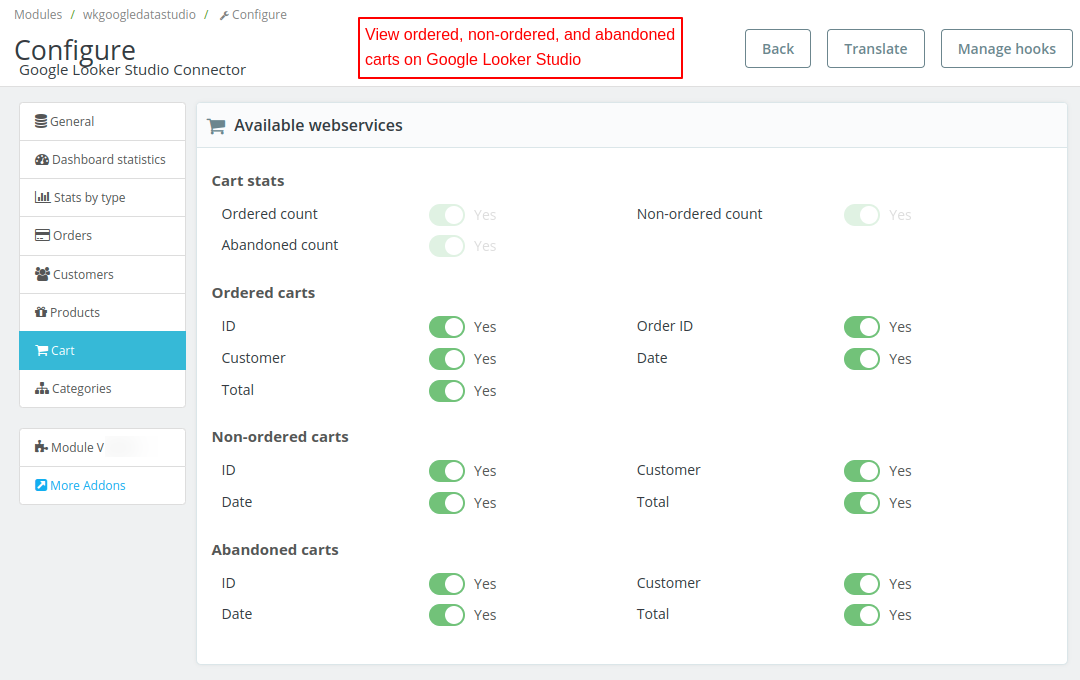
Cart Stats Report

Categories
The web service allows the admin to view all categories, category statistics, and best categories on Google Looker Studio.

Best Categories Report

This was all about Prestashop Google Looker Studio Connector Module. I hope this document will help you in checking the functionality of the module in a better way.
Also, do let us know about your views in the comments.
Important Links
- Terms of Service: https://webkul.com/license/
- Privacy Policy: https://webkul.com/blog/prestashop-google-looker-studio-connector-app-privacy-policy/
Support
For any kind of technical assistance or query, please raise a ticket or send us a mail at [email protected]
Also, please explore our Prestashop development services and a vast range of quality Prestashop addons.
Current Product Version - 4.0.3
Supported Framework Version - 8.x.x, 1.7.x.x

Be the first to comment.