This extension allows the admin to provide the functionality to have a separate vendor sub-domain for the Opencart Marketplace vendors .
Also, the separate vendor domain will work for – profile, category, compare, manufacturer, product, search, and special pages. This means that the customer can access these pages via the vendor profile page under the seller sub-domain.
Note:
1. This module supports all templates and themes including the Journal theme.
2. Opencart Marketplace Vendor Subdomain module supports the Multi-Store feature of default Opencart.
**Note: This extension is an add-on to the Webkul’s Opencart Marketplace Multi-Vendor module. You must first install Webkul’s Opencart Marketplace Multi-Vendor module to make use of this extension.
Check the plugin overview and working in the video mentioned below –
Features
- The vendor can have their own sub-domain.
- Allows admin to add prefix with vendor’s sub-domain.
- Easy to read and identify URLs for the vendor ’s sub-domain.
- The customer can access to vendor profile page via vendor’s sub-domain.
- Also, customers can search for the vendor’s products from the vendor’s profile page having the vendor sub-domain.
Installation
Customers will get a zip folder and they have to extract the contents of this zip folder on their system according to your Opencart version.
Also, the extracted folder has admin, catalog, and ocmod folders. You need to transfer the admin and catalog folders into the Opencart root directory on the server as shown below.

Once you upload the folders, Navigate to Extensions> Extension Installer and upload the XML file. The XML file can be found on ocmod folder under module directory.
Also, in the ocmod folder select the Opencart version you are using under which you will find wkvendordomain.ocmod.xml file.

After uploading the XML file go to the Extensions > Modification and click on refresh field.

After that in Admin panel go to System -> Users -> User Groups and edit ‘Administrator’ and choose to select all for both Access and Modify Permission and save it.

Translation
As this Opencart Marketplace Vendor Sub-domain extension supports multiple languages, so this section will describe how to make the module work in different languages. Please check this link for language translation.
Admin-Configuration
The admin will navigate to Extensions>Modules>Webkul Marketplace Vendor Domain. Here, the admin will install and enable the Webkul Marketplace Vendor Domain extension.

Also, after clicking on the edit button, a new page will open up from where the admin can configure the module.

Here, the admin can –
- The admin can enable or disable the module.
- Set the Shop URL Prefix(Only Characters, Numbers, and Underscore are allowed). The default prefix is Shop.
- Also, Enable or disable the seller’s products(If enabled then the current vendor’s products will display on the vendor domain otherwise all products will display).
**Note: Some Server configuration is required, where you need to map your domain name to *.domain.
For example: example.com to *.example.com.
Workflow-Frontend
Vendor Profile Page:
Here, you can see the prefix added by the admin from the back-end, the vendor screen-name that is taken up from the seller details section along with the domain name. Lastly, you can see the current page that is the seller profile page.
Example: shop(prefix)-webkul(shop name).seller.oc.webkul.com(domain name)/seller-profile
Also, the customers can go to the vendor profile page and from here they can search for the respective vendor’s products or can go to the category pages to check the vendor’s available products(if the setting Display Seller’s product is set as enabled else all products will be visible).

This screen name is actually the Shop Name that is added by the customer whilst registering as a vendor at the registration page.

Seller-Profile:
Navigate to Extensions>Modules>Marketplace>SEO Setting>Create SEF Links.
Also, here the admin will have to enable this setting and set the SEO Keyword For Store Page to seller-profile.

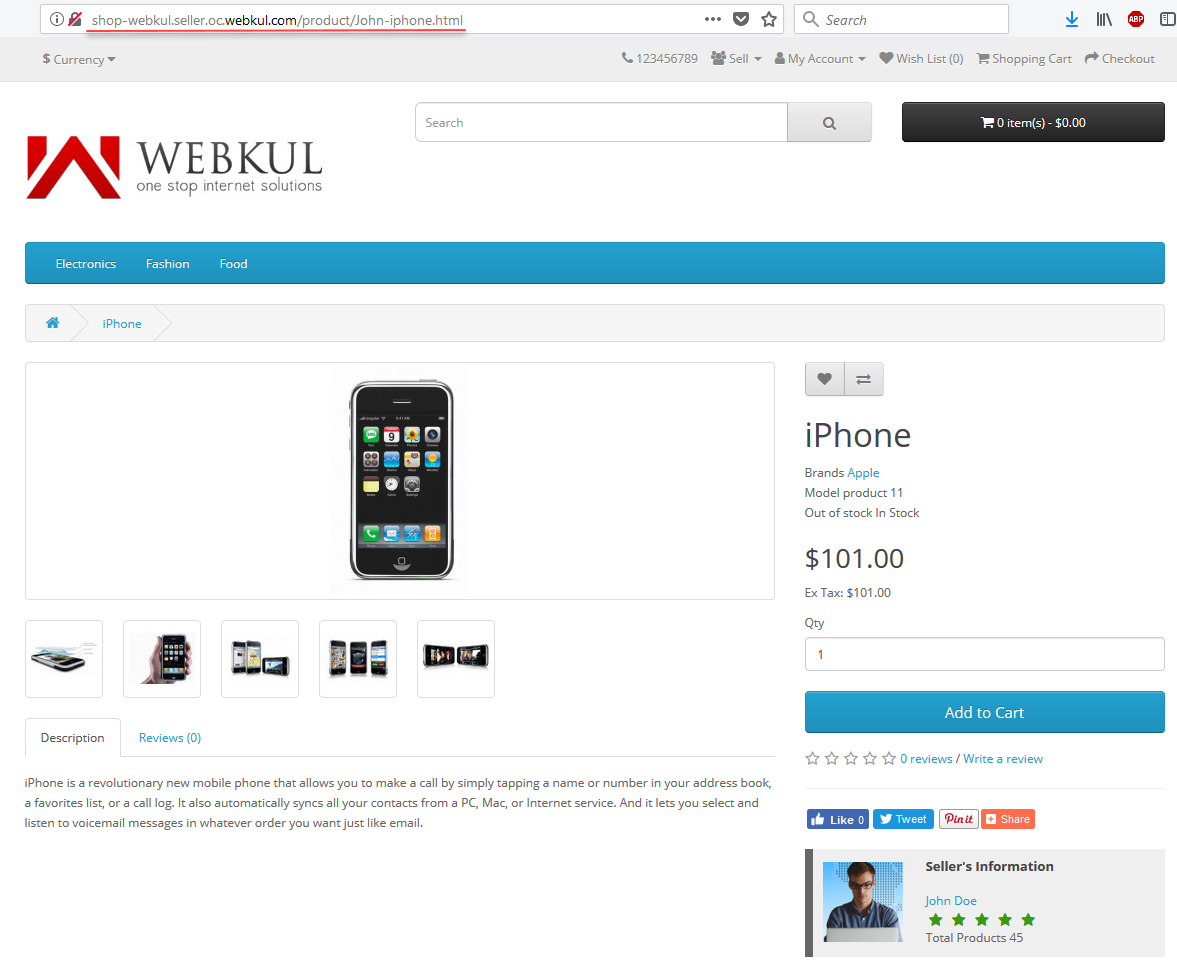
Vendor Product Page:
On the vendor profile page, the customers can go to the respective vendor’s product page that is having the same vendor sub-domain.
Vendor Search Page:
Also, on the vendor profile page, the customers can go to the search box to search for the respective vendor’s products. The search results returned will have the same vendor sub-domain.

That’s all for the Opencart Marketplace Vendor Sub-domain module, still have any issue feel free to add a ticket and let us know your views to make the module better https://webkul.uvdesk.com
Current Product Version - 3.0.2.1
Supported Framework Version - 3.x.x.x

2 comments
Thanks for the appreciation. For further queries, regarding the module please drop us a mail at [email protected] and we will for sure assist. Thanks