Introduction
Odoo Zid Connector helps businesses connect their Zid store with Odoo and manage all store operations from a single platform.
The connector automatically synchronizes products, categories, customers, orders, stock quantities, and shipment updates between Zid and Odoo. This eliminates repetitive manual work and helps maintain accurate business data across both platforms.
With automated synchronization, real-time updates, and selective sync options, businesses can efficiently manage their Zid stores directly from Odoo. The connector also supports multiple Zid stores, making it easier to handle store operations and improve productivity.
Prerequisites for using Odoo Zid Connector:
Odoo Zid Connector works in conjunction with the following module:
You must install the above-mentioned module to use Odoo Zid Connector.
Features
- Sync products between Zid and Odoo to smooth import and export product information while keeping product details updated across both platforms.
- Sync categories using filter options to selectively transfer only the required category data between Zid and Odoo.
- Import customers and orders easily from Zid into Odoo for centralized business management and order processing.
- Run automatic synchronization using cron jobs to automate data exchange and minimize manual intervention.
- Update stock quantities in real time to maintain accurate inventory levels and prevent stock discrepancies across platforms.
- Update shipment status instantly to keep delivery and order tracking information synchronized automatically.
- Manage multiple Zid stores from Odoo through a single database for streamlined store administration and operations.
- Export products and categories from Odoo to Zid to keep store information updated and consistent across both systems.
- Track synchronization history and errors easily by reviewing logs and monitoring synchronization activities for quick troubleshooting.
Installation
- Once you purchase the App from the Webkul store, you will receive a link to download the module’s zip file.
- Extract the file on your system after the download finishes. As a result, you will be able to see a folder named- ‘zid_connector’
- Copy and paste this folder inside your Odoo Add-Ons path.
- Now, open Odoo Apps and click on the Settings menu. Click Activate Developer Mode here.
- Then, open the Apps menu and click on ‘Update Modules List.’
- In the search bar, remove all the filters and search ‘zid_connector’
- You will be able to see the module in the search results. Click on ‘Activate’ to install it.
Workflow
1. Open Odoo Zid Connector Configuration: Navigate to Odoo Zid Connector menu in Odoo and create a new channel instance. This instance will be used to connect your Zid store with Odoo and manage all synchronization activities from a single dashboard.

2. Open My Apps in Zid: Log in to your Zid account and navigate to the My Apps section. This area allows you to manage applications and integrations connected to your Zid store.

3. Get Client ID and Client Secret: Open the application details page and copy the Client ID and Client Secret credentials. These credentials are required to establish a secure connection between Zid and Odoo.

4. Copy Redirect URLs: Copy the redirect URL generated by Odoo and add it to your Zid application settings. This allows Zid to authorize and communicate securely with your Odoo database.

5. Configure Store Credentials: Enter the Client ID, Client Secret, store details, and other required credentials in Odoo. After saving the configuration, click Test Connection to verify the connection between both platforms.

6. Verify the Connection: Once you click Test Connection, Odoo validates the credentials and establishes communication with Zid. A confirmation message will appear if the connection is successful.
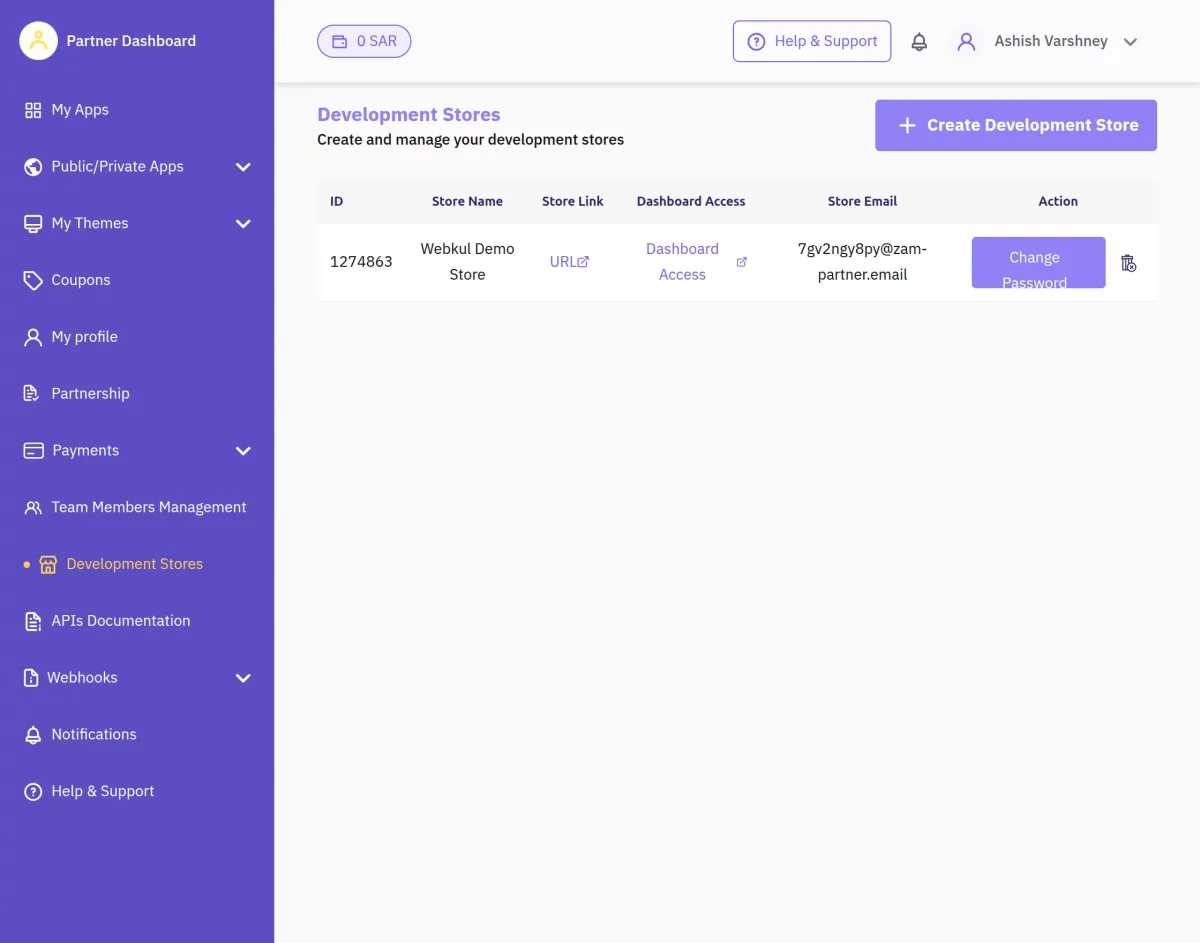
7. Open Dashboard Access in Zid: Navigate to the Zid Development Store and open the Dashboard Access section. This option allows you to access the store dashboard associated with the application.
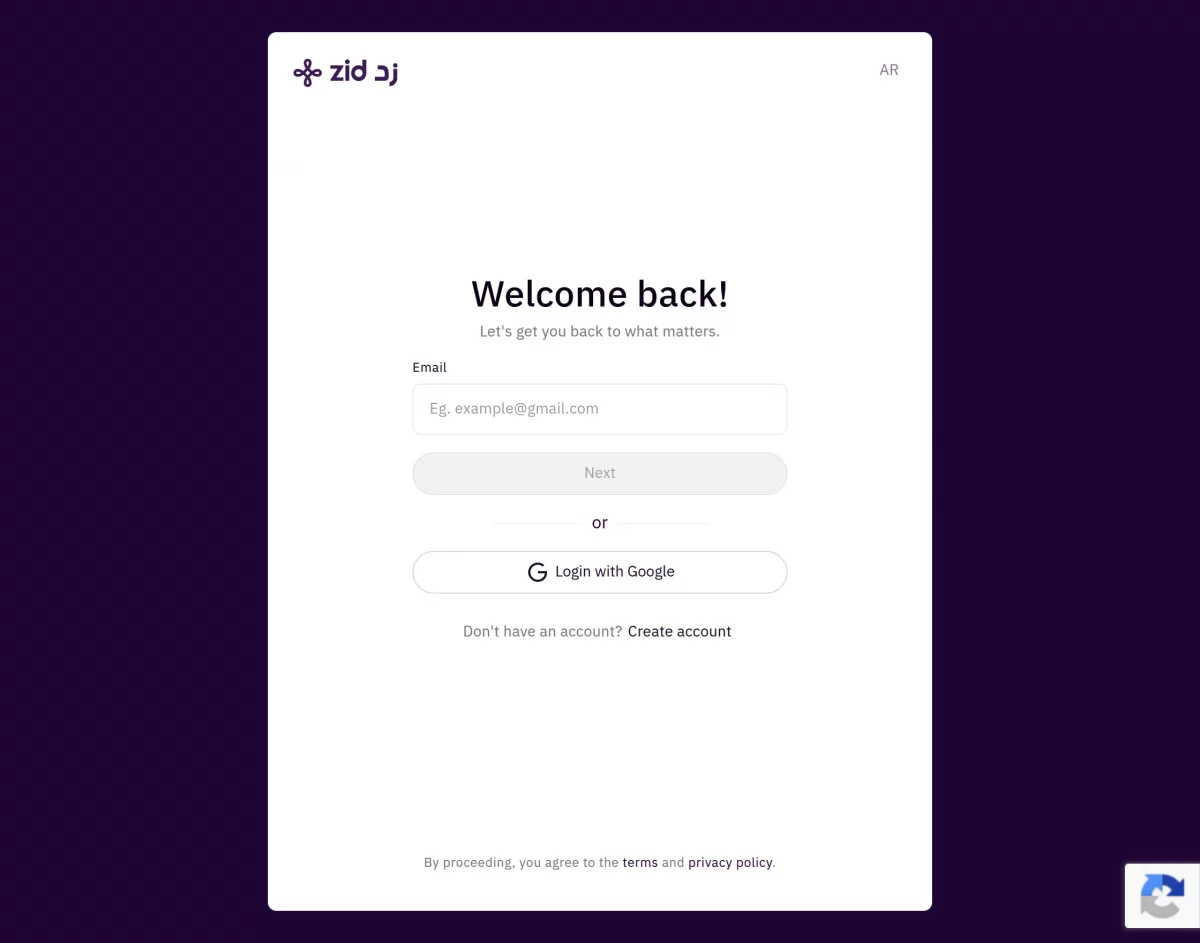
8. Access the Dashboard: Use the access email received from Zid and proceed to log in to the dashboard. This step is required to complete the store authorization process.

9. Open Zid Dashboard: After successful authentication, you will be redirected to the Zid dashboard. From here, you can manage store settings, applications, and integrations.

10. Search for My Apps: Use the search option available in the dashboard and search for My Apps. This section contains all applications installed or available for your Zid store.

11. Activate the Application: Open Odoo Zid Connector application and activate it for your store. Activation allows the connector to exchange data between Zid and Odoo.
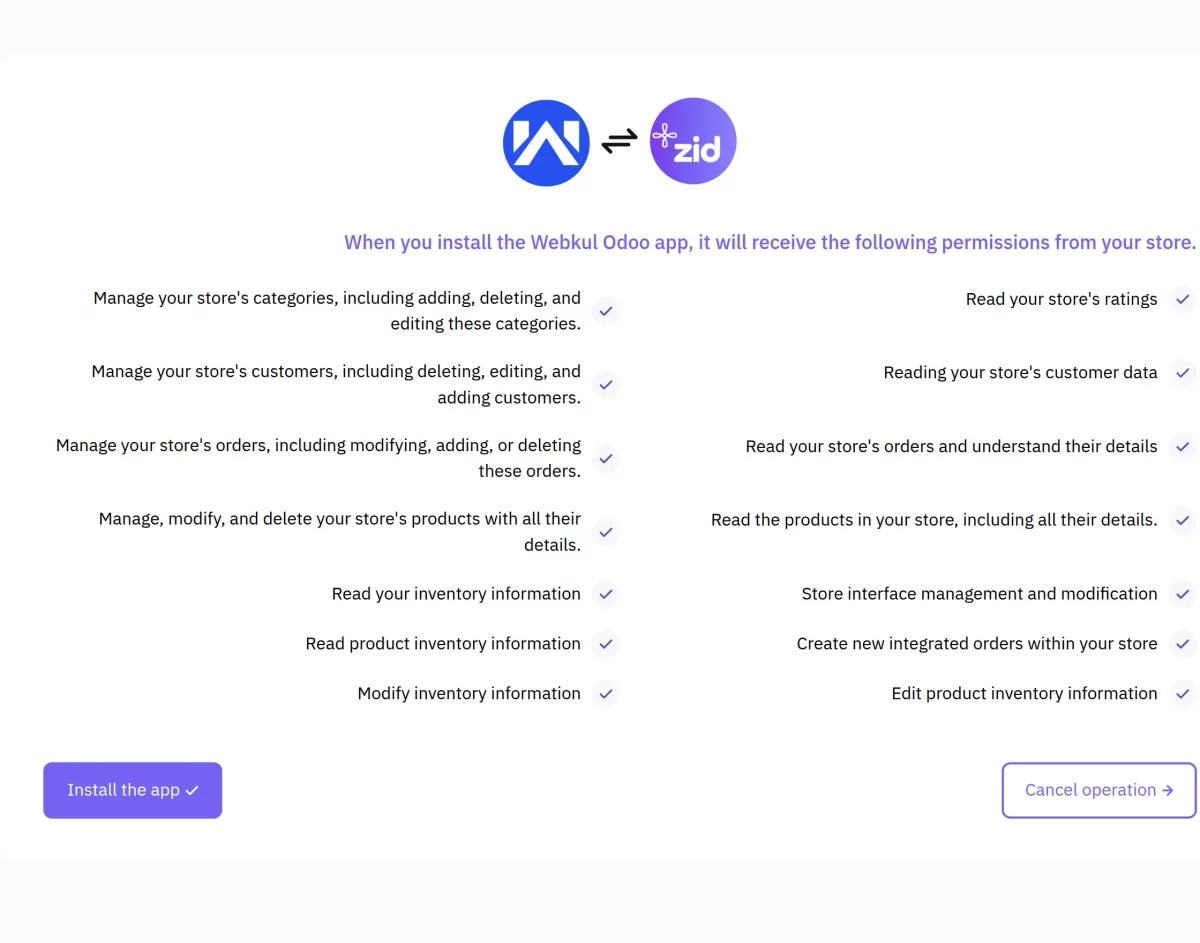
12. Connection Created Successfully: After activation, Zid authorizes the application and establishes the connection successfully. The connector is now ready to synchronize data between both platforms.

13. Store Created in Odoo: Once the authorization process is completed, the Zid store record is created automatically in Odoo. You can now configure synchronization settings and mappings.

14. View Connector Dashboard: Open the connector dashboard to view channel information, synchronization status, and store details. The dashboard provides a centralized view of all connector activities.

15. Access Sync Operations: Navigate to the Operations menu to manage import and export processes. This section allows administrators to control data synchronization between Zid and Odoo.

16. Synchronize Data from Zid to Odoo: Use the Zid to Odoo synchronization options to import products, categories, customers, and orders. Filters can be applied to import only the required records.

17. Synchronize Data from Odoo to Zid: Use Odoo to Zid synchronization options to export products and categories. This helps keep product information updated across both platforms.

18. Configure Basic Settings: Open the connector settings and configure the basic synchronization preferences. These settings control how data is exchanged between Zid and Odoo.

19. Configure Channel Settings: Configure channel-specific settings such as store preferences, synchronization behavior, and operational configurations. These settings help customize the connector according to business requirements.

20. Configure Real-Time Order Status Updates: Enable real-time synchronization for order status updates. This ensures that order changes made in one platform are reflected immediately in the other platform.

21. Configure Automatic Stock Updates: Enable automatic stock synchronization to keep inventory quantities updated across Zid and Odoo. This helps prevent overselling and inventory mismatches.

22. Configure Order State Mapping: Map Zid order statuses with corresponding Odoo order states. Proper mapping ensures that orders follow the correct workflow during synchronization.

23. Configure Cron Jobs: Set up cron jobs for automatic synchronization. Scheduled jobs help synchronize orders, products, customers, and stock without manual intervention.

24. Configure Data Mapping: Manage the mapping of products, categories, customers, and other records between Zid and Odoo. Proper mapping ensures accurate synchronization of data.

25. Track Errors Using Feeds: Review synchronization feeds to identify failed operations and errors. These logs help administrators troubleshoot synchronization issues quickly.
26. Prevent Duplicate Records: Enable duplicate prevention settings to avoid creating duplicate products during synchronization. This helps maintain clean and accurate data.

27. Review Synchronization History: Open the synchronization history section to review all previous synchronization activities. Administrators can monitor completed operations and verify successful data transfers.

Need Help?
Hope you find the guide helpful! Please feel free to share your feedback in the comments below.
If you still have any issues/queries, please create a ticket at the UV Desk.
I hope this helps. In case of any further queries, contact us at our support mail.
Thanks for paying attention!!
Current Product Version - 1.0.0
Supported Framework Version - Odoo 19, Odoo 18, Odoo 17

Be the first to comment.