INTRODUCTION
Receipts are the simplest and easiest way to provide summarised information on transactions customers made.
Nowadays, most of the retailers are trying to improve the business by implementing things creatively.
When it comes to receipts, offering customers the option to receive them in a traditional paper form, or as a digital file that can be emailed.
Now give the option to your customers to collect the receipts via email.
Research shows that 90 percent of consumers prefer to have digital receipt over paper receipts, they don’t worry about lost receipts.
They have less paper to handle, and digital files are quite easier to store, search, and retrieve. No more digging through shoeboxes!
Introducing the “ Odoo POS Email Receipts” module, which facilitates the POS user to send e-receipt to the customer rather than a printed form of receipt.
Moreover, in case, a customer wants to obtain the receipt on a different email address, then the cashier can edit the email address while the customer’s primary email address still remains the same.
FEATURES
1. Save the time of both your customers and yours by using e-receipts in POS.
2. Odoo POS email receipt allows sending order receipts by emails.
3. POS user can edit the customer’s email addresses if requires.
4. The customer’s primary email address will still remain the same.
INSTALLATION
1.) Once you purchase the Odoo POS Email Receipt module From Webkul store, you will receive the link to download the zip file of the module.
2.) Extract the file on your system after the download finishes. You will be able to see a folder named- “pos_email_order_receipt”.
3.) Copy and paste this folder inside your Odoo Add-Ons path.
4.) Now, open the Odoo App and click on the Settings menu. Here, click on Activate the Developer Mode.
5.) Then, open on the Apps menu and click on the ‘Update Modules List’.
6.) In the search bar, remove all the filters and search “pos_email_order_receipt”.
7.) Now you will be able to see the module in the search result. Click on ‘Install’ to install it.
WORKFLOW
Back-end
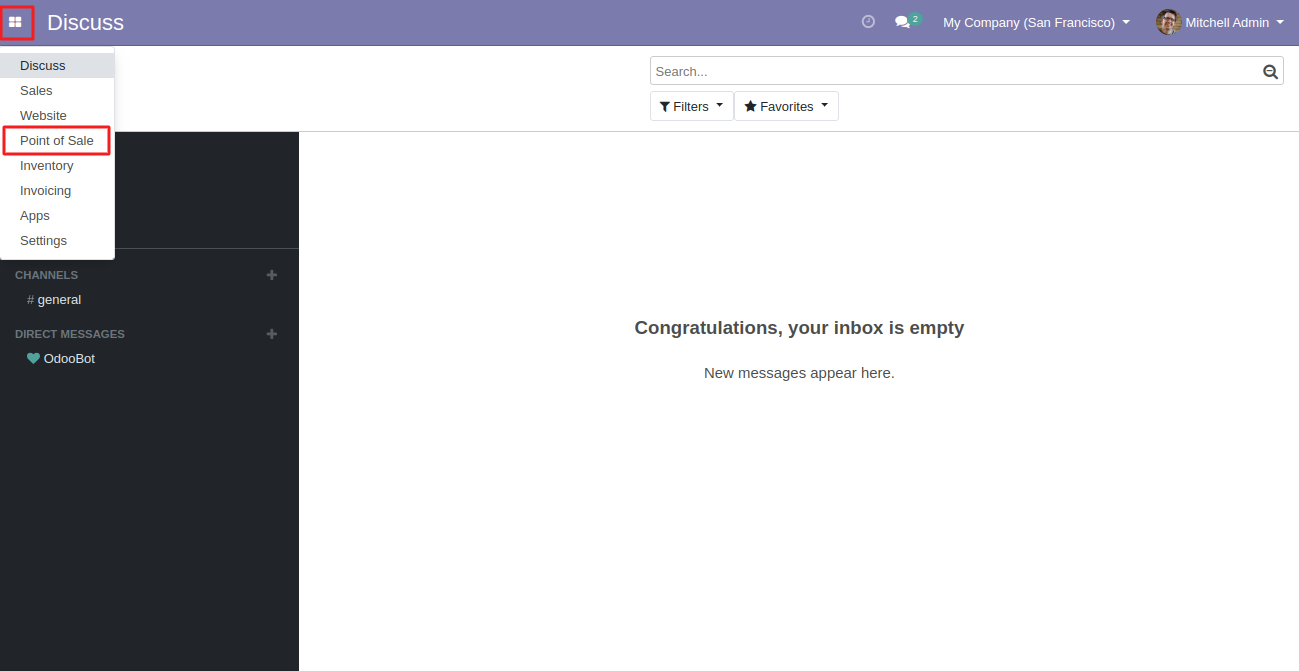
1. Login to your Odoo database and go to POS app.
2. Now navigate into any POS session.

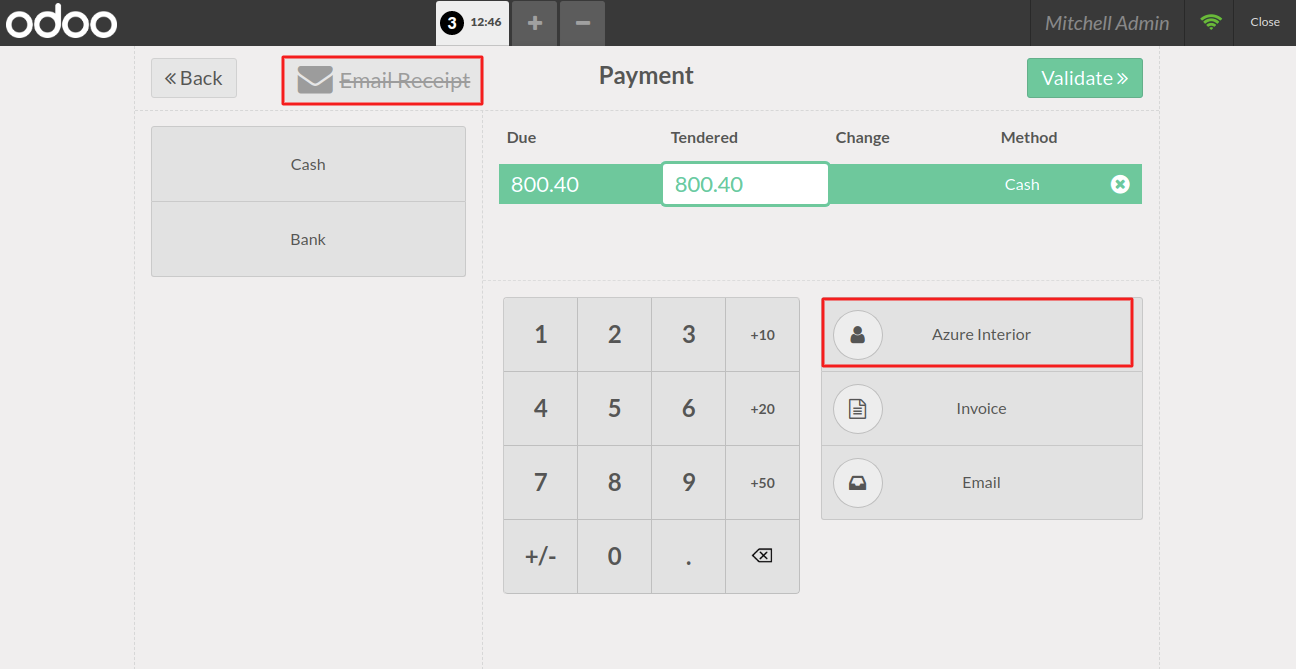
3. Firstly, place an order in the POS cart. Then navigate to validate the order. Now enable the option “Email Receipt” is available on the extreme left of the payment window.
Front-end
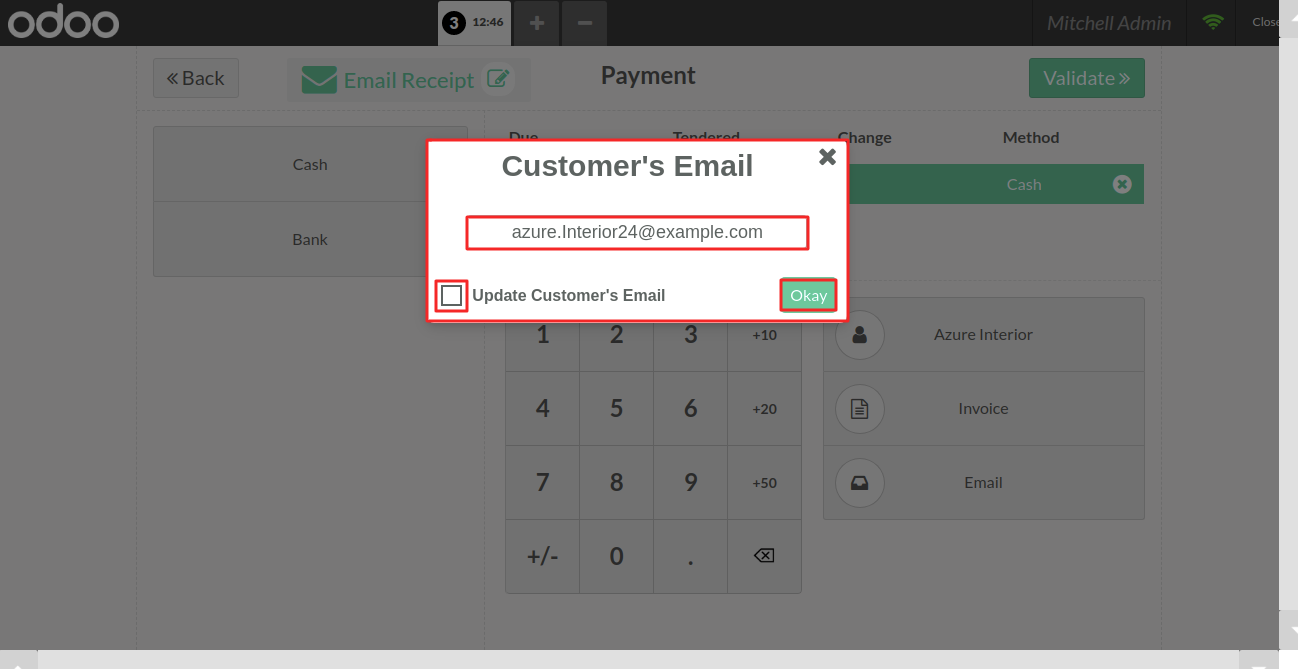
4. If you wish to edit the customer’s email simply, click on “Pencil icon”.

5. In case the customer wants to get the e-receipt at the different email addresses.
Simply, a POS user needs to add the different email addresses of the customer and click on “Update customer’s email” option. Then press the okay button.
6. In case, no customer selected, the POS user can add an e-mail and can send the receipt to that e-mail.

7. The customer gets a receipt attached with mail.

8. This is the receipt that the customer has got on his/her e-mail address.

Also Read The User Guides For The Other Modules
NEED HELP?
Was this guide helpful? Please share your feedback in the comments below.
If you have any issues/queries regarding the module please raise a ticket at https://webkul.uvdesk.com/en/customer/create-ticket/
For any doubt contact us at [email protected].
Thanks for reading!!
Current Product Version - 1.0
Supported Framework Version - Odoo 19,18,17

Be the first to comment.