Installation
The installation is quite simple just like the standard Magento 2 extensions.
Updated 12 months ago
Magento 2 SSO or Magento 2 Single Sign-On module allows the integration of the Magento store with third-party applications.
However, the user can sign in to the third-party applications through their Magento 2 sign-up credentials.
Using Magento 2 SSO, the admin can easily integrate multiple clients for Single Sign-On using their Magento credentials.
The admin can also integrate the UVdesk support portal with the user’s Magento store.
The installation is quite simple just like the standard Magento 2 extensions.
Firstly, you need to log in to the Webkul Store, go to My Account>My Purchased Products section, verify, and then download and extract the contents of this zip folder on the system.
Once the module zip is extracted, follow path src>app and then transfer the app folder into the Adobe Commerce Cloud root directory on the server as shown below:

After uploading the module folder, you need to run the following commands in the Magento 2 root directory:
composer require firebase/php-jwt
php bin/magento setup:upgrade
php bin/magento setup:di:compile
php bin/magento setup:static-content:deploy
php bin/magento indexer:reindex
php bin/magento cache:flush
Note: One must install and enable the PHP Extension LDAP in order to use the LDAP feature in Magento 2 SSO.
Therefore, for Multilingual support, please navigate to Store>Configuration>General >Locale Options. Also, select your desired language from the Locale option.

Thus, in this way, a multi-lingual configuration can be done.
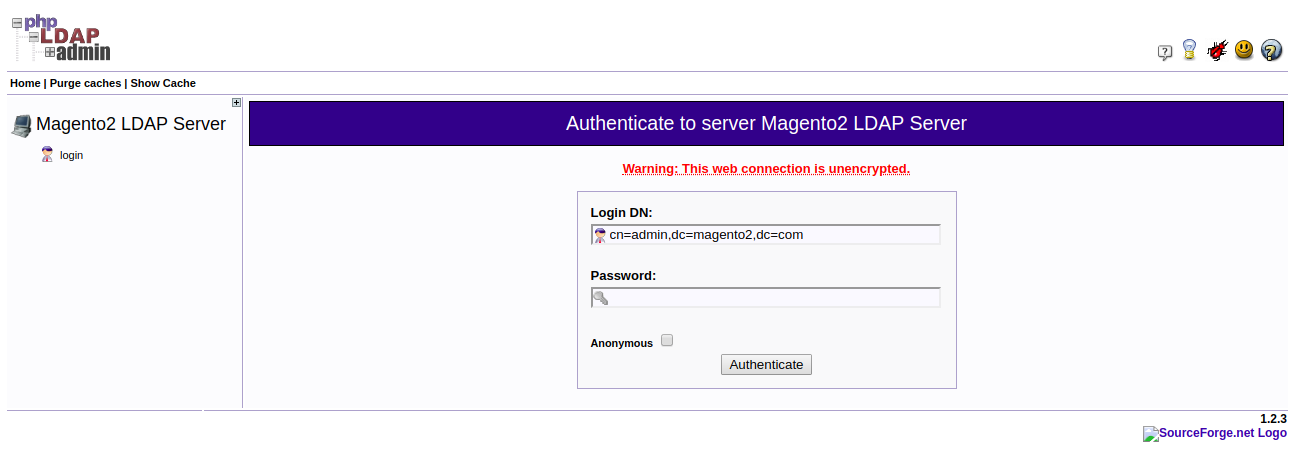
Firstly, the user will have to authenticate with the Magento2 LDAP Server.

After that, On logging in to the LDAP admin page, the Login DN and as well as Password will be visible as shown in the image below, and click Authenticate.
Simply, click Create new entry here to create an organizational unit as shown below.

Right after, a page will load up with a list of templates. However, the user needs to select the Organisational Unit checkbox.

Further, you need to enter the name of the organizational unit and click Create Object.

After that, The Create LDAP Entry page will open simply click on the Commit and as well as proceed.


The user can navigate through Stores > Sso Connector > LDAP Configuration so as to set the configurations of the LDAP as shown in the image below.

Hence, The admin can set the configurations for the LDAP as follows:
Enabled: The admin can enable or disable Single Sign-On through the LDAP server.
Customer Synchronization: The admin can enable or disable the customer synchronization of newly created customers on Magento 2 store with the LDAP server.
Server IP: The admin needs to add the IP of the server.
Port: The port number is to be added by the admin.
Organizational Unit: The created organizational unit at the LDAP server needs to be entered here in this section.
Domain Component: It is retrieved from the LDAP admin page.
Admin User: We need to enter the LDAP User name over here.
Password: Add the password for the Admin User.
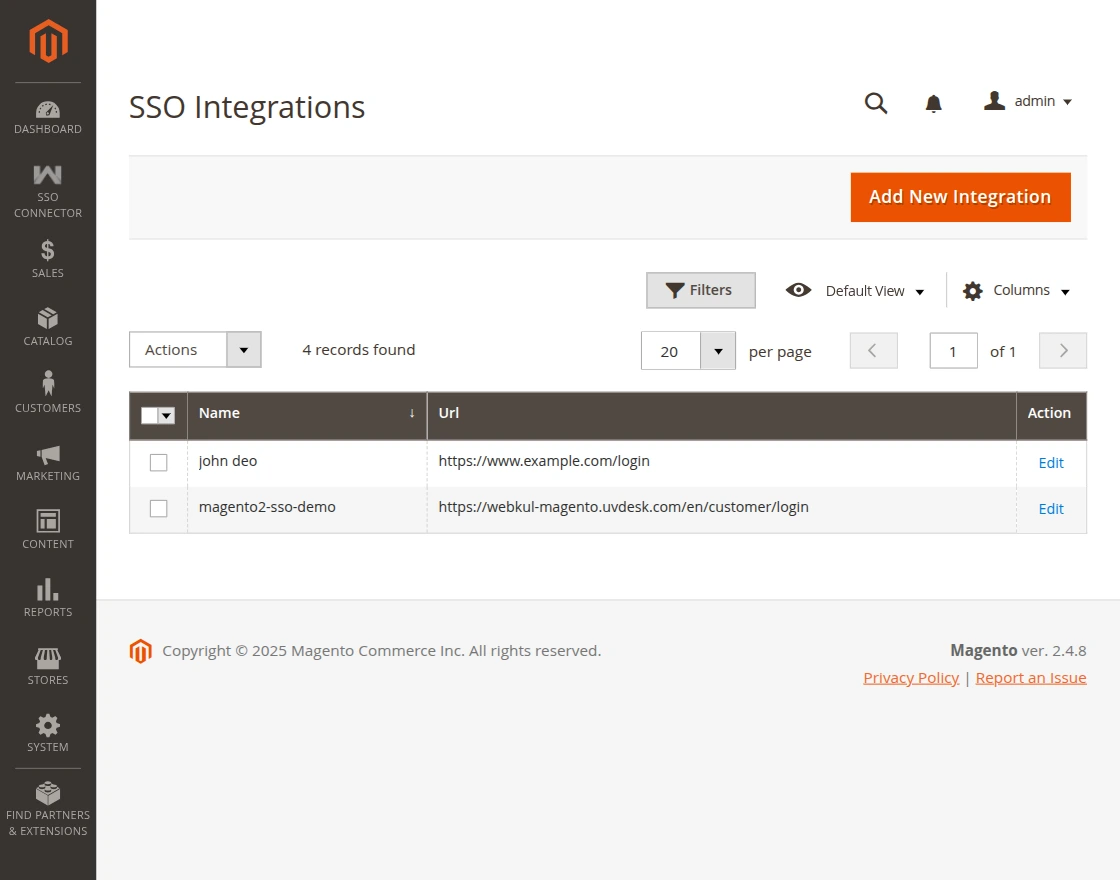
The admin can manage multiple integrations by simply adding/editing/deleting the integration.
Then, the admin can add new integrations by navigating through Admin Login -> SSO Connector -> Manage Integration in the admin panel.
The configurations are set by the admin as follows:
The admin can add new integration by navigating through SSO -> Add New Integration.
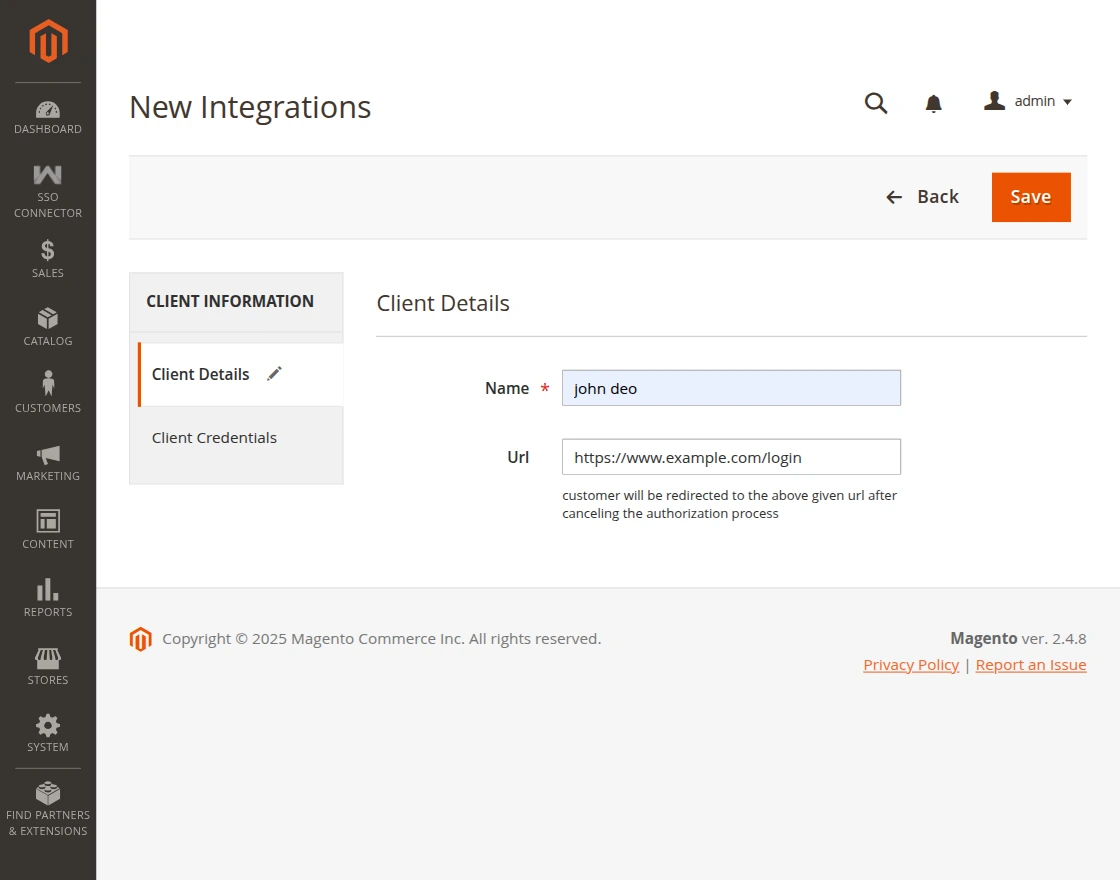
Afterward, on the New Integration page, the admin can configure the Client Details and the Client Credentials.
The admin can configure the ‘Name’ and the ‘Url’ against the Client Details tab as shown in the image below.
The admin can configure the following details:
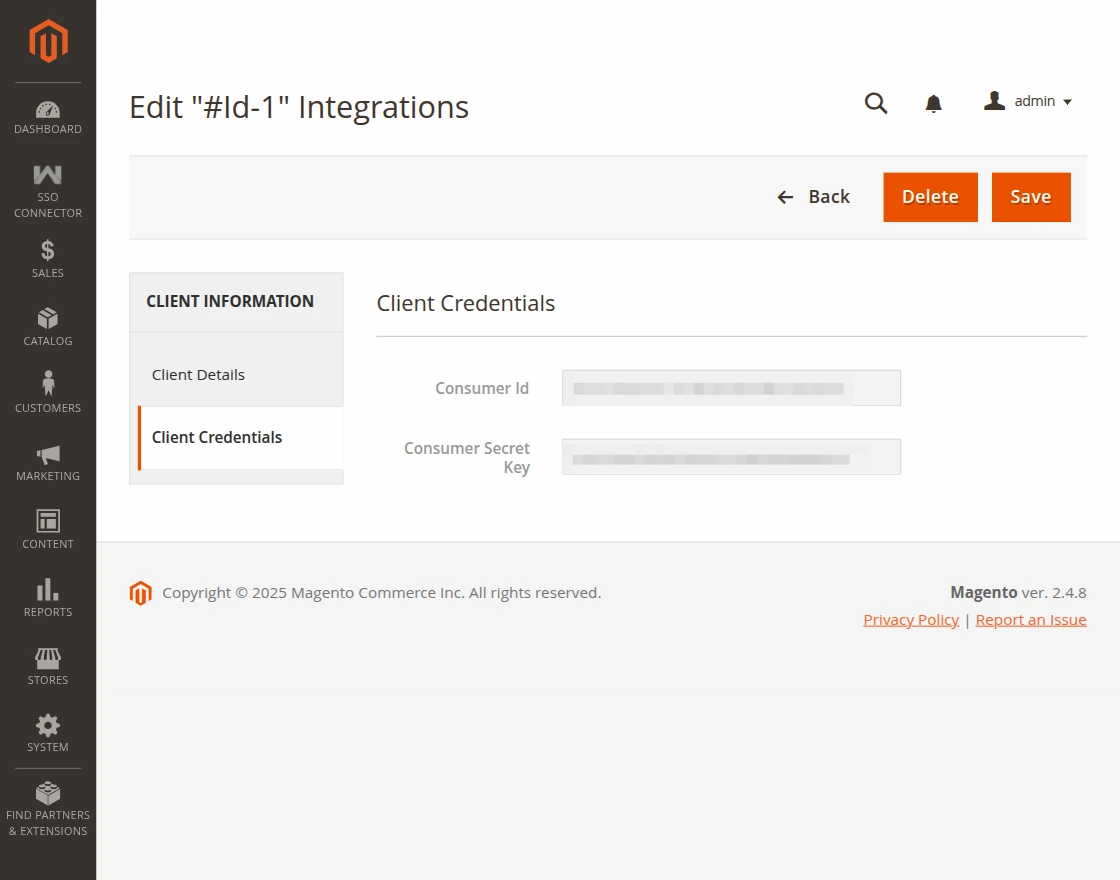
As soon as the admin clicks on the “Save” button, it saves the details of the client and generates the credentials, automatically.
Moreover, The admin can view the ‘Consumer Id’ and the ‘Consumer Secret Key’ credentials under the Client Credentials tab as shown in the image below.
Please Note: To integrate the Magento store with UVdesk the admin must have a UVdesk admin account.
Furthermore, the admin can Sign up for free at UVdesk to have the UVdesk admin account.
Please Note: Download Magento 2 SSO (of UVdesk) for free from the UVdesk admin panel. Click here to learn about Magento 2 SSO (of UVdesk) installation and configuration.
Furthermore, The admin can add integration for UVdesk by navigating through SSO -> Add New Integration -> Client Details.
Then, The admin can use the Consumer Id at UVdesk admin panel for configuring the Magento 2 SSO under SSO -> Add New Integration -> Edit (required integration) -> Client Credentials -> Consumer Id.
Then, admin will have to configure the Magento 2 SSO at UVdesk admin panel.

Store Name of the Magento 2.
After the successful integration of UVdesk to the Magento 2, the user will see an option of “Continue with Magento 2 User“.
However, by this option, the user can sign-in to the UVdesk support portal of the admin.

After that, on clicking the “Continue with Magento 2 User” button the user will be redirected to Magento store login.

However, Tapping the Sign In button brings up the section where the user needs to provide the authorization for accessing the profile as shown below in the snapshot.
However, Tapping the respective “Continue as Demo” button will redirect the user to the UVdesk portal.
 Hence, The user may choose to click on the “Cancel” tab as shown in the image below.

As the user clicks on the “Cancel” tab, it redirects the user to the Sign In page as shown in the image below.
Follow the below steps to integrate the Magento 2 SSO with third-party integration like asp.net, Java, PHP, etc.
1.) Create a button at the client end (like asp.net) to login from Magento. After hitting that button redirect to the following URL.
API Resource :
magentobaseurl/sso/sso/index/redirect_uri/#value/client_id/#value
Method: GET
Response: redirecturl?token=#tokenval
Description: get the token
Note: that redirect_uri and client_id is mandatory field append to URL

2.) After that, at the API end(Magento end) client id will verify that the client is registered at the Magento end or not? If the customer is registered then a login page will appear to log in.
Thus, After login a page appears with authorizing and cancel button. If authorized then a token will be provided and append in the redirect URL.
But if the client is already login with some account then a page appears with authorizing and cancel button.
If the client is not authorized then an error message will be shown or the user cancels to authorize then it redirects to the redirect URL.

3.)After that client will hit again the Magento SSO module API with the provided token and client id
API Resource :
magentobaseurl/sso/sso/accesscustomerdata/client_id/#value/authToken/#value
Method: GET
Response: JWT encoded string or Array(with error key)
Description: get the user email information
if client_id and auth token verified we send the customer email and name with the expiration of 2 minutes encoded by JWT using client secret key else error will be provided in $response[‘error] form
Hence, The client has to decode the data using JWT via the client secret key generated at Magento end with a success or error field.
API Resource :
magentobaseurl/sso/sso/checkcredential/client_id/#value/client_secret_key/#value
Method: GET
Response: Array
Description: check the detail entered at the client end is correct?
That’s all for Magento 2 SSO module. If you still have any issue, feel free to add a ticket and let us know your views on our webkul support system.
Current Product Version - 5.0.1
Supported Framework Version - Magento 2.0.x, 2.1.x, 2.2.x,2.3.x, 2.4.x

Start a Project
Message Sent!
If you have more details or questions, you can reply to the received confirmation email.
Back to Home