INTRODUCTION
Hassle-free bill printing with Odoo Print Product Label Directly Via Zebra Printer!
Setting up a printer at every desk and arranging the required equipment can cost a lot of money. The rational and most convenient way is to install a network printer that anyone can use conveniently from their system. Further, they can print the label with just a few clicks.
Odoo Print Product Label Directly Via Zebra Printer solves this problem as the module allows you to print product labels directly via Zebra printer. Also, it eliminates the need for a bulky printing setup for each system.
Moreover, the module allows you to use a preset or customized template as per your need. In addition, the QZ Tray client, when prompted, automatically uses the default printer and the saved template to print the product label.
NOTE-1: Odoo Print Product Label Directly Via Zebra Printer Module works in conjunction with the following module:
Print Odoo Reports via Zebra Printer
You would require to install this module first for Odoo Print Product Label Directly Via Zebra Printer to work correctly.
Note-2: This module uses the QZ Tray client for sending direct print commands and Python Library: zplgrf to the ESC/POS printer:
QZ Tray Installation Link: (https://qz.io/download/)
Python Library: zplgrf: Type the following command on your cmd prompt window: pip install zplgrf
FEATURES
- The module allows you instantly print product labels in Odoo using QZ Tray Client.
- Print product barcodes directly without even downloading them.
- Odoo users can directly access the printer with the ‘Print’ button present on the Product Variant page.
- Odoo users can also set a default Zebra printer for the QZ Tray to use automatically while printing a product label.
- If a default printer is not set, the QZ Tray Client will show all the available printers connected to the network. The user can choose any desired printer.
- Also, configure a custom template for your product label by defining ZPL for the product template.
INSTALLATION
- Once you purchase the App from Webkul store, you will receive the link to download the zip file of the module.
- Extract the file on your system after the download finishes. You will be able to see a folder named- ‘product_label_for_zebra_printer.’
- Copy and paste this folder inside your Odoo Add-Ons path.
- Now, open the Odoo App and click on the Settings menu. Here, click on Activate the Developer Mode.
- Then, open the Apps menu and click on ‘Update Modules List.’
- In the search bar, remove all the filters and search ‘product_label_for_zebra_printer.’
- You will be able to see the module in the search result. Click on ‘Install’ to install it.
NOTE: Once you have installed the QZ Tray Client on your system, make sure to start the software before printing any report. If the QZ tray Client is not running, Odoo shows the following error message when you try to print something – ‘Could not find QZ Tray Client’.
While adding a new printer, make sure the name on the form is the same as the printer name. QZ Tray client uses the exact printer name to establish a connection and send print commands.
WORKFLOW CONFIGURATION
1. Firstly, open the Odoo Backend, go to Settings, and scroll to the bottom of the page to locate and enable “Activate the Developer Mode.”

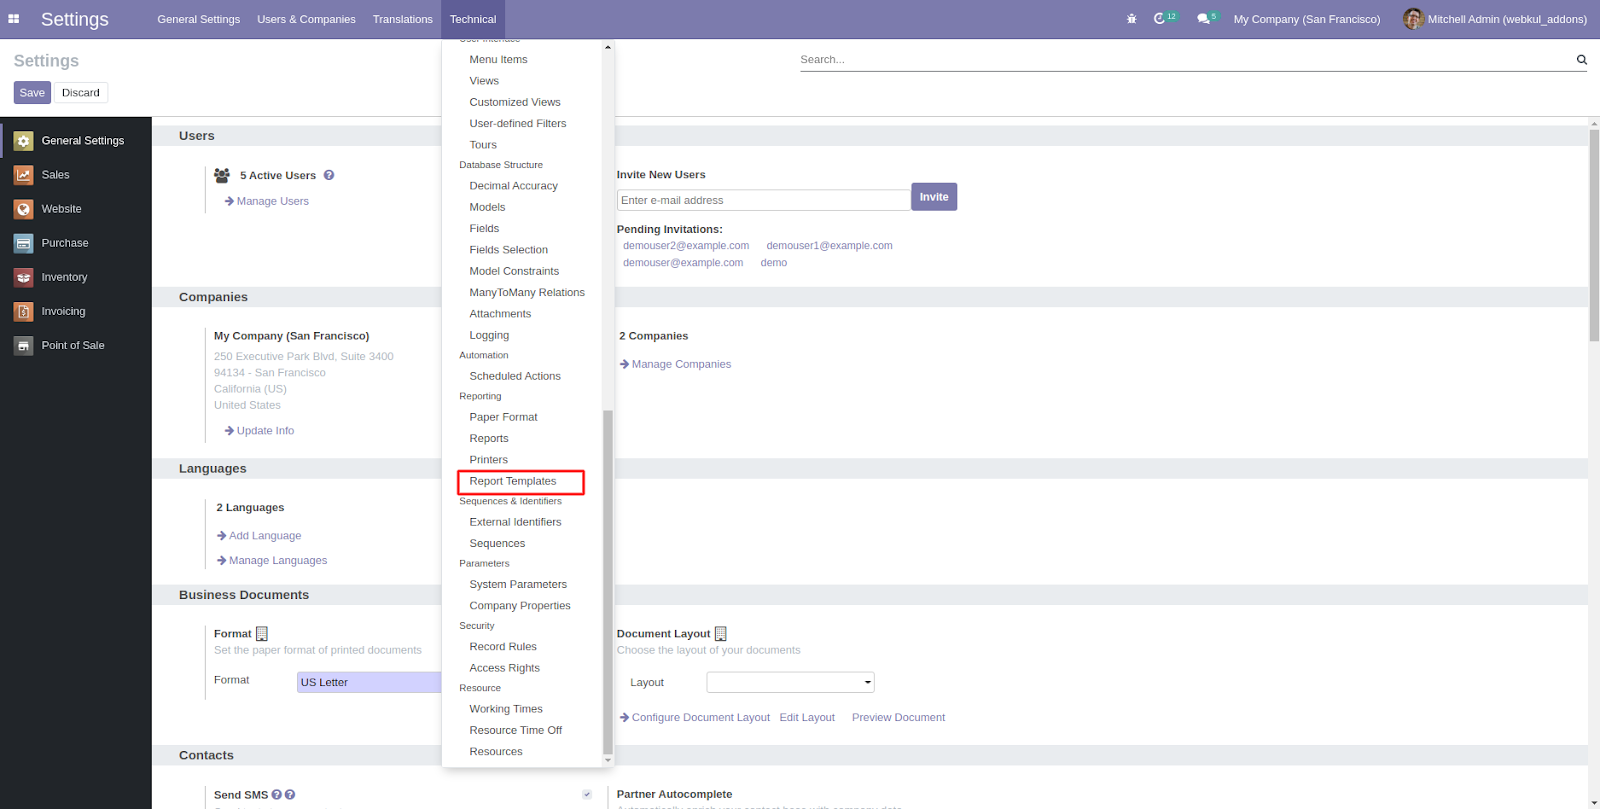
2. Now, click on the “Technical” section and locate “Printers” under the “Reporting.”

3. After that, click the “Create” button and enter the “Printer Name,” and choose the “Type.”

4. Once done, locate “Report Templates” under the “Technical” menu.
5. Click the “Create” button, and on the new page, insert the ZPL format in the ‘Report Template’ tab.
Note: The ZPL Template is compulsory if you want to use your own template because Zebra Printer only accept ZPL command.
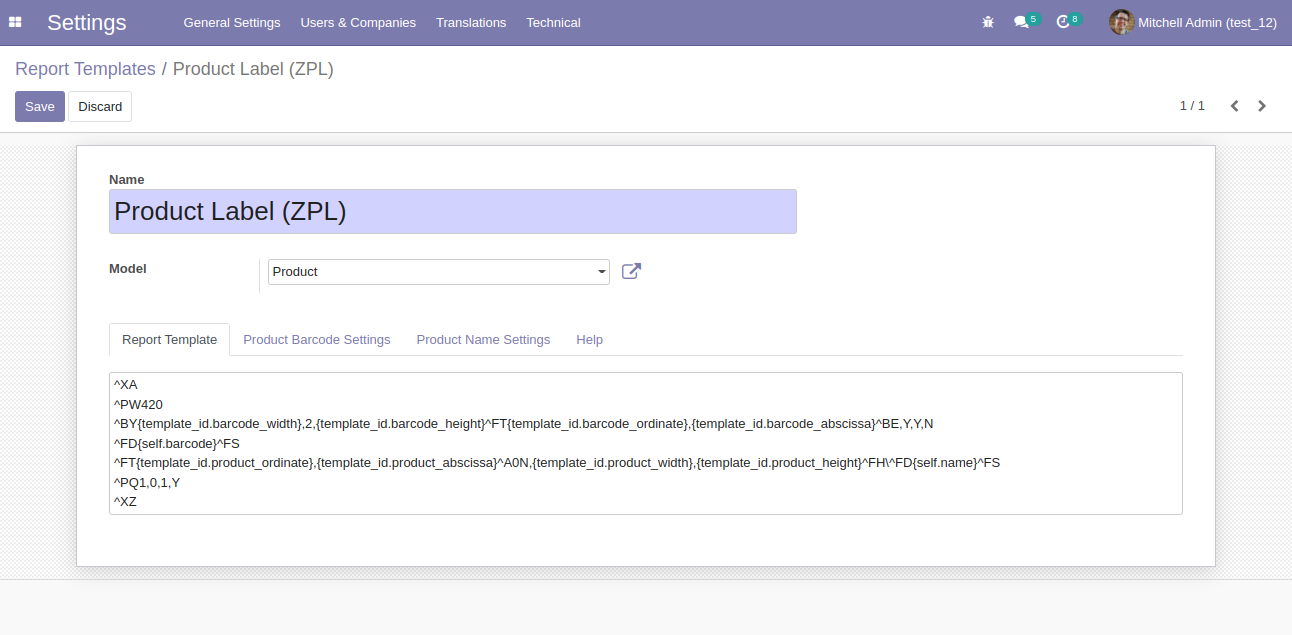
6. After that, go to the ‘Product Barcode Settings’ tab and set the height, width, bottom margin, and left margin of the barcode.

7. Once done, click on the ‘Product Name Settings’ Tab and configure the product name height, width, bottom margin, and left margin.

8. Next, go to ‘Sales> Products> Products Variants’ and open any product. On the product page, You can see the barcode (if not there then you can add it). Once done, click on the ‘Print> Print Label (ZPL Direct)’ to print the product barcode label.

9. After clicking the ‘Product Label (ZPL Direct)’ popup will appear asking you to allow various permission to print the product label.
OTHER ODOO MODULES
- Odoo Print Payslip Annually
- Odoo Web to Print
- Dynamic Bank Cheque Print
- Odoo Print Payslip Excel Report
- Odoo Point Of Sale Debranding
NEED HELP?
Hope you find the guide helpful! Please feel free to share your feedback in the comments below.
If you still have any issues/queries regarding the module, please raise a ticket at https://webkul.uvdesk.com/en/customer/create-ticket/.
Also, please explore our Odoo development services & an extensive range of quality Odoo Apps.
For any doubt, contact us at [email protected].
Thanks for paying attention!!
Current Product Version - 1.0.0
Supported Framework Version - V15, V14, V13, V12

Be the first to comment.