CS-Cart Store Close Custom Page is the perfect solution for creating a professional and informative store closed page in CS-Cart and CS-Cart Multivendor.
Whether your store is under maintenance, updating products, or temporarily offline, this module helps you communicate with customers effectively.
Instead of showing a generic “store closed” message, the module lets you customize everything — from the title and message to the layout, and colors.
This way, your brand identity stays intact even when your store is unavailable.
With options to add social media links and a contact section, customers can still reach out or follow you for updates.
Plus, the SEO-friendly structure ensures search engines can still recognize and index your page properly.
Store Close Custom Page module not only enhances customer experience but also ensures your store downtime works in your favor, keeping customers informed and connected until your store is back online.
Note: Before installing the add-on, extract the downloaded package.
- Install the License Manager add-on first.
- Then install the required add-on.
- Follow the license activation steps to generate your license key.
Features
- Seamless compatibility with CS-Cart and CS-Cart Multivendor.
- Simple setup and easy management through the admin panel.
- Admin can customize the title and message displayed on the store close page.
- Flexible layout options to choose from for the store closed page.
- Option to add social media icons with clickable links.
- Display a customer query or contact section directly on the closed page.
- Fully SEO-friendly design to maintain search engine visibility.
Explore our CS-Cart Vendor Order Accept add-on that allows admin and vendors review customer orders and accept or cancel them.
How To Upload And Install The Add-on
After downloading the CS-Cart Store Close Custom Page add-on you’ll get the zip file, one install.txt file, and a relevant User Guide manual doc. Read it carefully for proper configuration.
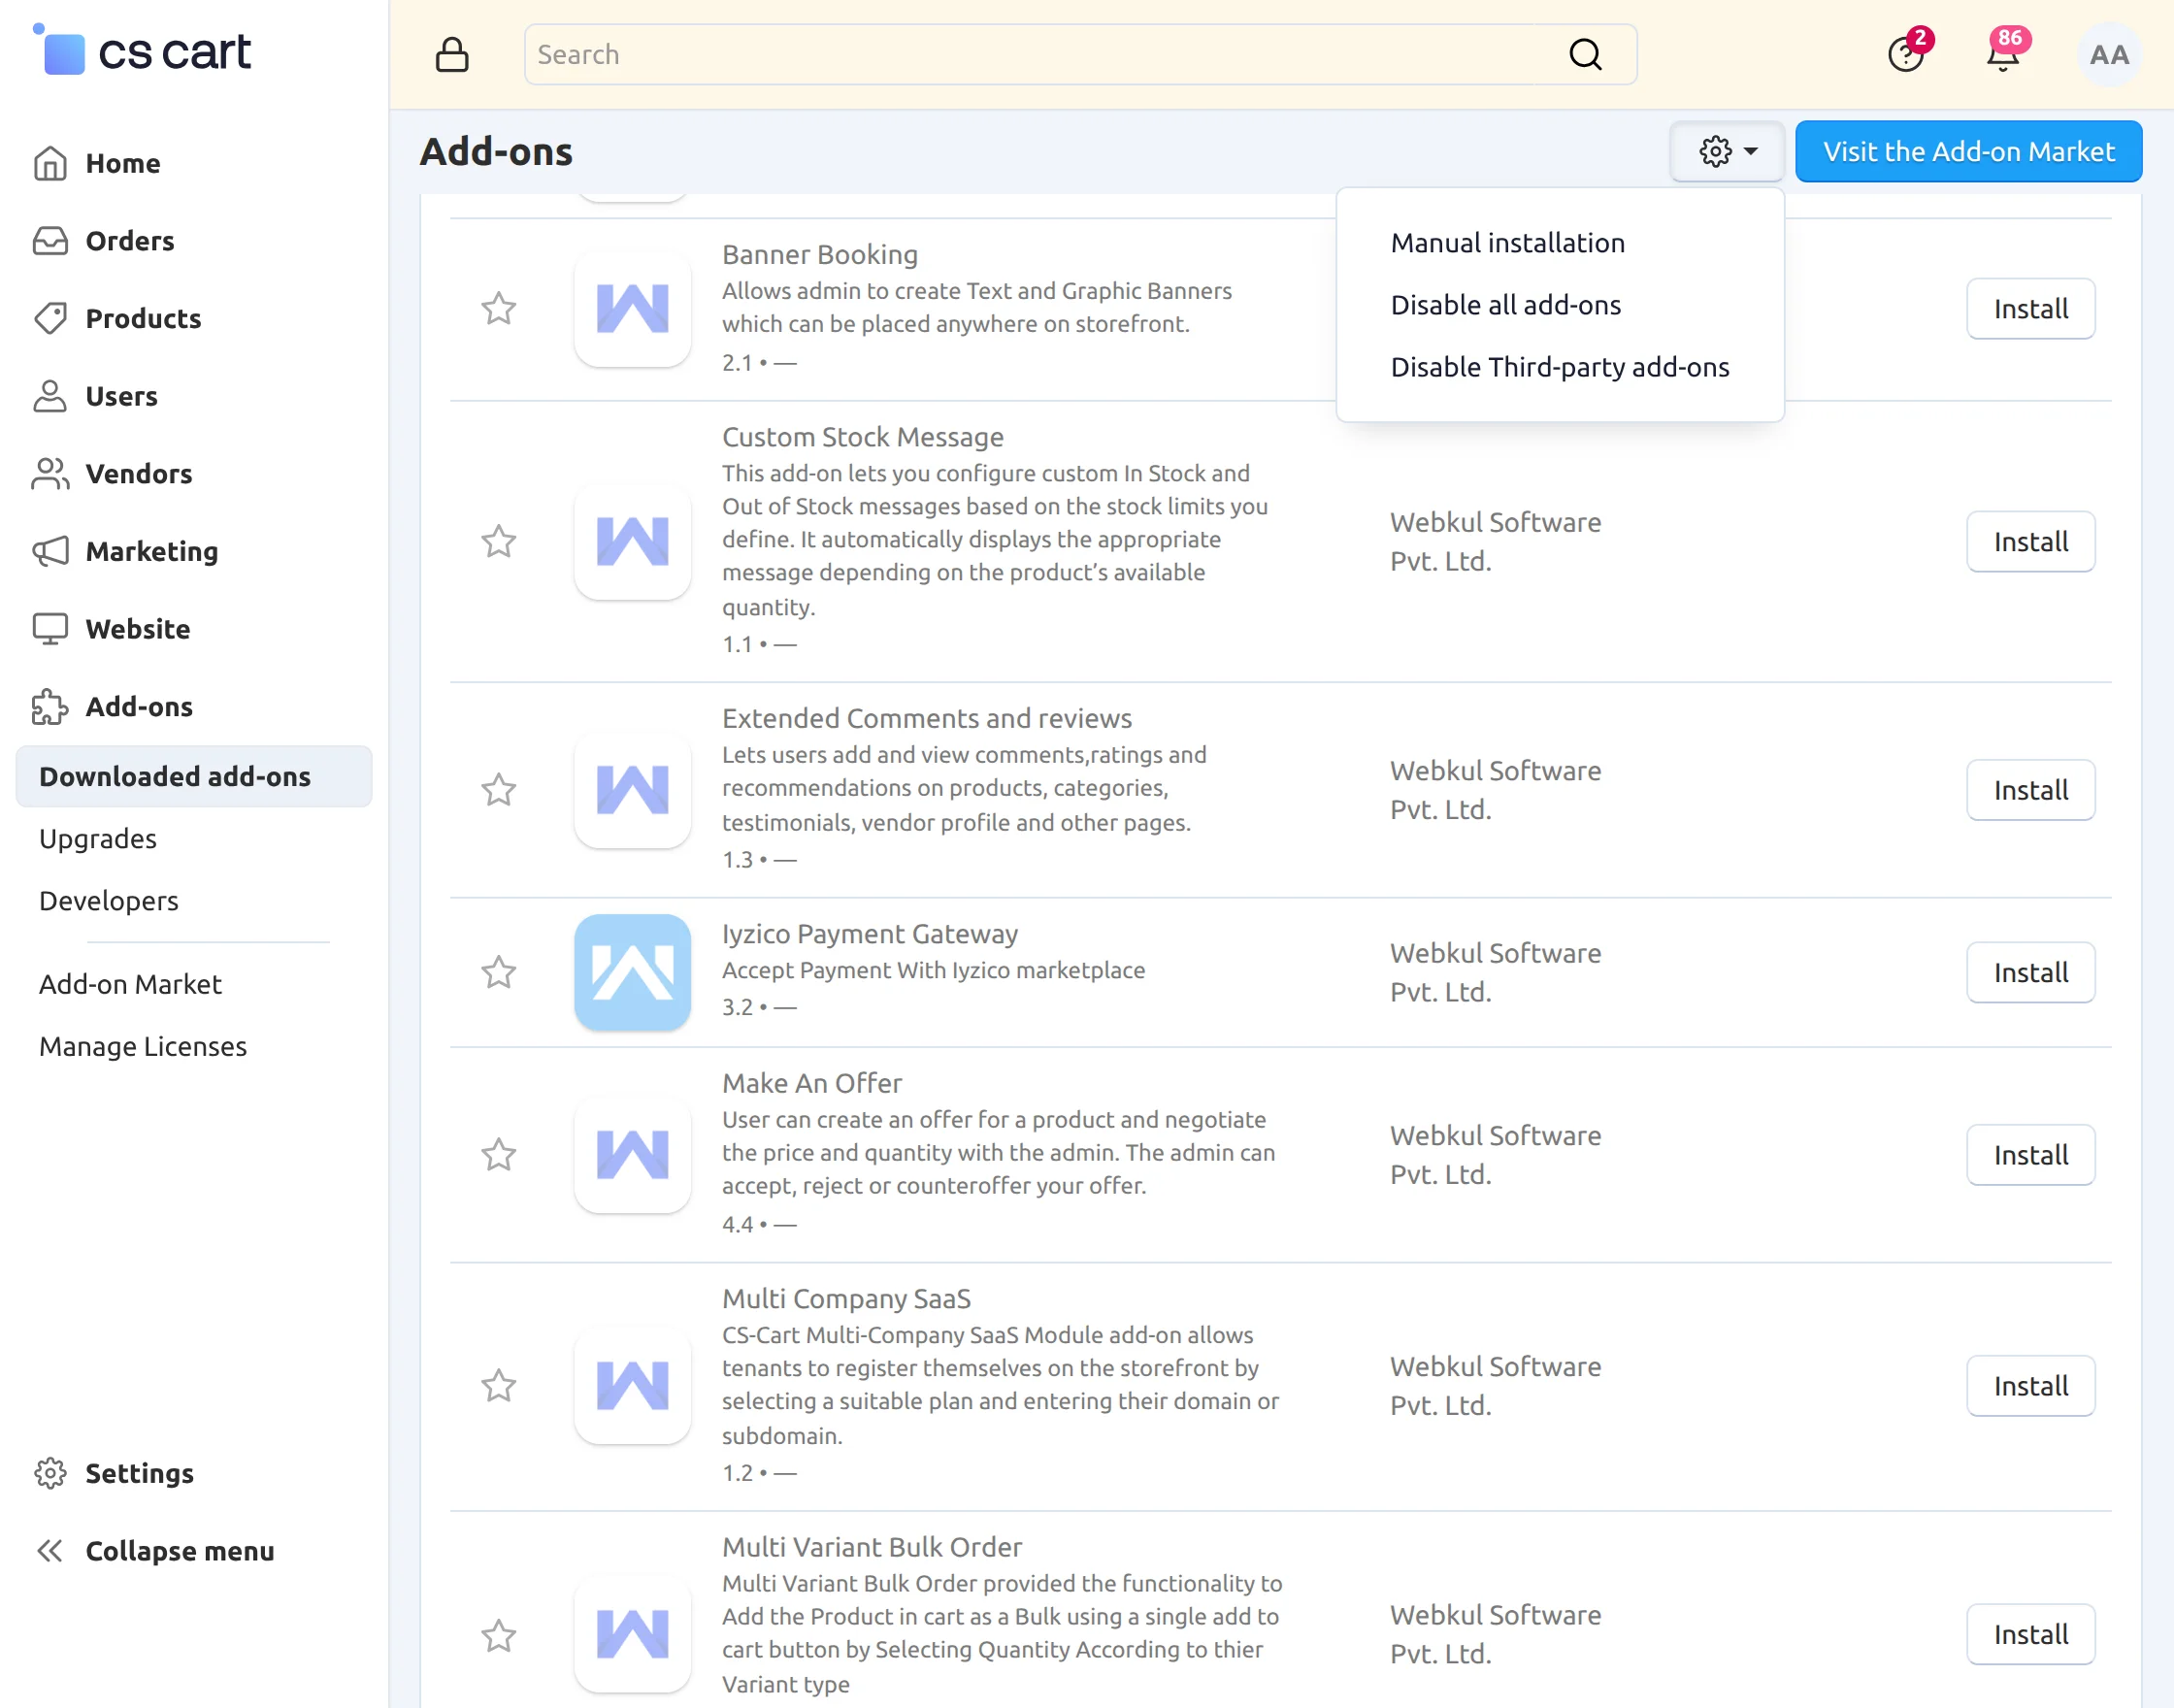
Go to “Add-ons” -> “Downloaded add-ons”, and by clicking on the settings icon you can be able to manually install the zip file as shown.
Click on “Local” to browse the zip file and then click on “Upload & Install” as shown below in the snapshot.

This is how you can install the add-on!
Configuration
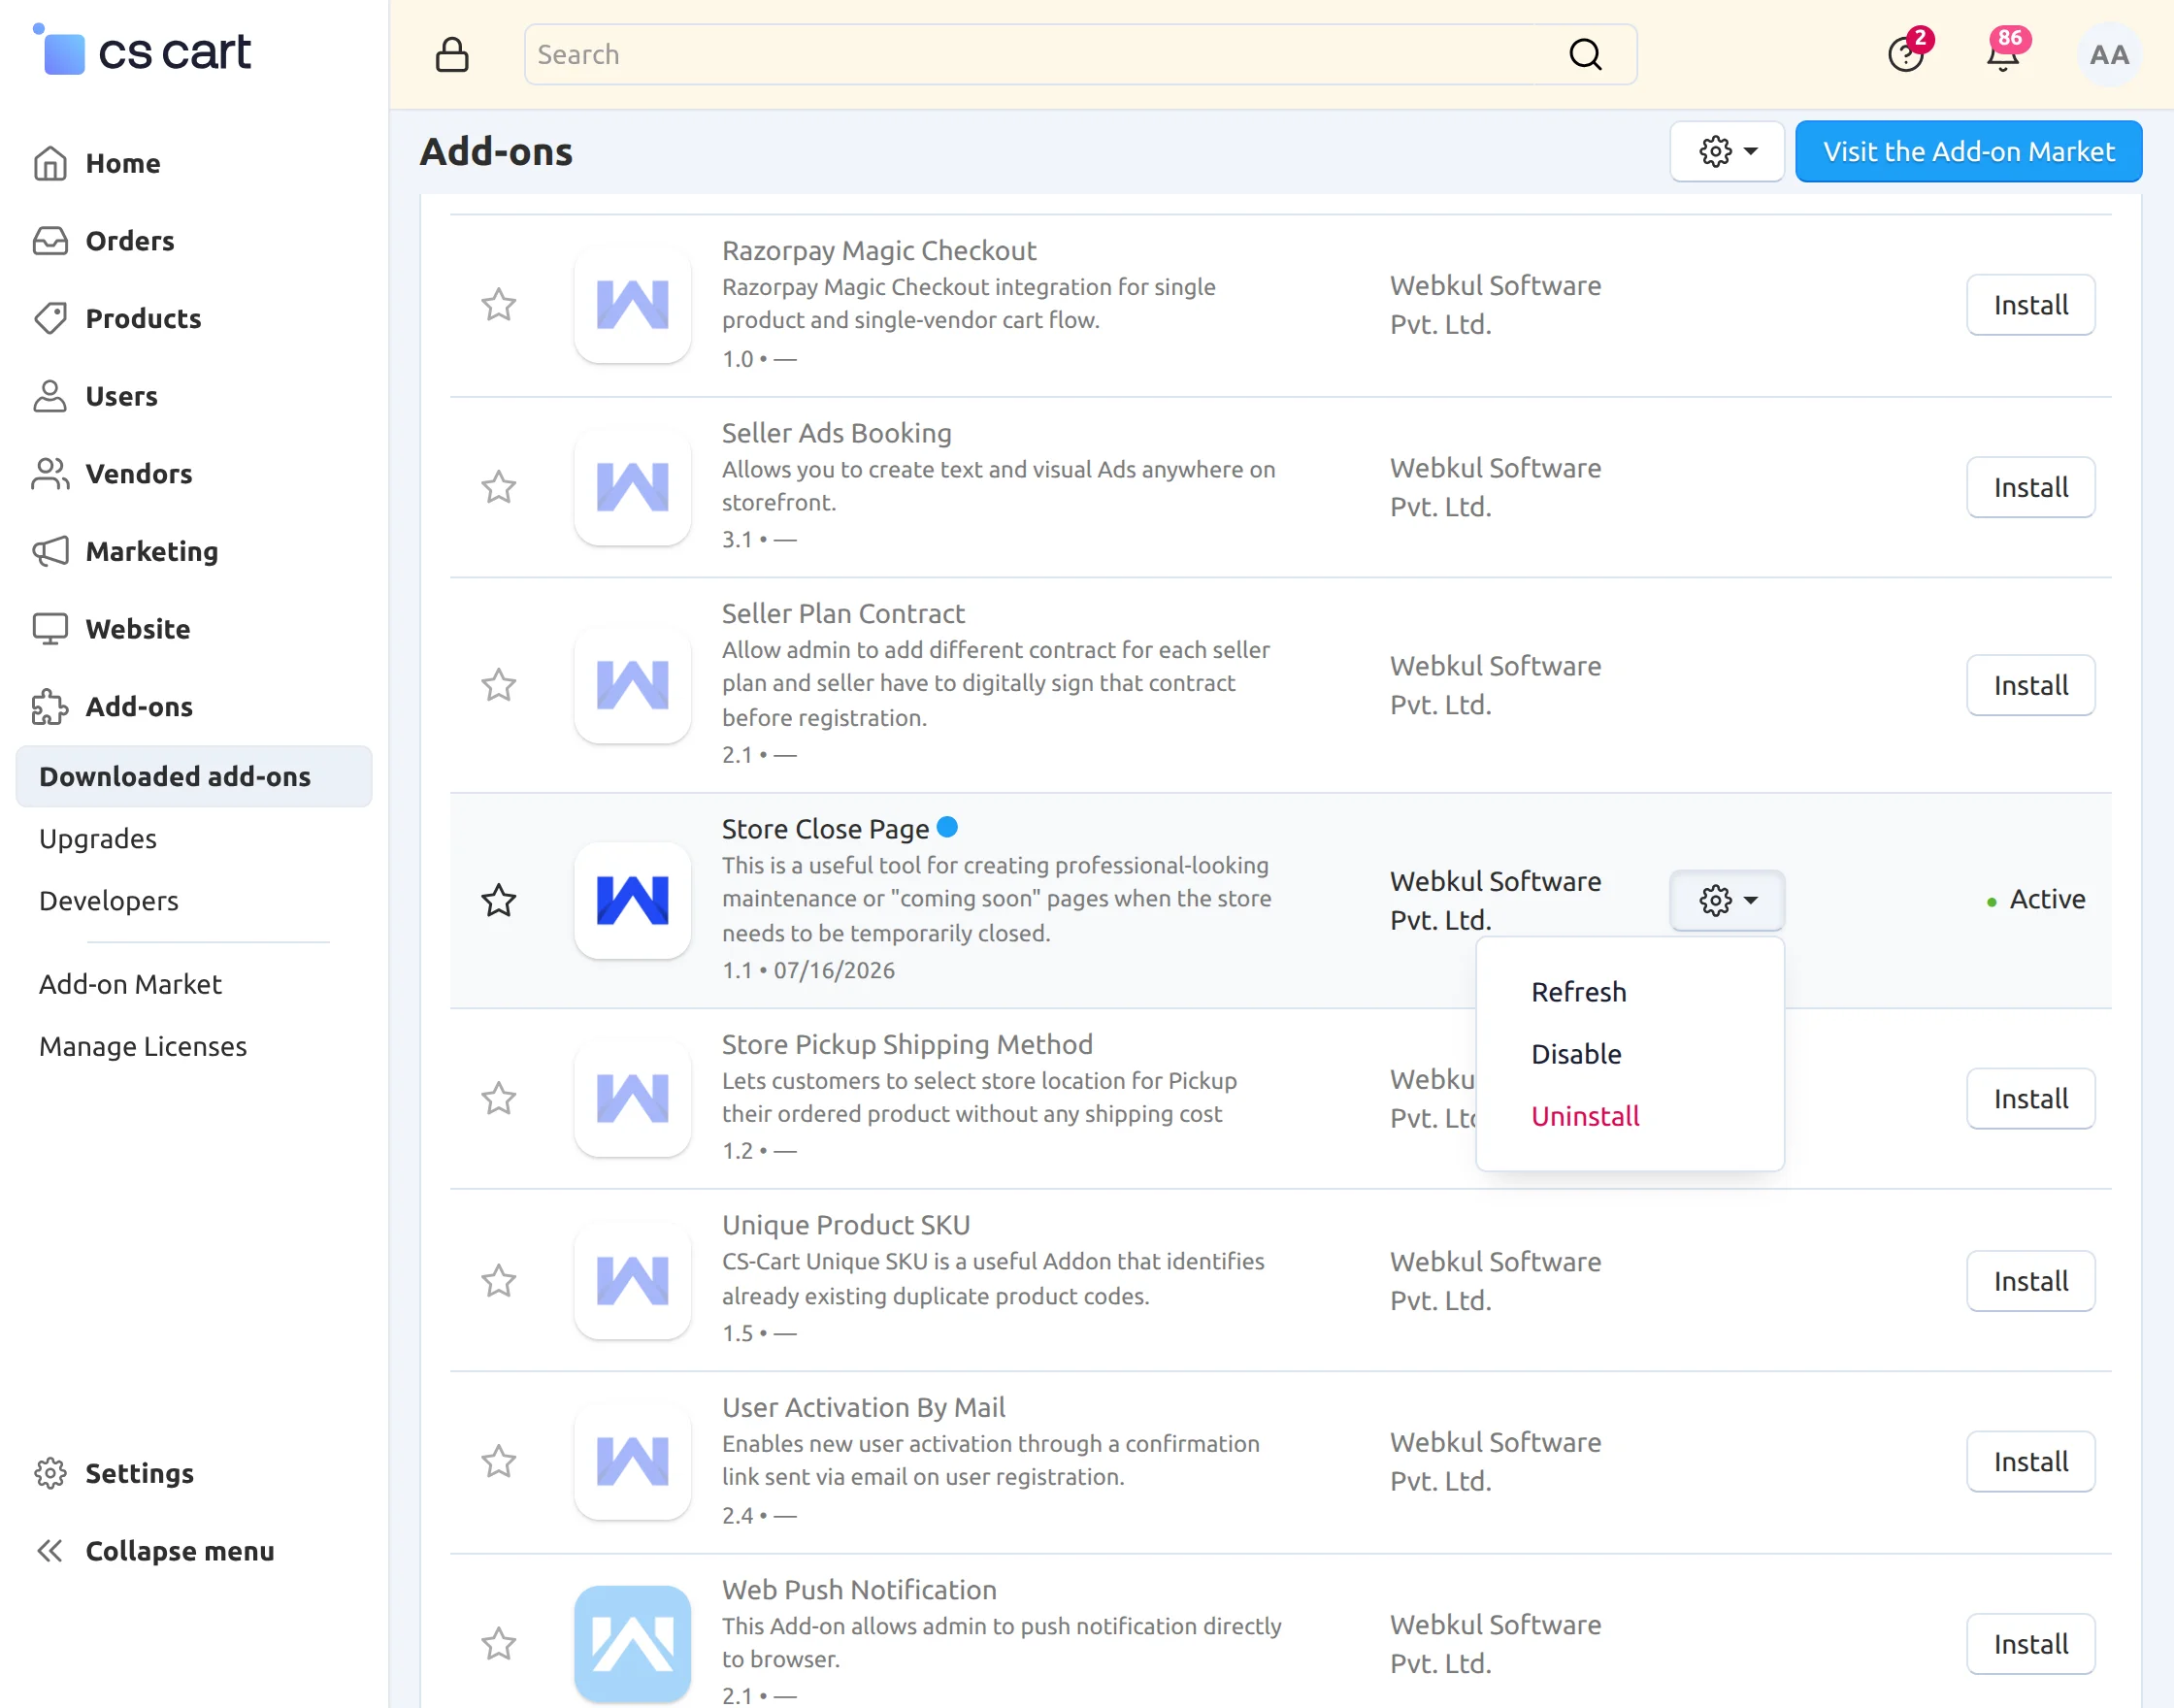
After installing the addon, click on “settings icon” to configure it as shown below in the snapshot.
Once clicking on the addon, the admin will land on the general settings of the store close page extension.
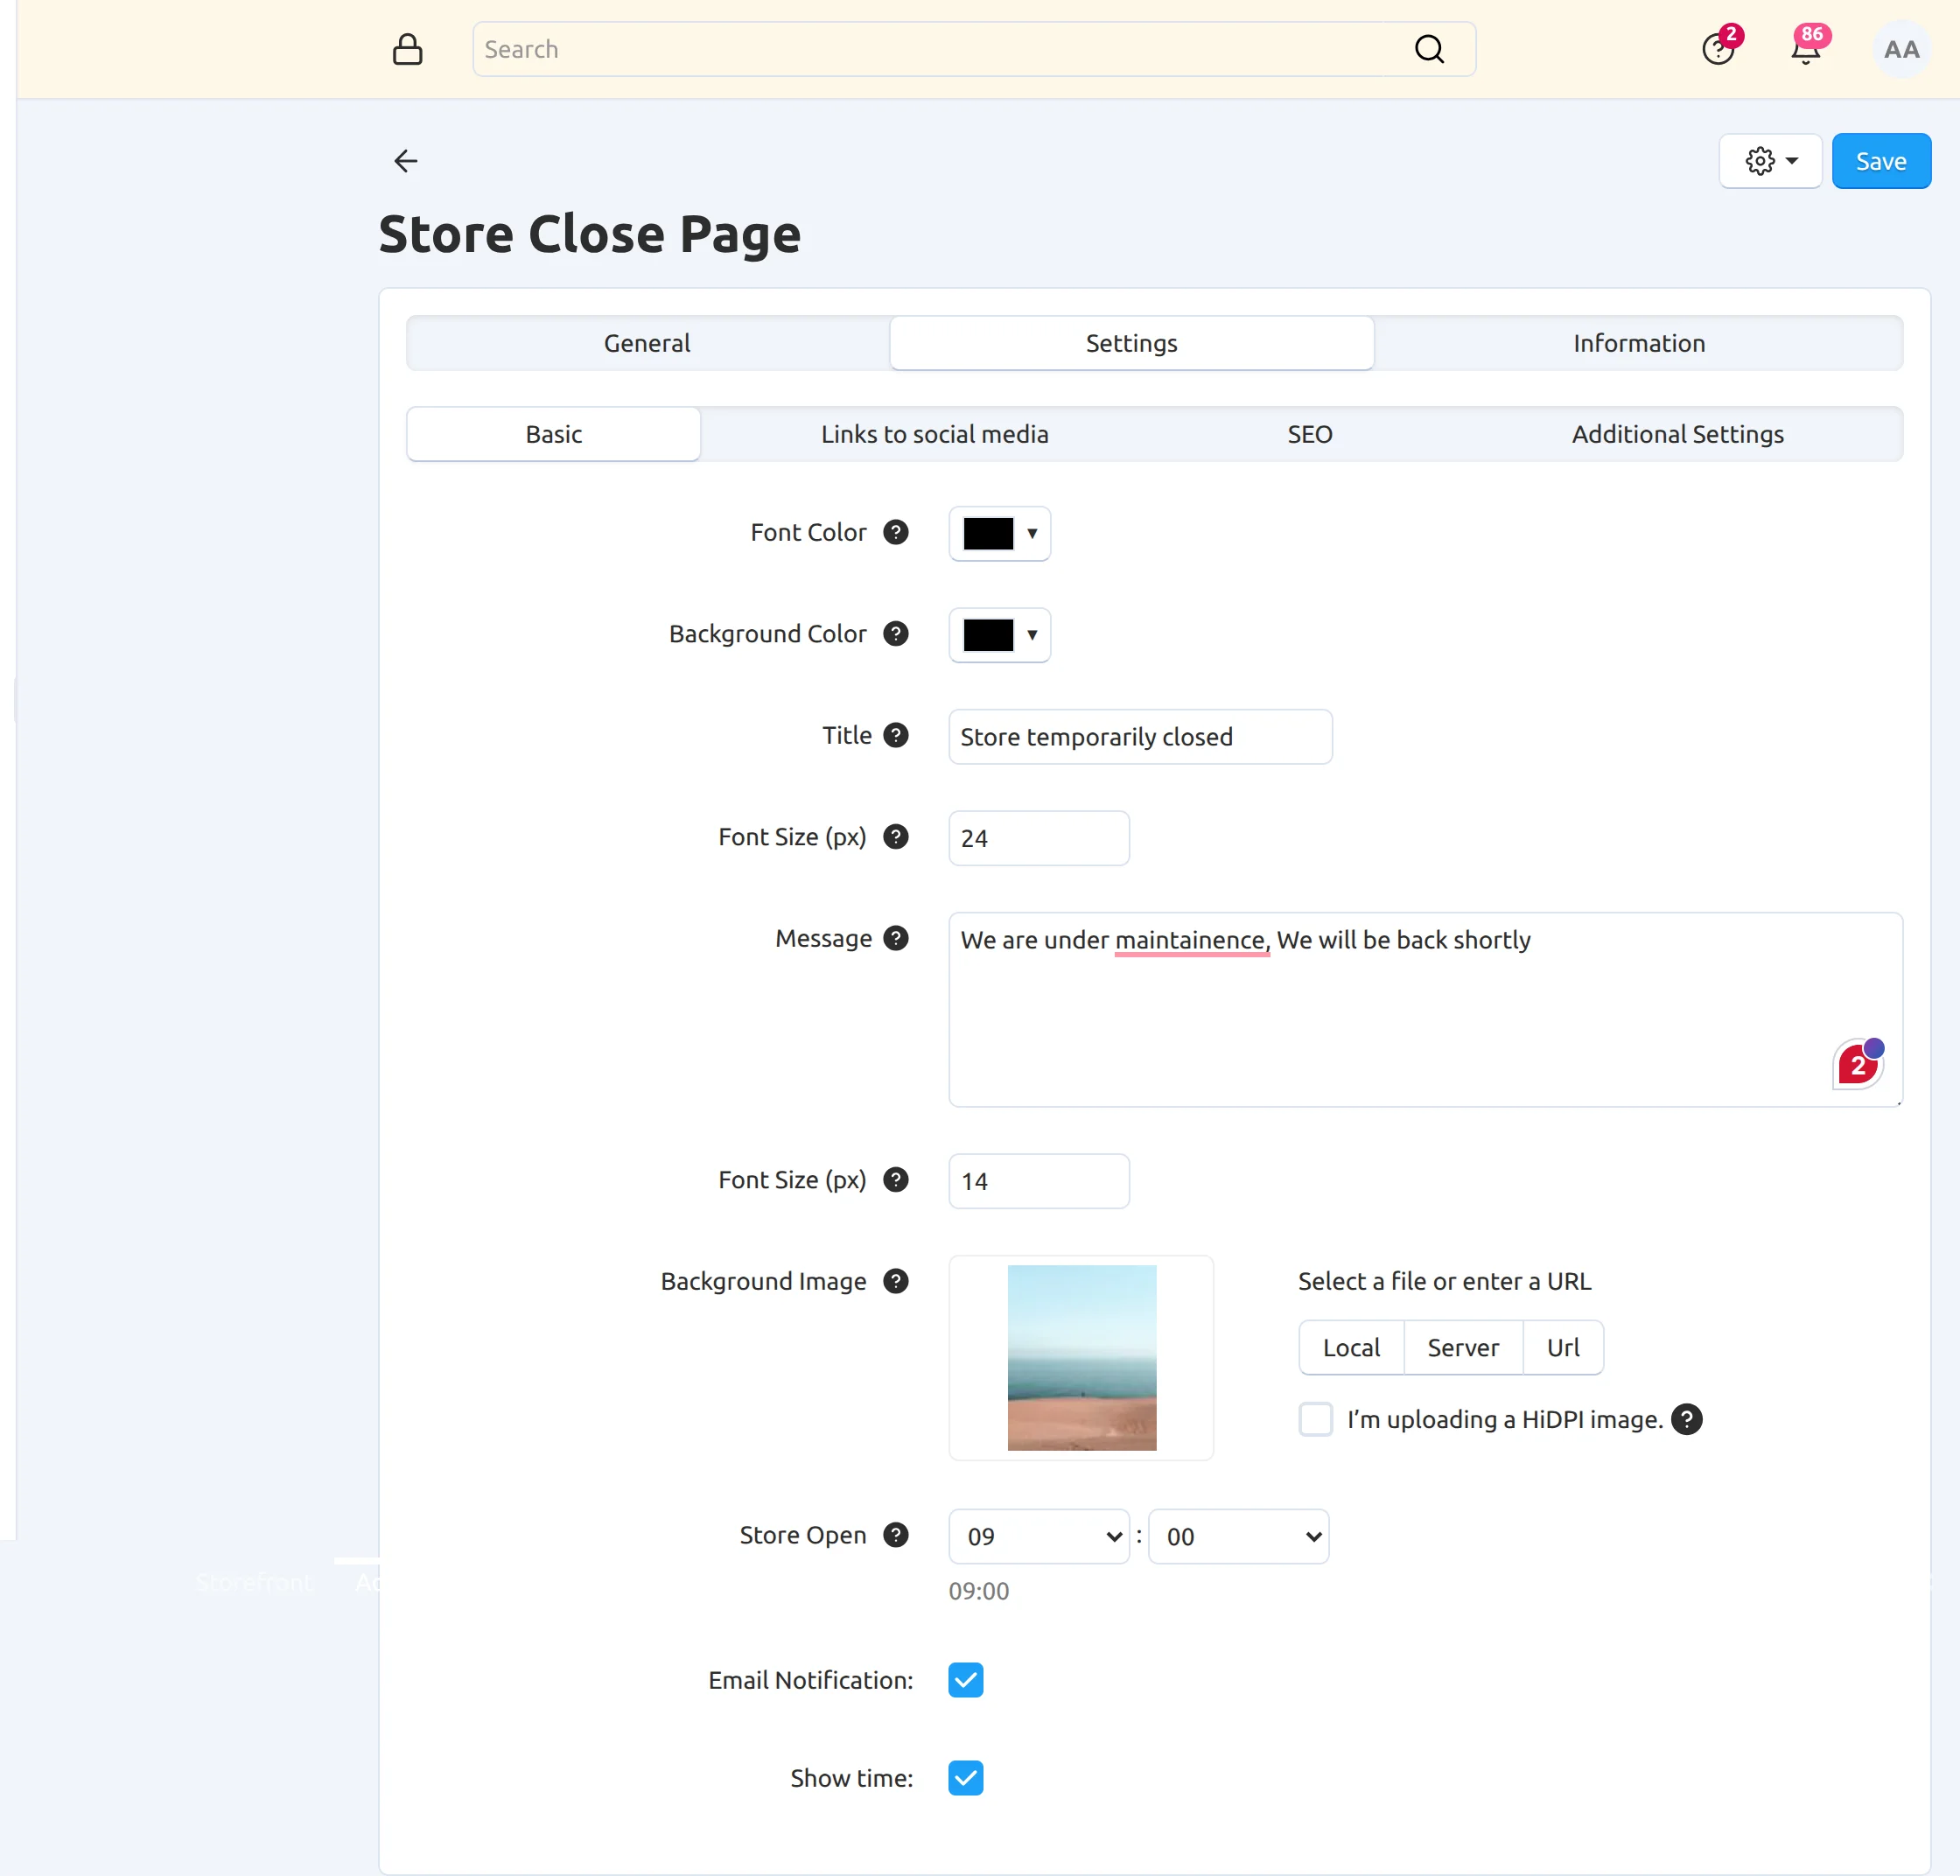
Now, the admin can edit the basic settings of the addon –
Font and Background Color – Customize the color of font and background to be displayed on the storefront.
Title – Set the title for the store close page.
Message – Enter the message that will shown to the customers when they land on the custom close page.
Background Image – Set the background image to be displayed on the storefront.
Email Notification – Enable/Disable the option to set an email notification section.
Store Open– Allows the admin to specify the time when the store will reopen.
Show Time– Enable or disable the display of the store’s reopening time.
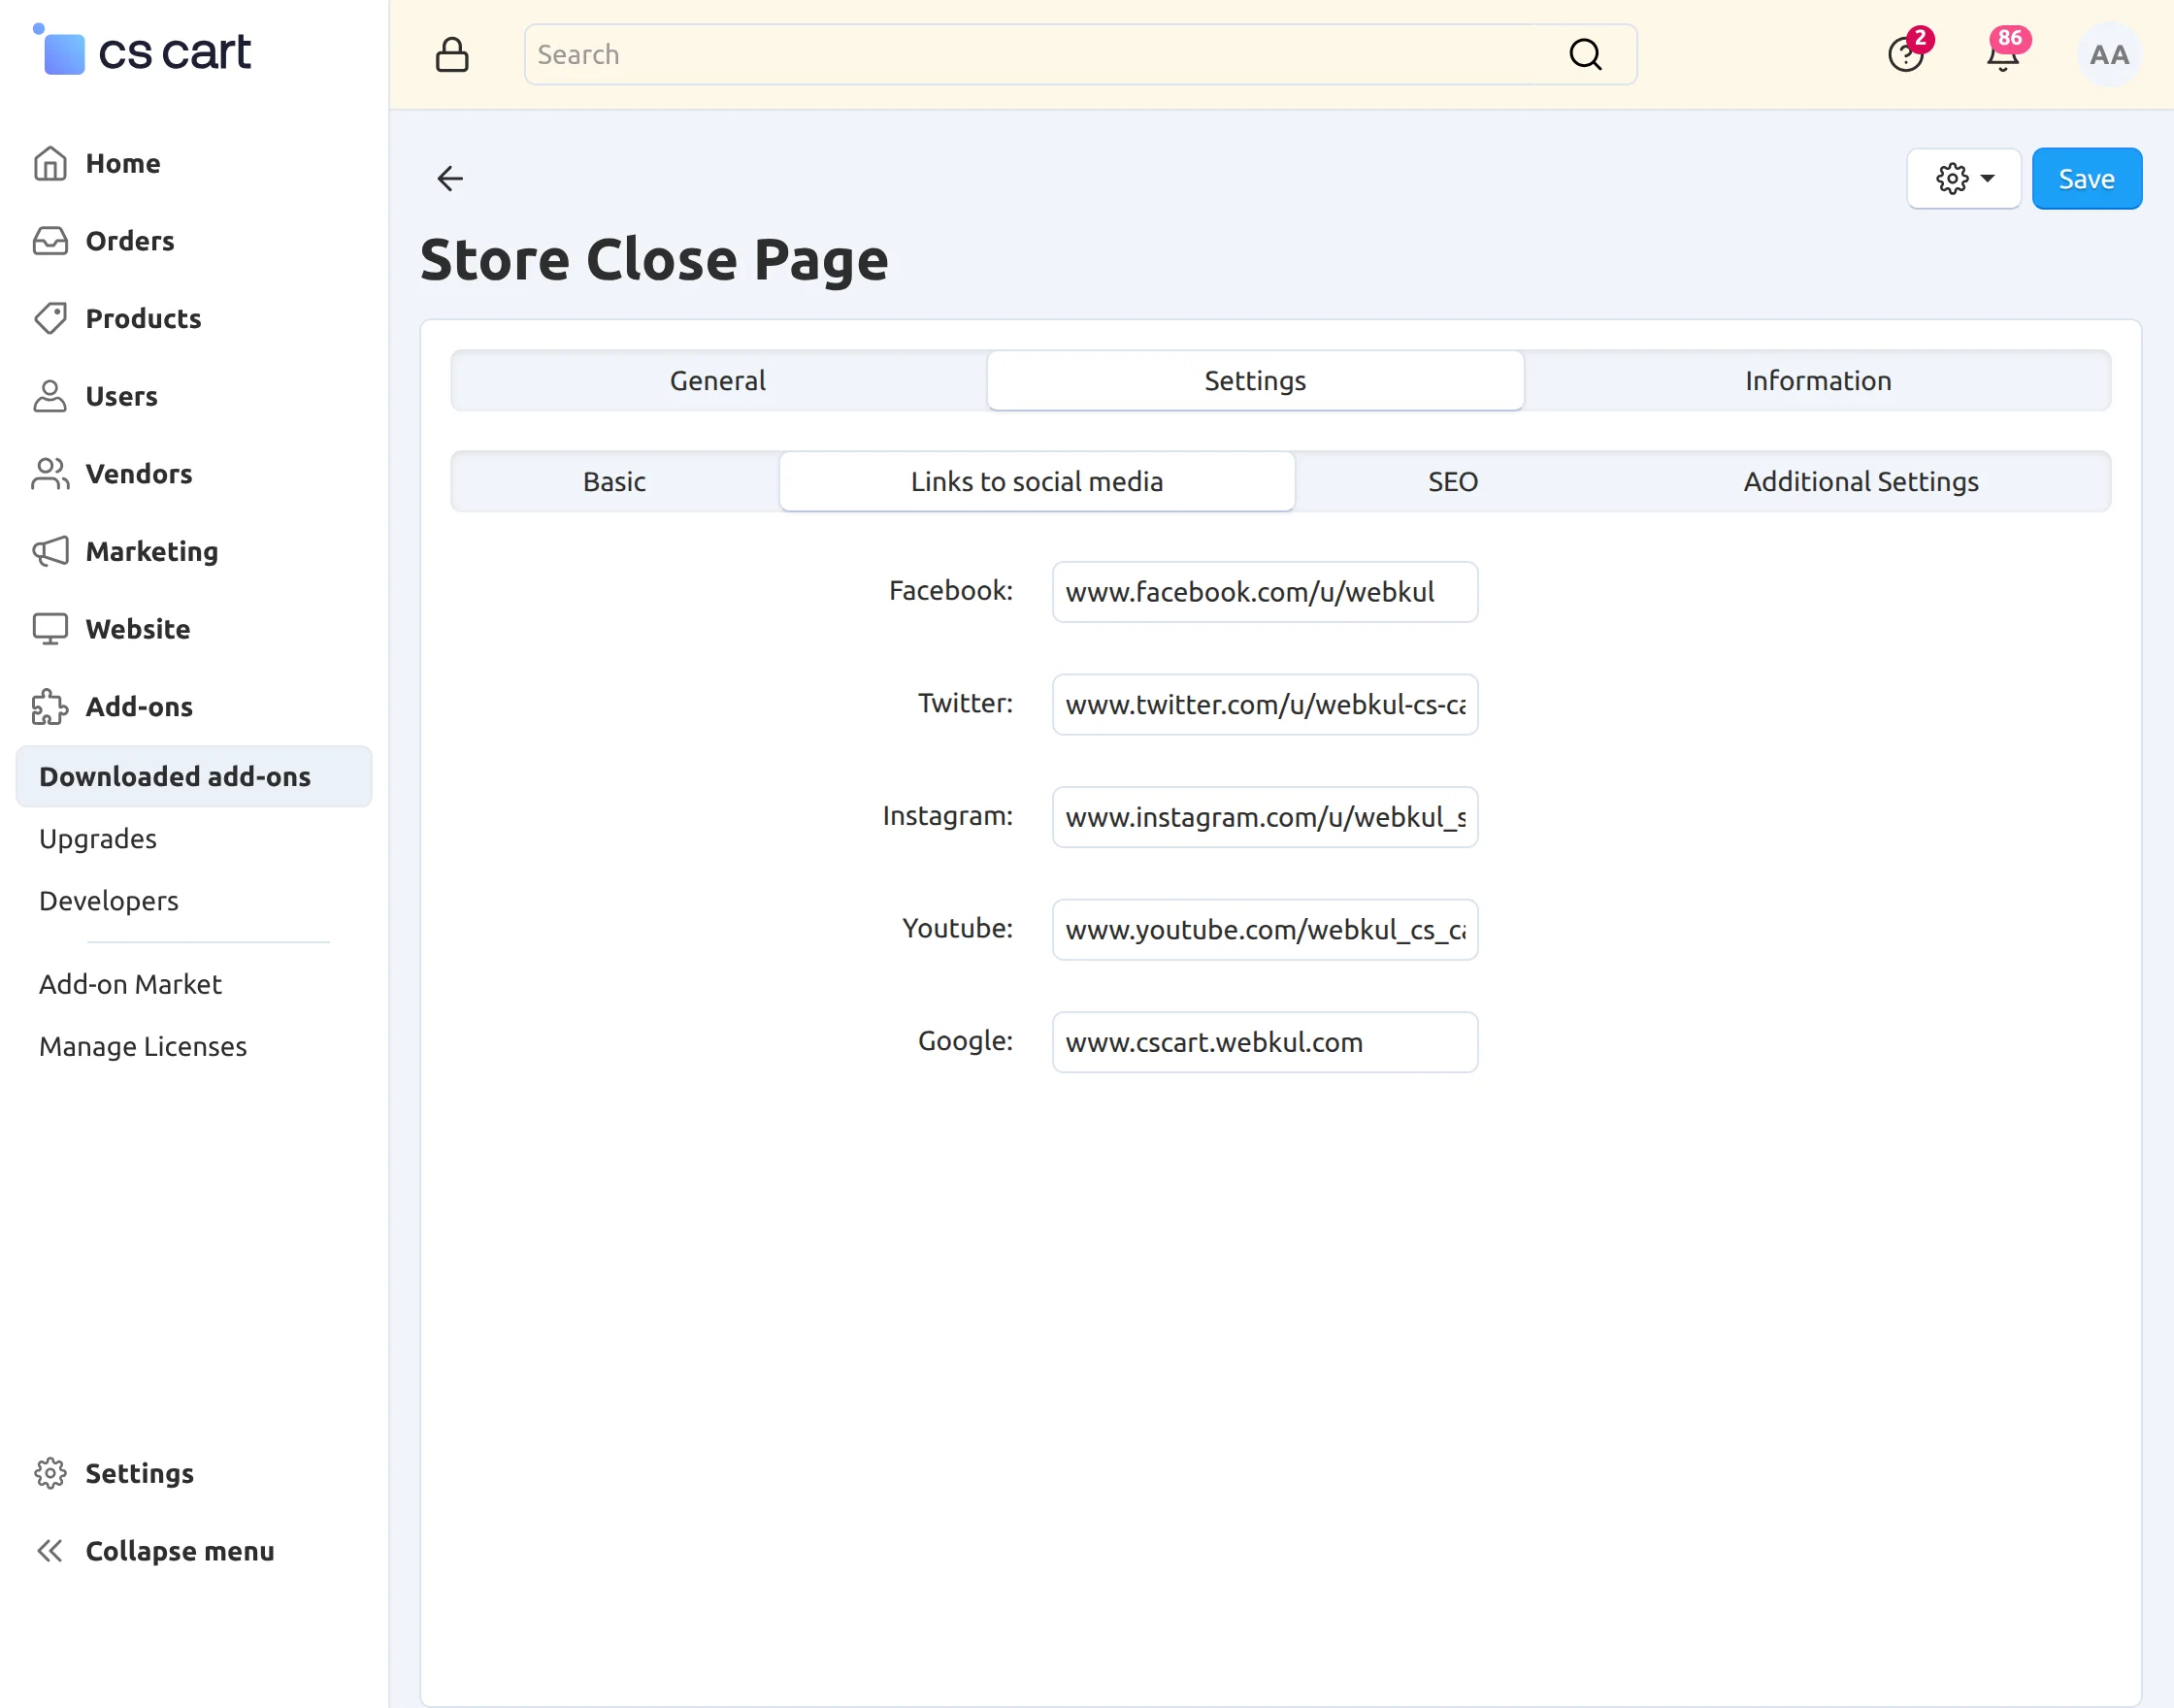
After doing the basic settings, the admin can also set social media links as shown in the below image.
Moving ahead, admin can set the SEO of the page –
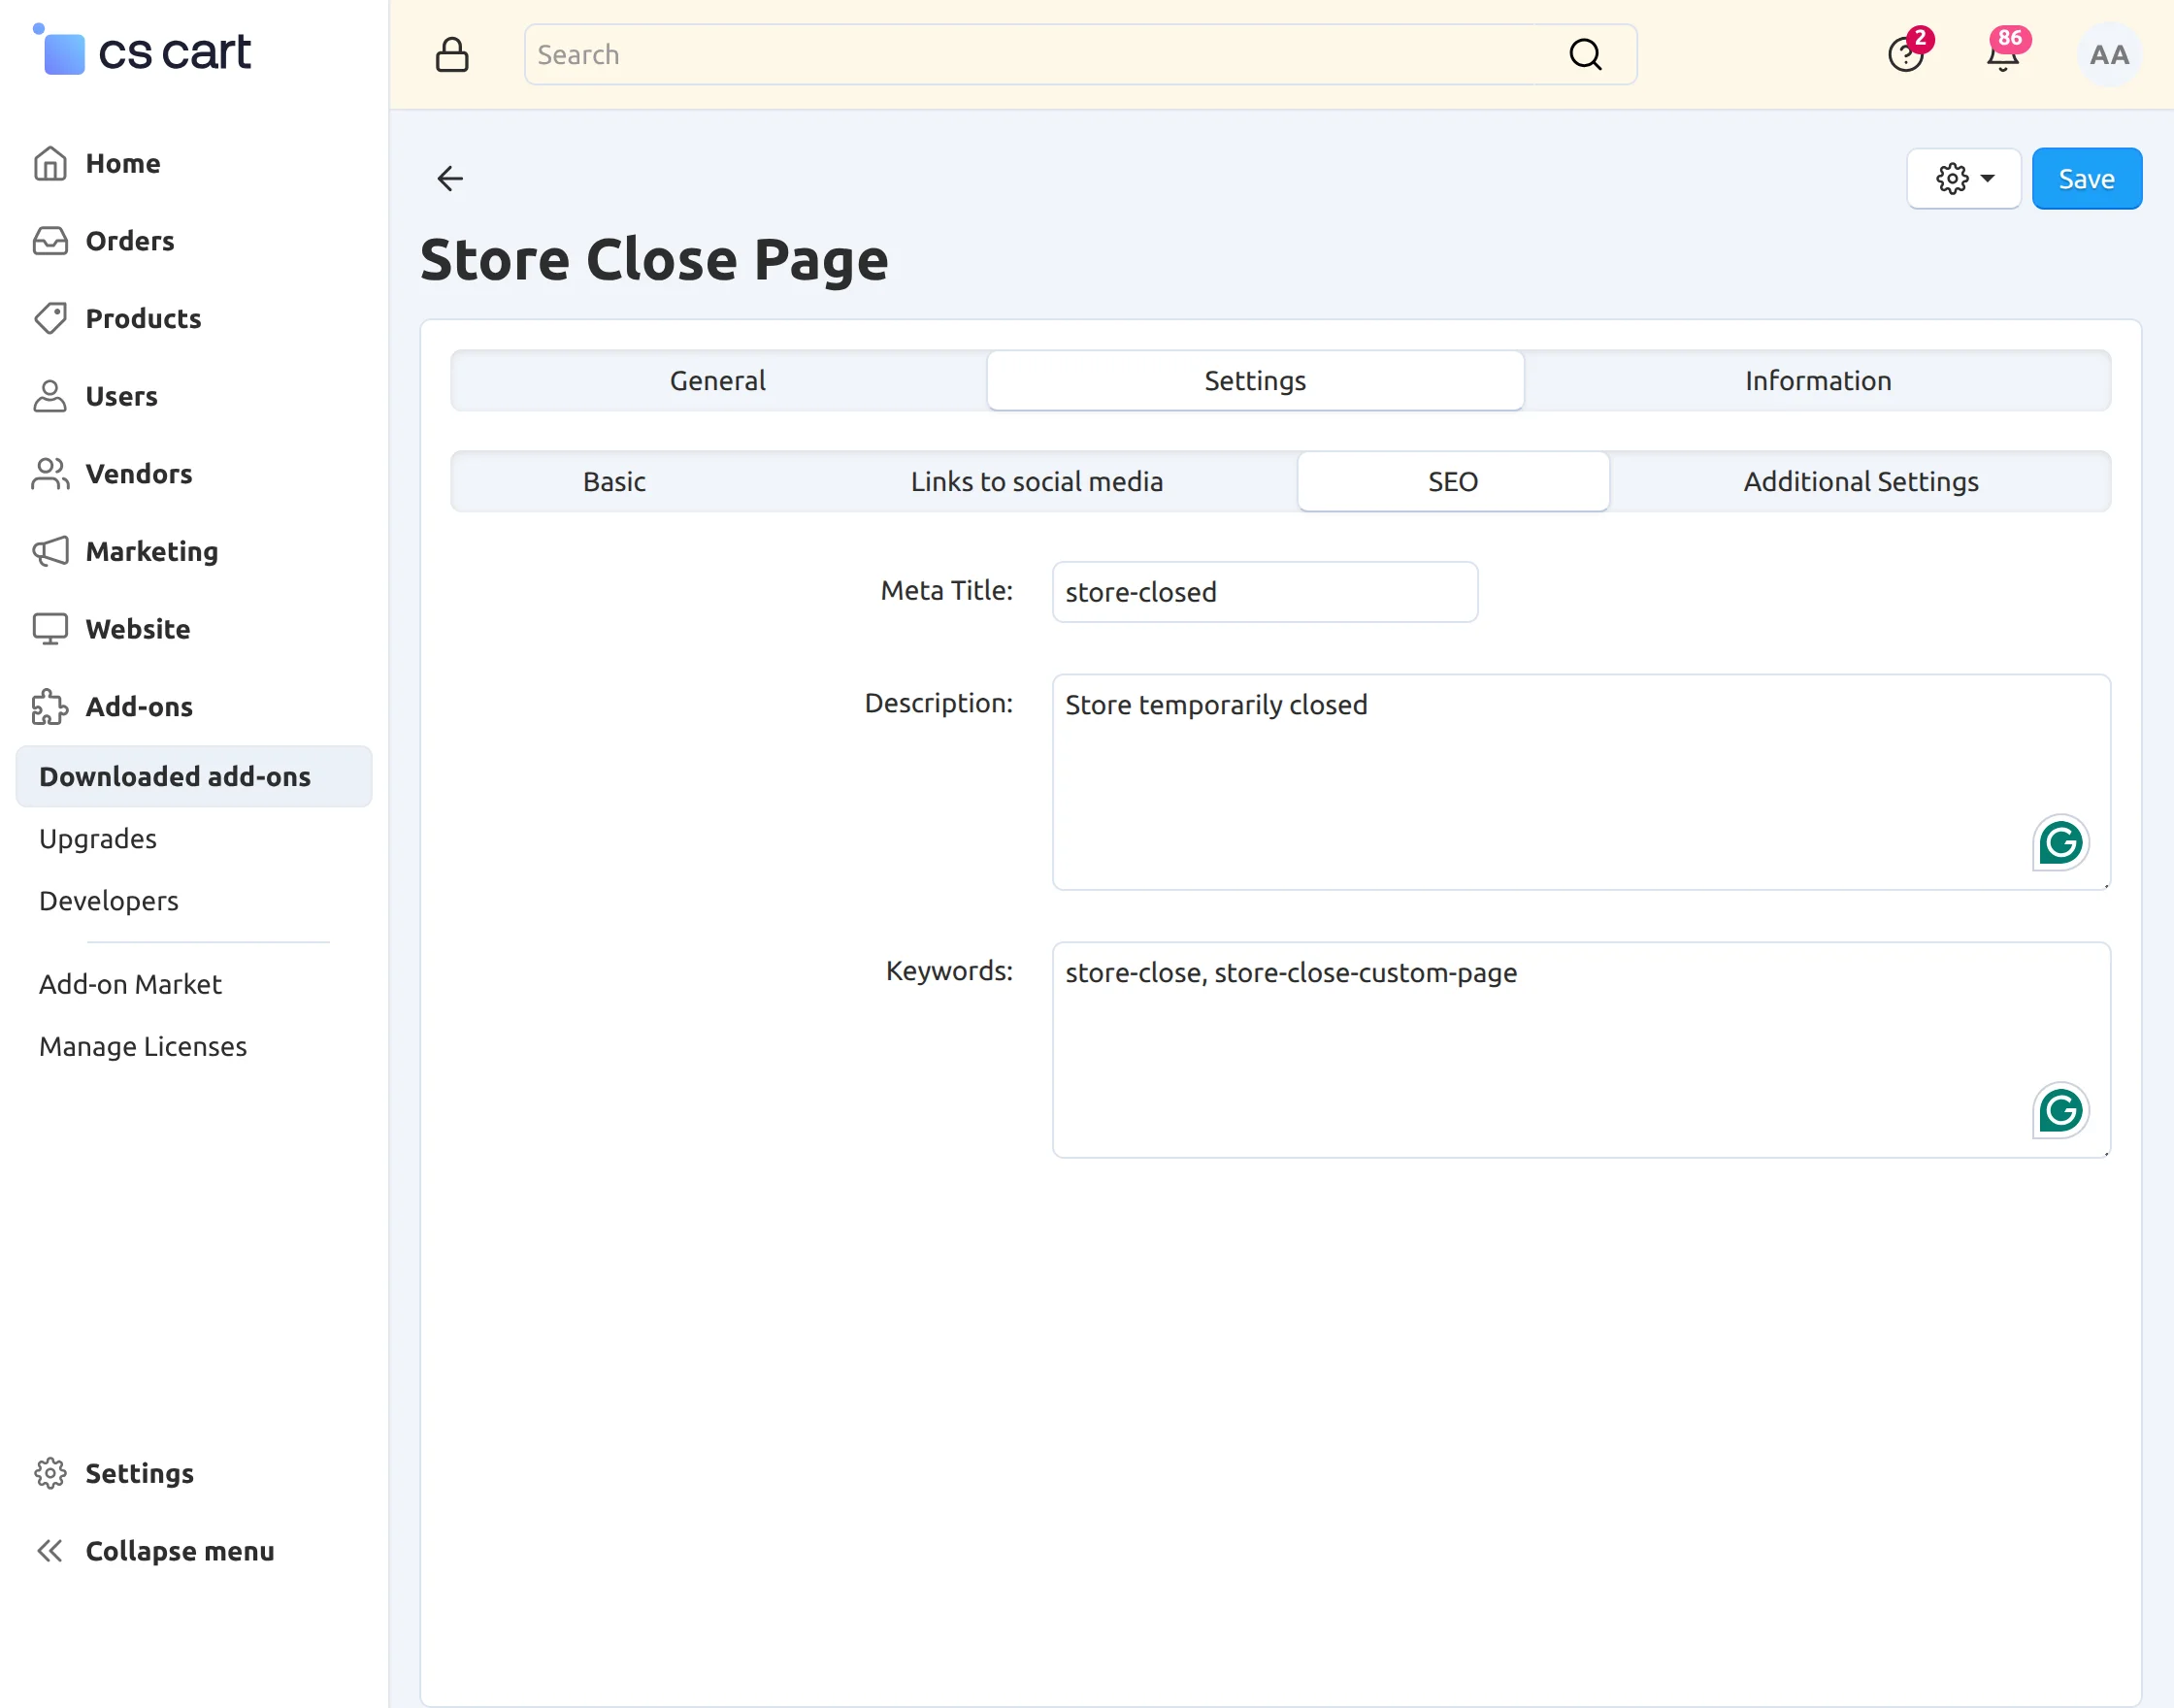
Here, admin will enter the following SEO details like Meta title, description, keywords to rank the store close page better.
Now, admin also has the option of additional settings from which they can select the display option, whether it will be displayed as full screen, mid screen, image right, or left.
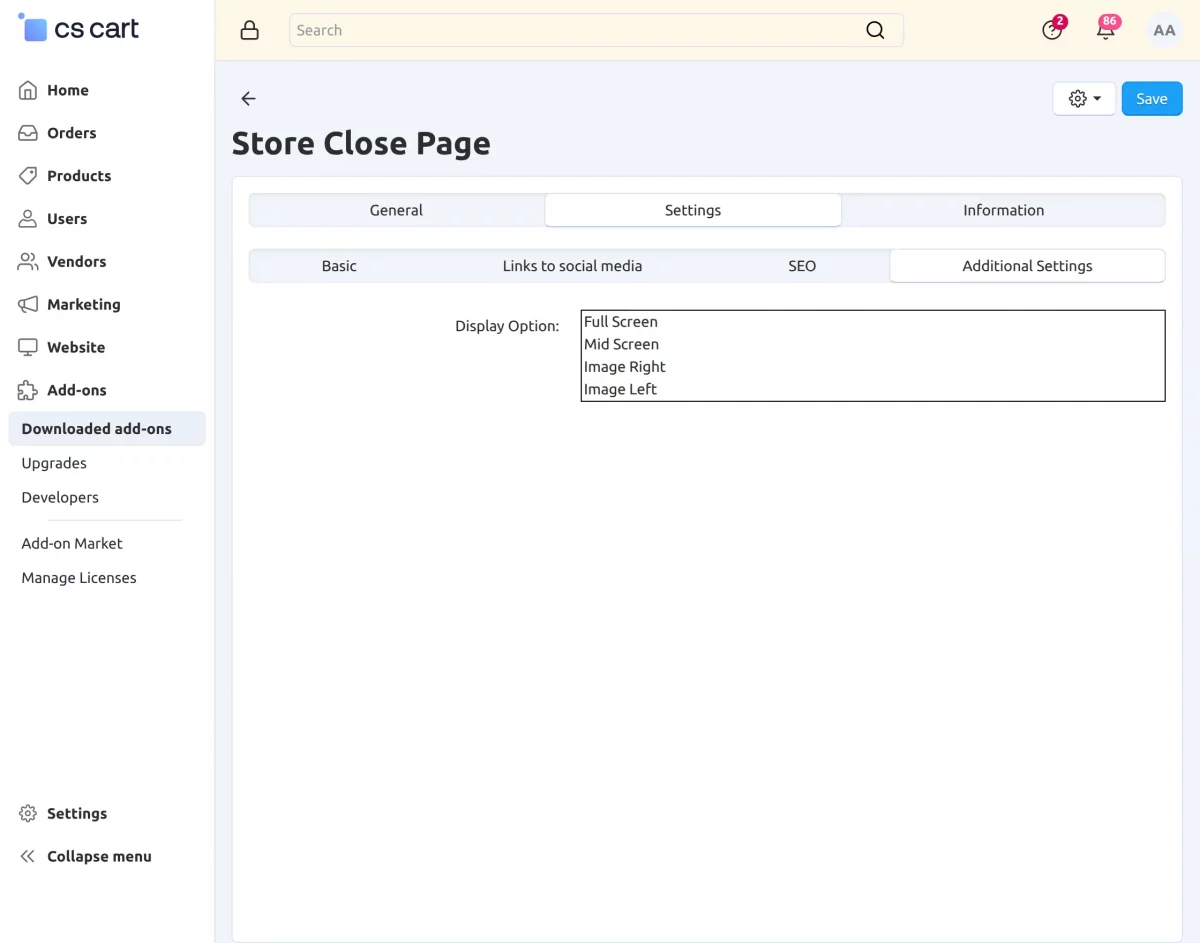
By doing all these, the admin will save settings.
Now, this is how the storefront will look once the customers try to reach the store while the storefront is disabled.

That’s how the custom close page will look, helping you to keep your customers engaged.
Support
If you have any questions, suggestions, or customization requests, feel free to contact us at [email protected] or submit a ticket at webkul.uvdesk.com.
Explore our premium-quality CS Cart Extensions to enhance your store functionality.
You can also explore our CS-Cart Development Services and Quality CS-Cart add-ons.
Current Product Version - 1.1
Supported Framework Version - 4.20.x

Be the first to comment.