Bagisto BitPay Payment Gateway brings fast, secure cryptocurrency checkout to your Laravel store, using BitPay invoice creation and webhook-based order updates to keep payments reliable for customers.
Features of BitPay Payment Method Gateway
- Secure checkout using BitPay invoice creation and redirect flow.
- Supports both Sandbox and Live modes to verify integration safely.
- Accepts cryptocurrency payments through the BitPay gateway.
- Automatically creates and redirects customers to a BitPay invoice.
- Uses webhooks to update order status after payment confirmation.
- Easy admin configuration with token, title, description, logo, and sort order.
Installation – Bagisto BitPay Payment Gateway
Unzip the respective extension zip and then merge “packages” folder into project root directory.
Next, goto composer.json file and add following line under ‘psr-4’
"Webkul\\Bitpay\\": "packages/Webkul/Bitpay/src"
Run the following command to refresh the autoload files:
composer dump-autoload
Goto bootstrap/providers.php file and add following line under the array.
use Webkul\Bitpay\Providers\BitpayPaymentServiceProvider;

return [
    BitpayPaymentServiceProvider::class,
]
Run the Install Command
php artisan bitpay:install
Initial Configuration – Settings for BitPay Payment Method Gateway
Configure BitPay settings in the Admin Panel.
- Navigate to Configure → Sales → Payment Methods → BitPay
- Configure the following settings:
- Pairing code
- Sandbox Mode
- Enable/Disable Payment Method
- Title
- Description
- Logo
BitPay Payment Method Gateway – Configuration
Open Payment Methods
- Log in to your Bagisto Admin Panel.
- Click on Configure from the left sidebar.
- Under Configure, select Sales.
- Click on Payment Methods.
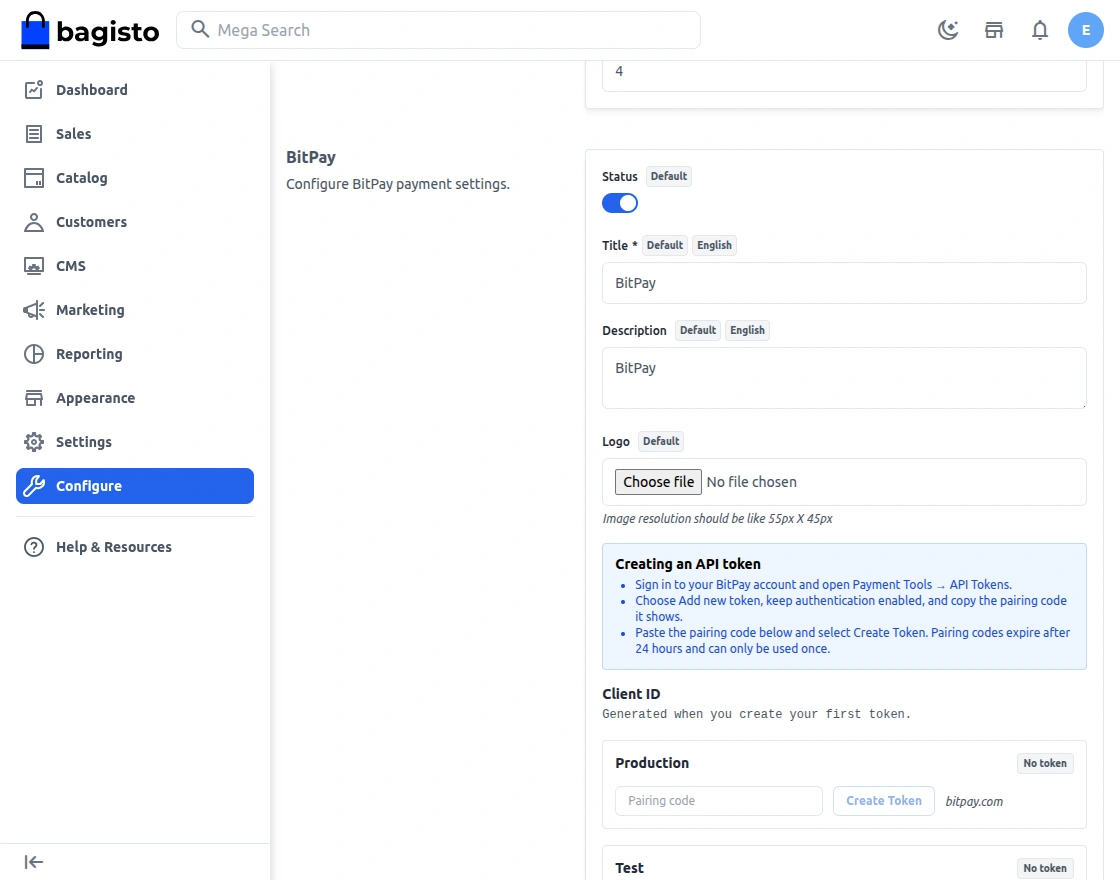
Navigate to BitPay Settings
- Find BitPay in the payment methods list.
- Click to open the BitPay settings panel.
Enable BitPay
- Locate the Status toggle.
- Switch it ON to enable BitPay.
Enter Pairing Code to create API Token
- Sign in to your BitPay account and open Payment Tools → API Tokens.
- Choose Add new token, keep authentication enabled, and copy the pairing code it shows .
- Paste the pairing code in the BitPay settings panel and click Create Token.
Enable Sandbox Mode
- Turn on Sandbox to test BitPay without live funds.
- Turn sandbox off for real production payments.
Set Title, Description, and Logo
- Enter a checkout Title for customers.
- Add a Description so buyers know BitPay is supported.
- Upload a Logo to make BitPay easy to identify.
Save Configuration
After entering all settings, click Save Configuration to apply BitPay to your store.
BitPay Payment Method Gateway – Store front
Mini Checkout Page
Customers add products to the cart and tap Continue to Checkout to begin the payment flow.

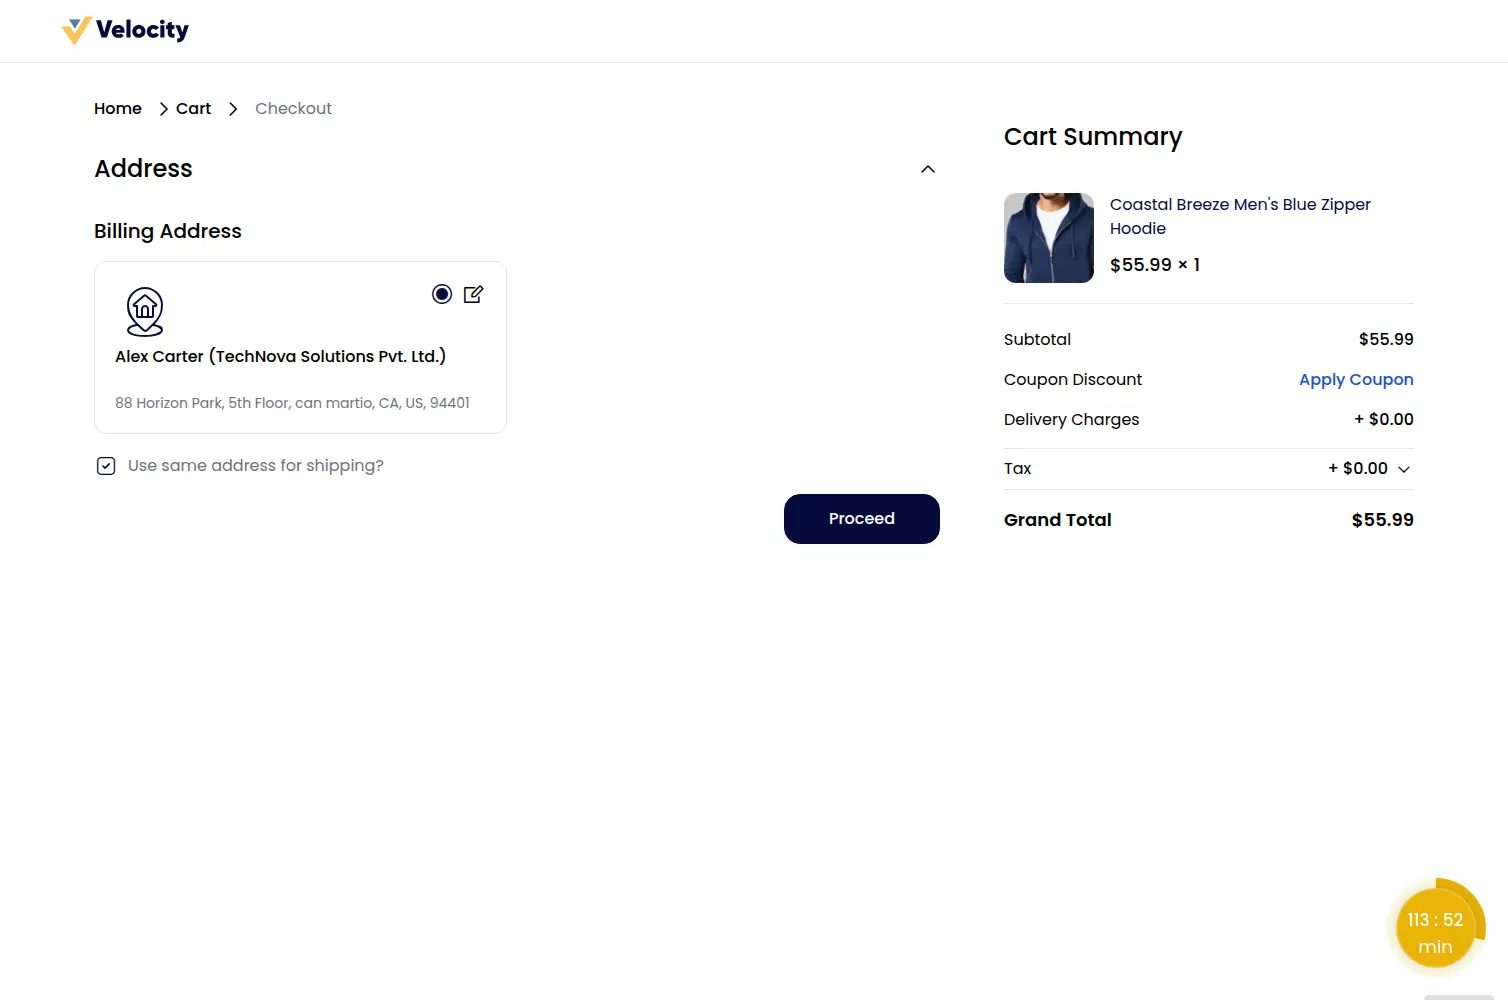
Checkout Address
Choose the shipping address and continue to the payment method section.
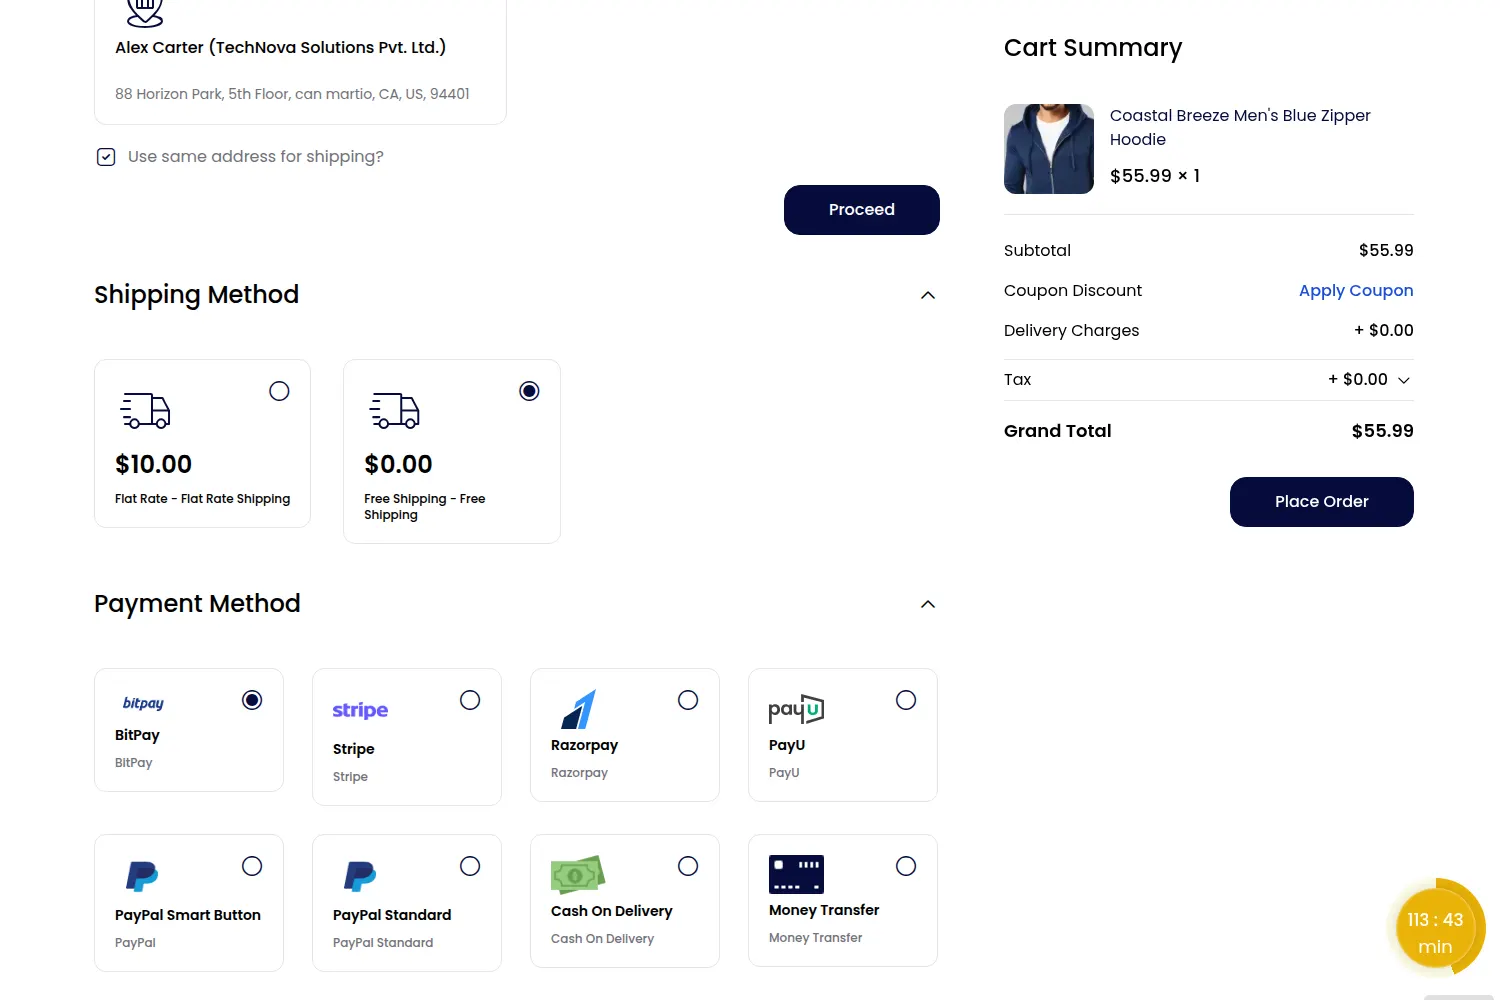
Payment Method
Select BitPay as the payment method and click to place the order.
BitPay Redirect Page
Customers are redirected to the BitPay checkout page. They complete payment using the available crypto options and then return to Bagisto.
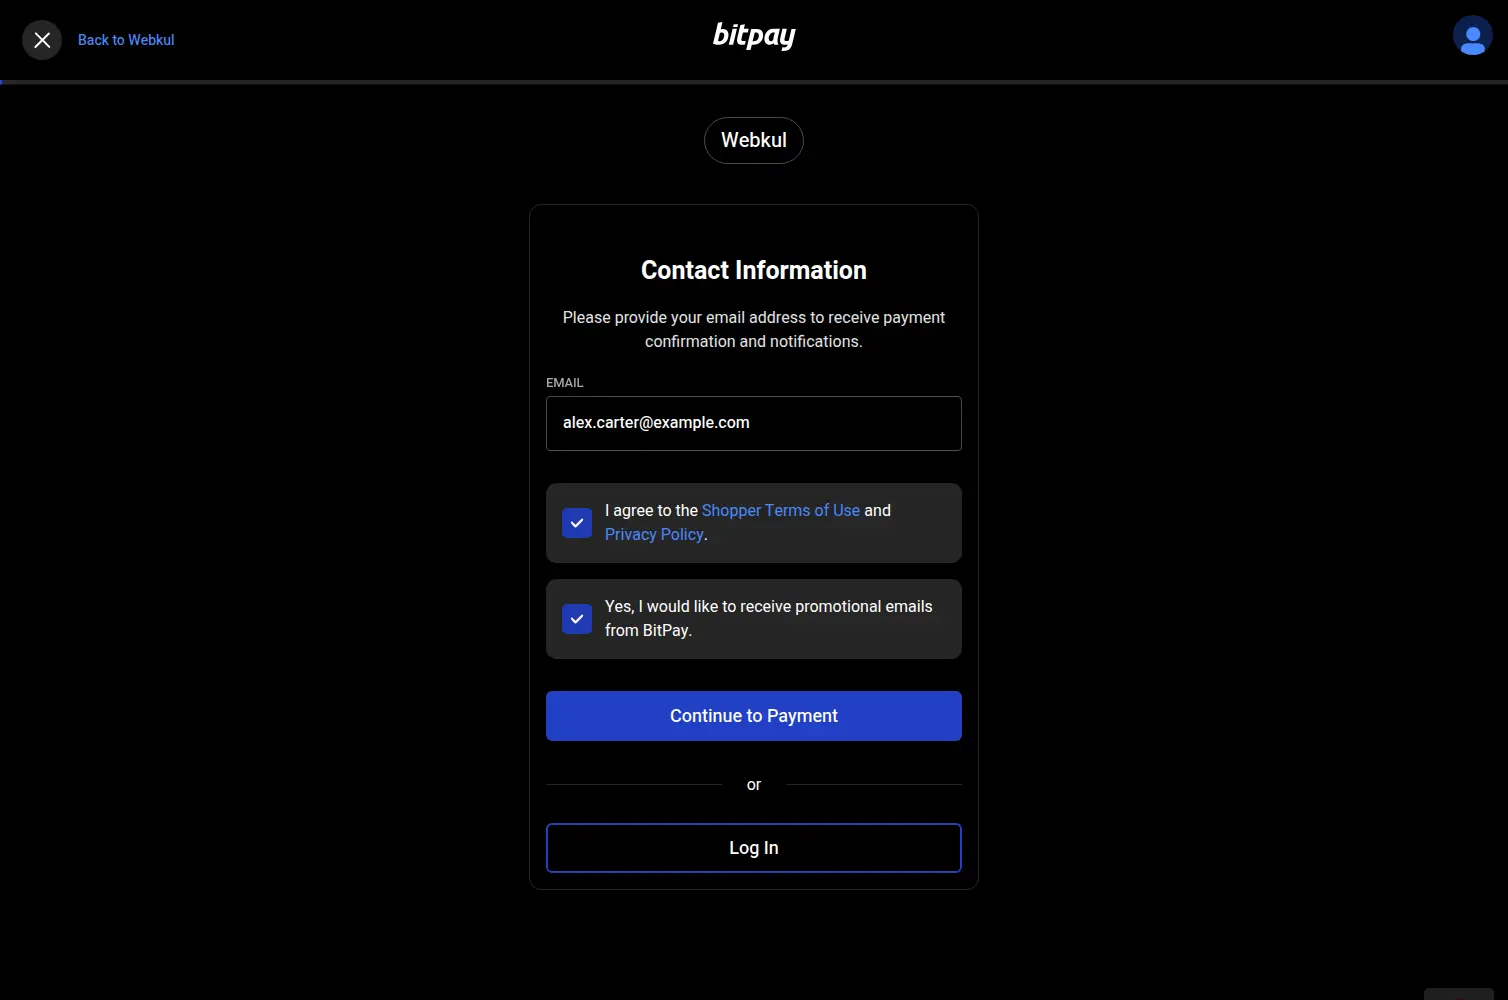
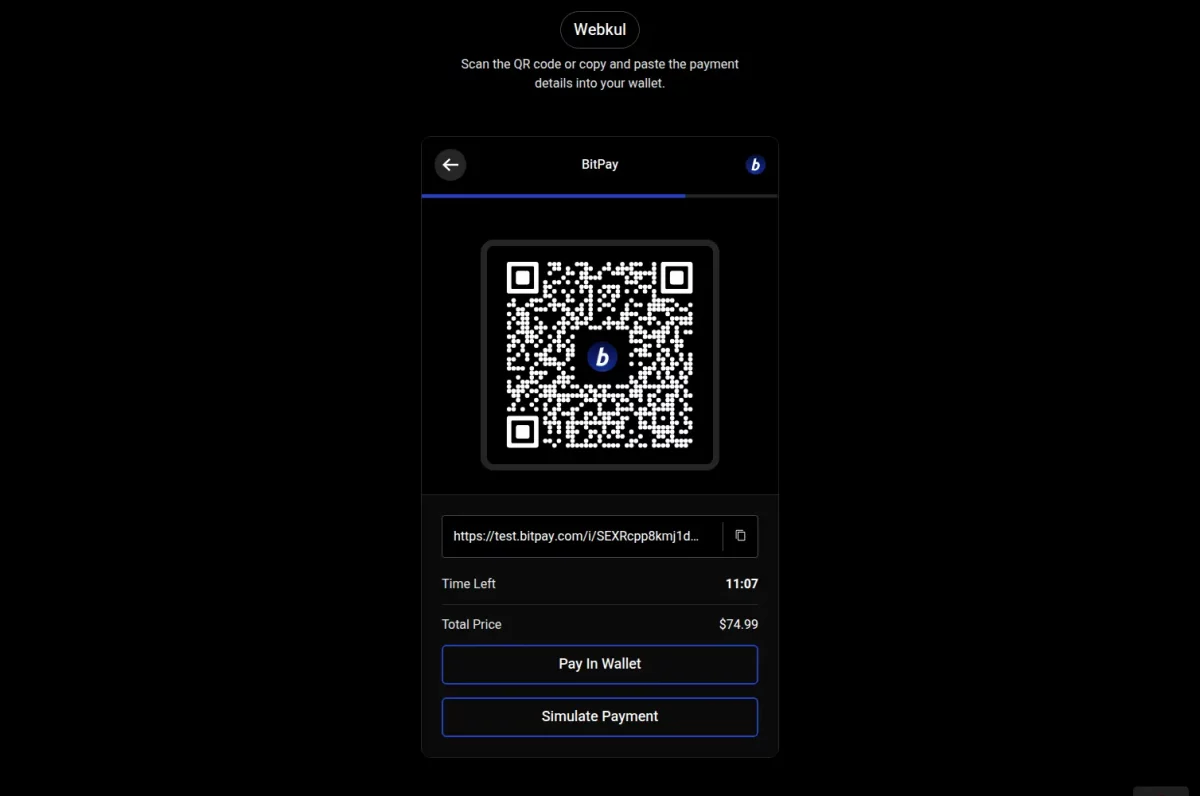
If payment succeeds, the order is created. If the customer cancels, they return to the cart with an error message.
Success Order
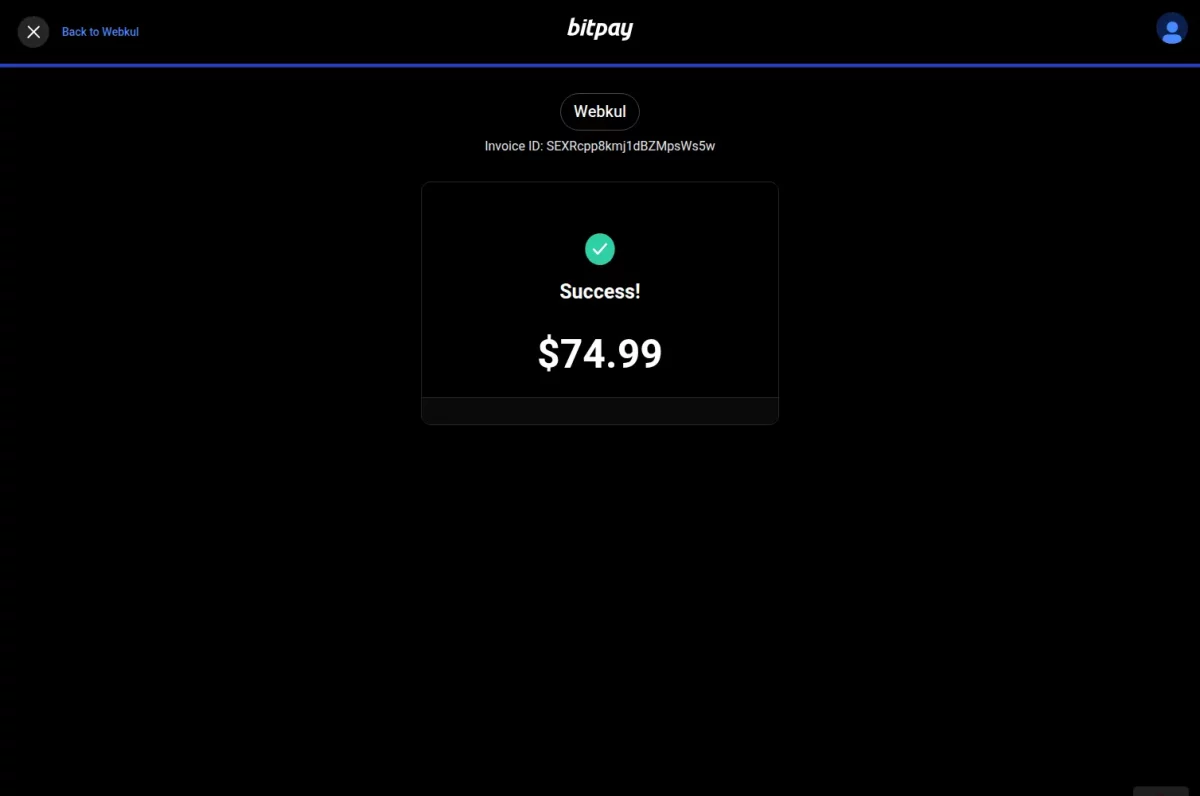
Once the BitPay payment is successful, customers see the order confirmation page and can view the order ID.
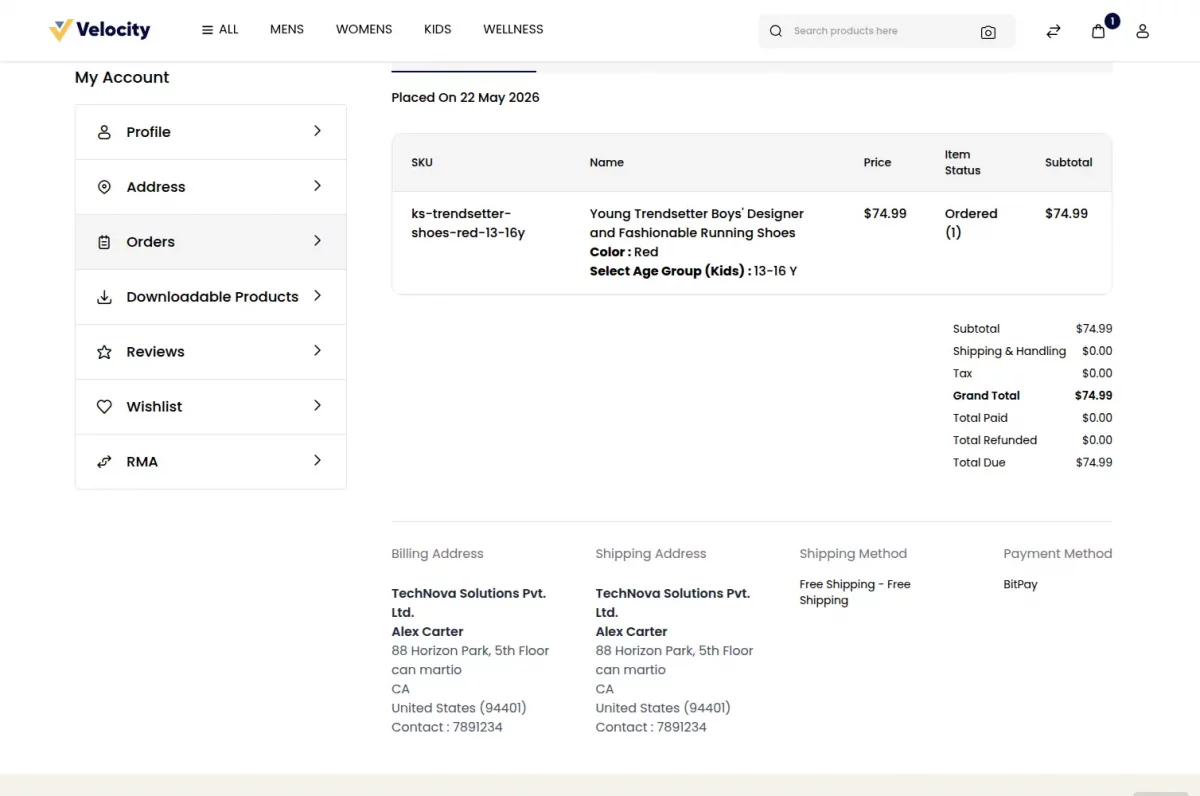
Customers can also review payment method details in their order history and invoice.
BitPay Payment Method – Admin End
Admins can view BitPay orders in the sales section and verify the chosen payment gateway for each order.
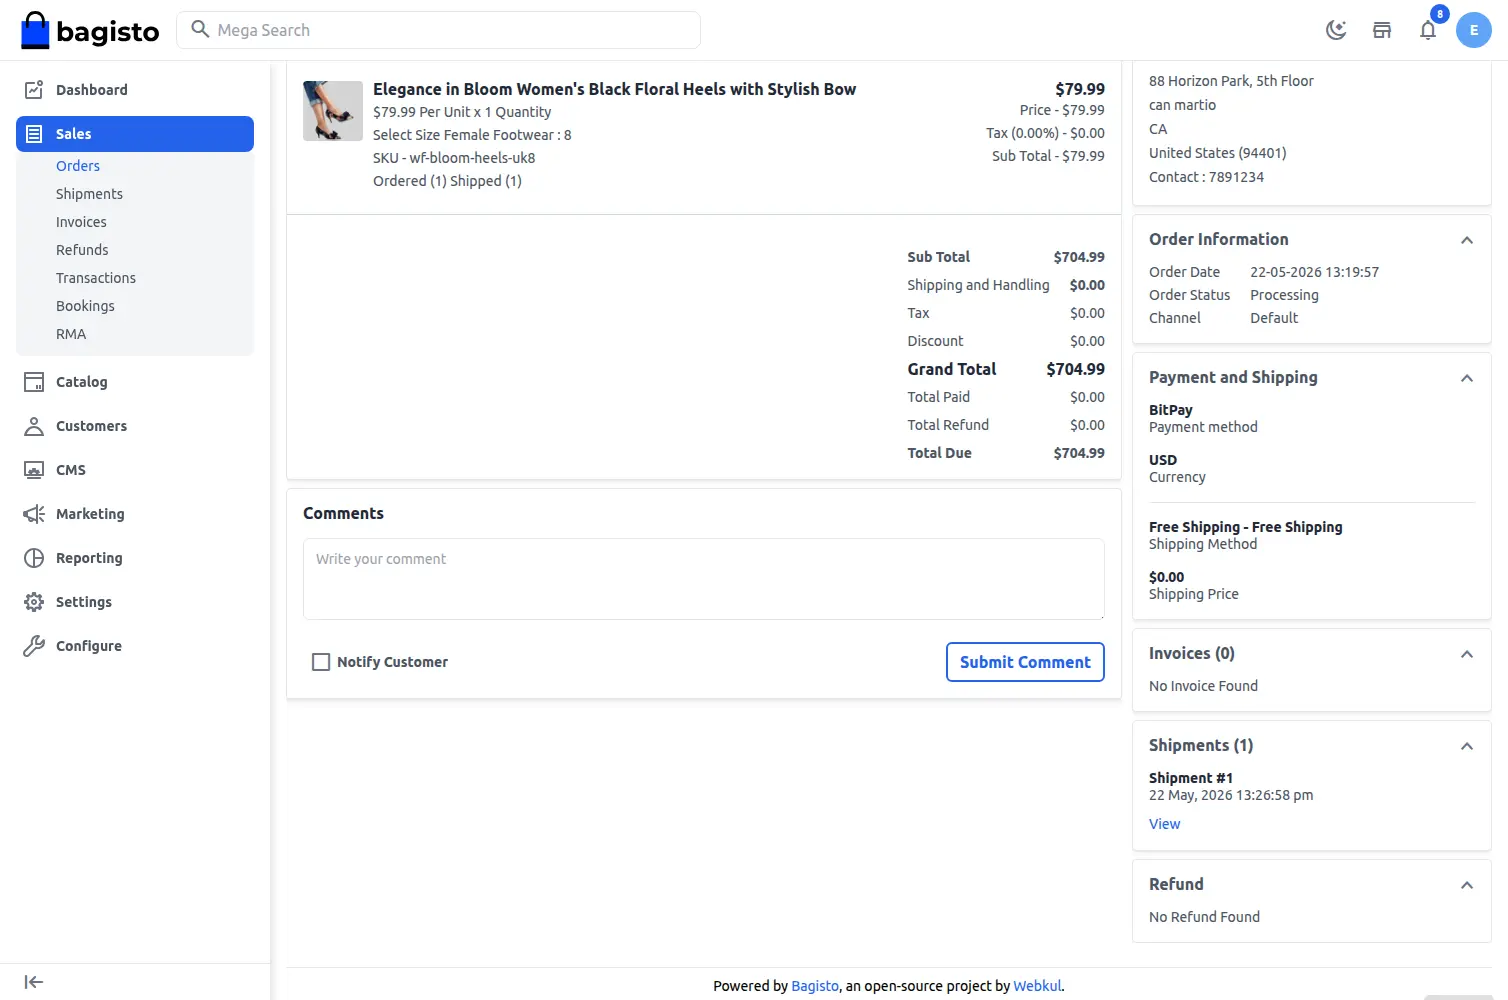
Open the order to see the payment method labelled as BitPay.
Support
That’s all for the Bagisto BitPay Payment Gateway, still have any issue feel free to add a ticket and let us know your views to make the module better at bagisto.uvdesk.com
Current Product Version - v2.5.0
Supported Framework Version - Bagisto v2.5.0

Be the first to comment.