Introduction
Odoo Multichannel Bagisto Connector enables seamless integration between your Bagisto store and Odoo, allowing you to manage your eCommerce operations from a single platform.
The connector synchronizes products, categories, customers, orders, inventory, and other marketplace data between Bagisto and Odoo, reducing manual effort while ensuring data consistency.
Whether you manage a single Bagisto store or multiple storefronts, the connector helps centralize operations, automate synchronization, and simplify order and inventory management.
Prerequisites for Using Odoo Multichannel Bagisto Connector
Odoo Multichannel Bagisto Connector works in conjunction with the following module:
You must install the above-mentioned module before installing the Odoo Multichannel Bagisto Connector.
Features
- Connect and manage multiple Bagisto stores from a single Odoo instance.
- Synchronise Products, Categories, Customers, Orders, Shipping Methods, and Bagisto Attributes into Odoo.
- Synchronise products and categories from Odoo to Bagisto.
- Synchronize inventory between Odoo and Bagisto.
- Configure Order Status Mapping in the channel to map Bagisto order statuses with the corresponding Odoo sales order statuses
- Synchronize Invoice Status, Delivery Status, and Order Cancellation Status in real time from Odoo to Bagisto.
- Configure individual settings for each Bagisto channel.
- Monitor synchronization activities through the Multichannel dashboard.
Installation
- Once you purchase the App from the Webkul Store, you will receive a link to download the module ZIP file.
- Extract the downloaded ZIP file. A folder named bagisto_odoo_bridge will be created.
- Copy the bagisto_odoo_bridge folder into your Odoo Add-ons directory.
- Open your Odoo instance and navigate to Settings.
- Enable Developer Mode.
- Navigate to Apps and click Update Modules List.
- Remove all filters and search for bagisto_odoo_bridge.
- Click Install to install the module.
Workflow
Create a Bagisto Channel Instance
1. Log in to your Odoo instance and navigate to Multichannel from the left-side menu.
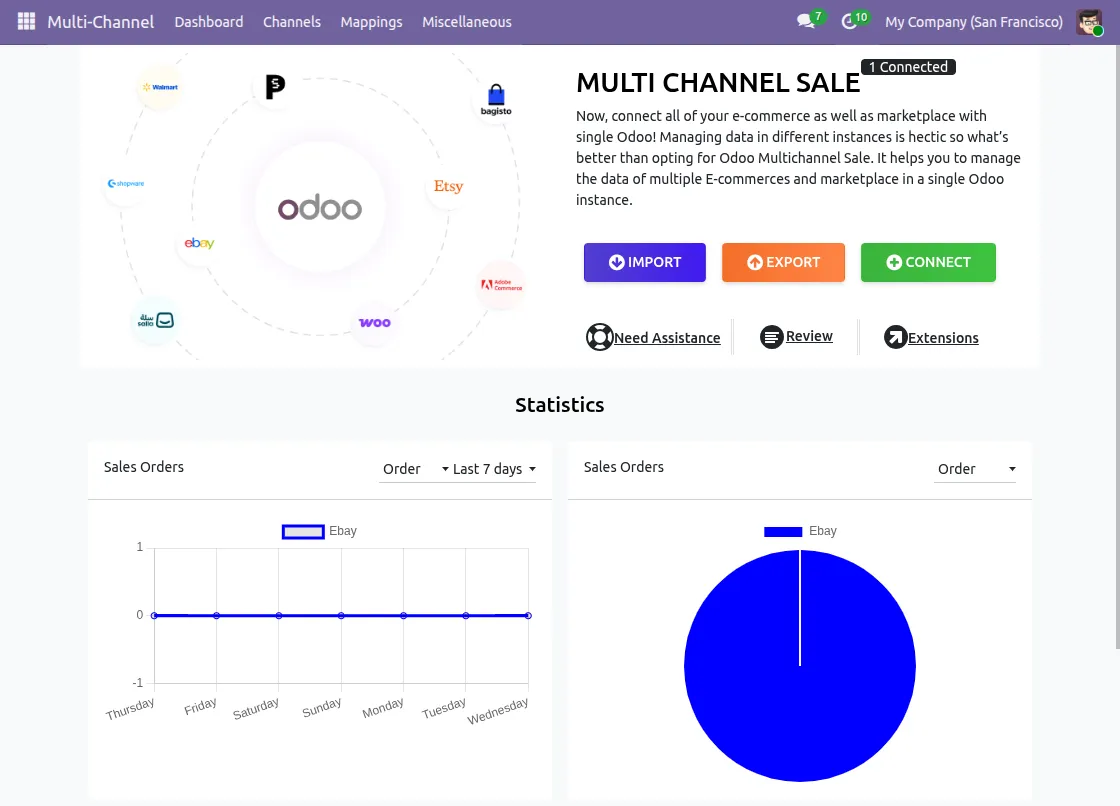
2. Go to Channel → Instances to manage your marketplace connections. Click New to create a new channel instance.
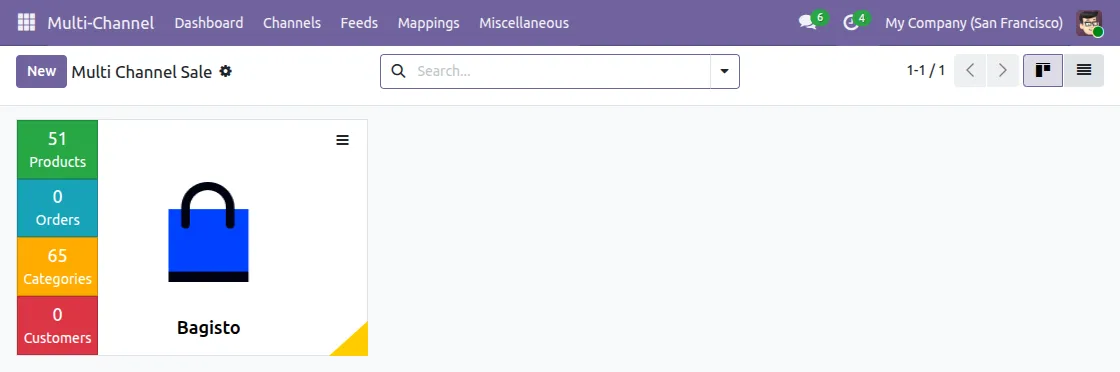
Making Connection On Odoo.
Select the Channel Type as Bagisto and select the version.
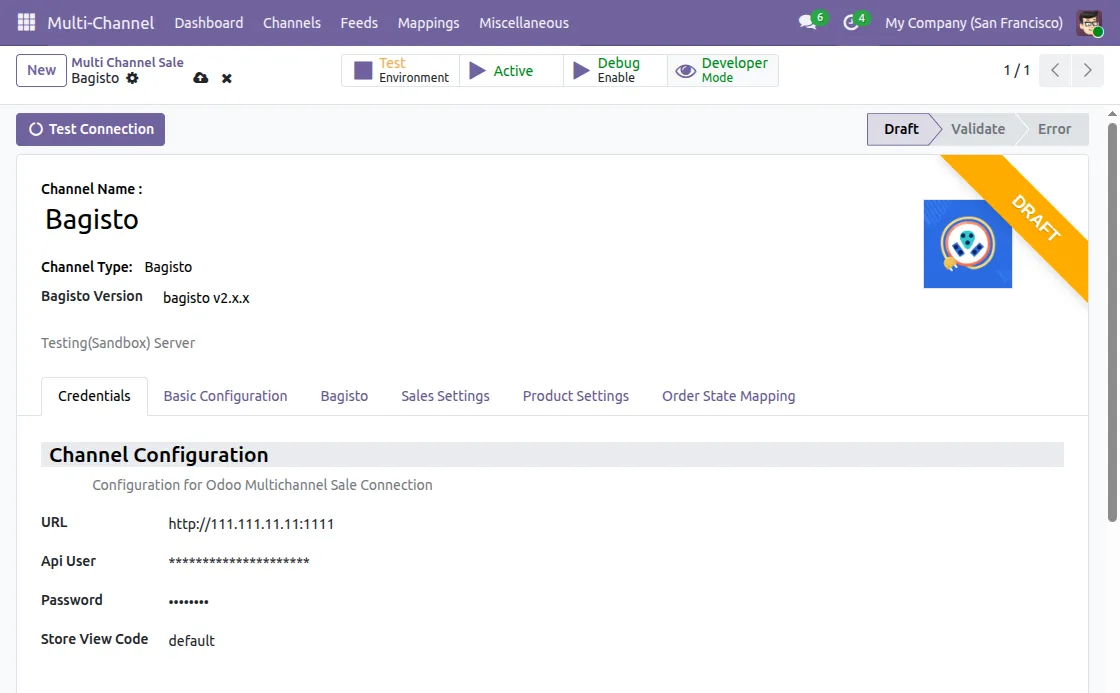
Enter the credentials from Bagisto in the channel instance and click Test Connection to establish the connection.
- Base URL
- Username
- Password
- Bagisto Store view code
Basic Configuration
Open the Basic Configuration tab and configure the channel settings as required.
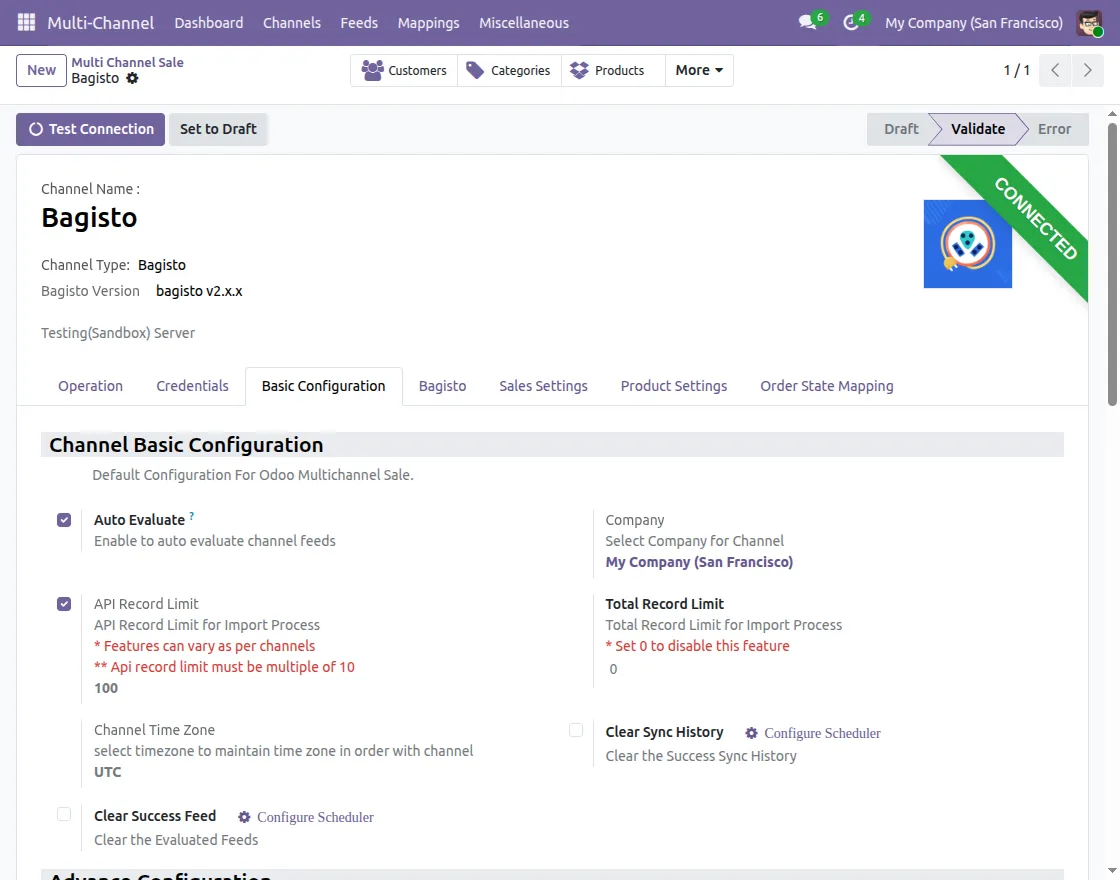
- Auto Evaluate: Automatically evaluates the feed after the import process.
- API Record Limit: Defines the maximum number of records fetched in a single API request (recommended: 100).
- Default/Child Store: Select the parent store from which orders and customers will be imported for the child store.
- Total Record Limit: Limits the total number of records imported.
- Channel Time Zone: Select the time zone to synchronize order dates with the Bagisto marketplace.
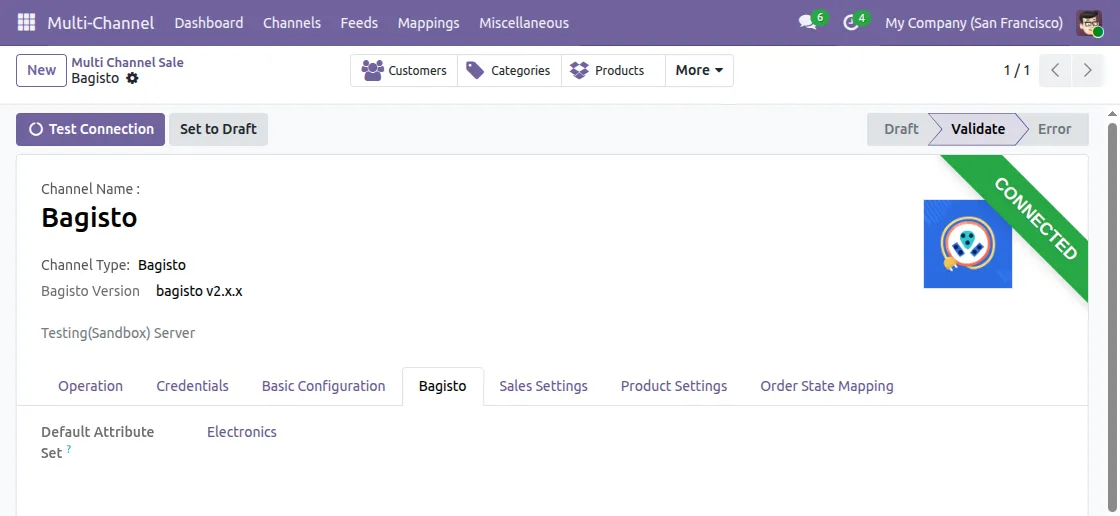
Configure Bagisto Operations
Select the default Bagisto attribute for product listings on Bagisto.
Configure Sales Settings
Channel Sales Order
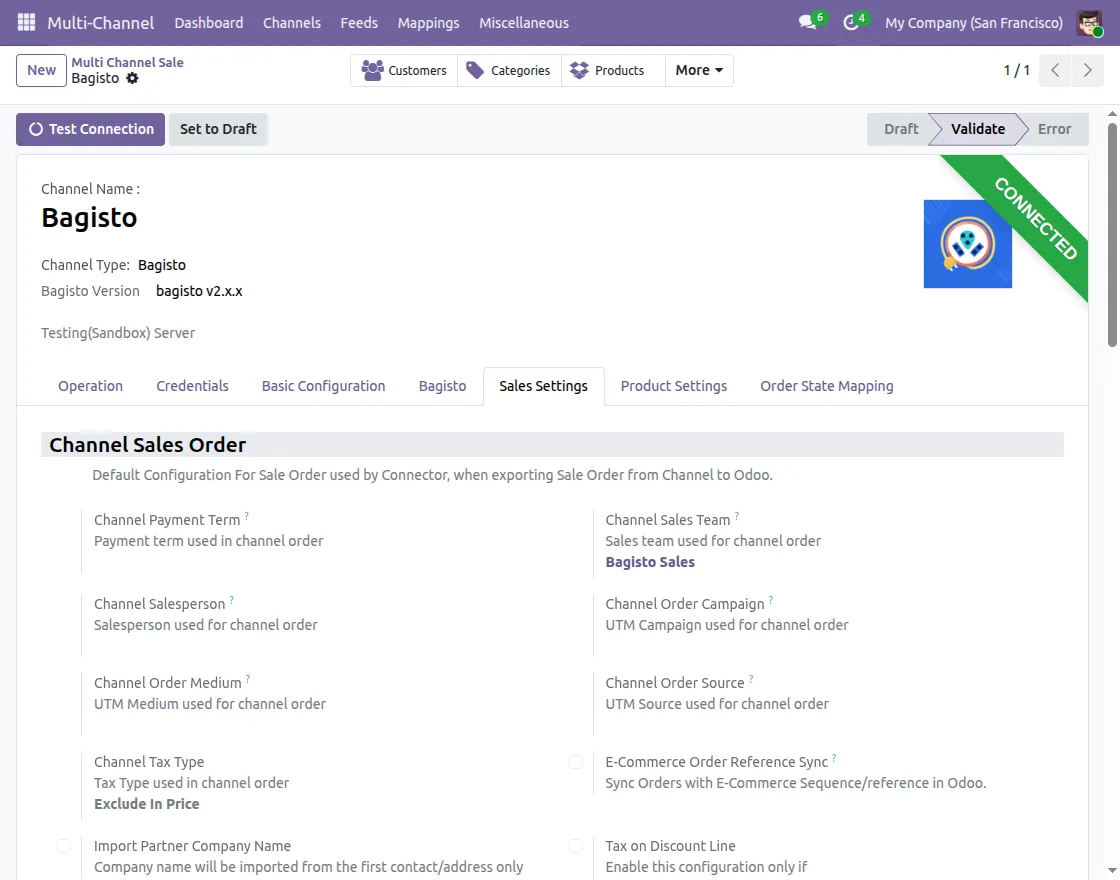
Navigate to Sales Settings → Channel Sales Order and configure the sales order settings.
- E-Commerce Order Reference Sync: Creates imported sales orders using the Bagisto order reference.
Channel Order Default Product
Navigate to Sales Settings → Channel Order Default Product.
Configure the default service products used for Shipping and Discount while creating sales orders.
Real-Time Sales Order Status Sync
Navigate to Sales Settings → Realtime Sales Order Status Sync.
Configure the default settings for synchronizing sales order status from Odoo to Bagisto.
You can update the order status below in real time :
- Invoice status
- Shipment Status
- Cancel Status
Configure Product Settings
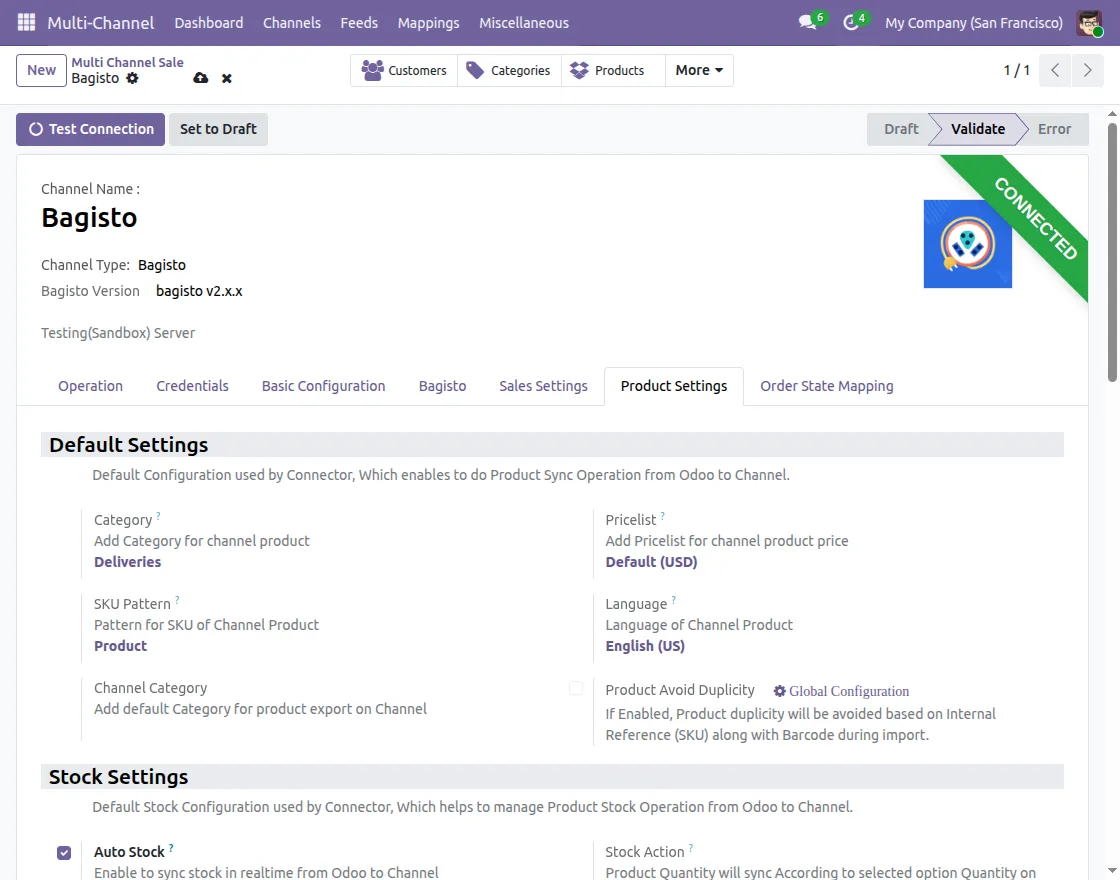
Default Settings
Navigate to Product Settings → Default Settings.
Configure the default product settings for imported and exported products.
- Category: Default Odoo category for imported products.
- Pricelist: Default pricelist for imported Bagisto products.
- SKU Pattern: Generates SKUs for products without an existing SKU.
- Language: Default marketplace language.
- Channel Category: Default Bagisto category for product export.
Stock Settings
Navigate to Product Settings → Stock Settings.
Configure the stock synchronization settings.
- Auto Stock: Synchronizes inventory automatically from Odoo to Bagisto.
- Stock Action: Select whether stock is synced using Quantity on Hand or Forecast Quantity.
- Warehouse: Default warehouse used for inventory management.
- Location: Default stock location for imported products.
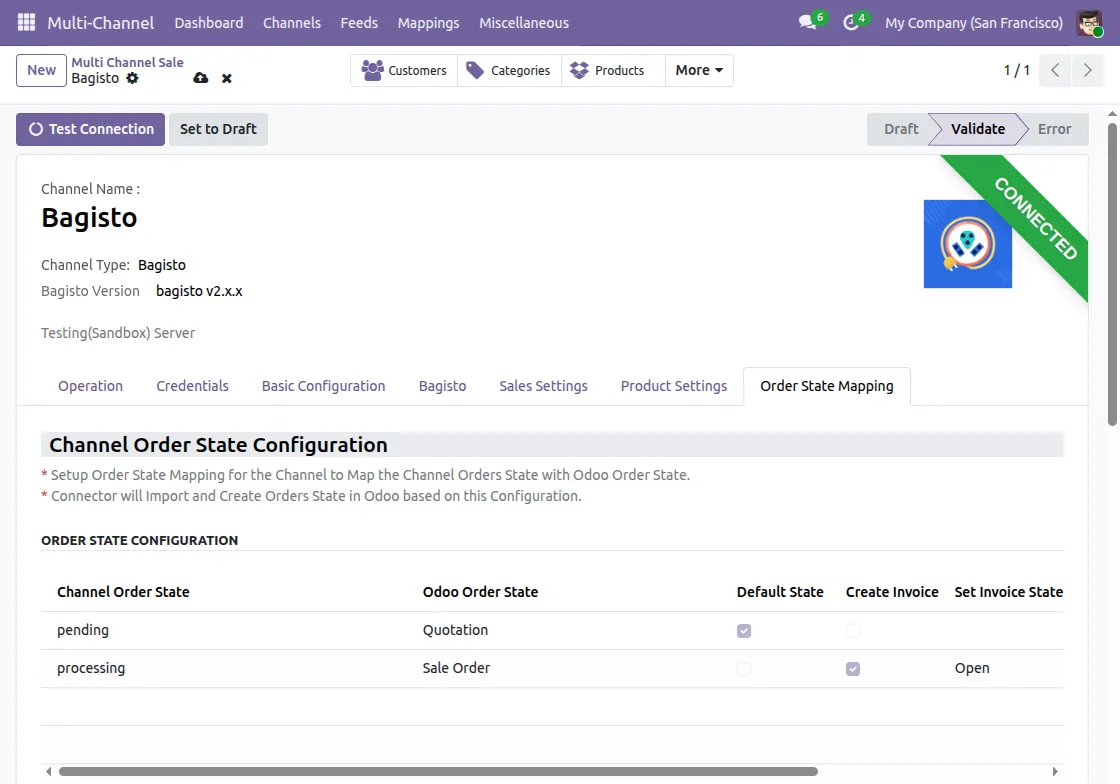
Configure Order State Mapping
Navigate to Order State Mapping and create mappings between Bagisto order statuses and Odoo sales order states.
Miscellenaious
Global Settings
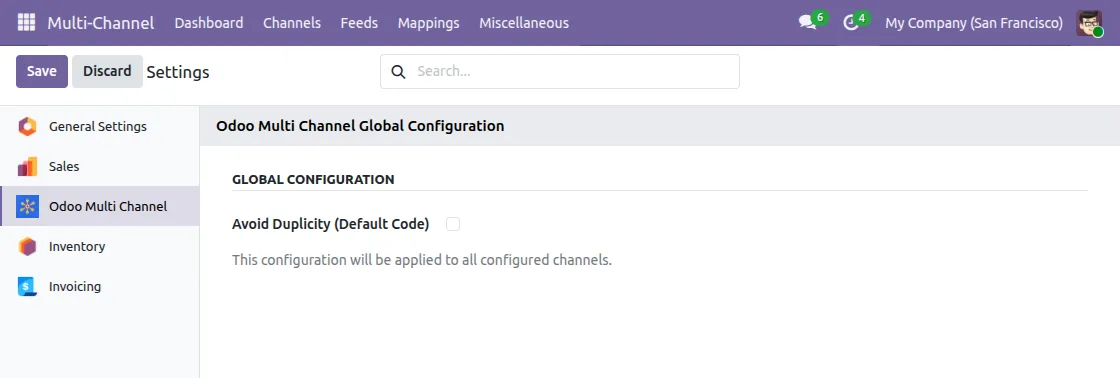
Next, go to the ‘multi-channel> miscellaneous> global configuration.’
From here, you can configure the import scheduler and enable ‘Avoid Duplicity (Default Code)’ to avoid double imports or exports of unchanged data.
Synchronisation History
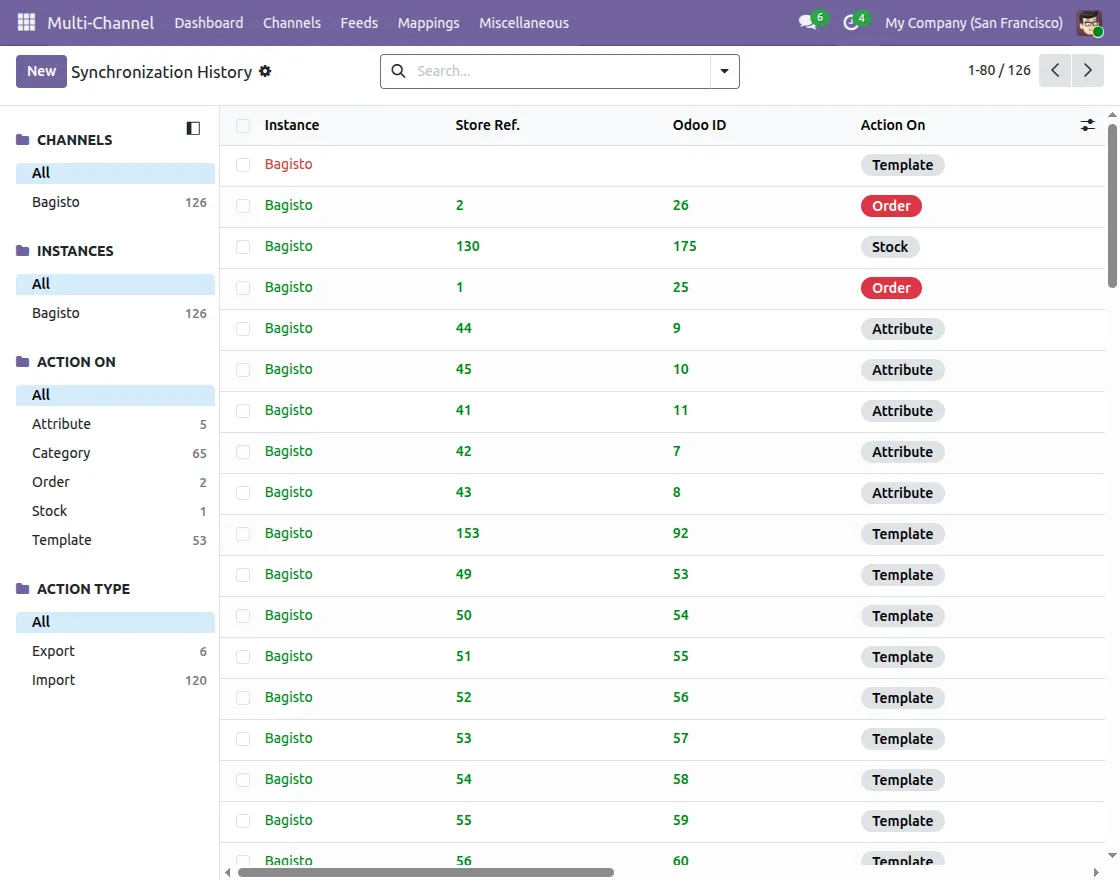
In the ‘Synchronization History’ option, you can view the entire history of every sync.
On clicking on anyone, you can see all the details of the history sync in Odoo Multichannel Bagisto Connector
Feeds In Odoo Multichannel Bagisto Connector
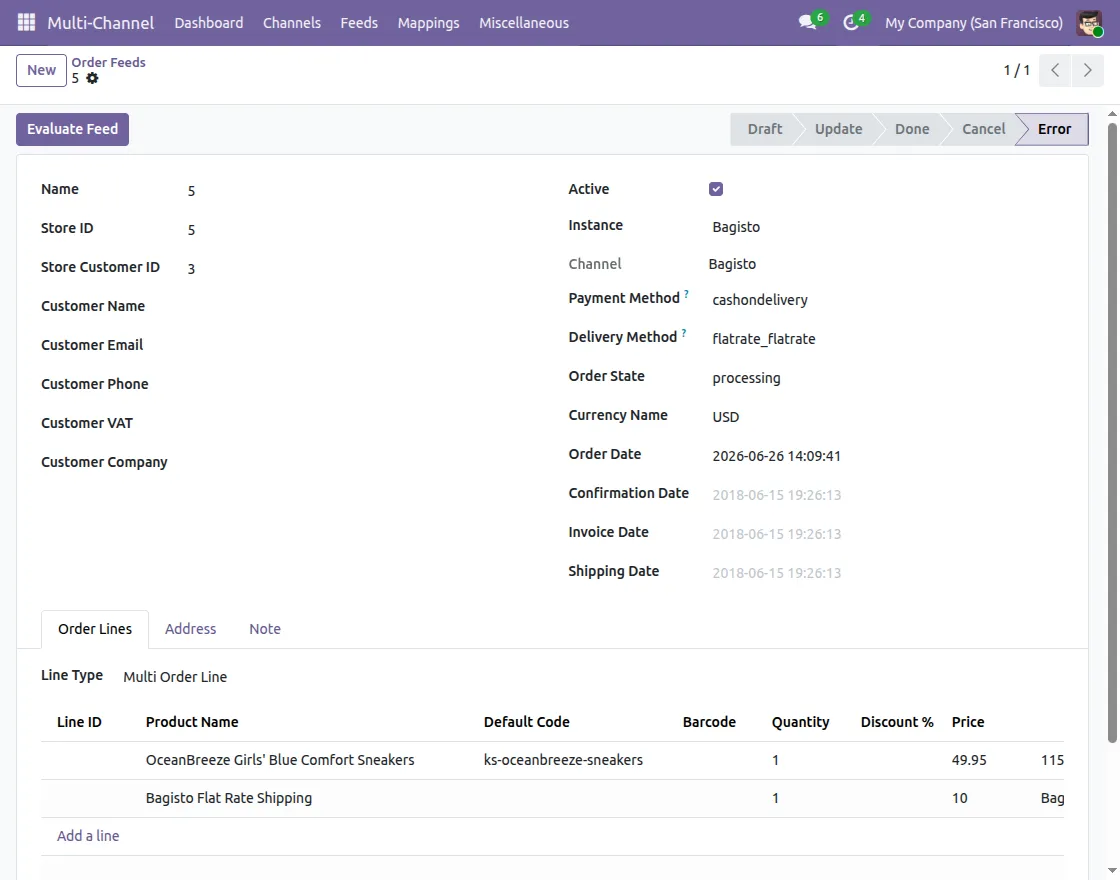
Whenever any data, such as orders, products, or customers, is received from your Bagisto platform into Odoo, it first appears in the “Feeds” section.
Purpose of Feeds
The Feeds section acts as an area where our connector evaluates the incoming data to ensure that all necessary details are correct and complete.
If the feed data is evaluated successfully, it automatically moves into odoo through evaluation (if auto-evaluation is enabled) or can be manually approved.
If the data contains errors (for example, the product does not exist in Odoo or the customer information is incomplete), it will be marked as an error feed.
Why Feeds are Helpful
If a record, such as an order or product, doesn’t appear in Odoo after the import, you can check the Feeds section to see the exact error. This helps you understand why the data wasn’t imported.
In many cases, you can fix the issue yourself, such as mapping a missing product or customer, and then re-evaluate the feed without needing developer assistance.
Data Mapping On Odoo
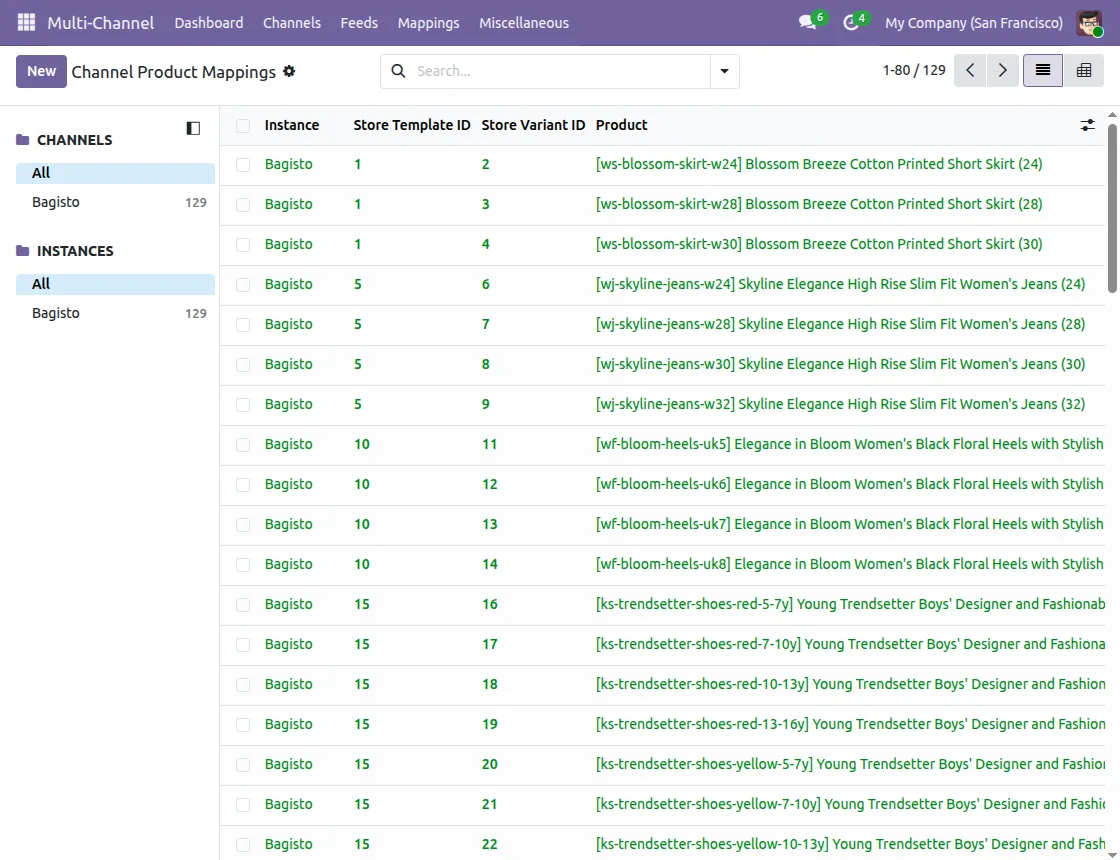
You can view the mapping of all the imported and exported data, such as products, categories, orders, customers, and attributes, in Odoo.
On opening any page from the mapping menu, you can view the list view of every mapping.
Mapping >>open the component mapping you want to see (product)
On clicking any, you can view the details of that particular mapping with Odoo Multichannel Bagisto Connector
Synchronise Data
Navigate to the Multichannel Dashboard to view synchronization statistics and marketplace activities.
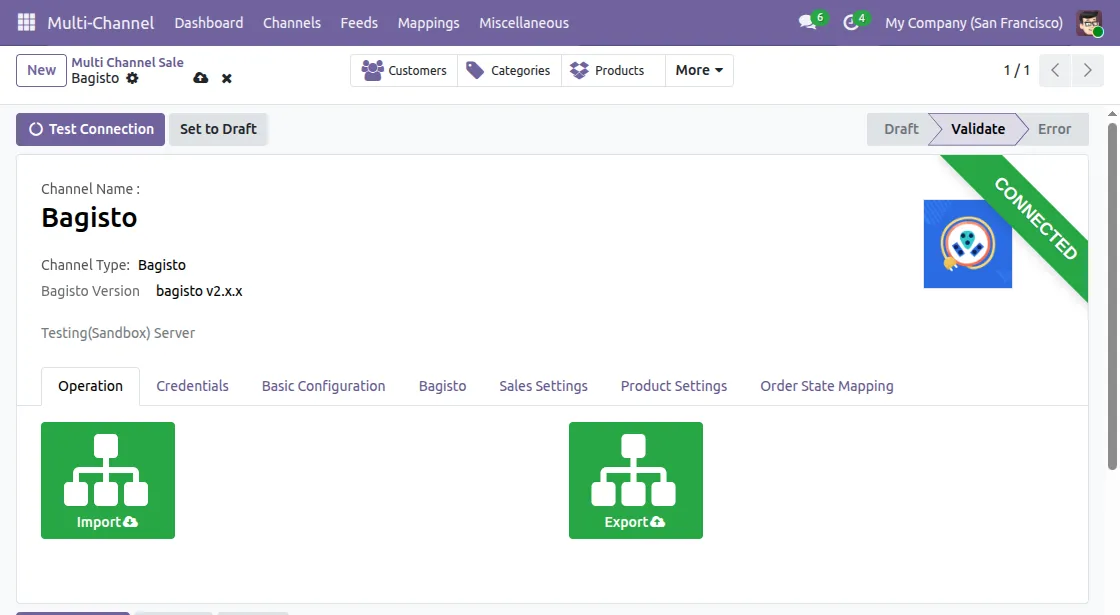
Bagisto to Odoo
Click Import to open the Import Wizard.
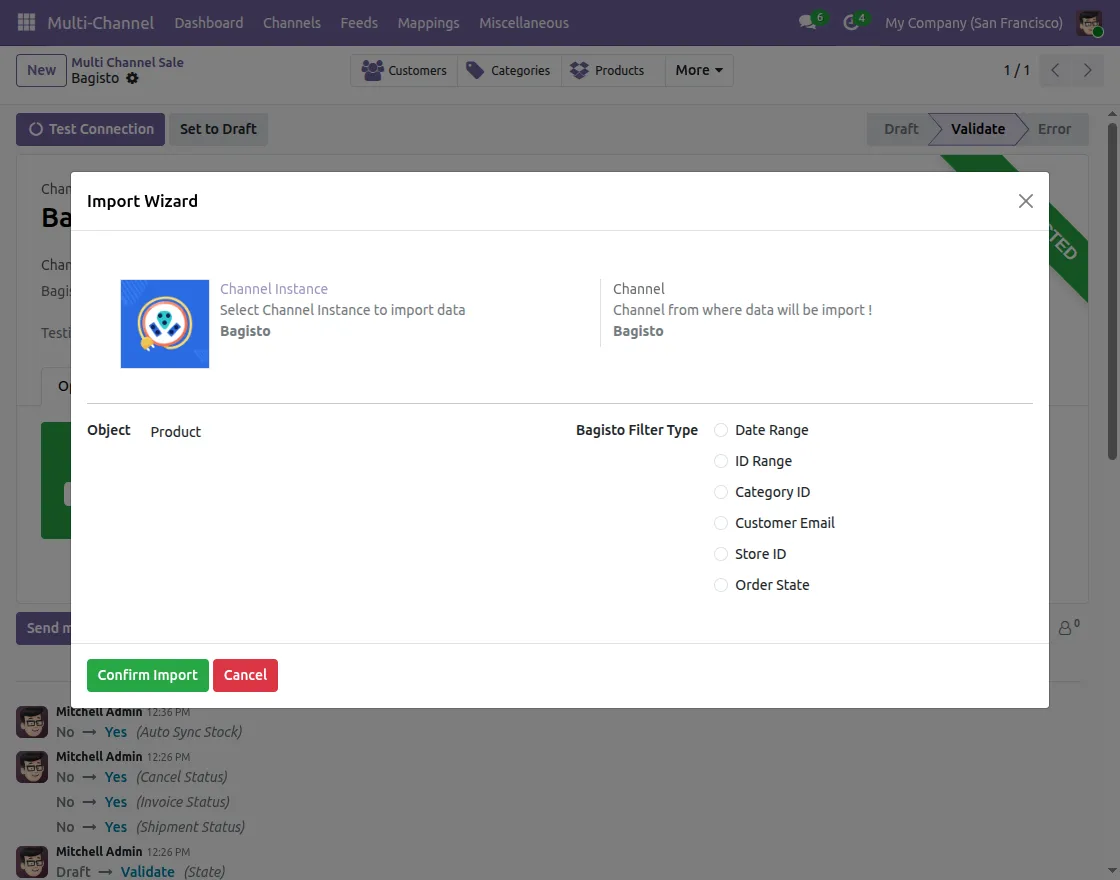
Select the Channel Instance and choose the object to import.
You can import data from the connection’s operation tab. You can also use the import button on the dynamic dashboard.
Note: Order of importing data: categories >> product >> order.
To import the order, your product must be imported, and similarly, to import the product, your categories should be imported from Bagisto to Odoo.
Moreover, you can only import the following data from Bagisto to Odoo.
- Products
- Orders
- Categories
- Customers
- Shipping Methods
- Attributes
Click Confirm Import to start the import process.
Export Data
Open the Multichannel Dashboard and click Export.
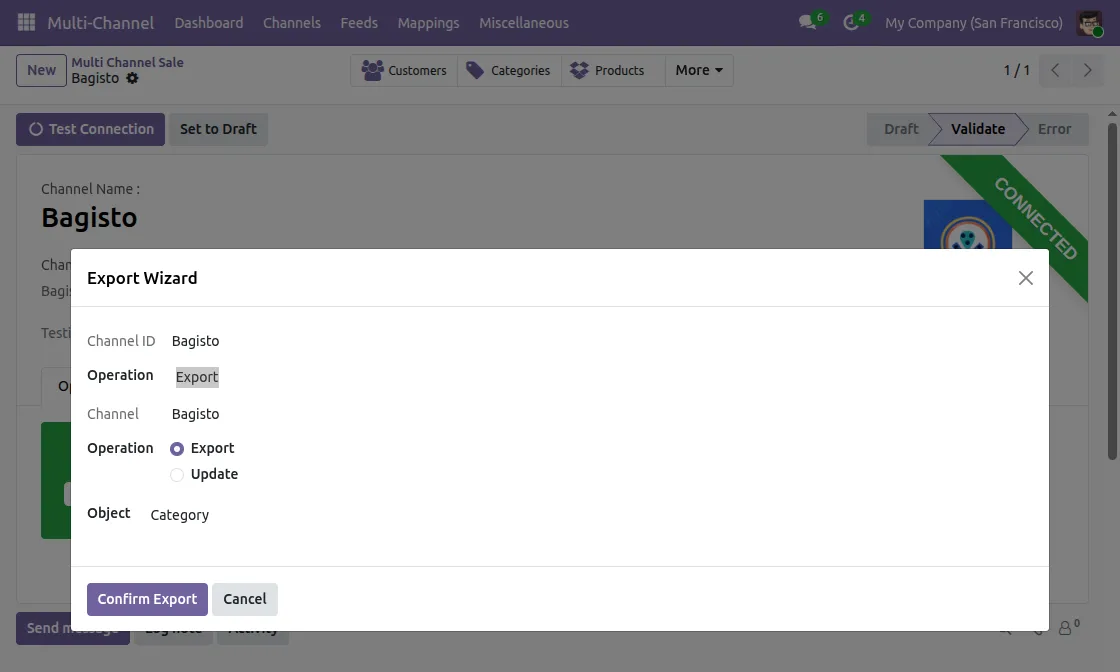
Select the channel instance and choose the required operation:
- Export
- Update
Supported export objects include:
- Products
- Categories
Click Confirm Export to export the selected records to Bagisto.
Need Help ?
Hope you find this guide helpful!
If you still have any issues or queries, please create a support ticket through the UV Desk.
For further assistance, contact us at [email protected].
Thank you for choosing Webkul.
Current Product Version - 1.1.2
Supported Framework Version - Odoo V19, Odoo V18, Odoo V17 --------------- Opencers

Be the first to comment.