Laravel Marketplace MangoPay Payment Gateway enables secure escrow-based payments for Bagisto 2.4.x marketplace stores.
Customer payments are held in a MangoPay wallet and later distributed between the admin and seller after order fulfillment.
Additionally, the admin can configure the payment method, manage escrow releases, and process refunds.
Moreover, both admin and sellers can view transaction records and add bank account details to receive payouts.
Important Note:
This is an add-on of the Laravel Multi-Vendor Marketplace module. Therefore, install the marketplace extension before using this add-on.
Furthermore, make sure MangoPay services are available in your country before purchasing.
Features of Bagisto Marketplace MangoPay Payment
- Admin registers on MangoPay website to get Client ID and Passphrase.
- Enable/disable the payment solution from admin configuration.
- Escrow-based payment – funds held upon order placement, released after fulfillment.
- Automatic payment split between admin commission and seller earnings.
- Admin manually releases escrowed amounts to sellers.
- Accepts CB, VISA, and Mastercard with 3D Secure.
- Sandbox mode for testing.
- Supports full and partial refunds via MangoPay escrow.
- Sellers add bank details (IBAN, GB, US, CA, OTHER) and upload KYC documents.
- Admin sees commission transfers; sellers see payout transfers.
- Guest checkout wallet support.
Installation:
Bagisto Version: v2.4.x
Marketplace Version: v2.4.x
Step 1: Extract Package
Unzip the extension package and merge the packages folder into your project root.
Step 2: Register Service Provider
Goto bootstrap/providers.php file and add the following line under ‘providers’
use Webkul\MangoPay\Providers\MangoPayServiceProvider;

return
[
 MangoPayServiceProvider::class,
 ]
Goto composer.json file and add following line under ‘psr-4’
"Webkul\\MangoPay\\": "packages/Webkul/MangoPay/src"
Run the command below to install the Mangopay php library:
composer require mangopay4/php-sdk ^4.0 2>&1
Next, execute the following command to refresh the autoload files:
composer dump-autoload
Finally, run the commands below to complete the setup:
php artisan mangopay:install
php artisan optimize:clear
Admin Configuration
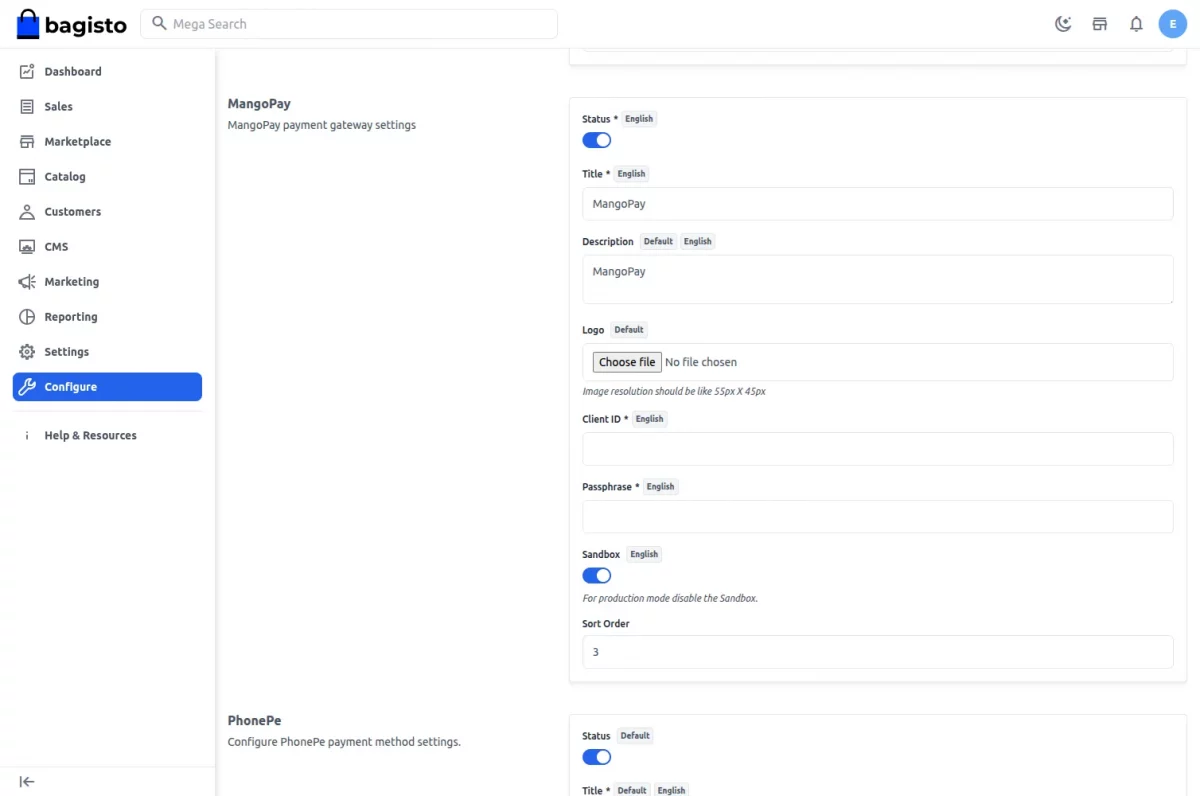
After installation, the admin enables MangoPay by navigating to:
Admin → Configuration → Sales → Payment Methods → MangoPay
Configure the following:
- Status: Enable/disable the payment method.
- Title: Display name shown at checkout.
- Description: Short description shown at checkout.
- Logo: Upload a 55×45 px image.
- Client ID and Passphrase: Obtained from your MangoPay account.
- Sandbox: Toggle between sandbox and production mode.
- Sort Order: Position of MangoPay in the payment method list.
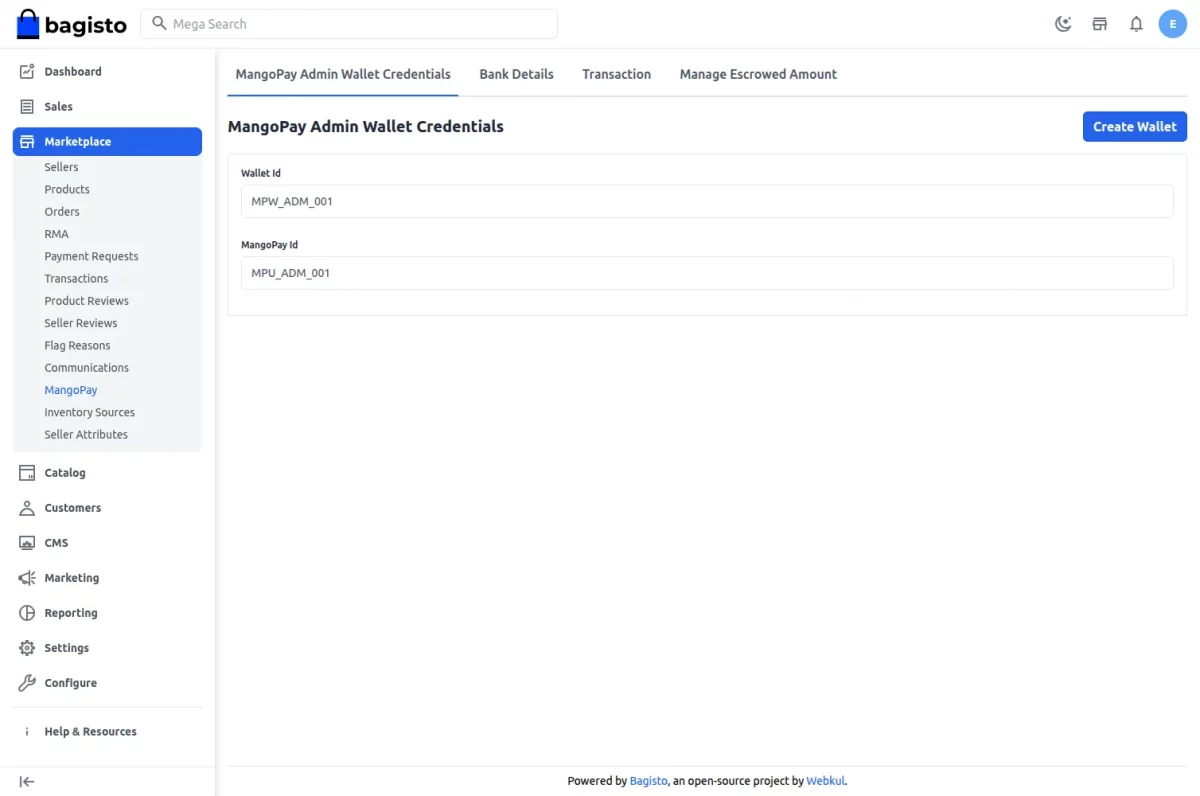
Create Admin Wallet
Go to: Admin → MangoPay → Wallets
Click Create Wallet. This registers the admin as a Legal User on MangoPay and creates a wallet for receiving commission transfers.
Add Bank Details
Navigate to: Admin → MangoPay → Bank Details
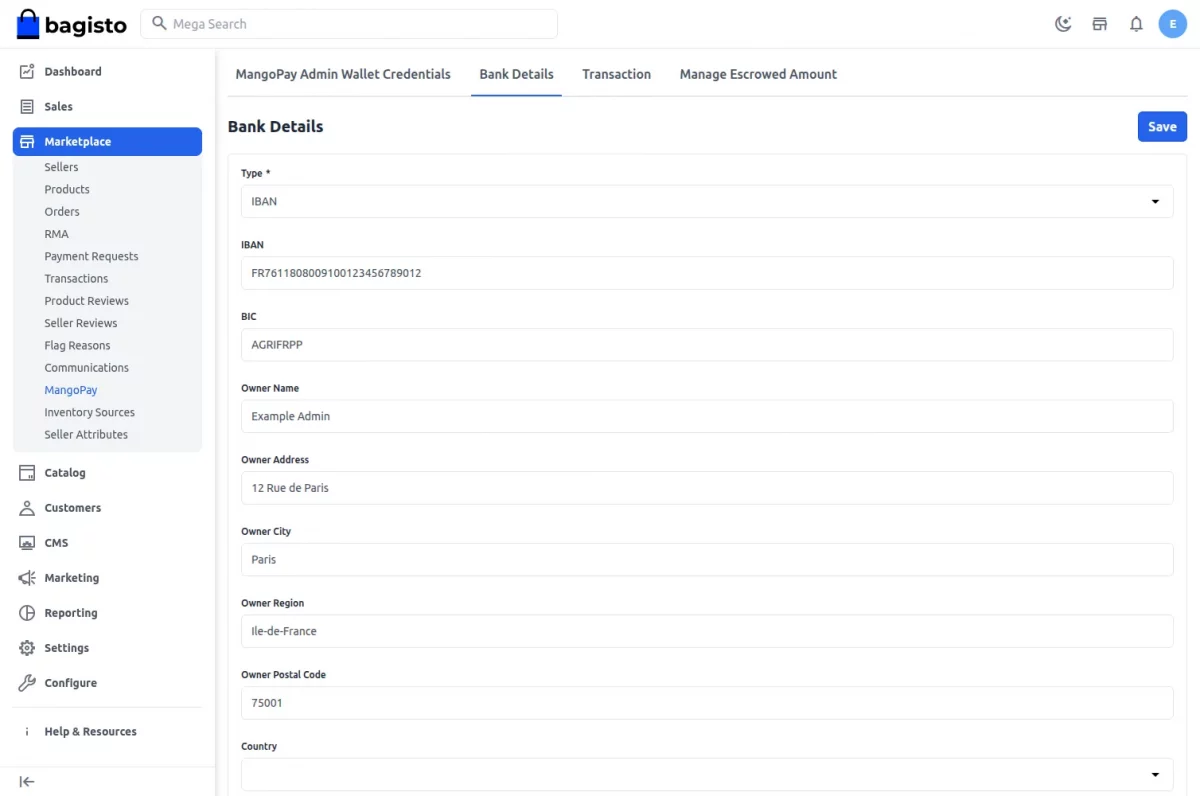
Fill in your bank account information. Supports IBAN, GB, US, CA, and OTHER formats.
Bank details are required to receive commission payouts.
Manage Escrowed Amount
Go to: Admin → MangoPay → Manage Escrowed Amount
View all orders with escrowed funds.
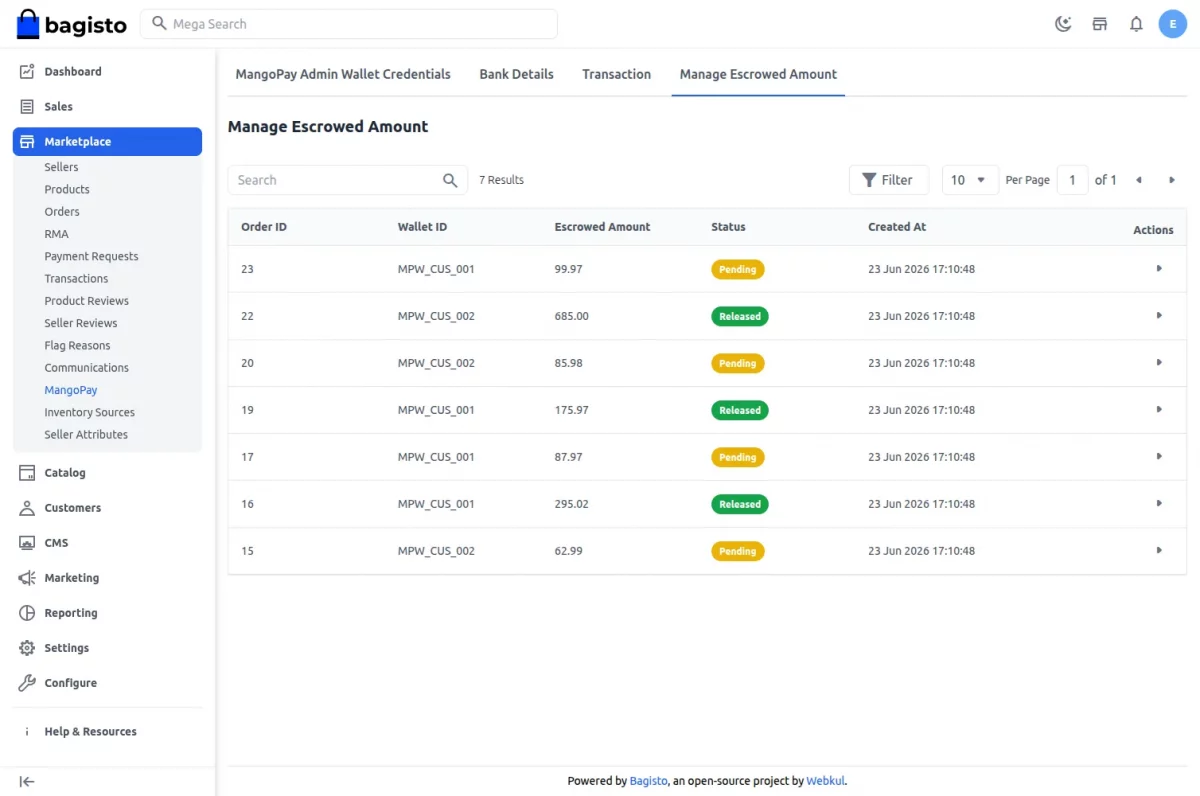
For each record, the admin can click Release Amount to transfer the seller’s share and commission from the buyer’s escrow wallet to the respective recipients.
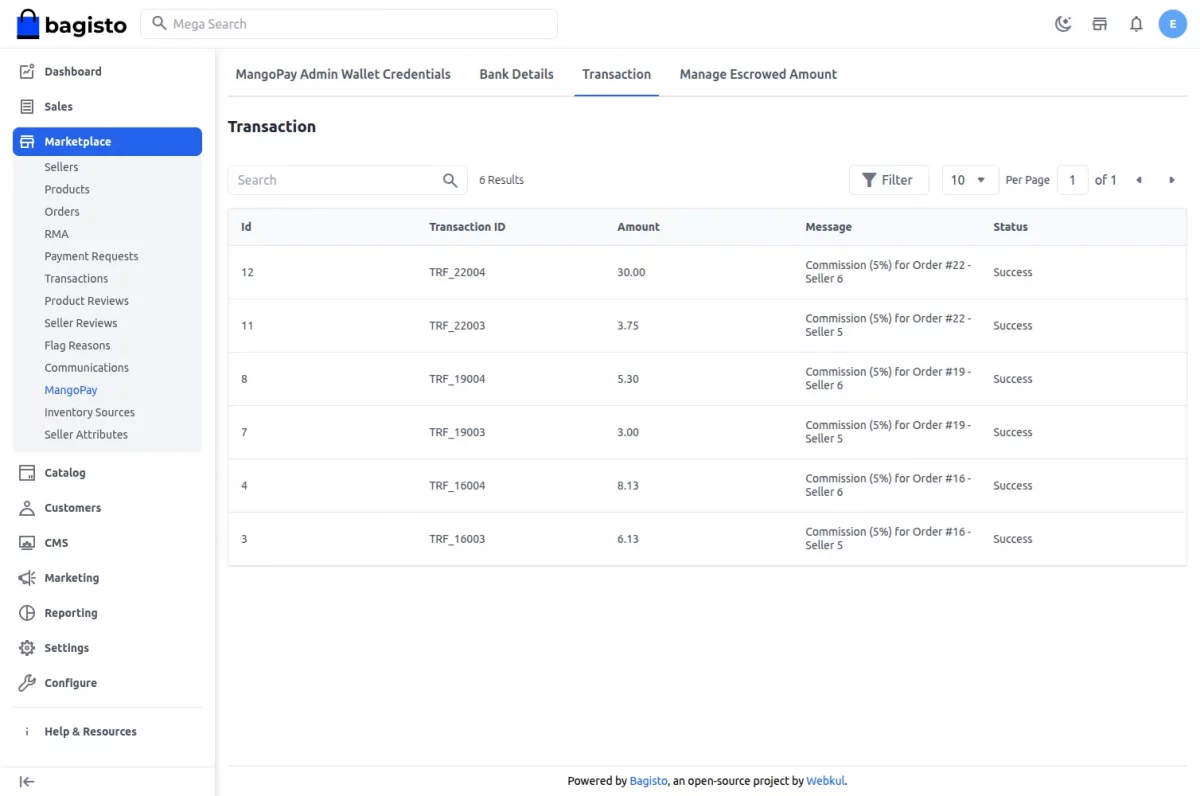
View Transactions
Go to: Admin → MangoPay → Transaction
grid shows all commission transfers to the admin along with their status.
Process Refunds
From any order placed with MangoPay, the admin can click the MangoPay Refund button to create a refund.
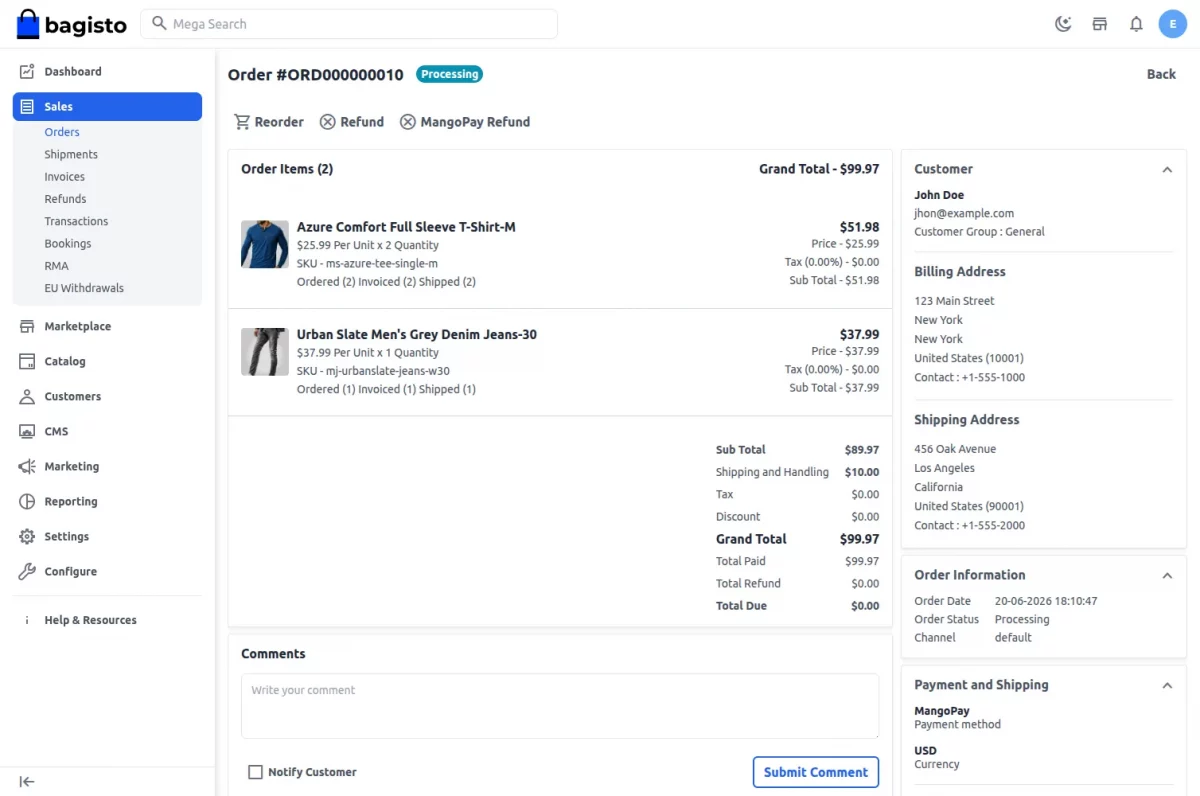
The refund amount is processed through MangoPay’s refund API and deducted from the escrowed funds.
Front End :
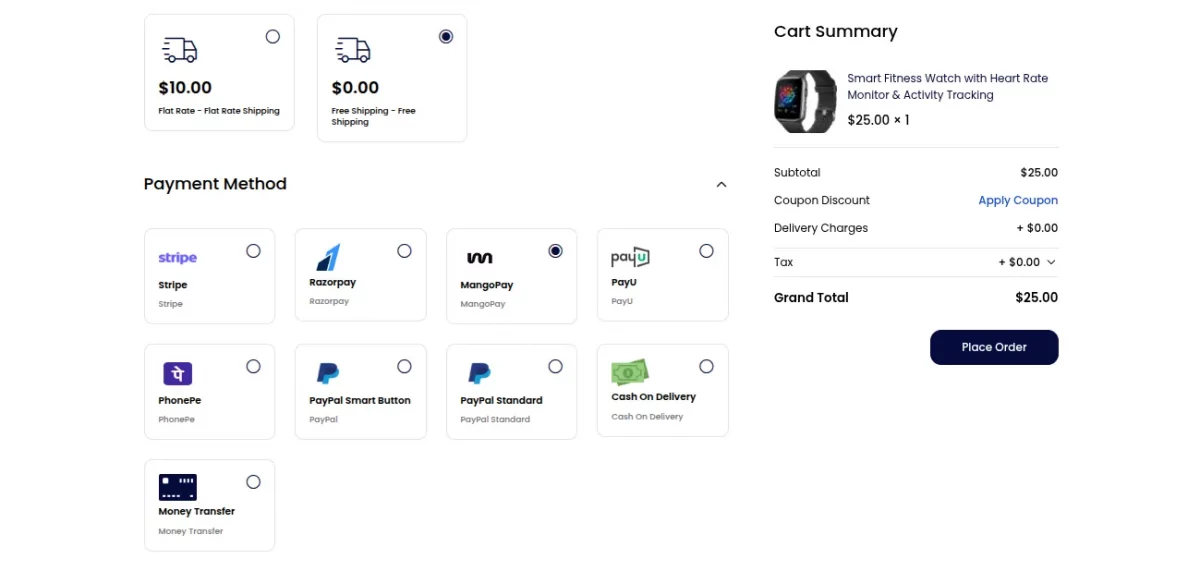
After the admin configures the payment method, customers can select MangoPay during checkout, as shown below.
Complete the Payment
After placing the order, the customer is redirected to the MangoPay payment page to complete the transaction securely.
Once the payment is authorized, the order is processed successfully.
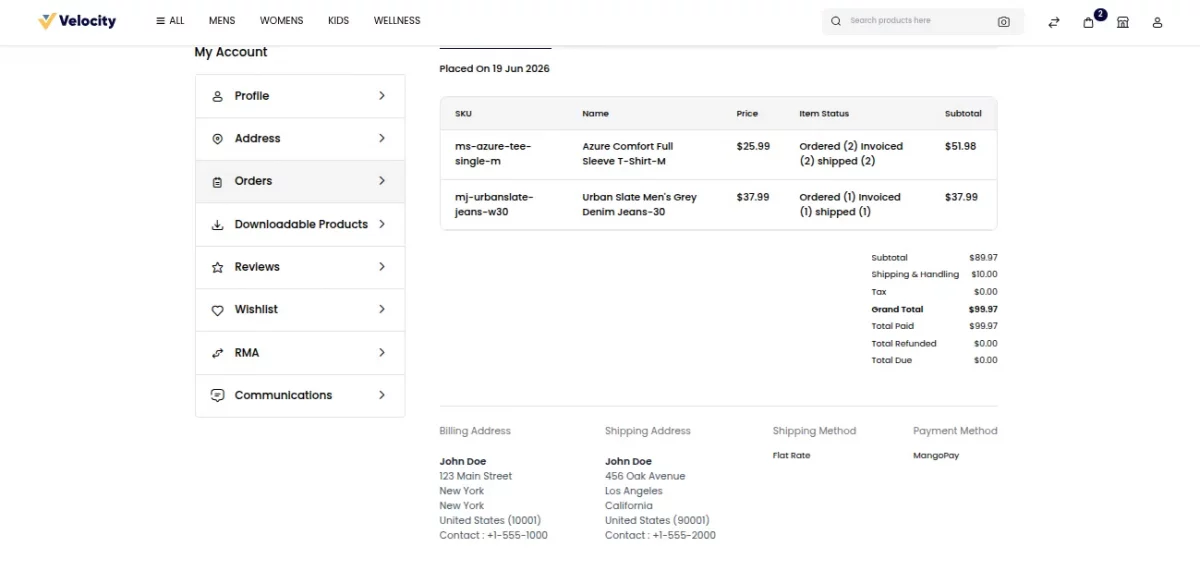
Customer Order Details
After a successful purchase, customers can review complete order information from:
My Account → Orders → View Order
Seller Order Details
The seller can view the marketplace order details, including payment and order information, from:
Marketplace Account → Orders → View Order
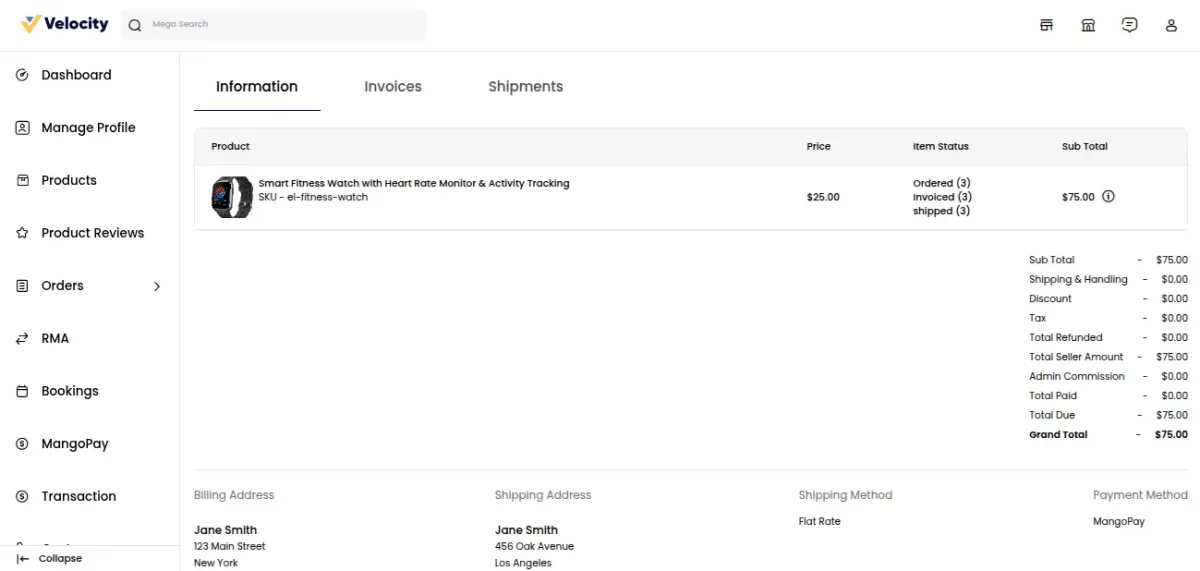
Seller Profile:-
Sellers access MangoPay features from their marketplace account panel.
Bank Details
Sellers add their bank account information to receive payouts.
Location: Marketplace Account → MangoPay → Bank Details
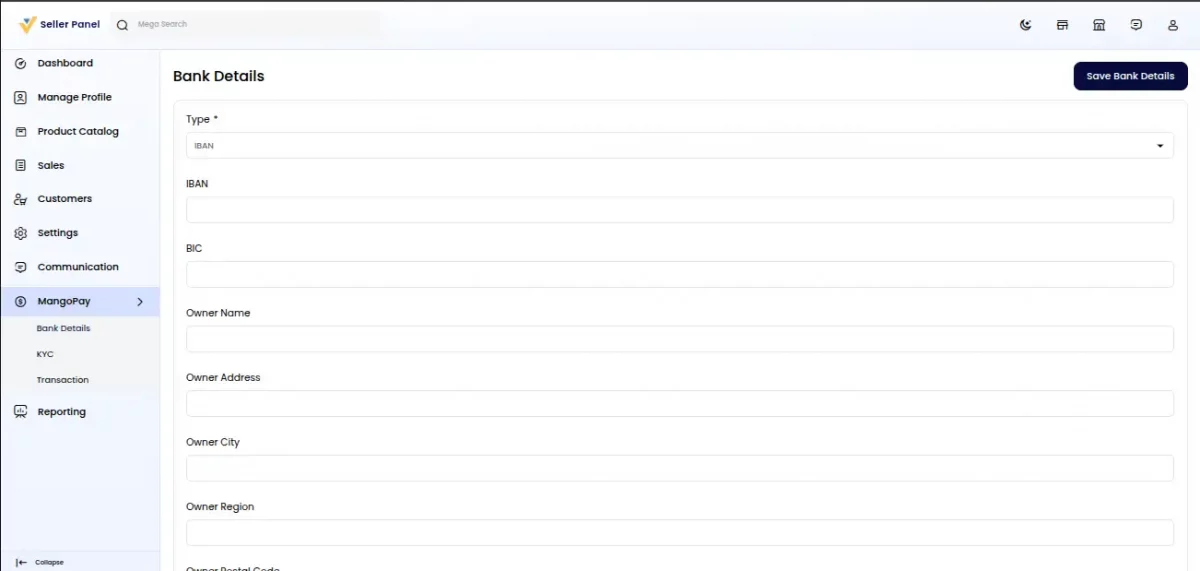
KYC Verification
Sellers upload identity and address proof documents under:
Marketplace Account → MangoPay → KYC
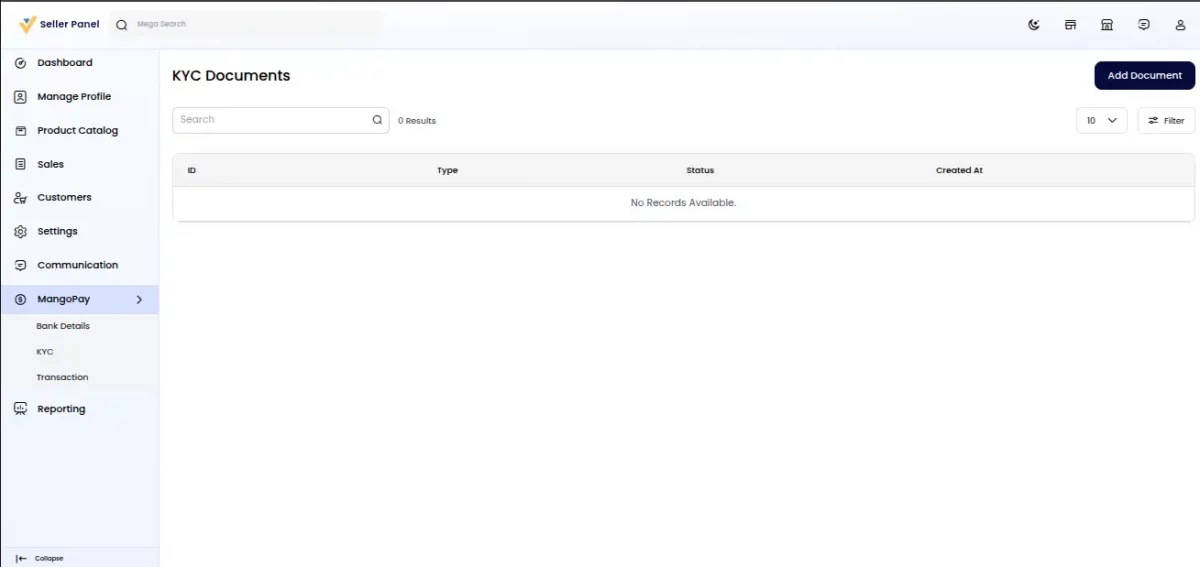
Document types include:
- IDENTITY_PROOF
- REGISTRATION_PROOF
- ADDRESS_PROOF
- Others
The KYC status (VALIDATED / VALIDATION_ASKED) is tracked via the MangoPay API.
Transaction History
Sellers can view their received payout transfers under:
Marketplace Account → MangoPay → Transactions
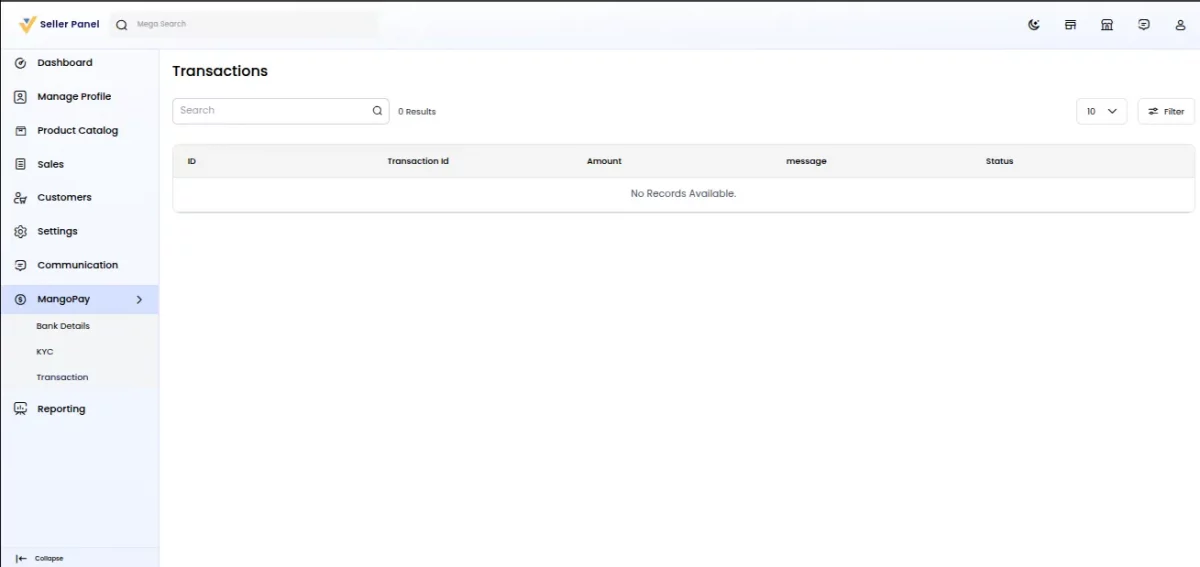
That’s all for the Laravel eCommerce Mangopay Payment Gateway, still, have any issue feel free to add a ticket and let us know your views to make the module better bagisto.uvdesk.com
Current Product Version - 2.4.6
Supported Framework Version - Bagistp 2.4.6

Be the first to comment.