Introduction
The WebAR products image plugin for WooCommerce allows to you enable WebAR product images in your WooCommerce online store.
In WooCommerce WebAR (Augmented Reality) Product, the admin can add the 3D image to their WooCommerce online store.
With the help of the WebAR product image for WooCommerce, you can experience augmented reality products and you can access this plugin on iOS and Android phones also.
The customers can access our WooCommerce WebAR (Augmented Reality) Product on their smartphones also.
The WebAR product image for the WooCommerce WebAR (Augmented Reality) Product is provided to customers virtually with a product use before-buying facility.
Additionally, if you want to remove product images and media backgrounds through AI. For that, you can check the WordPress WooCommerce AI Image Background Remover plugin.
NOTE – Some devices do not support the WebAR functionality due to their old version because the old version devices can not have the functionality to view the AR products.
Maybe you can update your device version and try here is the link to know which devices support WebAR.
We provide a production version of the plugin. If you want a development version then you can get it at an additional cost. Please contact [email protected] for it.
Note: This plugin is now compatible with WooCommerce’s latest High-Performance Order Storage (HPOS) and Cart and Checkout block.
Check a brief overview of the plugin –
Features
- This Plugin gives functionality for customers to see the product in a 3D view.
- With the help of the WooCommerce WebAR (Augmented Reality) Product, Admin can add products image to their online store.
- With the help of this module, the admin can upload a 3D product image for the online store.
- Admin can upload GLB and USDZ files for Android and iOS respectively.
- This Plugin gives functionality for customers to see the product in a 3D view.
- If we don’t upload GLB and USDZ image files then the product image will be visible.
- Suppose we don’t upload product images and any GLB and USDZ files then the default image given by WooCommerce will be visible.
- If your GLB and USDZ files are large in size then ask your hosting provider to increase the upload size limit. So that one can upload large GLB and USDZ files.
Installation
First of all, the user will get a zip file that needs to be uploaded in the “Add New” menu option in the WordPress admin panel.
For this login to the WordPress admin panel and in the Dashboard hover your mouse over the “Plugins” menu option and select the “Add New” option.

Following this, the user will see an option on the top of the page that is “Upload Plugin”, click the option to upload the zip file.

Next, on clicking the “Upload Plugin” option, the user will see a “Choose File” button. Click on the button to browse for the zip file as per the image below.

After browsing the file, click on the “Install Now” button to install the plugin as per the snapshot.

Furthermore, Once the user installs the plugin, a message “Plugin installed successfully” displays and an “Activate Plugin” is visible to activate the plugin.
In the end, the user needs to click on the “Activate Plugin” button to activate the plugin.

Note: Check how to Activate the WooCommerce Plugin through the purchase code and get updates on Webkul Modules directly on the Plugins page.
Module Translation
And, to know how to translate the module, you can click here.
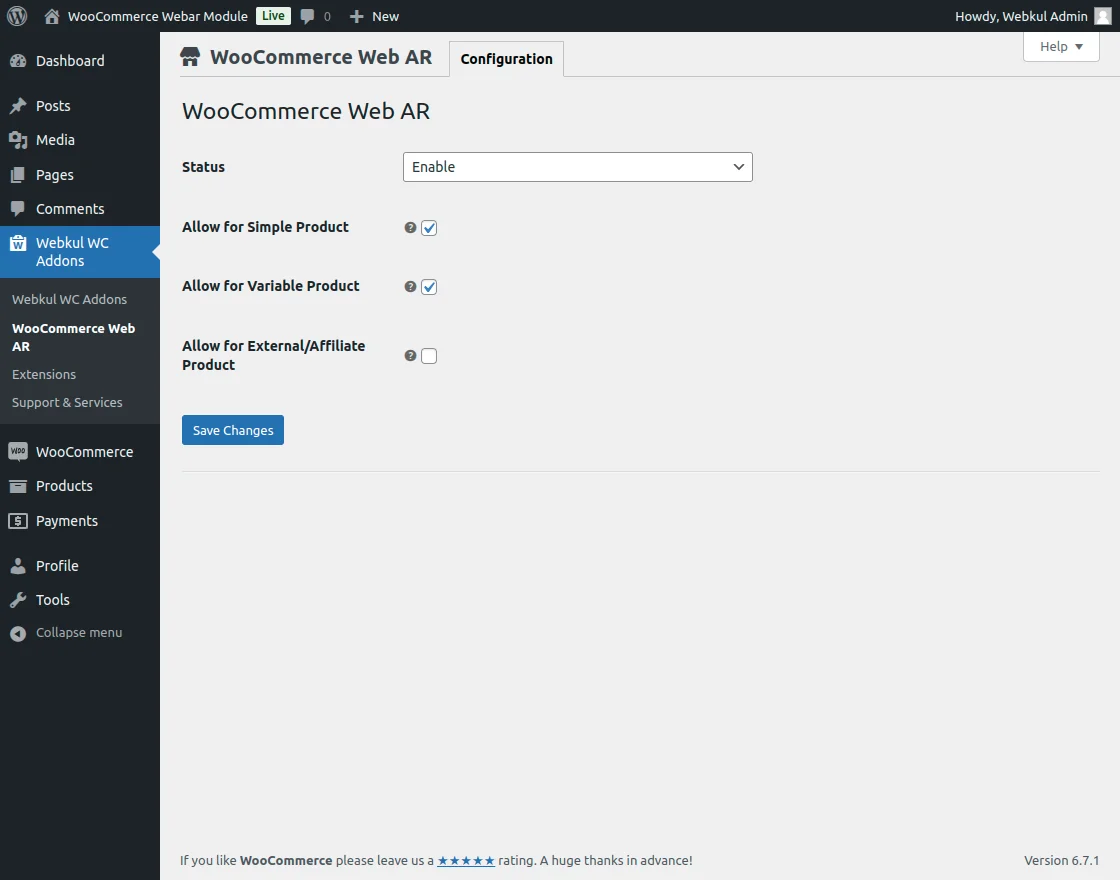
Configuration
Henceforth, after the successful installation of the WooCommerce WebAR (Augmented Reality) Product, now the admin needs to configure the module.
Here the admin can enable/disable the plugin and similarly, they can allow the module for simple, variable and external or affiliate products.
The admin needs to follow “Products > Add new”.

After clicking on the Add New tab then you can write a product name.

How Admin can set the images?
Admin needs to click on the AddNew button then admin needs to scroll down the page and click on the
“Product Image > Select Product Image”

Android File
The Android File section is used to upload a media file (Image) for android and the format of the image for android is GLB.
iOS File
The iOS File section is used to upload a media file (Image) for iOS (Apple) and the format of the image for iOS is USDZ.
For uploading an Android File,
“Android File > Upload”
And select the Image format for Android is GLB.

For uploading an iOS File,
“iOS File > Upload”
And select the Image format for iOS that is USDZ.

After completing this configuration you will save the product by using the “Publish” button.

After publishing the product the admin can see their product in the product list “Products > All Products”

Once the configuration is completed from the admin end. Now we will move to the front end to view the products.
Front End View

Now, customers can access this website on their mobile devices and also see the product at its proper place by using their mobile device camera before buying the product.
And you can access this website on your mobile device by scanning a bar code.
For the bar code, you need to click on the live demo on the module page.
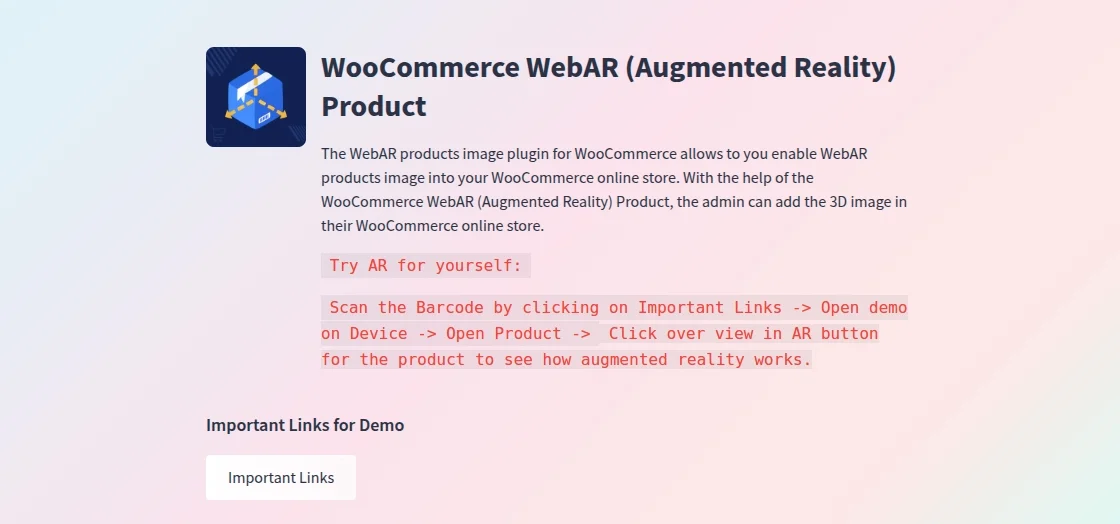
Click on the “Important Links” button to obtain the barcode.
The barcode will appear on a new page.
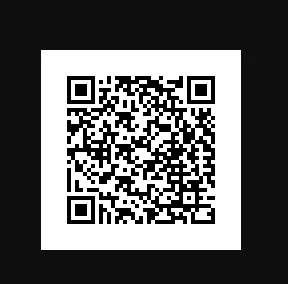
After scanning this Bar Code with your mobile, you can redirect to the website and you will see all AR products.
To view the AR image in your real space you need to click on this cube.
After clicking on the cube button, you can see the product in your real space with the help of your mobile camera like this.
but first, you need to permit this module to access your mobile camera to view the AR images on your device.
After your satisfaction with your product, you can add the product to the cart list.
After adding the products to the cart list then you can view the products in your cart.
and you also can add many products to your cart list.
Now you can checkout your selected product from the cart.
With the help of Proceed checkout button.
And all your product details are mentioned in the cart.
Subtotal.
Shipping Method.
Total Amount.
After the checkout of your product from the cart. Admin will receive your order and you will get a proper bill.
And all the things are mentioned on the order receiving slip.
Order Number.
Date.
Total Amount.
Payment Method.
That’s all about the WooCommerce WebAR (Augmented Reality) Product. For any further queries and suggestions please raise a ticket to the HelpDesk System.
Don’t give us a low rate without contacting support on the issue you’ve come across. We are always happy to help you.
Current Product Version - 1.0.4
Supported Framework Version - WordPress: 6.7.1 WooCommerce: 9.6.0

Be the first to comment.