WooCommerce Spin to Win: They say, ‘ The essence of traditional techniques never fades with time.’
It holds true even for e-commerce sites, as even business entrepreneurs are integrating traditional gaming techniques with their sites, Spin to Win Wheel being one of them.
Woocommerce Spin to Win is one such plugin that integrates the traditional spin to win gaming feature which helps captivate the attention of the users.
This enticing feature ensures that users spend more time and engage more with the website.
Also, on spinning the wheel, the users might win the coupon code which in turn can be availed while making a purchase.
We provide a production version of the plugin. If you want a development version then you can get it at an additional cost.
Please contact [email protected] for it. Send messageLog note Pinned Message Schedule activity
If one wishes to convert their visitors into customers, then WooCommerce Spin to Win it is!
Note:
This module is now compatible with WooCommerce’s latest feature Cart and Checkout blocks.
This module is now compatible with WooCommerce’s new High-Performance Order Storage (HPOS) feature.
Watch the below video tutorial to understand the extension workflow:
Features
- The admin creates and manages the spin campaigns in the admin panel.
- The attributes of the spin wheel are managed by the admin.
- Segments of the spin wheel are created and managed by the admin.
- The admin sets the positions of the segments on a spin wheel.
- the admin can specify the number of times when the customers spin the lucky wheel with the email address.
- For a segment, the Gravity or probability of appearing must be set by the admin.
- The admin has to manage the layout of the spin wheel.
- A trigger option for a spin wheel is present in the admin-specified pages for the customer.
- On clicking the trigger, the spin wheel shall pop up for the customers.
- The Report section includes the report and statistics for each spin campaign.
- On winning the spin, the customer will receive a coupon code, which can be availed while making a purchase.
- Customers will get coupon data on the e-mail as well as on the spin to win the section.
- The admin will get notifications, whenever the user wins a coupon using the spin to win wheel.
- Those segments of the spin to win wheel will get deleted automatically and the coupons get expired.
- The admin can configure endpoints by using the admin panel.
Plugin Activation
Check how to activate your WooCommerce plugin through the purchase code.
How to update the plugin?
Check the steps for module updates on the WooCommerce plugin page.
Installation
The user will get a zip file that needs to be uploaded in the “Add New” menu option in the WordPress admin panel.
For this login to WordPress Admin Panel and in the Dashboard hover your mouse over the “Plugins” menu option select the “Add New” option.

After this, the user will see an option on the top of the page that is “Upload Plugin”, click the option to upload the zip file.
On clicking the “Upload Plugin” option, the user will see a “Choose File” button. Click on the button to browse for the zip file as per the image below.

After browsing the file, click on the “Install Now” button so as to install the plugin as per the snapshot.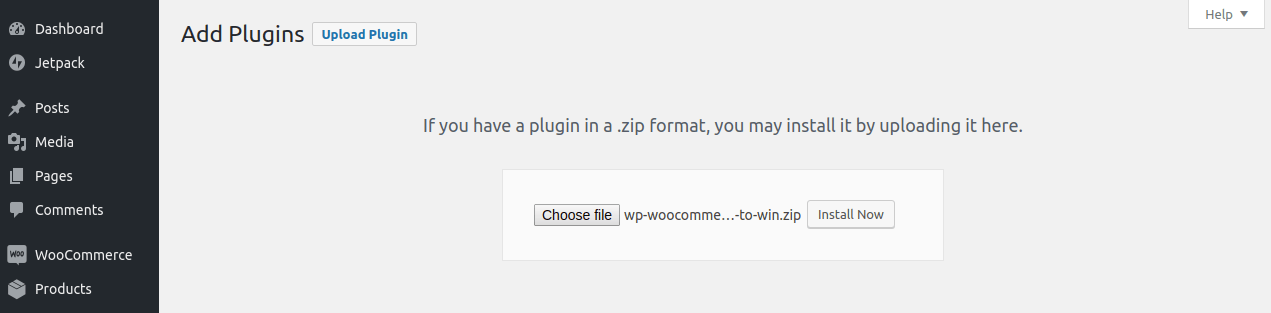
Once the user installs the plugin, a message “Plugin installed successfully” displays and an “Activate Plugin” is visible to activate the plugin.
The user needs to click on the “Activate Plugin” button to activate the plugin.
Add Spin Campaign
After, installing the WooCommerce Spin to Win plugin, the admin can navigate to Spin to Win > Add Spin Campaign to add spin campaigns.
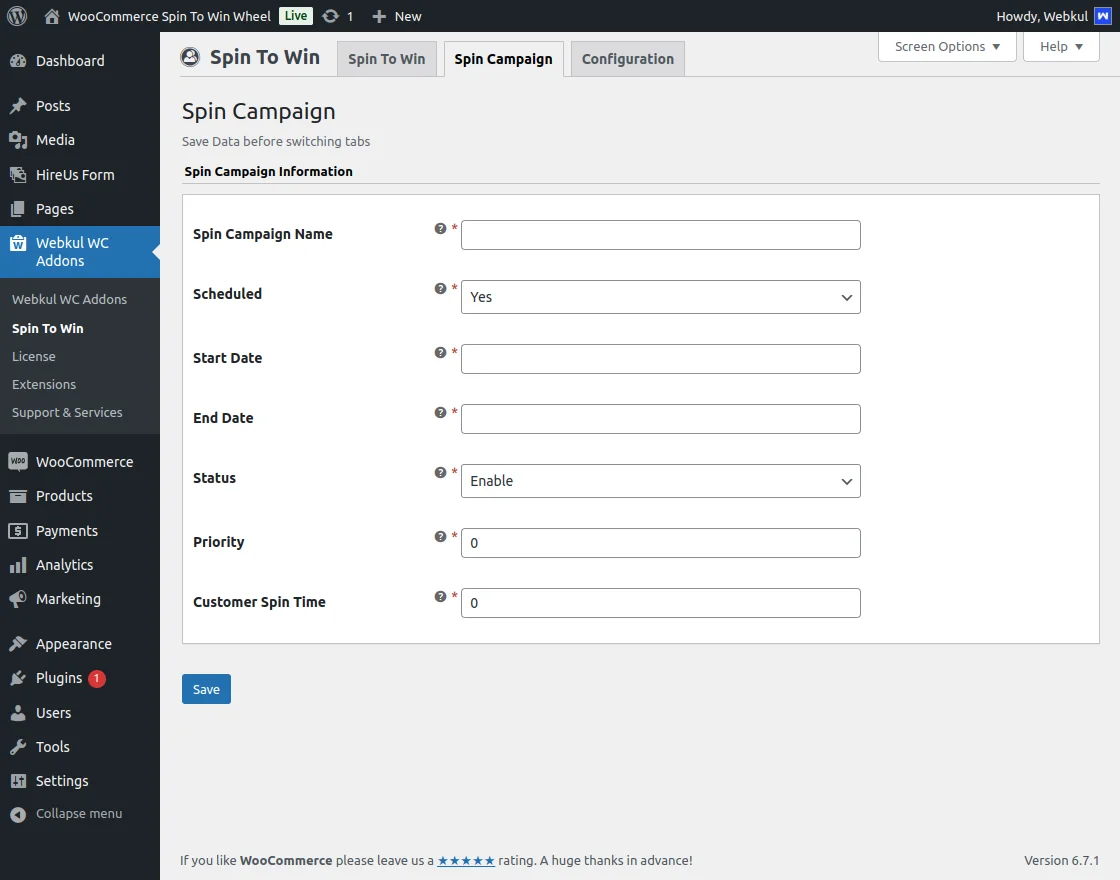
The admin can configure the following fields:
Spin Campaign Name: The admin adds the name of the Spin Campaign.
Scheduled: Can be chosen as Yes or No by the admin. If set as Yes, the admin needs to set the start and the end dates.
Start Date: The admin sets the Start date of the Spin Campaign.
End Date: The End date of the Spin Campaign is set by the admin.
Status: The admin sets the status as Enable or Disable.
Priority: The admin sets the priority. The higher the value, the higher is the priority.
Customer Spin time: Here the admin enters How many times can the customers spin the lucky wheel with the email address?
On saving the details, a success message,” Added Spin Campaign Successfully” shall display as shown in the image below.
Also, some additional tabs for spin wheel configuration will appear, as shown in the image below, once the Spin Campaign is created.

Spin to Win
Under the Spin to Win sub menu option, which is present under the Spin to Win tab, the admin will find a Spin Campaign List.
To create a Spin Wheel and set its configurations, the admin needs to click on the ‘Edit‘ option of the respective Spin Campaign.
For instance, in the image below, the admin chooses to ‘Edit‘ the Mega Spin Contest campaign.
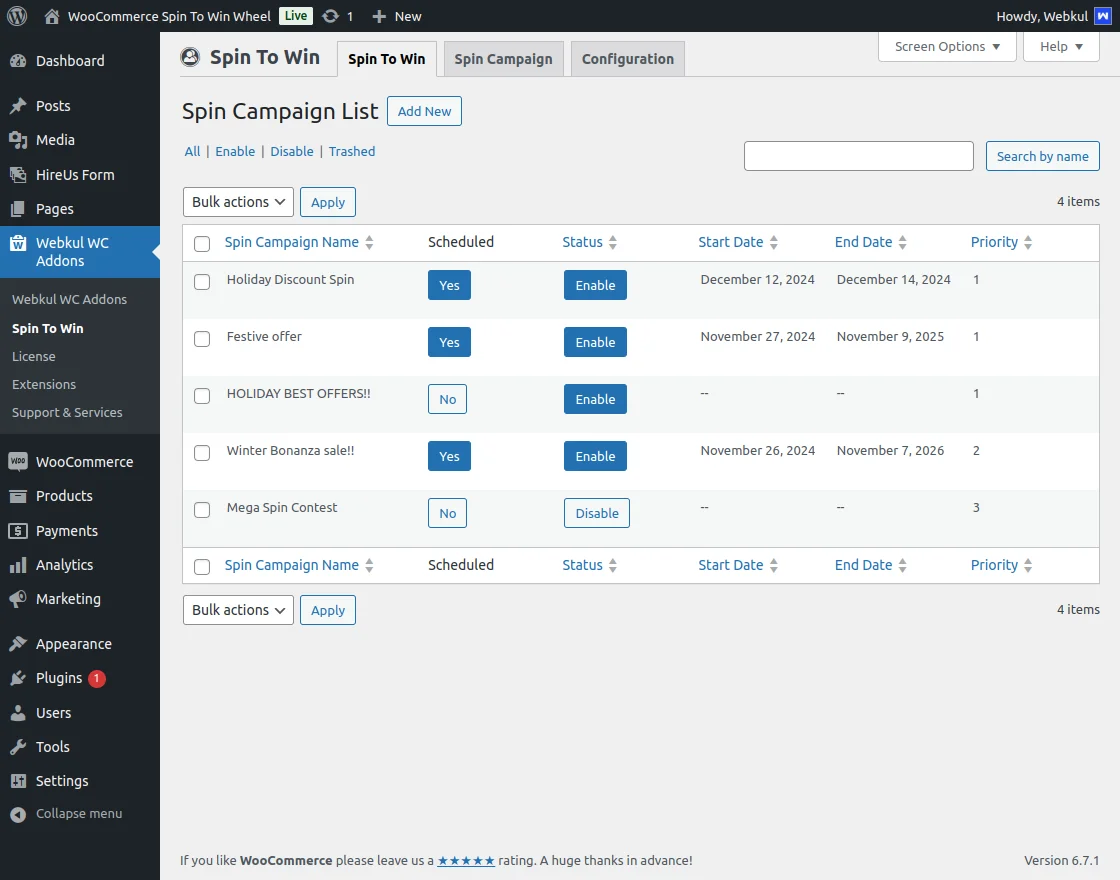
As the admin clicks on the ‘Edit’ option of the ‘Mega Spin Contest,’ an Edit Spin Campaign opens up displaying the tabs such as Spin wheel Form, Segment List, Add Segment, etc
Now, let us discuss the configurations set under each tab, separately.
Form
The admin needs to configure the Welcome and Result Forms of the spin wheel under the Form tab.
Welcome Form
Under Welcome Form, the admin will configure fields such as Heading, Description, Background Color 1 and 2, Text Color, etc.

The admin will configure the fields of the Welcome Form as under:
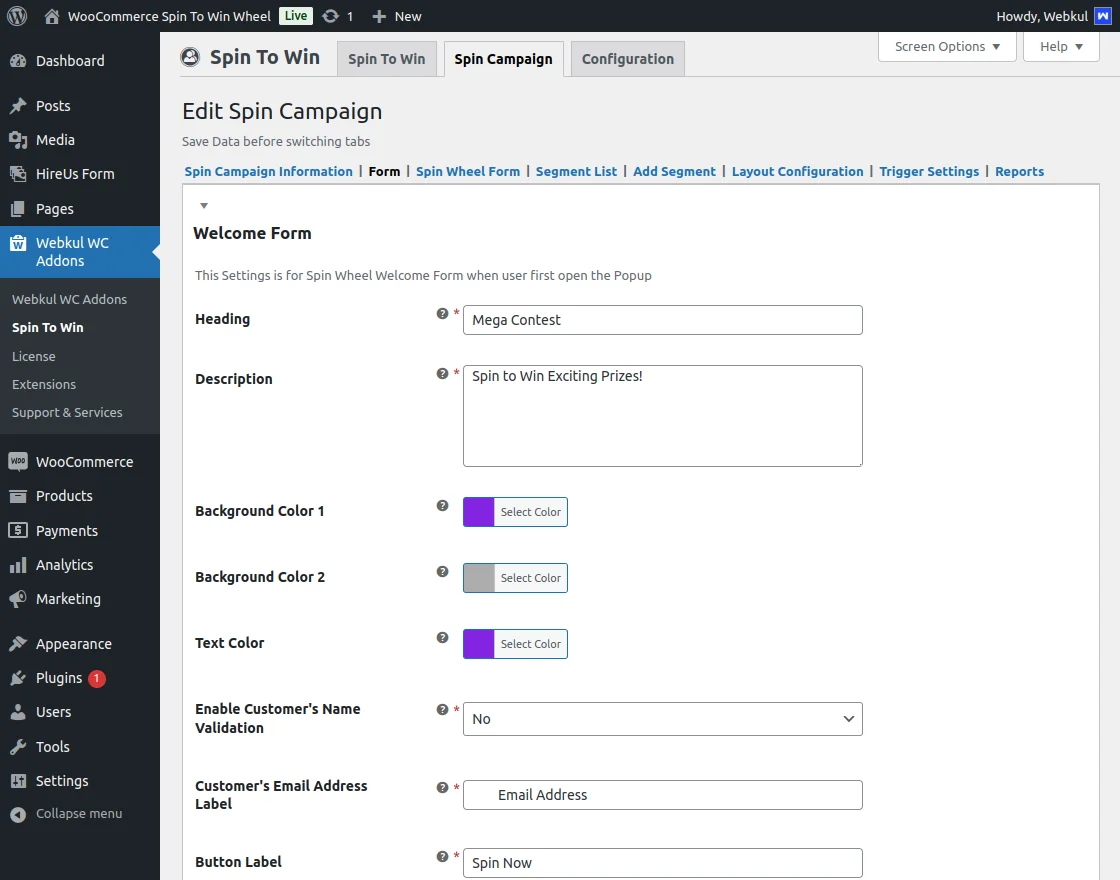
Heading: The heading which displays on the Welcome Form.
Description: The description that will be displayed on the Welcome Form.
Background Color 1 and 2: The admin sets Background colors 1 and 2.
Text color: The color of the text.
Customer’s Name Label: If set as Yes, the admin sets the Label for the customer’s name.
Customer’s Email Address Label: Label for the customer’s Email Address.
Button Label: The Label of the button.
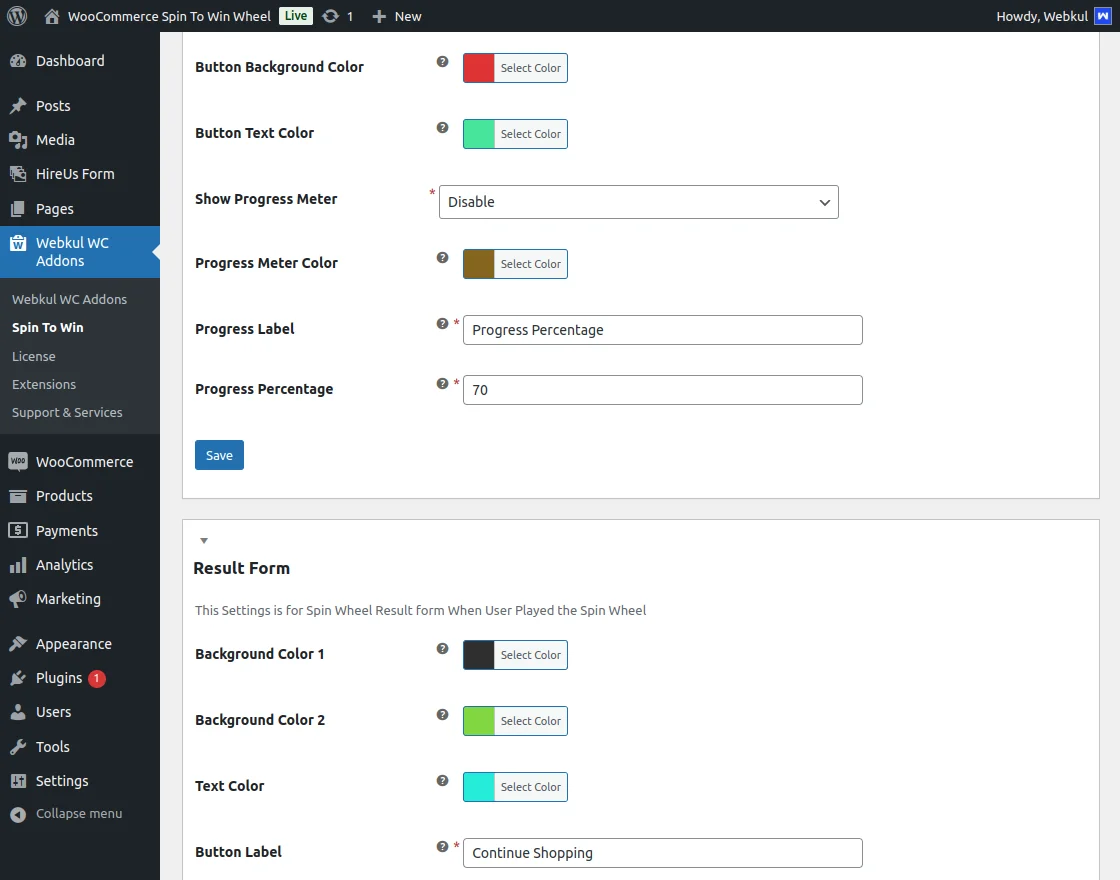
Button:
- Background Color: The background color of the button.
- Text Color: The text color of the button.
Show Progress Meter: The admin may enable or disable the progress meter.
Progress:
- Meter Color: Color of the Progress Meter.
- Label: Label of the progress meter.
- Percentage: The percentage that will display along with the progress meter.
Result Form
Under Result Form, the admin will configure the fields such as Coupon Background Color, Coupon Text Color, Button Text color, Button Label, etc.
The following fields are to be set by the admin under the Result Form: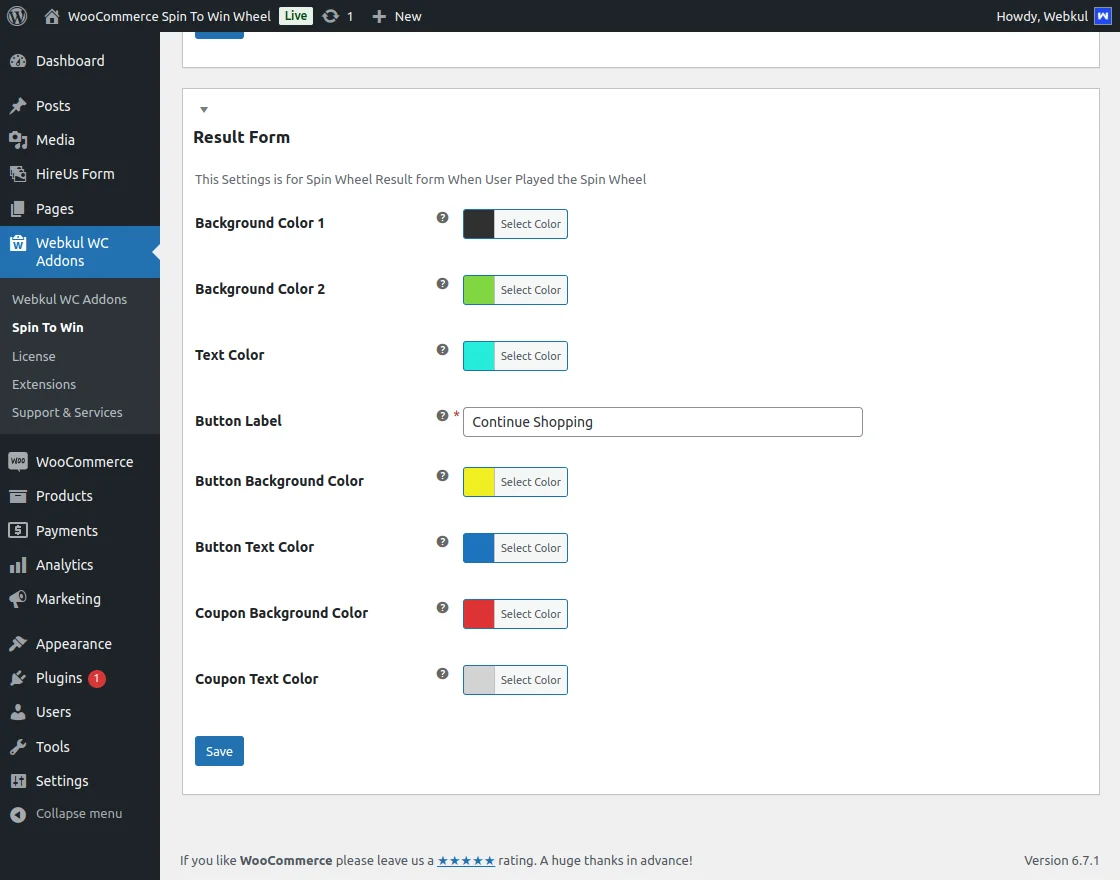
Background Color 1 and 2: The admin sets the background color 1 and 2 for the resulting form.
Text Color: The color of the text.
Button:
- Label: The label of the button.
- Background Color: The background color.
- Text Color: The color of the text.
Coupon Background Color: The background color of the coupon code.
Coupon Text Color: The text color of the coupon code.
Spin Wheel Form
Spin Wheel Welcome Form:
The admin will have to set the fields such as Pin Image, Background color, Background Image, Background Image Repeat Property, Show Pins, etc.
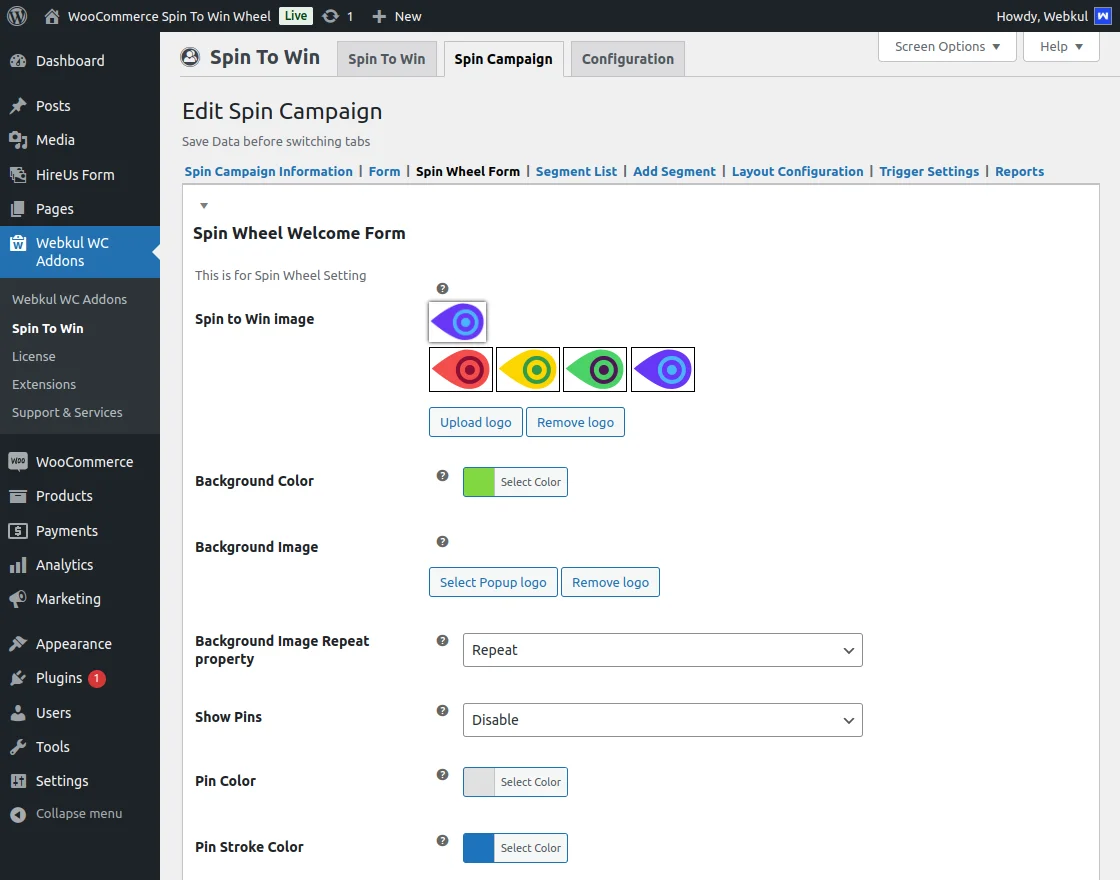
The Spin Wheel Welcome Form can be configured as follows:
- Spin to win Image: The admin sets the image of the Pin.
- Background Color: The Background Color of the pin image.
- Background Image: The image that will be displayed in the background.
- Background Image Repeat Property: The admin may set this as repeat.
- Show Pins: The admin may enable the Show Pins field.
- Pins Color: The color of the Pins is set by the admin.
- Pin Stroke Color: The stroke color of the Pin is set by the admin.
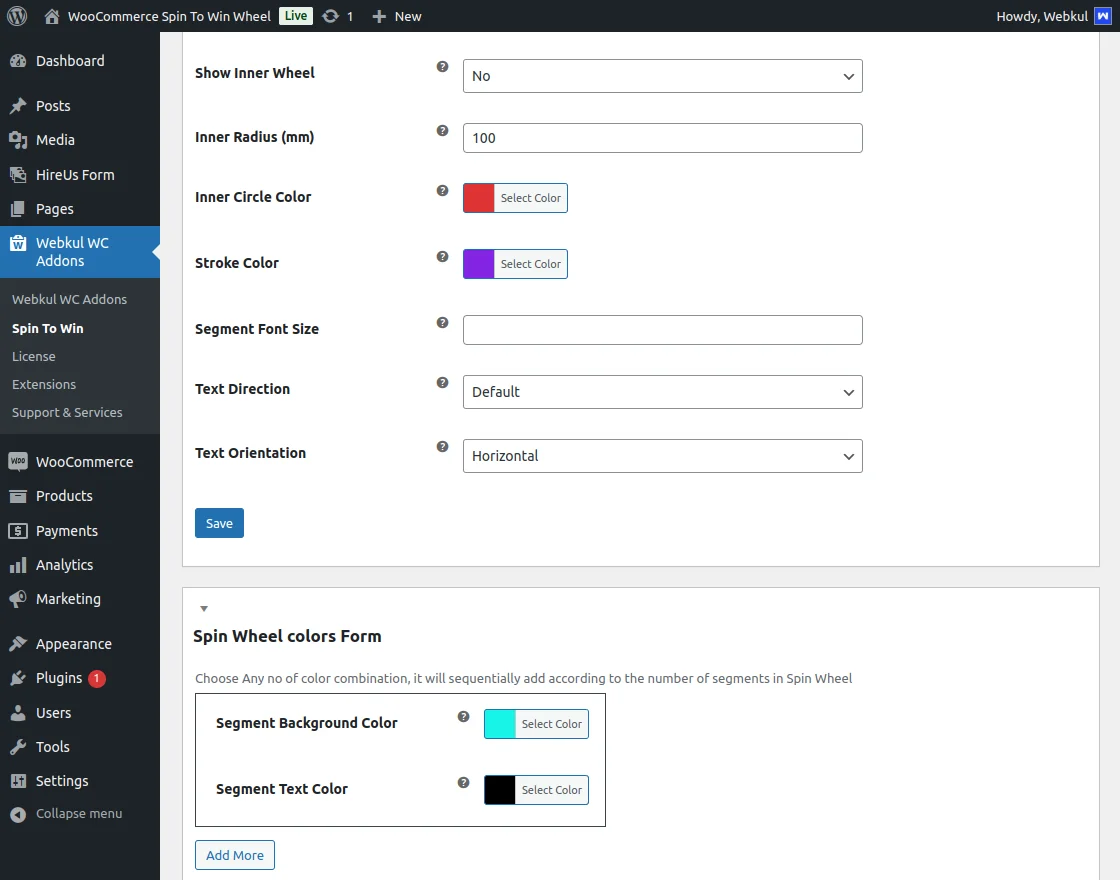
Show Inner Wheel: The admin enables the Show Inner Wheel field.
Inner Radius: The inner radius is set by the admin.
Inner Circle Color: The color of the inner circle is set by the admin.
Stroke Color: The color of the stroke is set by the admin.
Segment Font Size: The font size of the segment is set by the admin.
Text Direction: The direction of the text.
Text Orientation: The orientation of the segment text.

Spin Wheel Colors Form:
Under Spin Wheel Colors Form, the admin configures the following fields:
Segment Background Color: The Background color of the segment.
Segment Text Color: The text color of the segment.
Spin Wheel Result Form:
The following fields are to be set under Spin Wheel Result Form:
Result Segment:
- Background Color: The background color of the result segment.
- Segment Text Color: The text color of the segment.
Remaining Segment:
- Background Color: The background color of the remaining segment.
- Text Color: the text color of the remaining segment.
Add Segment
For adding a new segment the admin can click on the Add New button.
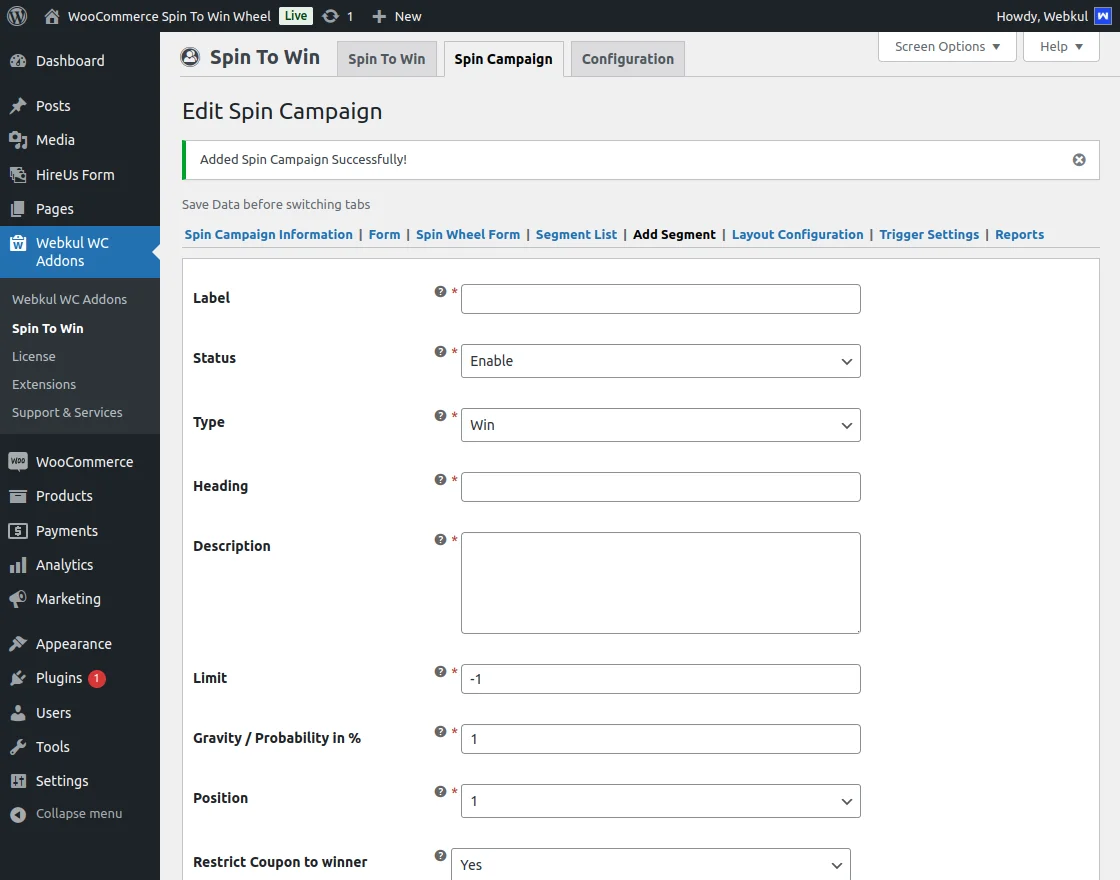
After that, the following options will appear under Add Segment tag.
- Label: Enter the name of the label for the added segment.
- Status: Choose the status of the segment as Enable/Disable.
- Type: Choose the type for the added segment as Win/Lose/Spin Again.
- Heading: Enter the heading for the label that will appear on spin win.
- Description: Enter the description for the label here. This will appear on the result form.
- Limit: The admin can set the limit for the occurrence of the segment.
Note: For setting the limit as infinity set limit as -1.
- Gravity/Probability in %: Enter the probability of occurrence of the segment from 0 to 100%.
- Position: Enter the position of the segment.
- Restrict Coupon to Winner: The admin can select yes for restricting the use of the coupon for the winner else anyone can use it.
- Coupons: Choose the coupon for this segment.
After entering the required details the admin needs to click on the save button to save the sagment for the spin to win wheel.
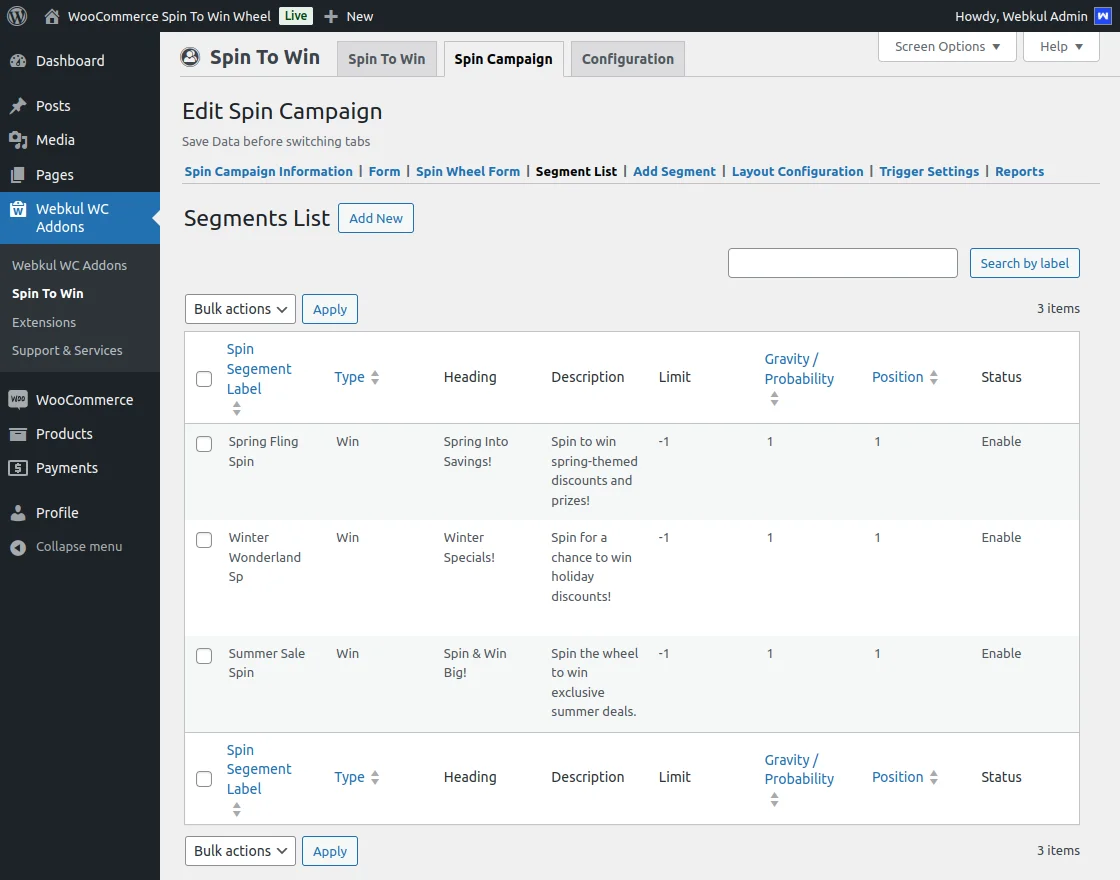
Segment List
Further, the Segment List tab displays a list of segments that the admin creates for the spin wheel.
The admin can Add a New segment and even Edit any existing segment present in the list as shown in the image below.
Layout Configuration
Next is the Layout Configuration tab, under which the admin needs to configure the following fields:
View: The admin sets this as either a Sidebar Slide or a Pop Up Dialog.
Popup Position: The admin sets the position of the spin wheel popup.
Spin Wheel Trigger Button Position: The position of the Spin wheel Trigger button.
Popup Trigger Button Position: The position of the popup trigger button.

Trigger Settings
Under the Trigger Settings tab, the admin will have to configure the Visibility Form and the Spin Button Form.
Visibility Form:
The Visibility Form includes the following fields which the admin needs to configure:
Spin Wheel Visibility: The admin sets the pages on which the Spin to win Trigger shall display.
Add Logo: The admin may add a logo for the popup.

Spin Button Form:
The Spin Button Form includes the following fields which the admin needs to configure:
- Spin to Win Image: The image of the Spin to Win trigger.
- Show Button: The admin may set this as Yes or No.
- Background Color: The background color of the Spin button.
- Text Color: The color of the text.
- Button Label: The label of the button.
Reports
As soon as the customers win the spin and receive a coupon code, they can avail of the discount coupon on a purchase.
The Reports tab displays a statistical view and a tabular representation which includes the details.
Such as Name, Username, Email, Location, Orders, Money Spent, Last Orders, Actions, and Coupon Code, as shown in the image below.
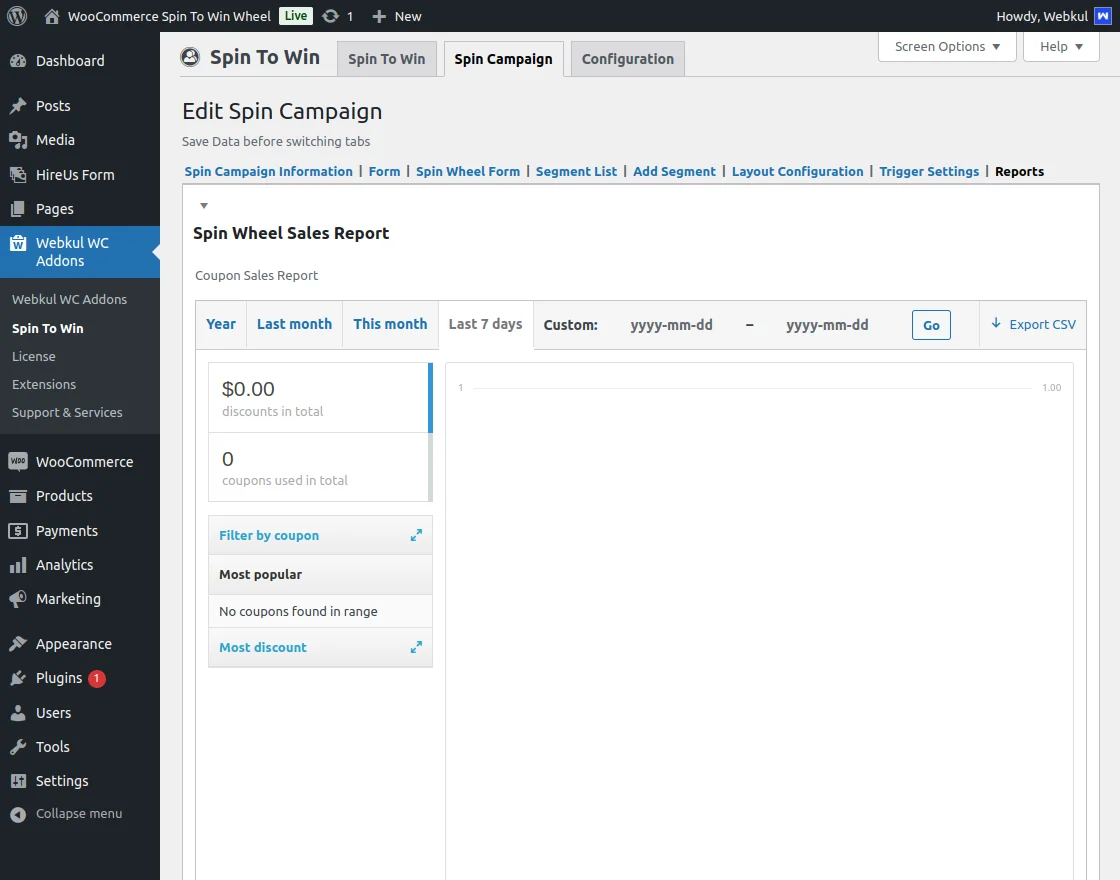

The admin can even make use of the filters for viewing the reports of Spin Winner/ Loser/ All User by selecting the desired user from the dropdown.
Spin to Win Configuration Settings (Frontend)
Under the Configuration tab, the admin can configure spin to win tabs that shall be visible on the customer panel.
To configure the settings, the admin can navigate through Spin To Win > Configuration.

The admin will configure the following fields under the Configuration sub menu option.
Spin to win Endpoint: Endpoint URL for spin to win.
Spin to win dashboard Label: Dashboard label for spin to win.
Played Spin Endpoint: Endpoint URL for a played spin.
Played Spin dashboard Label: Dashboard label for played spin.
Won Spin Coupons Endpoint: Endpoint URL for won spin coupons.
Won Spin Coupons dashboard Label: Dashboard label for won spin coupon.
Frontend: Spin to Win Wheel Visibility for Guest Users
Once the admin sets the configurations, after that go to the customer panel as shown in the images below.

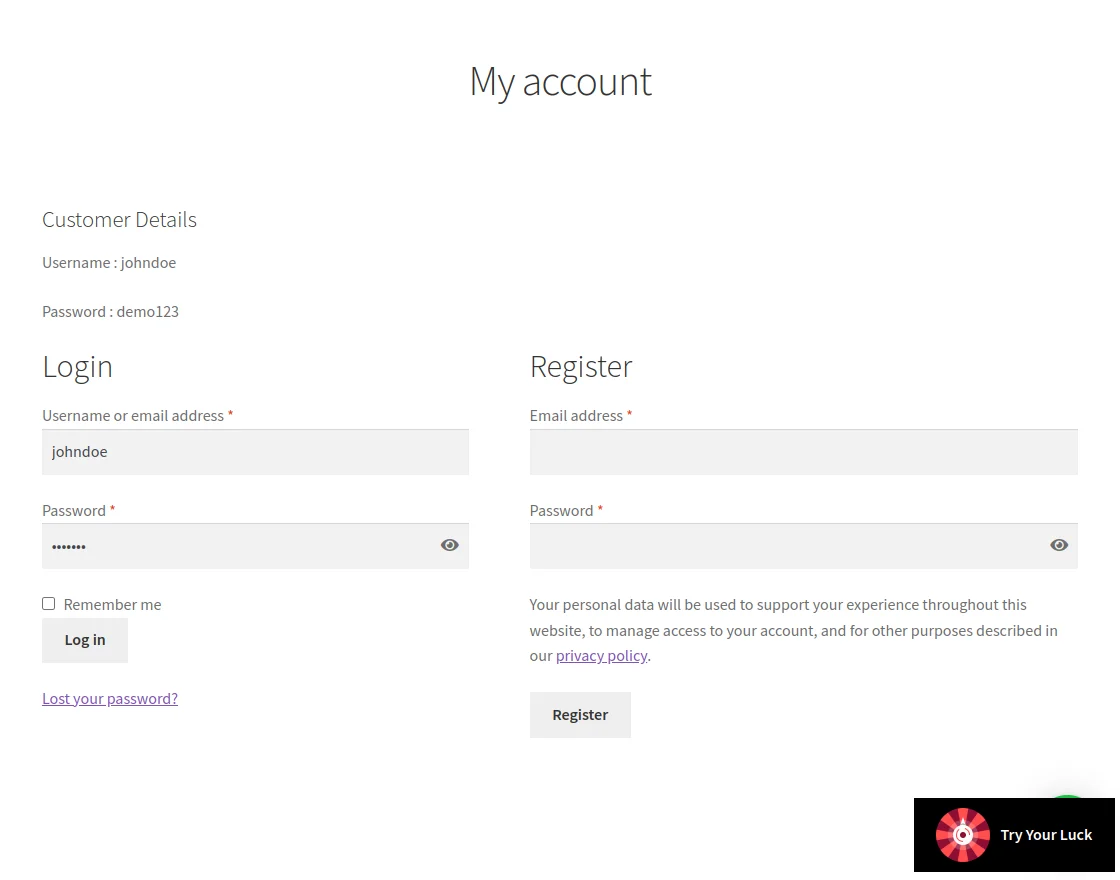
The customer can view the Spin To Win wheel on the customer login page.
Likewise, on clicking the Try Your Luck Button, the customer can view the Spin wheel as shown in the image below.
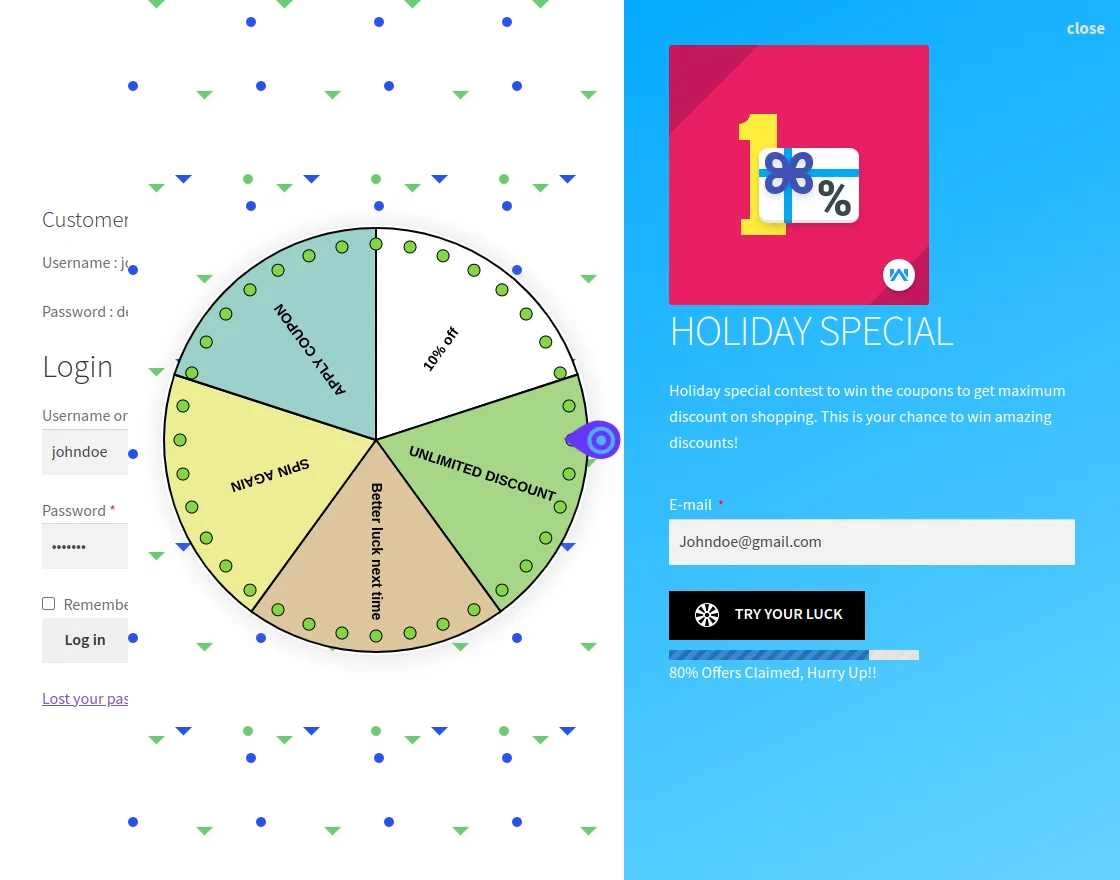
Before clicking on the try your luck button, you need to enter your email id if you are not logged in.
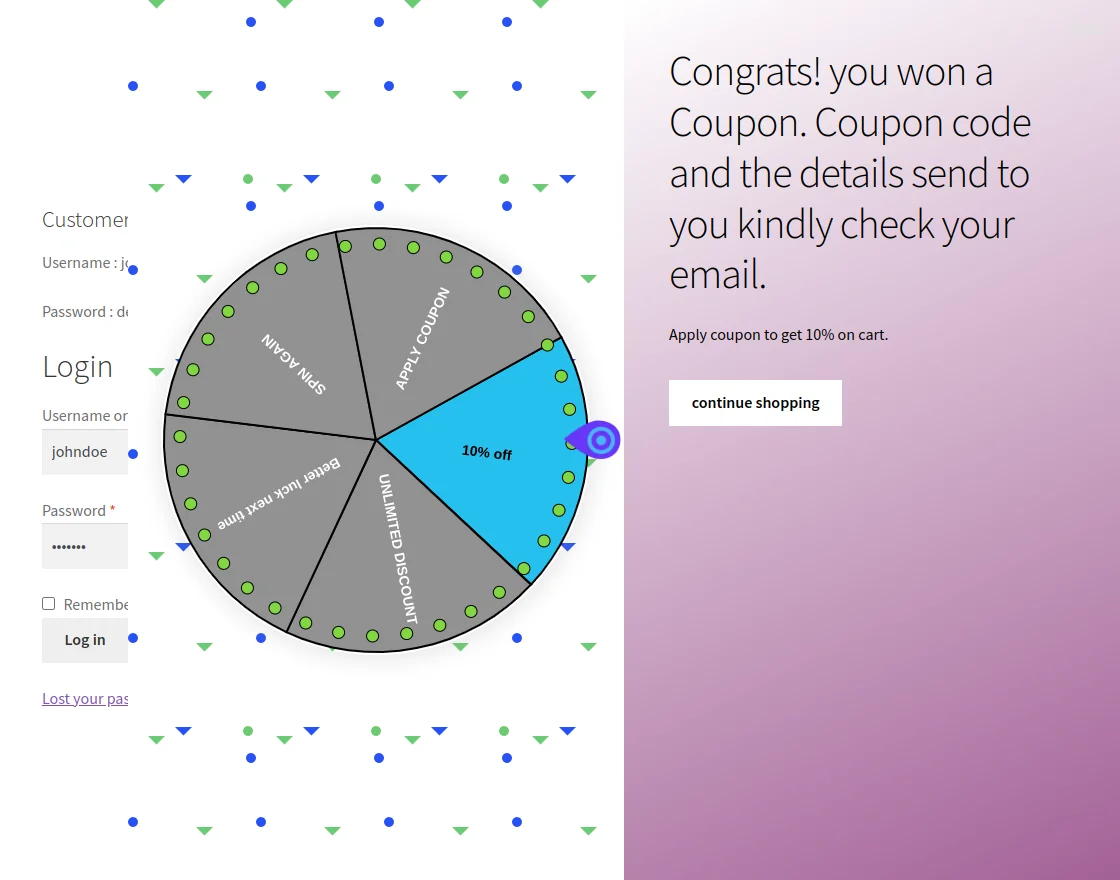
It displays the congrats message, its Discount Amount, and the Minimum and Maximum Amount that a customer must spend to avail of the discount coupon.
Frontend: Spin to Win Wheel Visibility for Registered User
On the front end, firstly customer needs to log in with their email ID as shown in the below snapshot..
After logging in with email, the customer can see the account details as shown in the below screenshot.
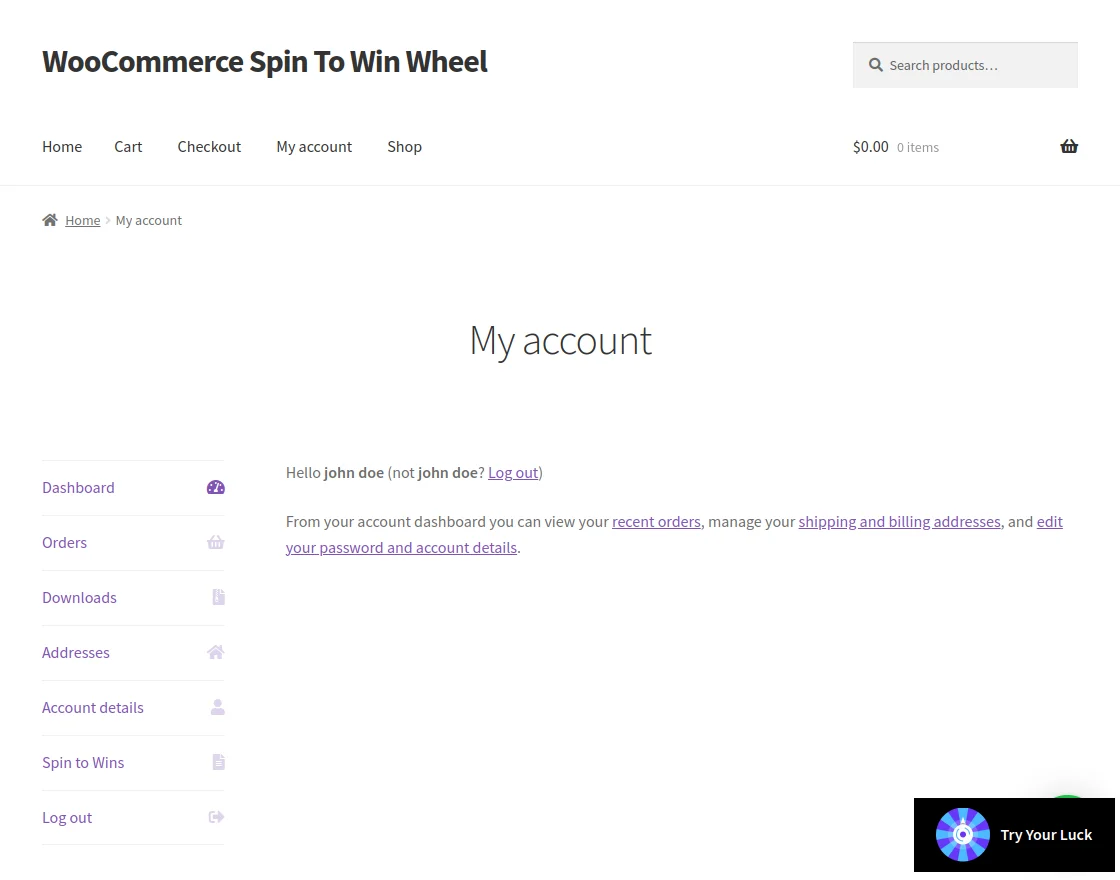
Now, If the customer wants to spin then they need to click on the Try Your Luck button on the right side.
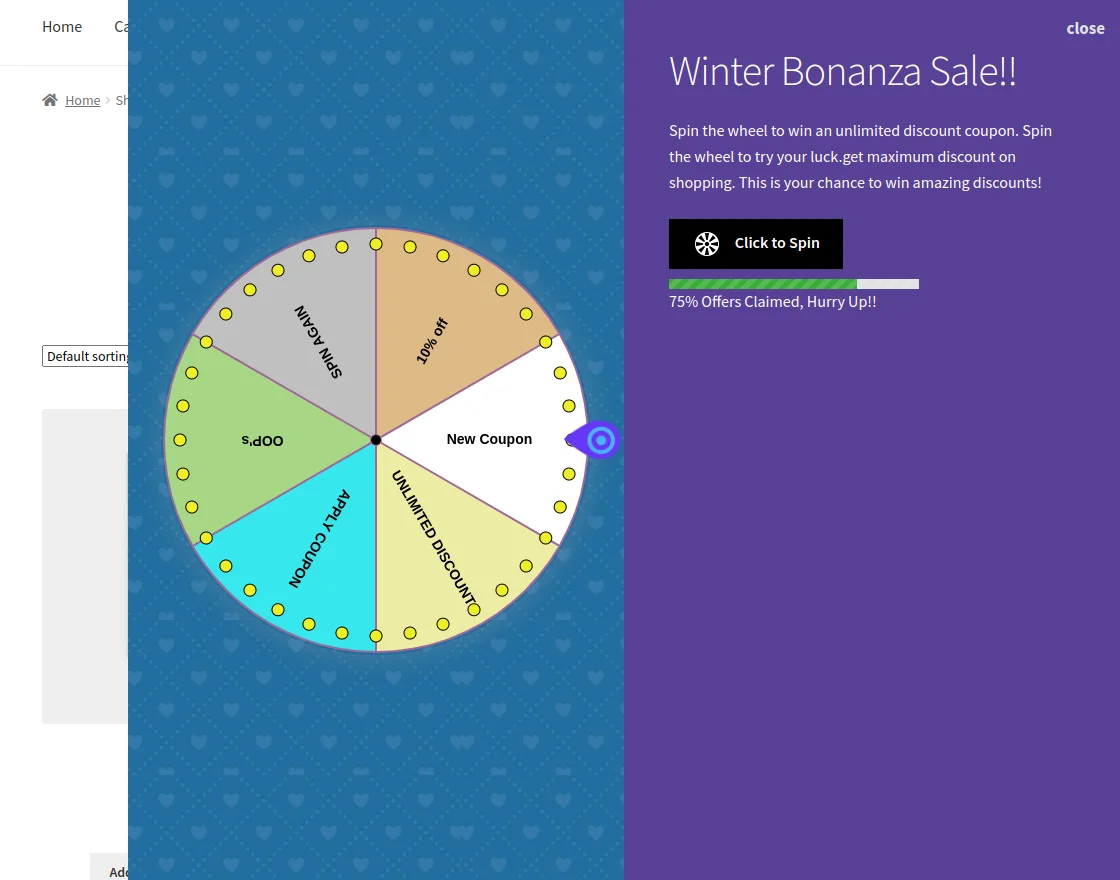
Now, click on the click to spin button to start the spin. then you will get a coupon code that you can apply during your shopping.

To check all the coupon codes go to the spin to win section. then you can see all the available coupon codes.
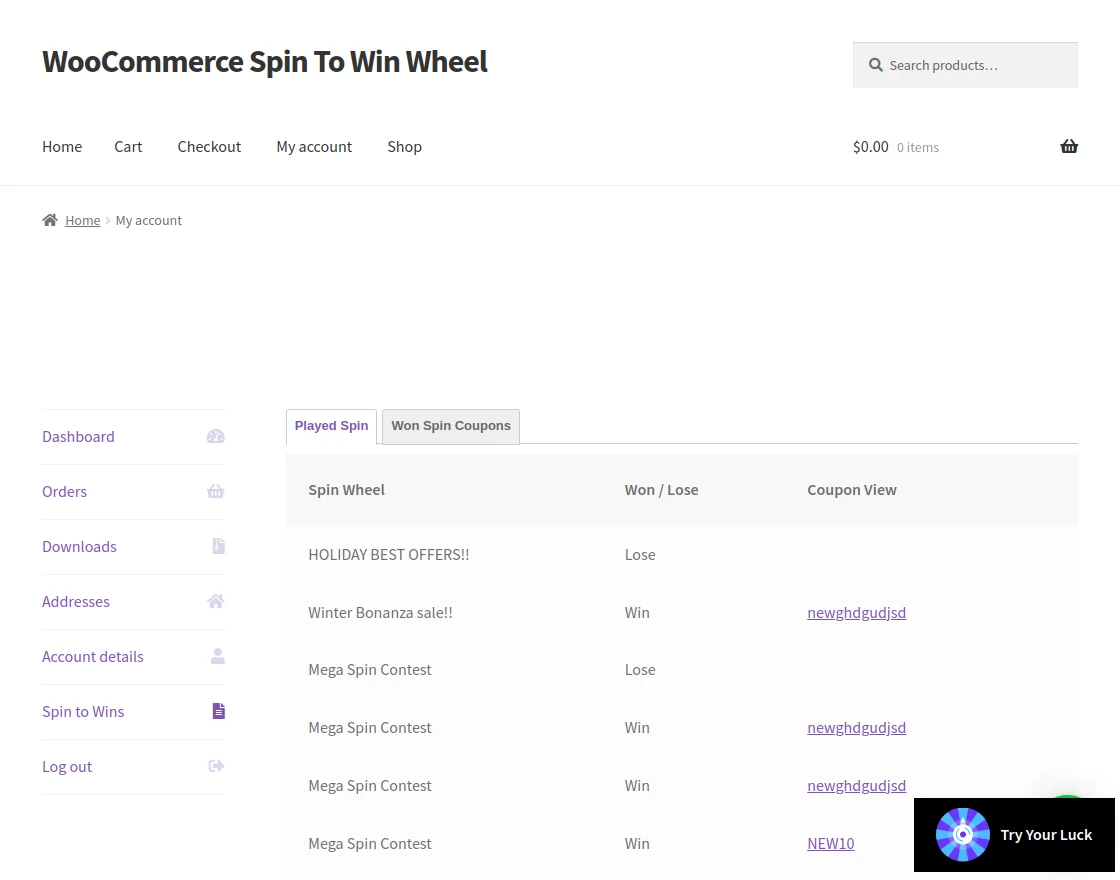
You can see you won coupons after clicking on the Won Spin Coupons button.
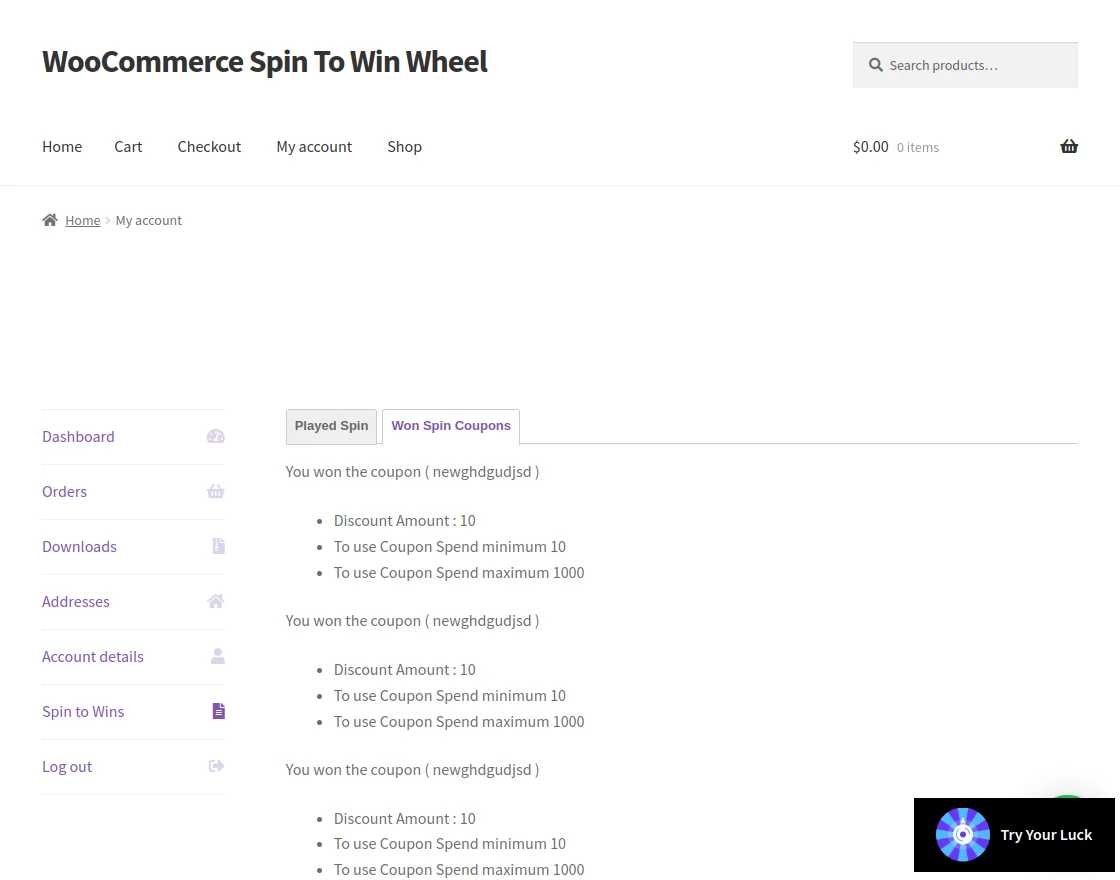
Now, to use these coupons go to shop and you can select the items that you want.
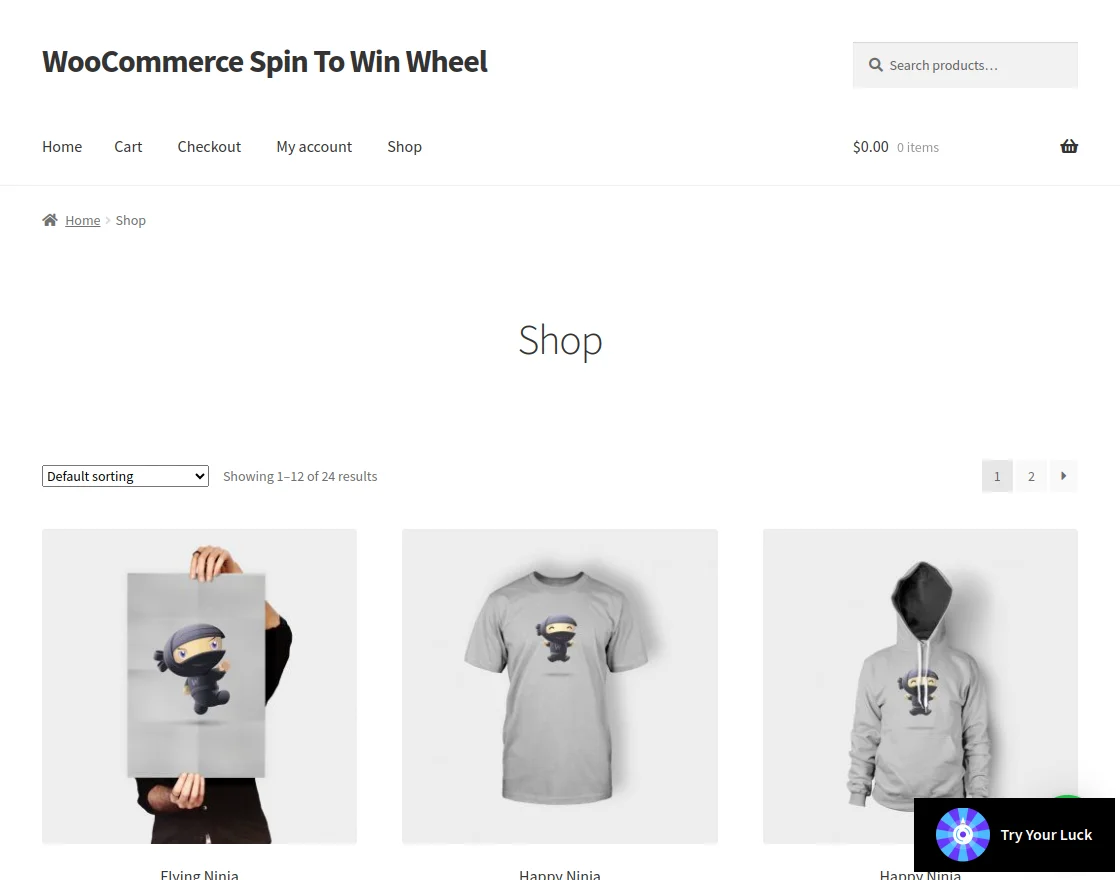
After selecting the required items go to the cart and then proceed to check out.
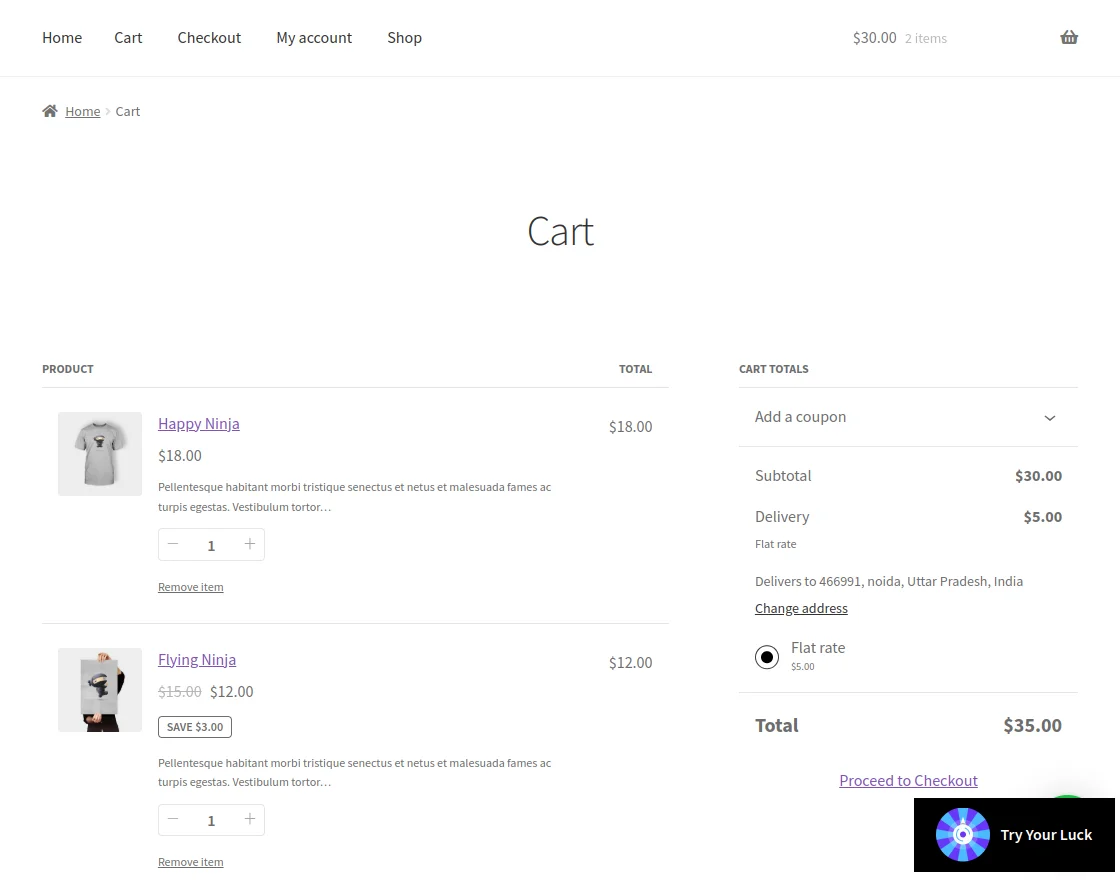
Here, you can apply the coupon code. To apply the coupon code click on the Add a Coupon button display on the right hand.
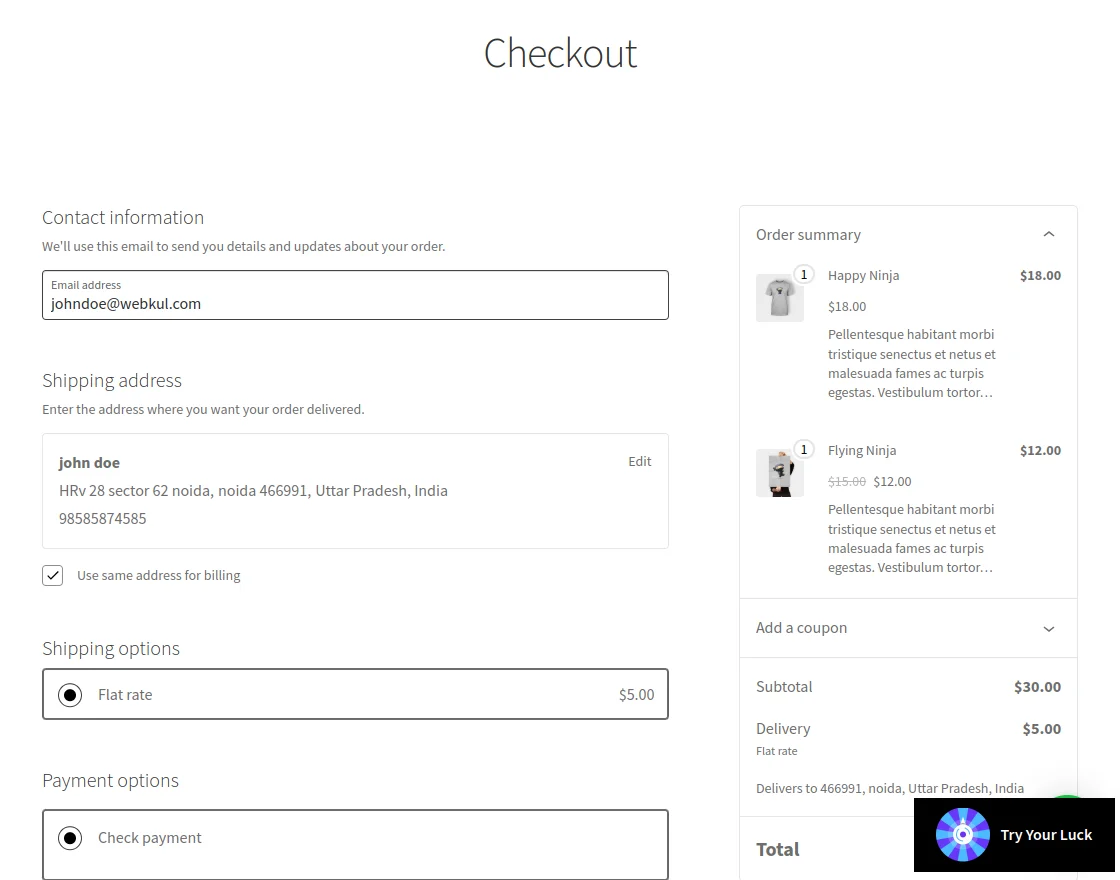
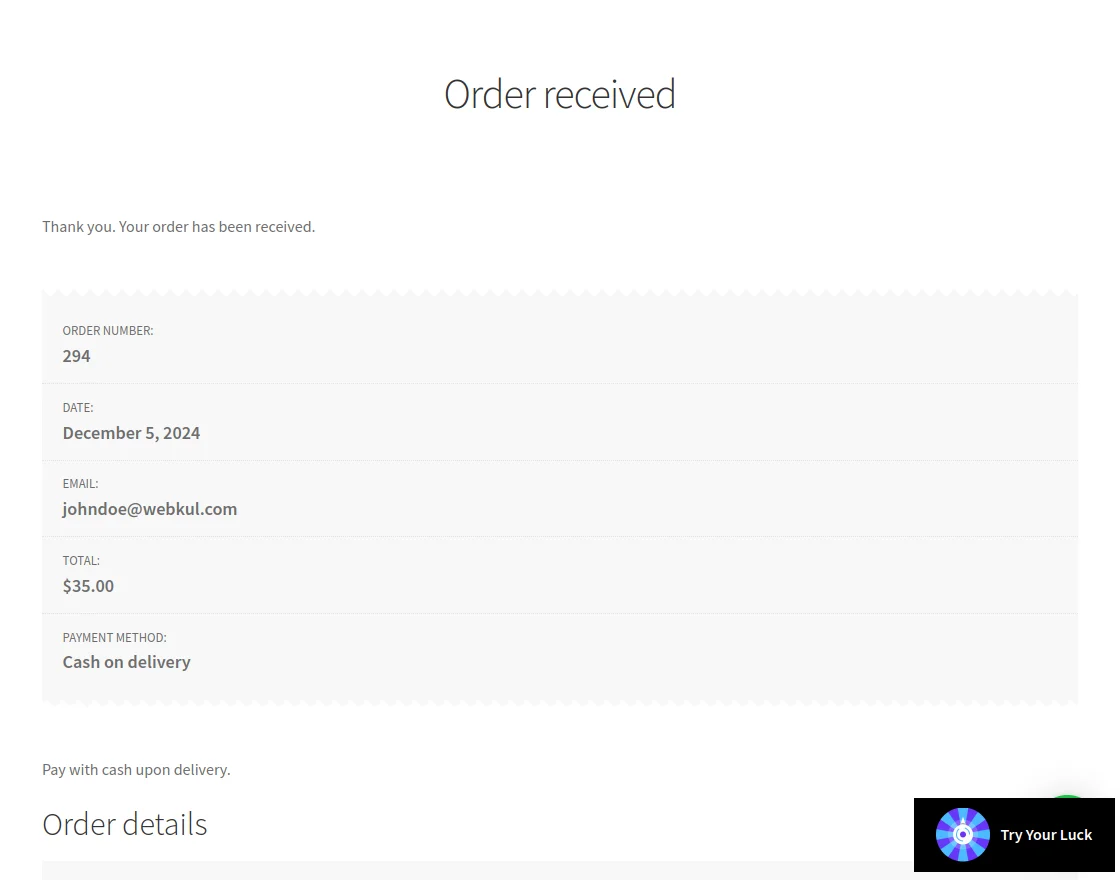
Now, the Customer needs to fill all the details and then click on the place order button.
After placing the Order, the customer can check the order details on the Order Received page as shown in the image below.
That’s all for the WooCommerce Spin to Win module. If you face any issues, feel free to raise and add a ticket at HelpDesk Support.
Also, visit our useful WooCommerce Extensions.
Current Product Version - 2.0.1
Supported Framework Version - Wordpress - 6.7 WooCommerce - 9.4

Be the first to comment.