


















Introduction
Website WebP Image Conversion helps you convert images to WebP in ERPNext. WebP is a modern image format. It keeps pictures sharp at a much smaller file size, so your website images load faster.
The app works in the background. It handles JPG and JPEG (Joint Photographic Experts Group) files, and PNG (Portable Network Graphics) files.
When someone uploads one, the app saves a WebP copy next to it. You can also convert the images you already have in one go.
This guide is for the person who looks after the site. By the end, you will be able to set up ERPNext WebP output, pick a WebP quality, and convert old images in bulk.
Features
- Convert images to WebP as soon as anyone uploads a JPG, JPEG or PNG file.
- Turn ERPNext WebP conversion on or off with one checkbox.
- Set the WebP quality from 1 to 100.
- Swap the image link on a record for the new WebP file.
- Choose whether to convert private files too.
- Skip small files with a minimum file size.
- Convert existing website images in bulk with one button.
- Open the settings from the WebP Conversion section of the Website workspace.
Installation
- After purchasing the app from Webkul Store, you will receive a link to download the module ZIP file.
- Extract the ZIP file. You will see a folder named ‘website_webp_image_conversion’.
- Set up the module in your git repository, then fetch it using:
bench get-app --branch main https://git.webkul.com/erpnext-apps/erpnext-website-webp-image-conversion.git
(Replace “main” with your branch name and replace the “HTTPS URL” with your HTTPS clone URL.)
- Install the app on your site:
bench --site <your-site-name> install-app website_webp_image_conversion
- Run bench migrate to complete the setup.
Workflow
Setting Up WebP Conversion
- Open the Website workspace. The app adds a WebP Conversion section to the sidebar and a WebP Conversion Settings shortcut to the page.
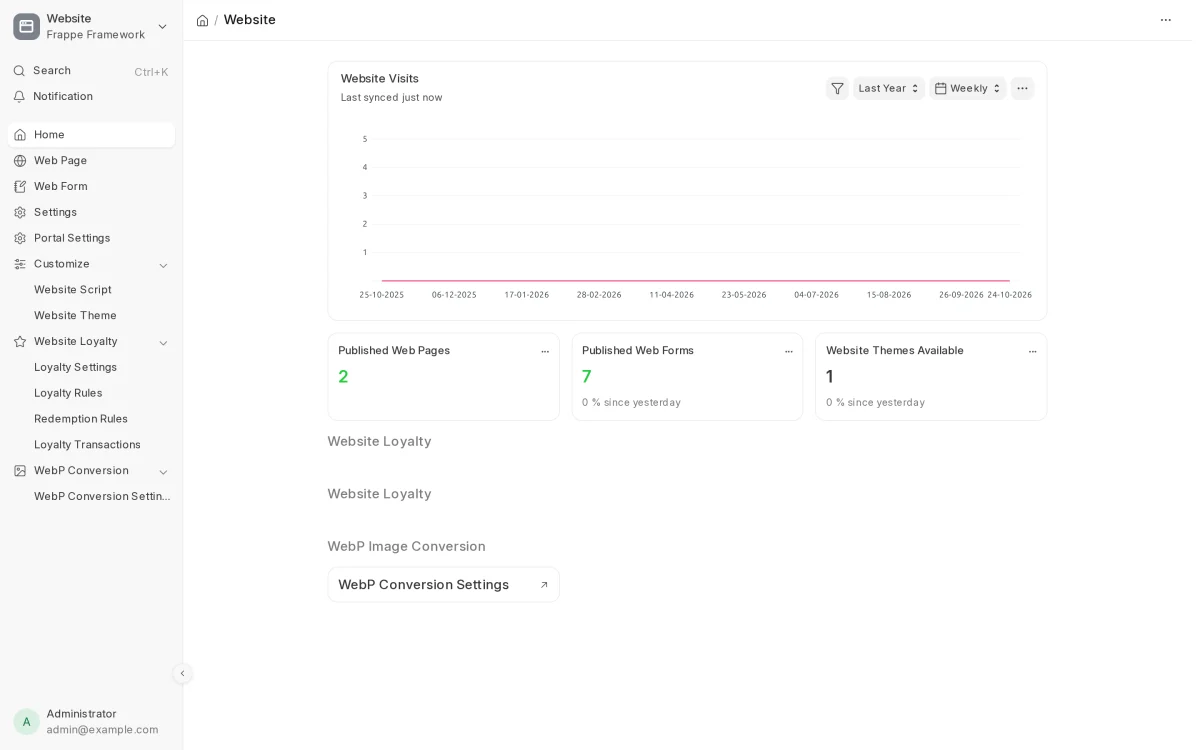
- Click WebP Conversion Settings. The Website WebP Image Conversion Settings form opens.
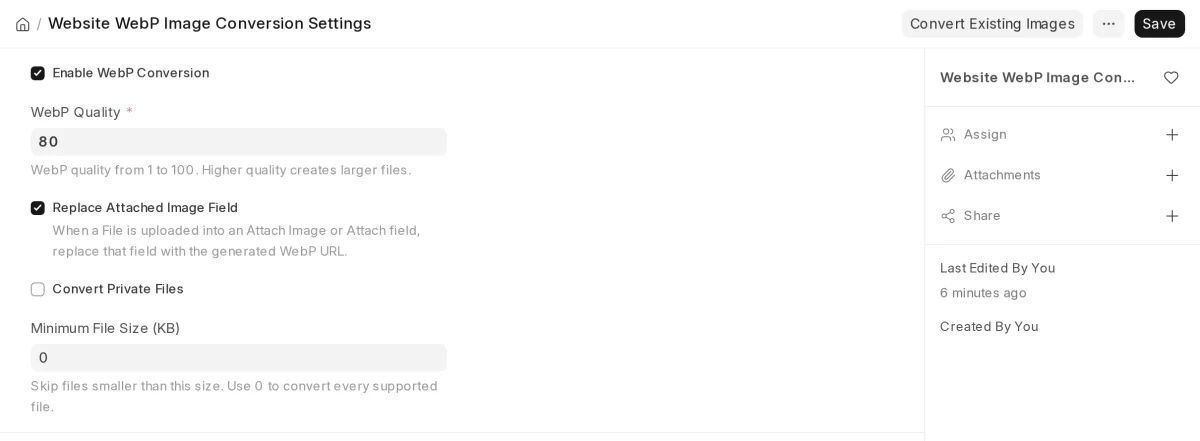
- Tick Enable WebP Conversion to convert new uploads. The app turns this on when you install it.
- Enter a WebP Quality from 1 to 100. A higher WebP quality gives larger files. The default is 80.
- Tick Replace Attached Image Field to point the record at the WebP file instead of the original.
- Tick Convert Private Files only if private files should become WebP too. It is off by default.
- Enter a Minimum File Size (KB) to skip small files. Use 0 to convert every JPG, JPEG and PNG file.
- Click Save.
Converting a New Upload
- Open a record that has an image, such as an item. Click the image area to open the Upload dialog.
- Click My Device and pick a JPG or PNG file. The dialog shows the file name and its size.
- Click Upload. The app saves a WebP copy with the same name in the same folder.
- Open the File list to check the result. You will see the original JPG and the new WebP file side by side. In our test, a 107 KB JPG became a 63 KB WebP file.

Note: In our test, the item image kept its JPG link right after upload. The next step, Convert Existing Images, switched it to the WebP file. The Size column stays blank for the WebP file.
Converting Existing Images
- Open the Website WebP Image Conversion Settings form. Click Convert Existing Images at the top.
- Enter the Maximum Files to check. The app starts with the newest files. The default is 100.
- Click Convert. A message shows how many files the app converted, skipped and failed on.
The app skips files that are already WebP, files below the minimum size, and private files when Convert Private Files is off.
- Open the record again. With Replace Attached Image Field ticked, its image now loads the WebP file. Your website images look the same, but they are smaller.
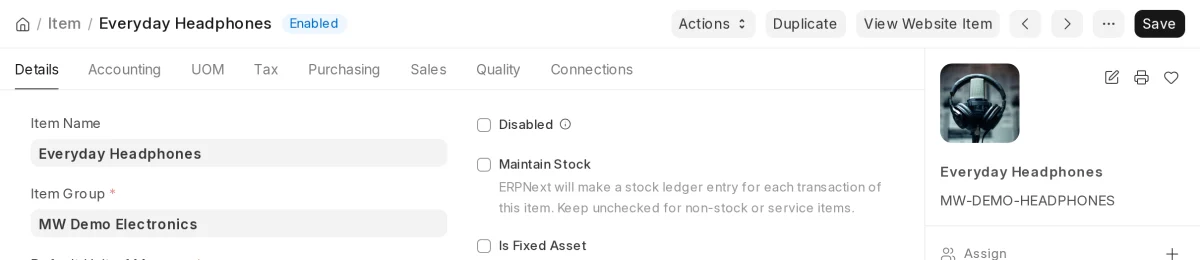
Tip: Run Convert Existing Images once after you install the app. This lets you convert images to WebP that users added before you turned on ERPNext WebP output.
Need Help?
Hope you find this guide helpful! Please feel free to share your feedback in the comments below.
If you still have any issues/queries, please create a ticket at the UV Desk.
I hope this helps. In case of any further queries, contact us at our support mail.
Thanks for paying attention!!
Current Version – 0.0.1
Supported Framework Version – ERPNext v16

Be the first to comment.