OpenCart Zoho Inventory Connector helps you to connect the OpenCart Store with the Zoho Inventory and allows syncing product, customer, and order data between the platforms.
The admin can easily import/export products, customers, and export the orders between the platforms. Also, auto-sync the data between OpenCart and Zoho Inventory.
Also, the OpenCart Zoho Integration helps you to sync the data between OpenCart and Zoho CRM.
Features
- Add multiple Zoho inventory accounts.
- Users can now select up to five datacenters (United States (US), European Union (EU), Australia (AU), India (IN) and Canada (CA) ) from the available list.
- The admin can manually sync customers with Zoho Inventory.
- The products can also be manually synced with the Zoho Inventory.
- Also, the admin can sync the orders to the Zoho Inventory.
- Synchronized products, customers, and orders can be deleted manually by the admin from Zoho Inventory.
- Moreover, the admin can also edit the products and customers.
- Products, Customers, and Orders can be auto-synced with the Zoho inventory when created at the OpenCart store.
Check the overview of the connector –
Installation
First, extract the downloaded zip file. After that, open the correct Opencart Version Folder. According to OpenCart Version installed in your system.
Then, upload the admin, catalog, and system to the Opencart root directory.

After that go to System > Users > Usergroups. And then edit ‘Administrator’.
Select the shown checkboxes for both Access Permission, Modify Permission, and Save it.

Now navigate to Extensions > Extensions > Modules. Find Webkul Zoho Inventory Connector from the list. Click the Install button as visible in the screenshot below.

How to get Client ID & Secret
To get the client ID and the secret key for configuring the OpenCart Zoho Inventory Connector you need to have a Zoho account.
1. Navigate to the registration page and enter the details for the account to be created.

After tapping on the Sign Up button a verification code will be received on the phone number entered. Enter the same to proceed further.

After verification, the account will be created.

2. To create an app and get the client and secret key, click on the following link.
Here, login using the Zoho credentials that you created above to the ZOHO API Console.
After login, you will see the below page. Tap Get Started.

3. Now choose the Client type as – Server-based Applications and tap the Create Now option.

Create a new client by entering the required details. For the home page enter the base URL of your website, and for the Redirect URL use – Base URL/index.php?route=account/wk_zohoauth_inventory
Lastly, tap the Create button.

Client ID and Secret will gets generated for the app.

How to get the Organization ID via Zoho Inventory?
Navigate to the Zoho Inventory SignIn page, and log in using your Zoho credentials that we created initially.
If this is the first time that you are logging into the Zoho Inventory then you need to set up details for the Organization and then tap the Get Started button.

After tapping the button you can see the dashboard. Here, tap the top right-hand corner on the company name. Here, you will find the Company ID as shown below.

Initial Configuration Settings – Zoho Inventory
Navigate through Extensions->Extensions->Modules->Webkul Zoho Inventory Connector and edit it.
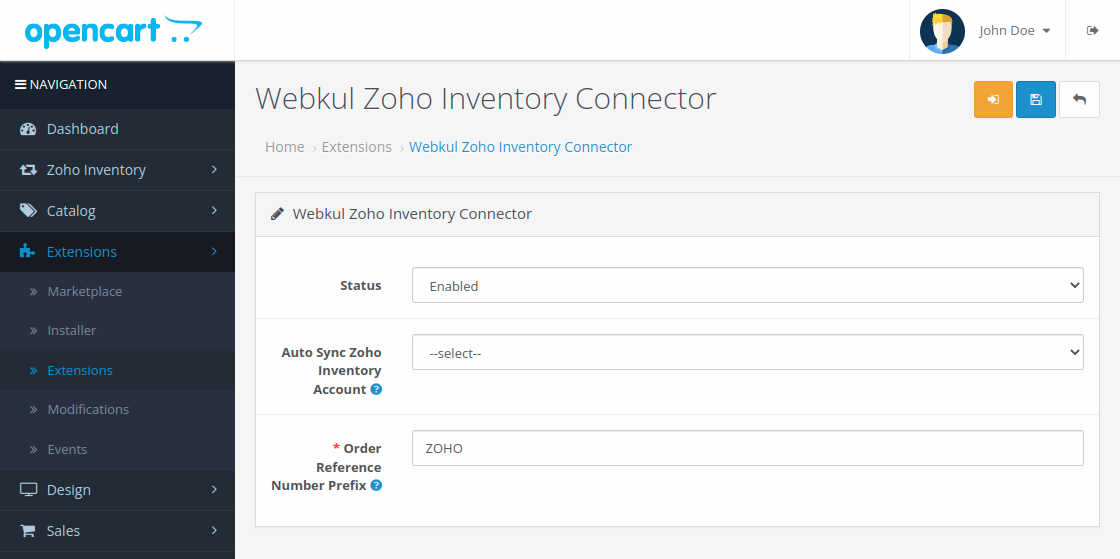
Here, the admin will –
- Enable the status of the connector for the OpenCart store and this will enable the Zoho Inventory option on the admin side panel as well.
- Choose the Zoho inventory auto-sync account email from the drop-down option to auto-sync the product, customers, and orders.
- Set the order reference number prefix for the Orders exported to Zoho Inventory.
Lastly, save the configuration.
Also, if you want to expand your presence to the physical outlets as well then check the OpenCart Point of Sale plugin.
Add Zoho Inventory Account
To add the Zoho inventory account, navigate through Zoho Inventory-> Zoho Inventory Accounts.

Tap the Add Zoho Inventory Account button on the top right-hand corner.

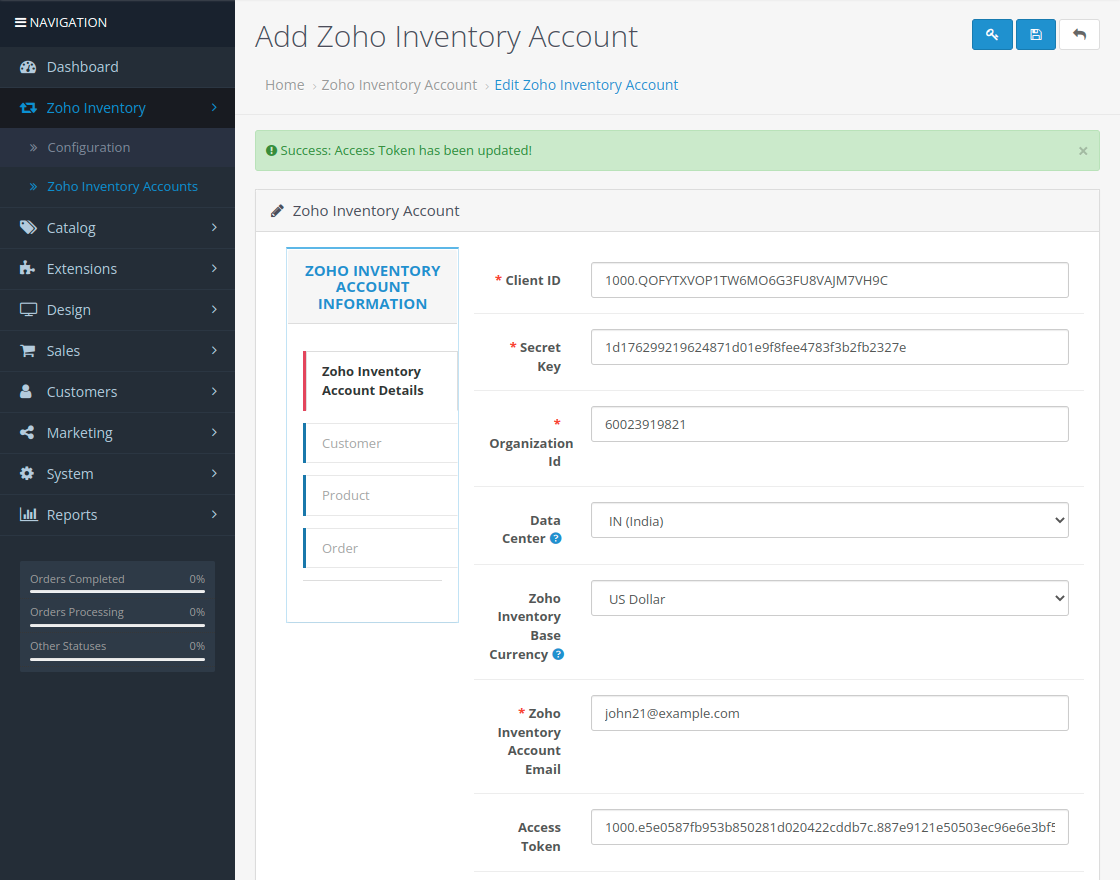
Here, the admin will –
- Enter the Client ID and Secret ID.
- Set the Organization ID.
- Choose the data center where you have the Zoho Inventory account.
- Choose the Zoho Inventory base currency from the drop-down list.
- Enter the Zoho Inventory account email address.
After that, tap the Save button at the top.
The account will be added.

Now, edit the account by tapping the edit option under the actions column.

Now tap the Key button(Get Access) on the top right-hand corner. This brings up the popup.
Enter the Zoho inventory email address and tap Next to proceed further.

After tapping next, you have to provide access by tapping Accept.

Now, you can see that the access and refresh tokens are generated automatically after verification.
Import/Export Customers
Snapshot of the customers in OpenCart that we will be exporting to the Zoho Inventory using the OpenCart Zoho Inventory Connector.

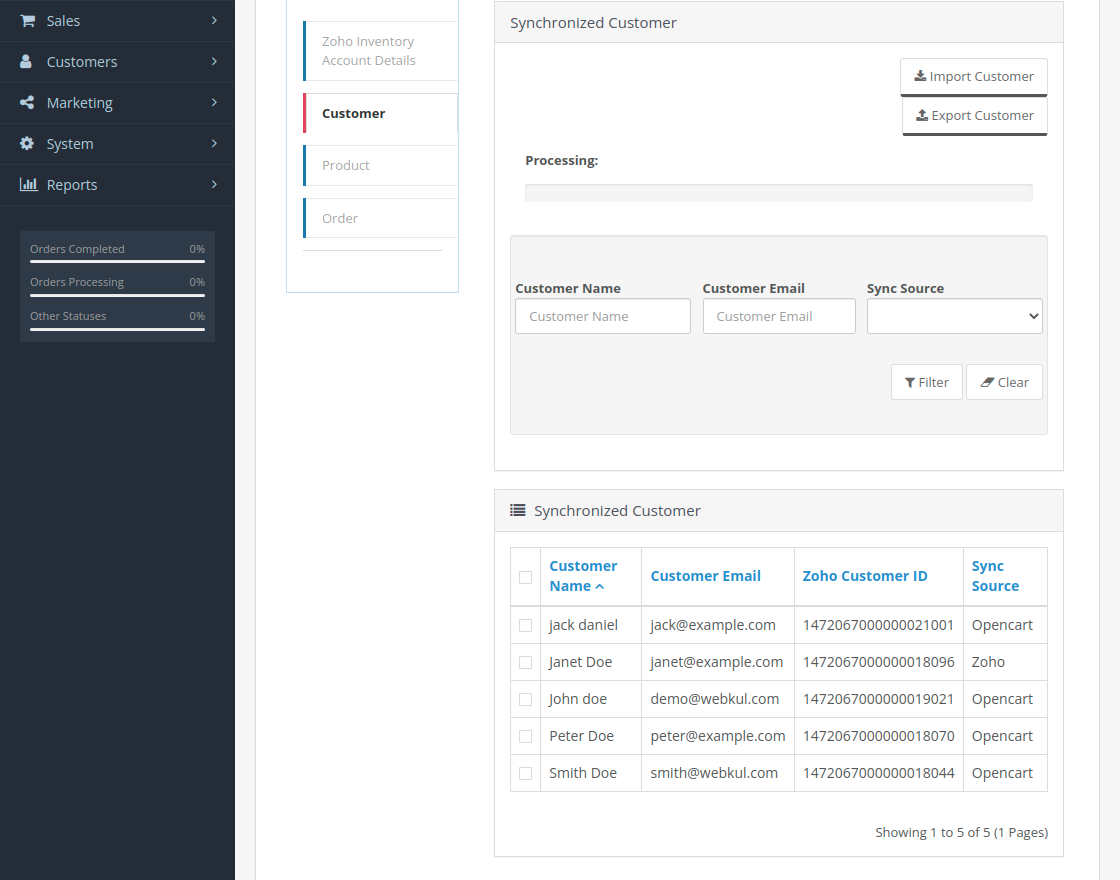
Now navigate through Zoho Inventory->Zoho Inventory Accounts-> and edit the account that you have added and then navigate to the customers tab.
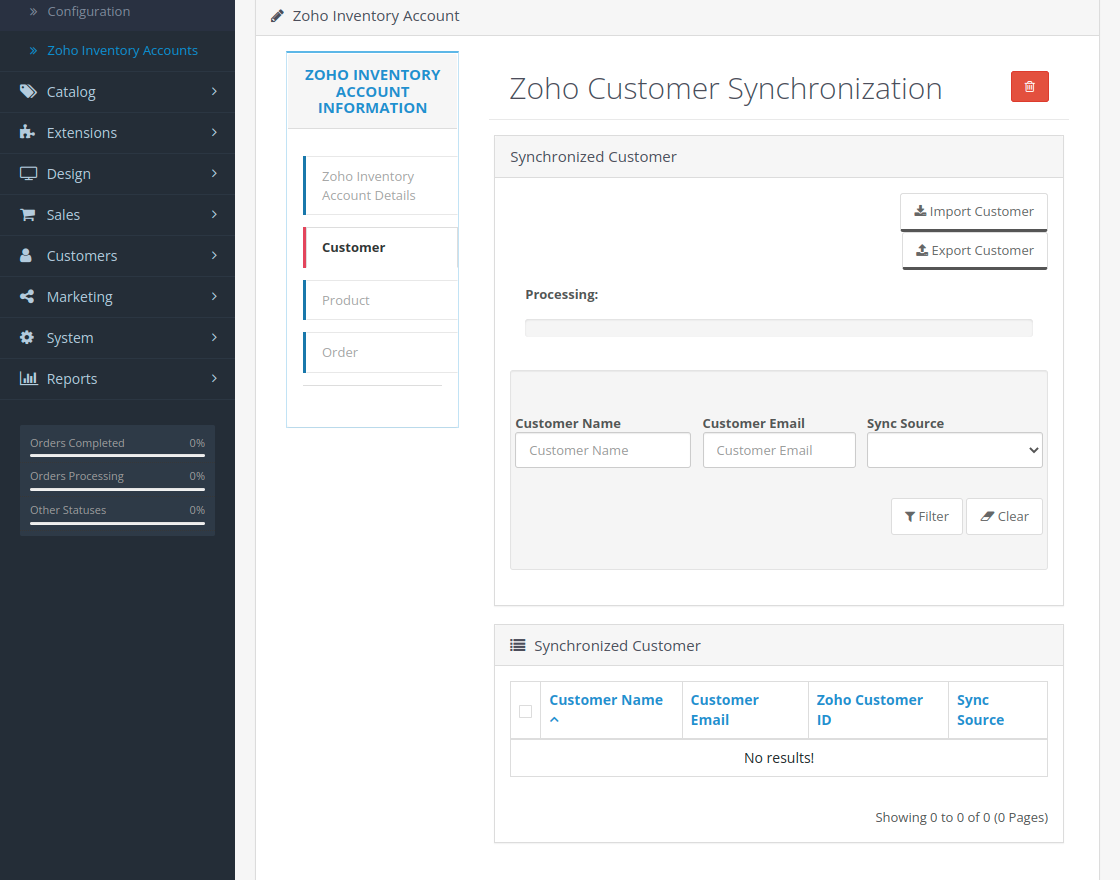
Here, the admin will get the option to export the OpenCart customers to the Zoho Inventory and import the Zoho Inventory customers to the OpenCart.
Export Customers:
Tap the Export Customer button and the OpenCart customers will be exported to the Zoho Inventory.
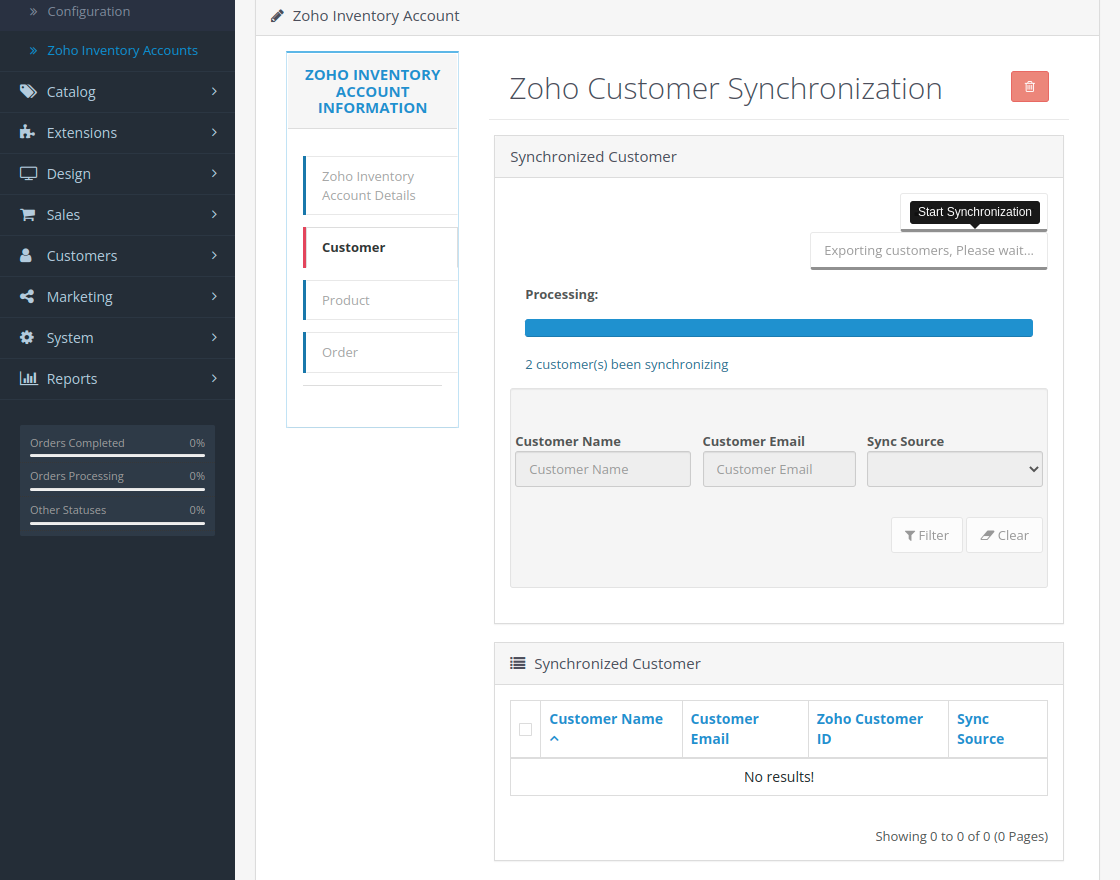
After the export completes, the page will refresh and on the OpenCart you can see the customers that are synced.

After exporting the customers, the exported customers are visible in the Zoho Inventory account.

Import Customers:
If you have customers in your Zoho Inventory account, then you can import those customers into the Opencart store.

Tap the Import Customer button.

After import, the customers are visible and the sync source is visible as Zoho.
Import/Export Products
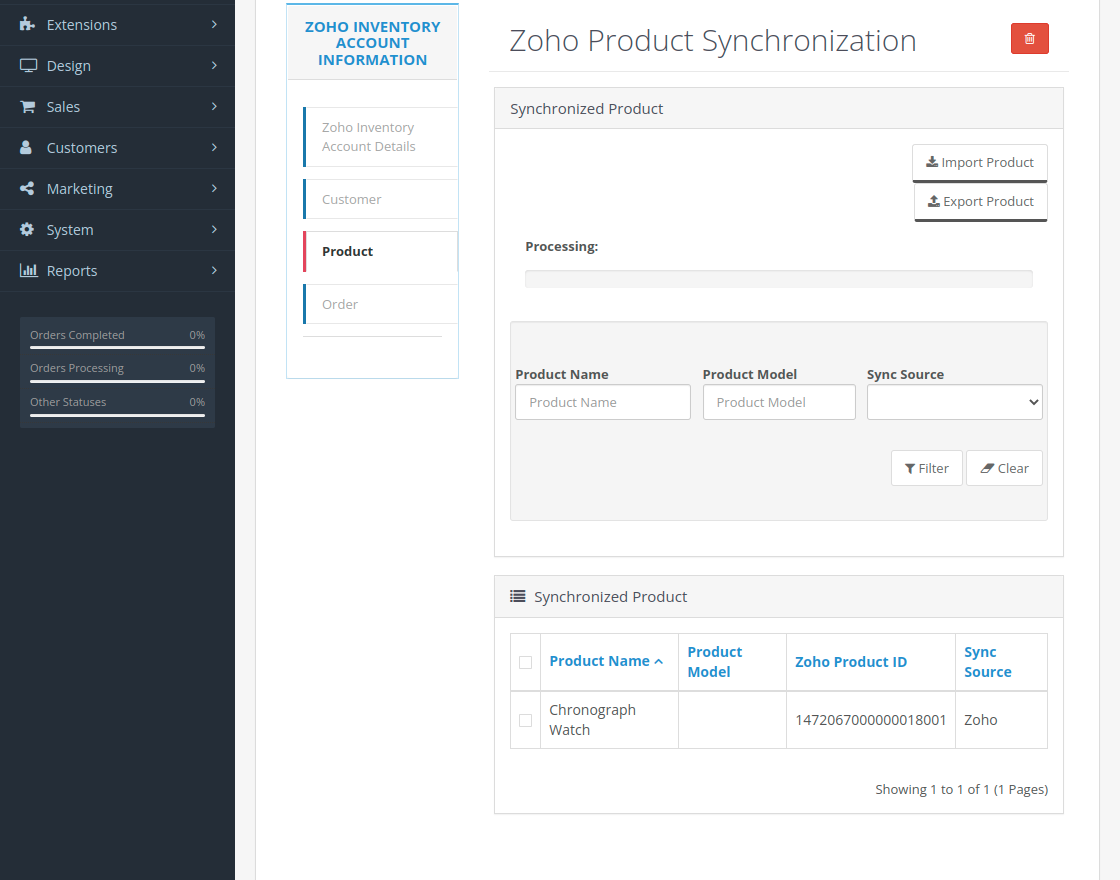
Zoho Inventory->Zoho Inventory Accounts-> edit the account that you have added and then navigate to the Products tab.

Import Product:
We will be importing one product that we have at the Zoho Inventory.

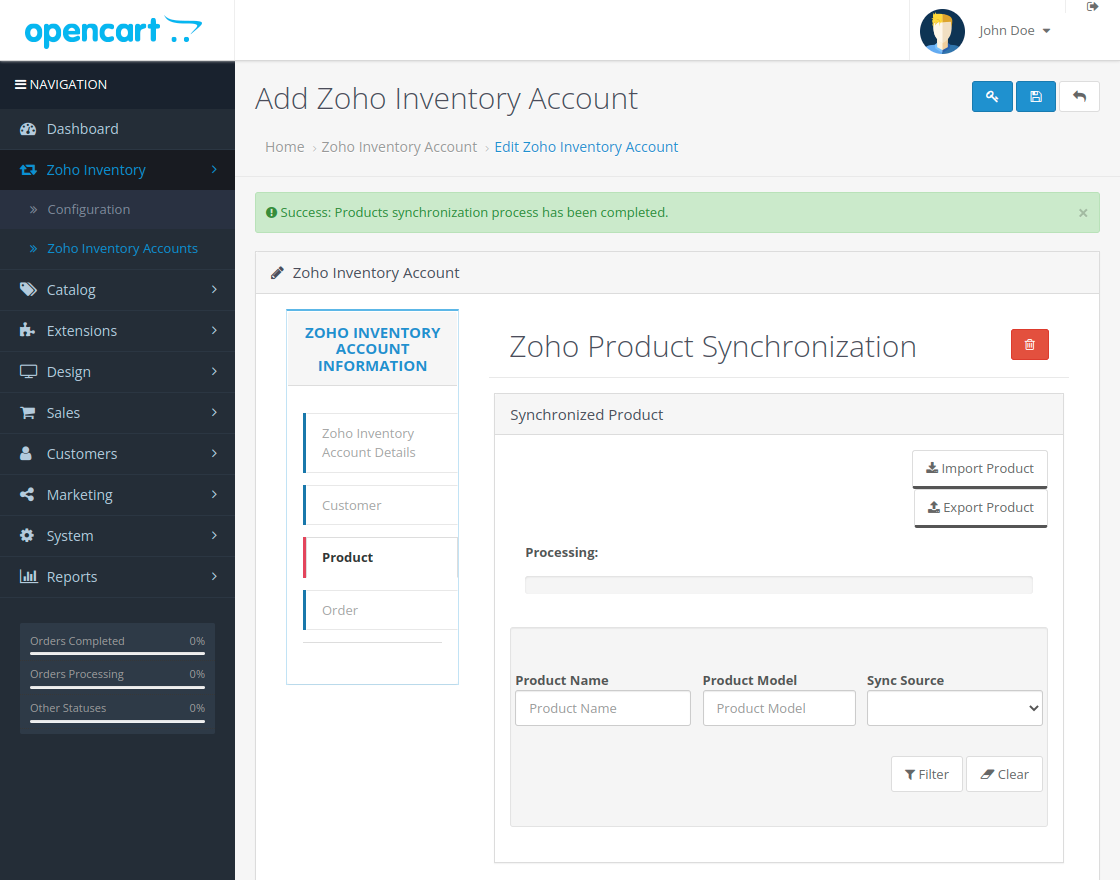
Tap the Import Product Button. After the successful import of the product, a success message is visible.

The admin can see the product sync details with the sync source as well.
The product is visible on the OpenCart storefront.

Export Products:
Tap the Export product button to export the OpenCart products to Zoho Inventory.

After the sync, a success message is visible.
The products exported to Zoho Inventory with sync source are visible.

The products are visible in the Zoho Inventory account as well.

Export Order – Zoho Inventory
You can explore our more OpenCart extensions.
Zoho Inventory->Zoho Inventory Accounts-> edit the account that you have added and then navigate to the Order tab.
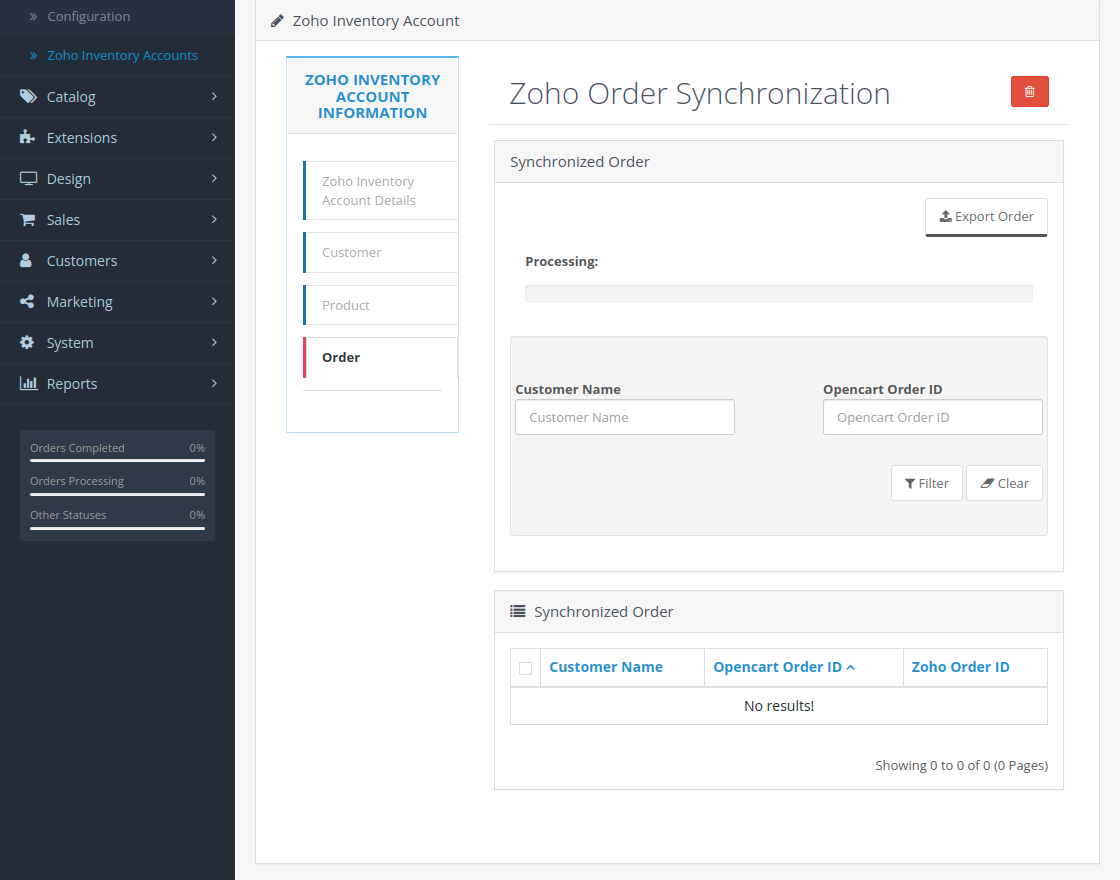
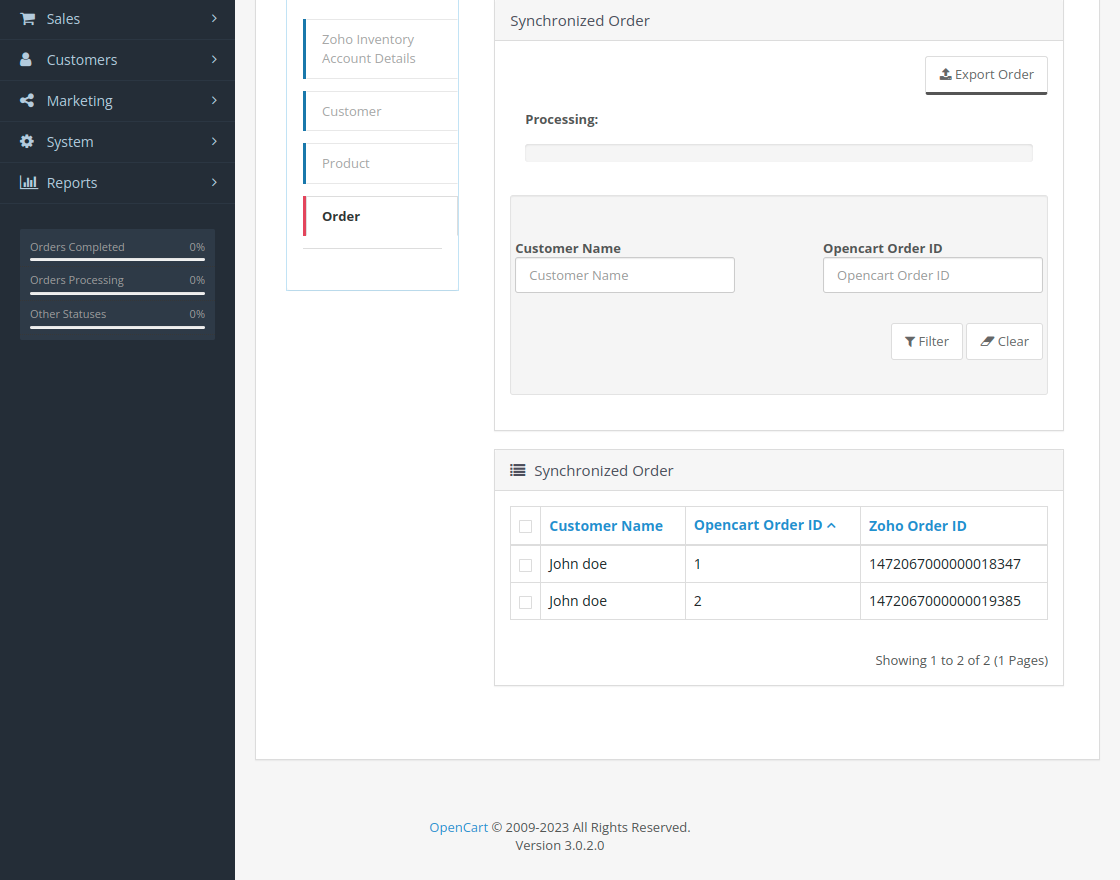
To export the OpenCart Orders to Zoho Inventory, tap the Export Order button.
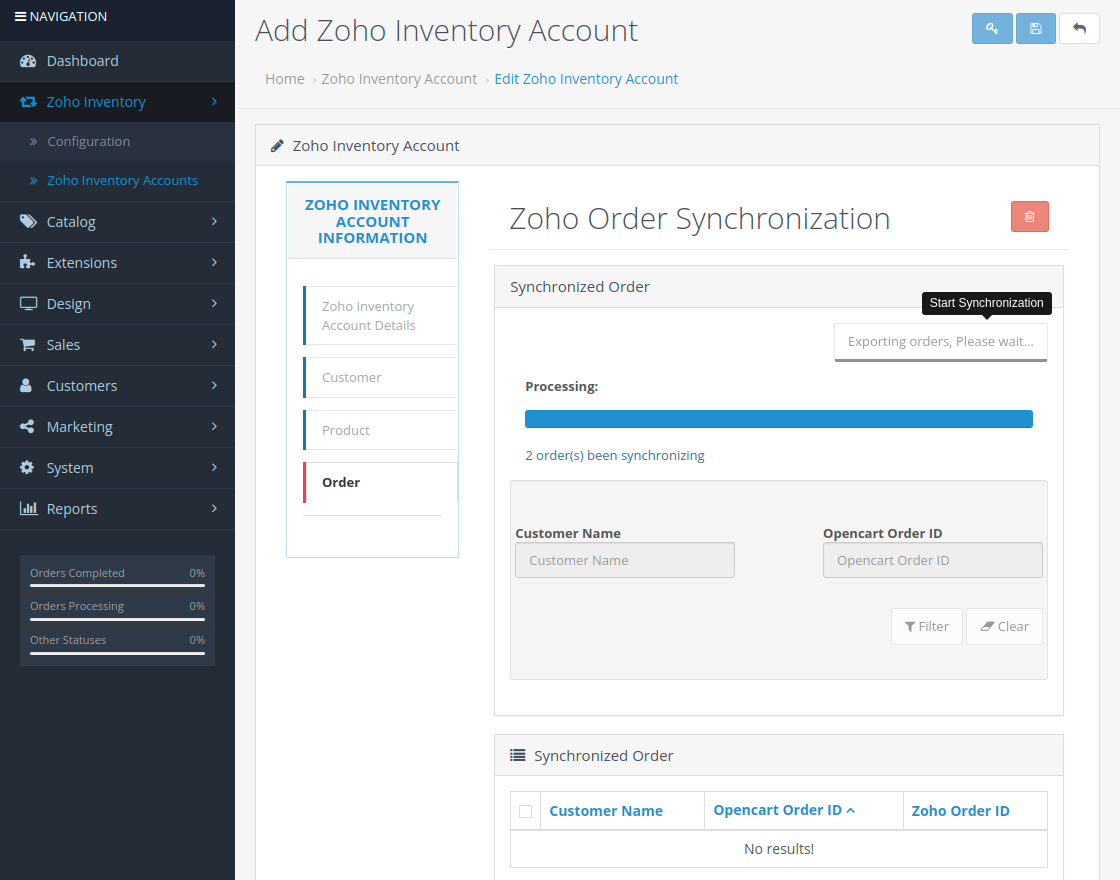
The synced orders are visible as shown below in the snapshot.
On the Zoho Inventory section, the imported orders are visible.

The admin can see the sales order’s details in the Zoho Inventory section.

Support
If you still have any queries regarding the OpenCart Zoho Inventory Connector, please feel free to contact us at our Webkul Support System or you can send an email to [email protected].
Current Product Version - 1.0.0.1
Supported Framework Version - 3.x.x.x

Be the first to comment.