OpenCart Quick Print is a simple and efficient solution that helps store admins manage printing directly from the OpenCart admin panel.
The module allows admins to configure printer settings within the system, including domain, port, system details, and SSL.
By installing the Desktop Application, a secure connection is established, enabling automatic printer detection and quick setup.
Admins can print order invoices and shipping labels instantly from the order page or use bulk printing to process multiple orders at once, ensuring faster and smoother order management.
The module supports all standard printers and is suitable for both small businesses and high-volume stores. It helps reduce manual effort, improve efficiency, and speed up order fulfillment.
This solution provides a secure, reliable, and time-saving printing management system for OpenCart stores.
Features
- Configure complete printer settings directly from the module, including domain, port, system name, and SSL.
- Connect and detect printers easily using the Thermal Application with built-in printer detection.
- Print order invoices and shipping labels instantly from the OpenCart admin panel.
- Bulk print multiple invoices and shipping labels for faster order processing.
- Access Quick Print options from the order list and order details page for seamless management.
- Manage user roles and permissions using OpenCart ACL for secure access control.
- Integrate and manage multiple thermal printers based on business needs.
- Compatible with Windows, Linux, and macOS systems.
- Supports all standard printers, including wired and wireless devices.
- Ensures fast, secure, and reliable printing to improve operational efficiency and order fulfillment.
Note: For access to the live demo of the module, please reach out to the Webkul support team.
Installation
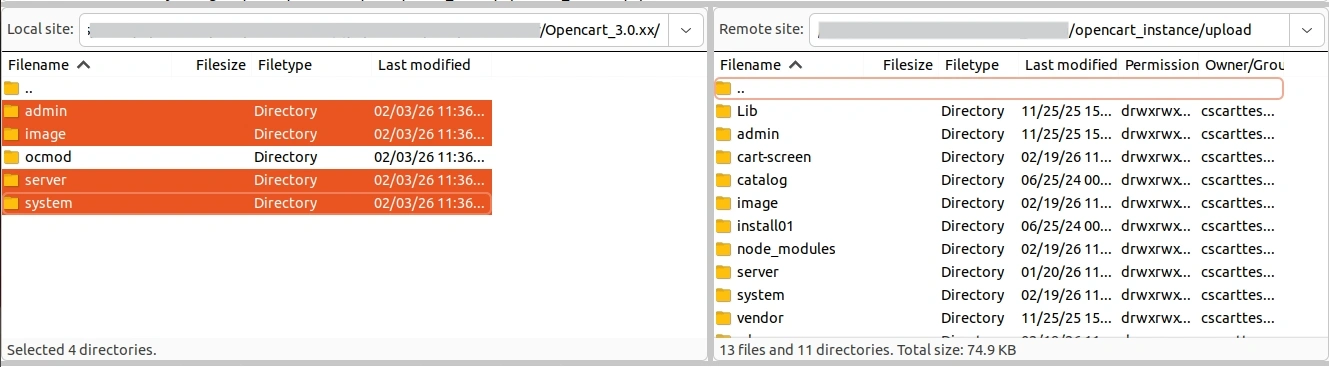
Extract the contents of the received zip folder on your system according to your Opencart version. The extracted folder has admin, catalog, image, ocmod, and wtp folders.
Now, upload the admin, catalog, image and wtp directories into the Opencart root directory as shown below in the snapshot.
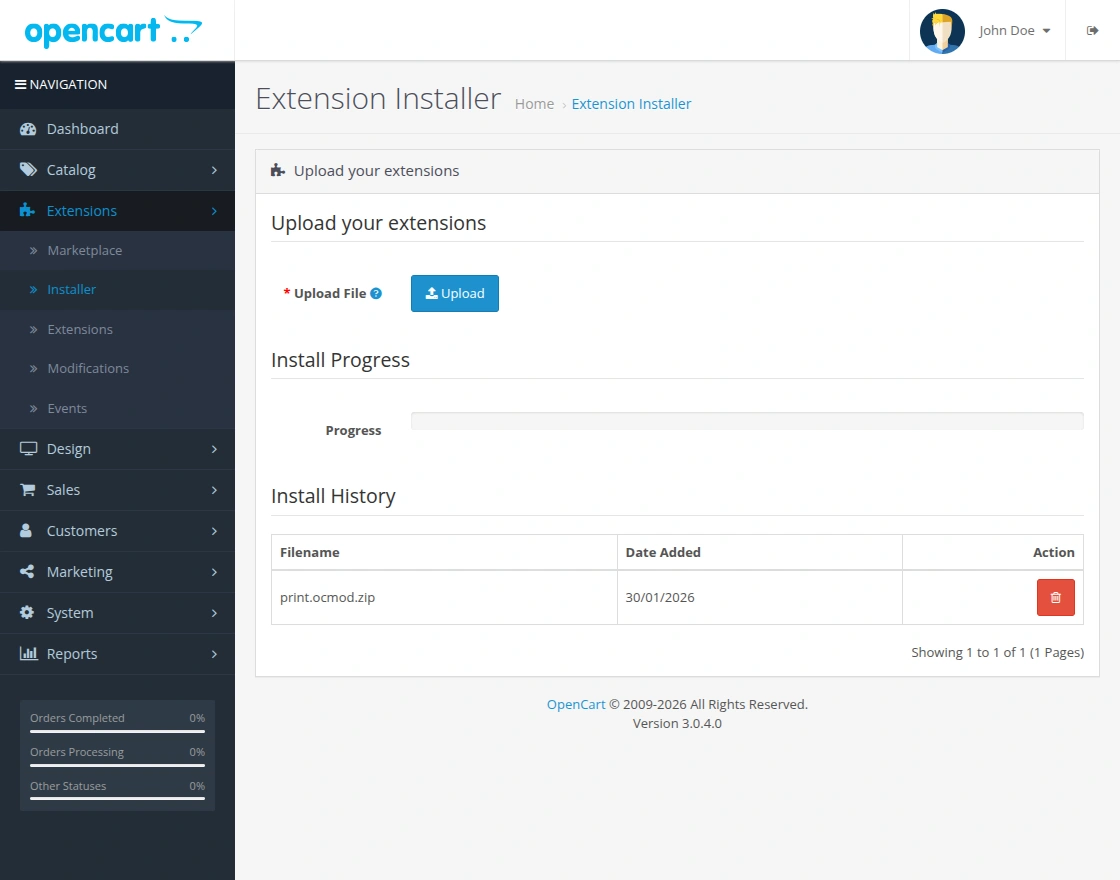
Once you have uploaded the folders, login to admin and then from the catalog section go to Extensions> Extension Installer and upload the zip file.
The zip file is in the ocmod folder under module directory. In the ocmod folder, select the Opencart version that you are using and under it, you will find print.ocmod.zip file.
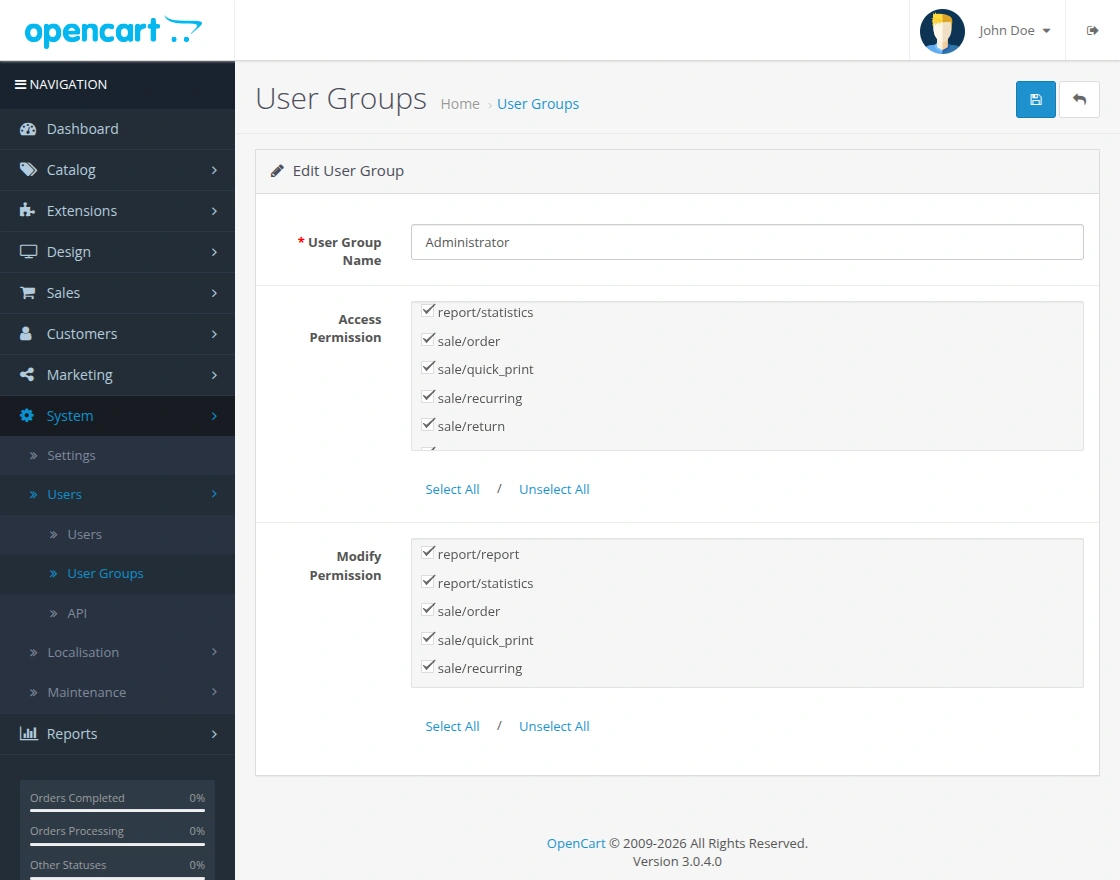
Now, Go to System -> Users -> User Groups >> edit ‘Administrator’ and choose to select all for both Access and Modify Permission for the permission that you want to provide and save it.
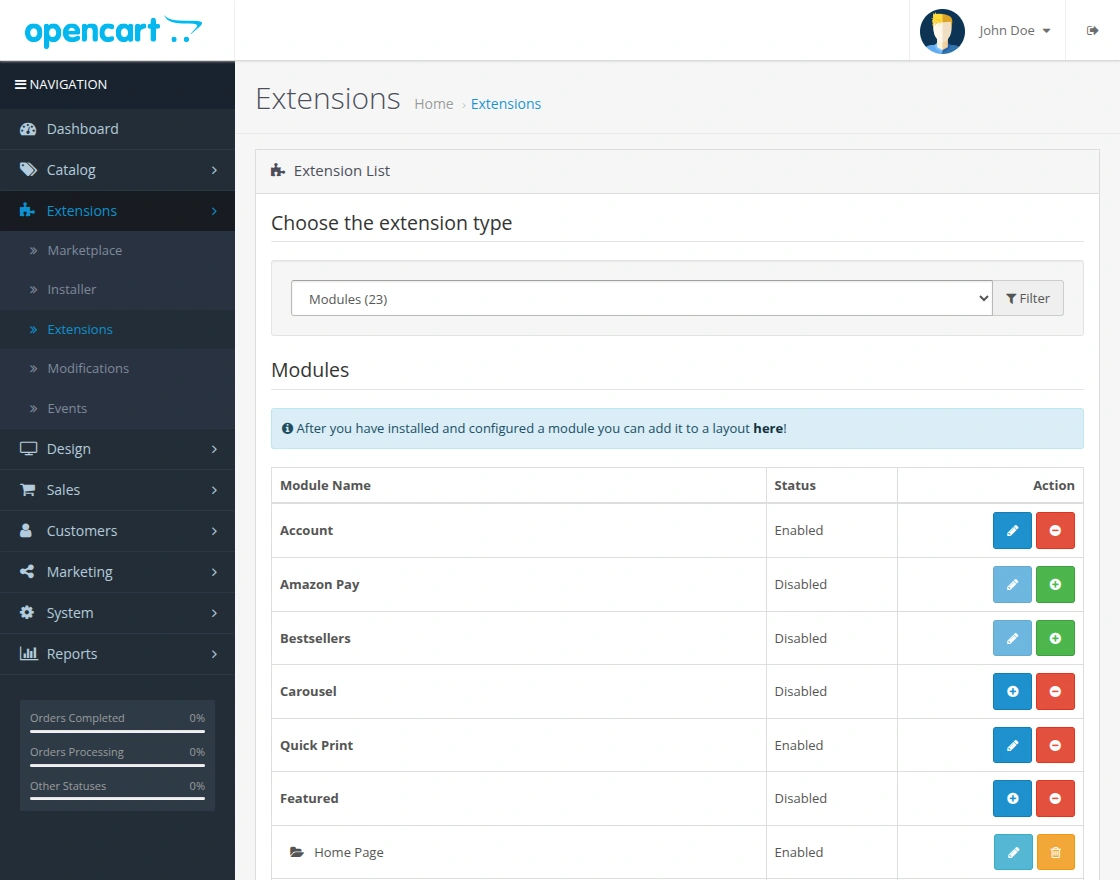
Now navigate to Extensions > Extensions > Modules. Find Quick Print from the list. Click the Install button as visible in the screenshot below.
Select the module “Quick Print”, and click on the Edit icon.
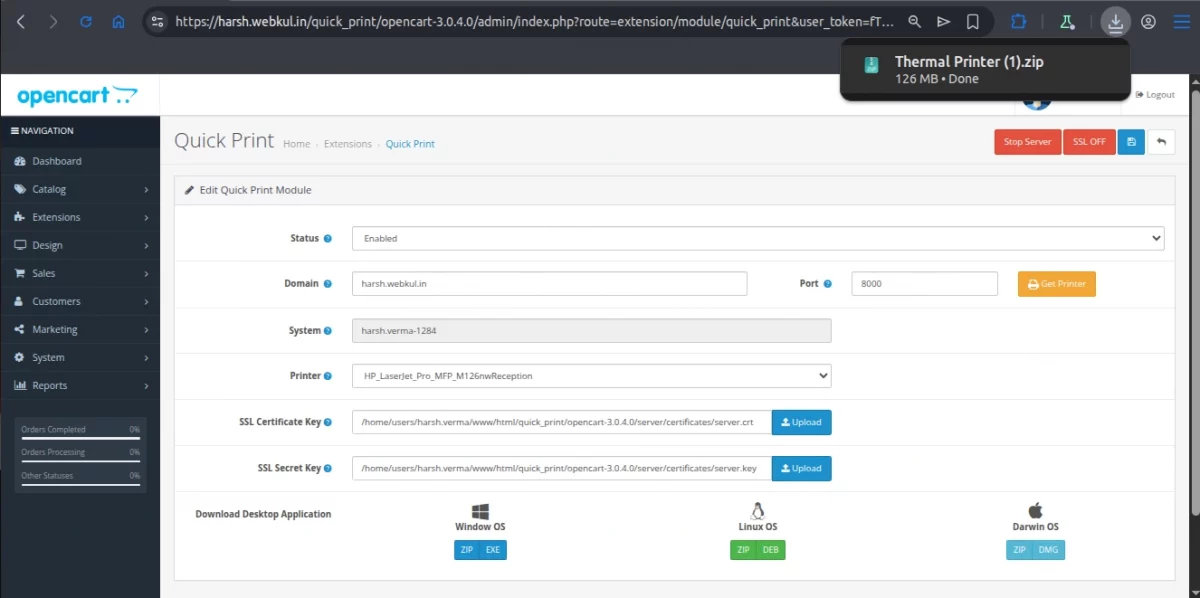
Opencart Quick Print Configuration
After the successful installation of the module, the admin can configure the Quick Print settings from the admin panel.
To configure the module, navigate to:
Extensions > Extensions
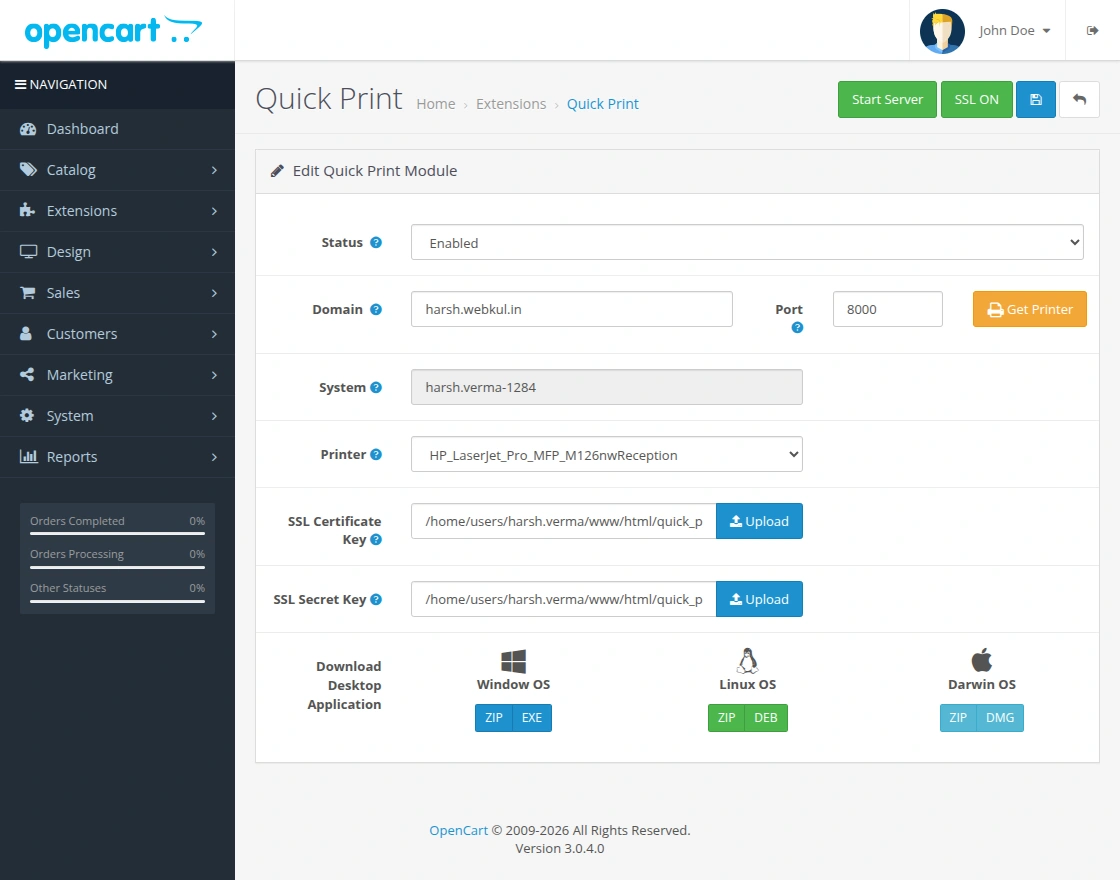
Here, the Admin can configure the details, like status, domain, and port, and select the system/ printer.
Status: To enable or disable the system.
Domain: Add your website domain here.
Port: Port should be constant at 8000.
System: The system name will be generated automatically.
Printer: To select the desired printer from the list.
SSL Certificate Keys – Enter the Server SSL certificate key.
SSL Secret Keys – Enter Server SSL private keys.
Note –
- SSL keys will be different for different servers.
- This is not provided for the HTTP.
Download Desktop Application
The admin can use this extension on their respective device after installing the app for Windows, Linux, and Darwin OS separately.
Windows OS
Click on the ZIP, EXE, or MSI button to download the application on your Windows system. Once you click on the button the file will download to your system.
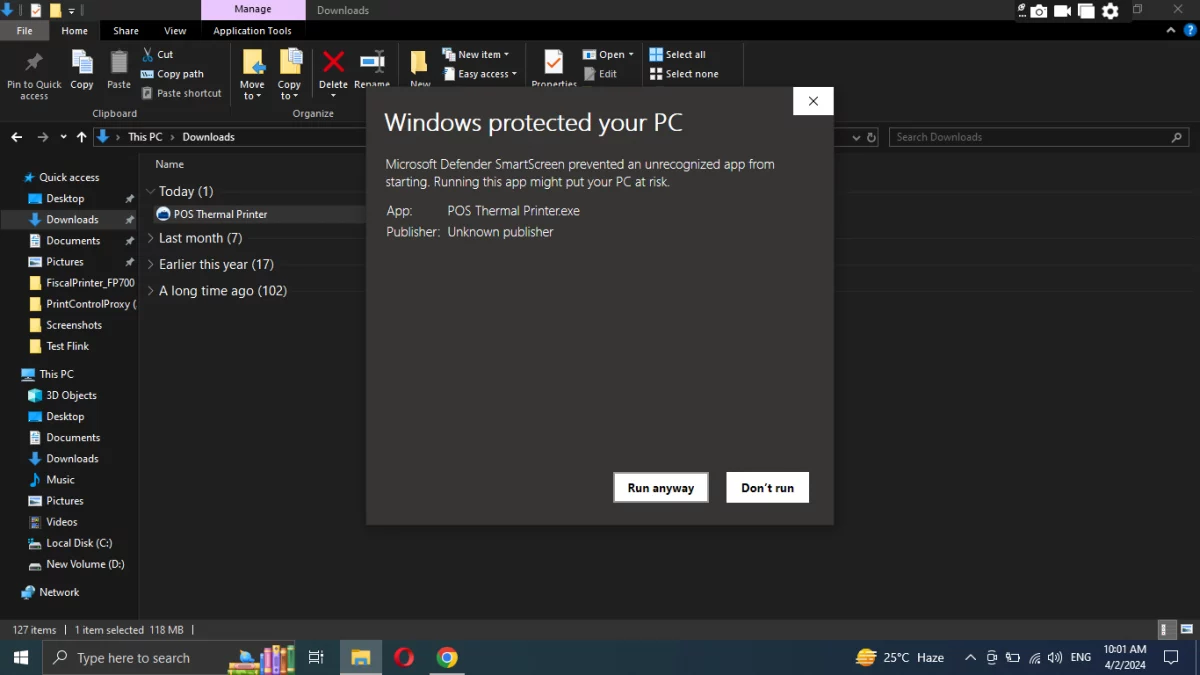
When you download the exe file, the file will be directly downloaded to the system.
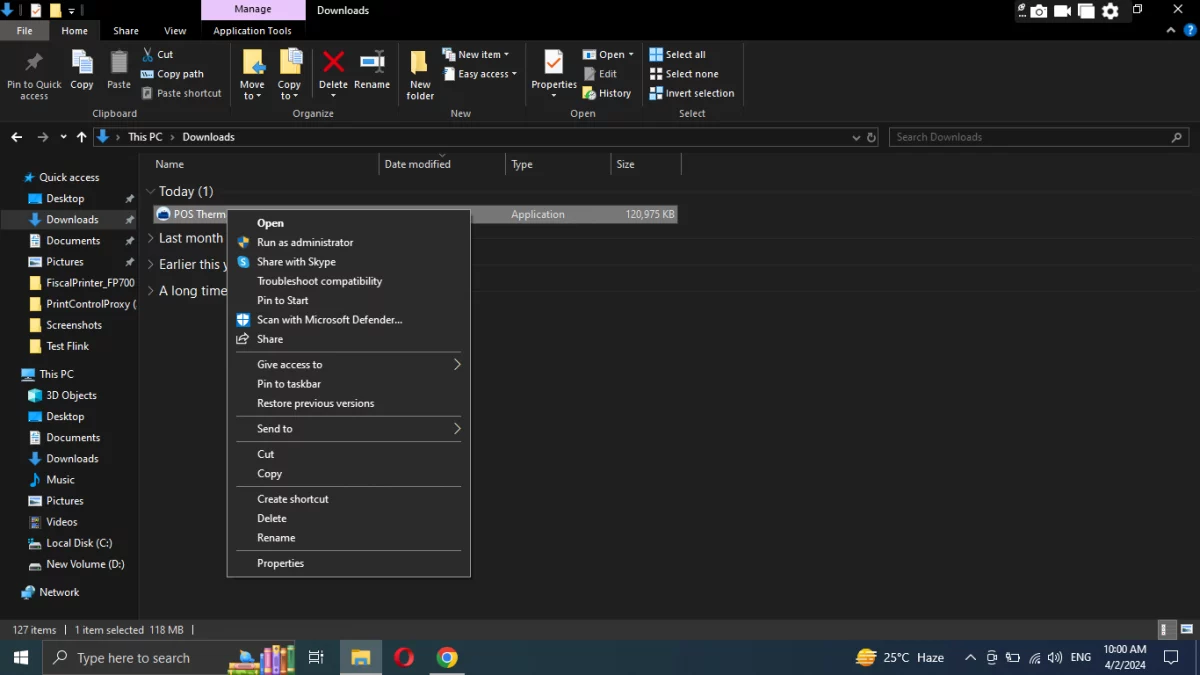
After that, a pop-up will appear and you can click on run anyway to proceed further
Then you have to enter the domain details.
Linux OS
Similarly, the admin can download the app on their Linux OS.

Then extract the Zip file on your system.
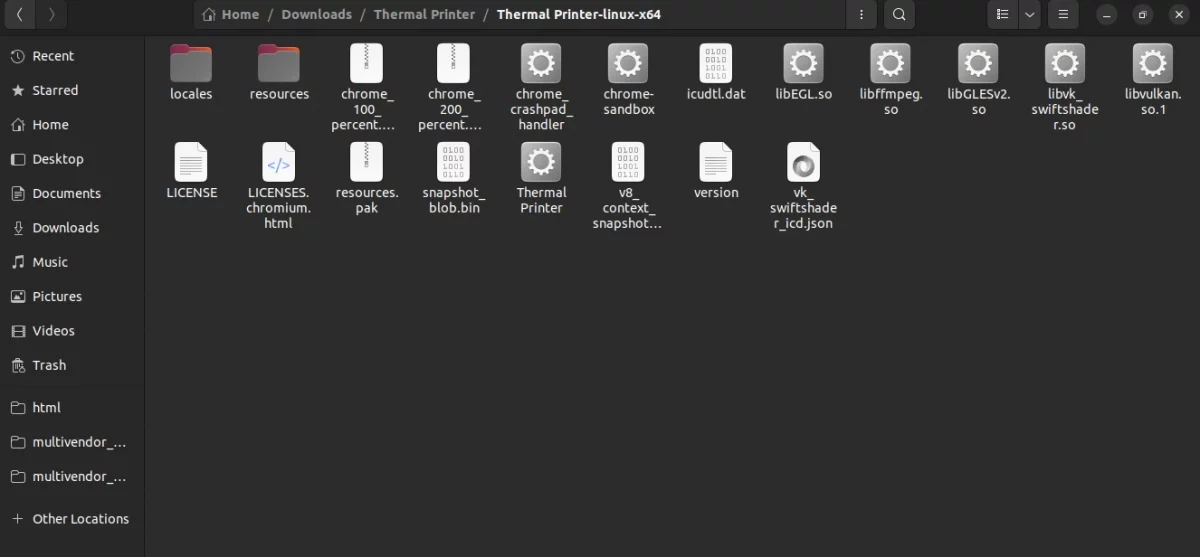
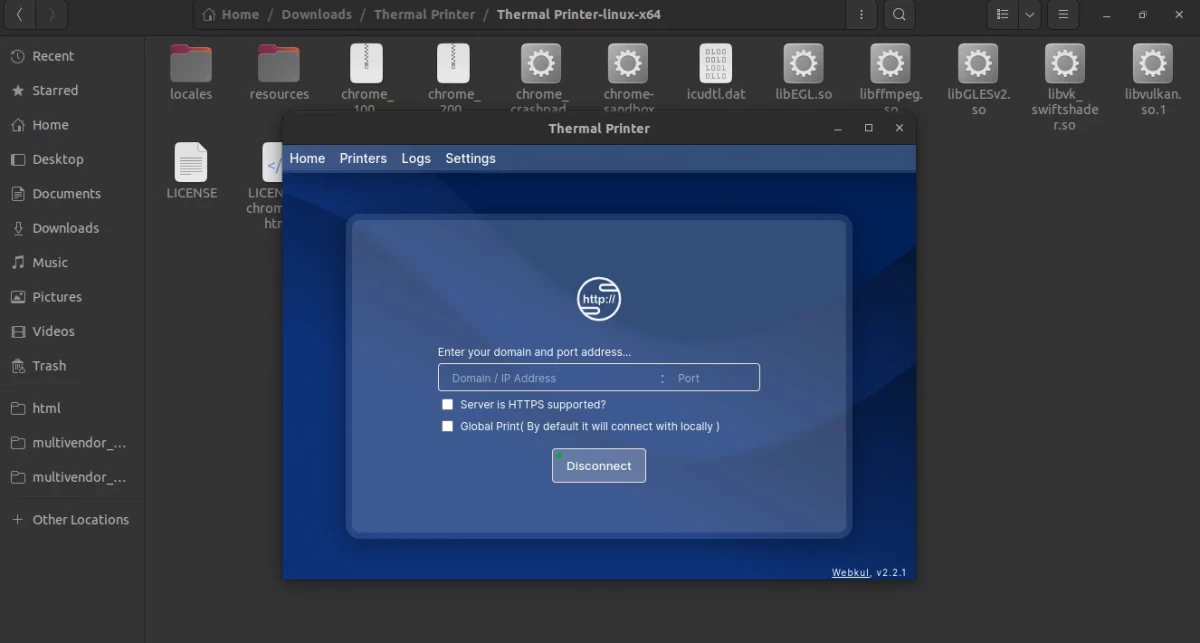
Now click on Thermal Printer.
After enabling execute permission, the admin launches the app on their system.
Drawin OS
Similarly, the admin can install the app for Apple desktop in Darwin OS.
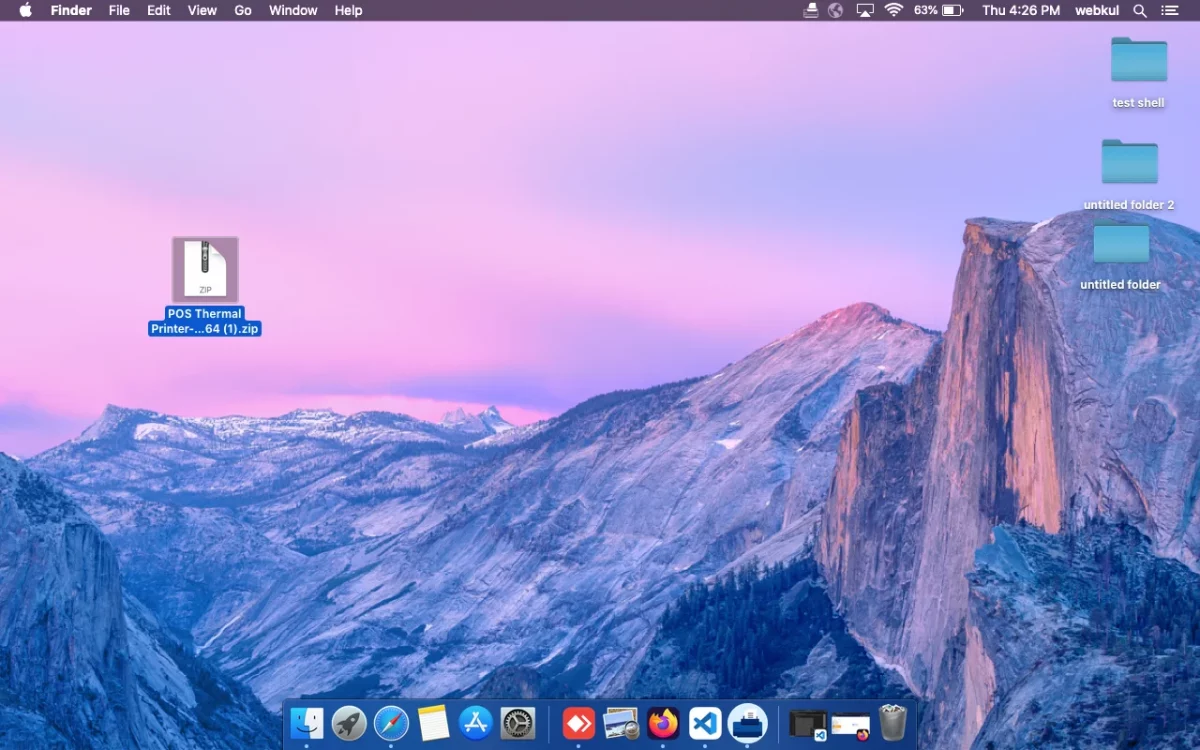
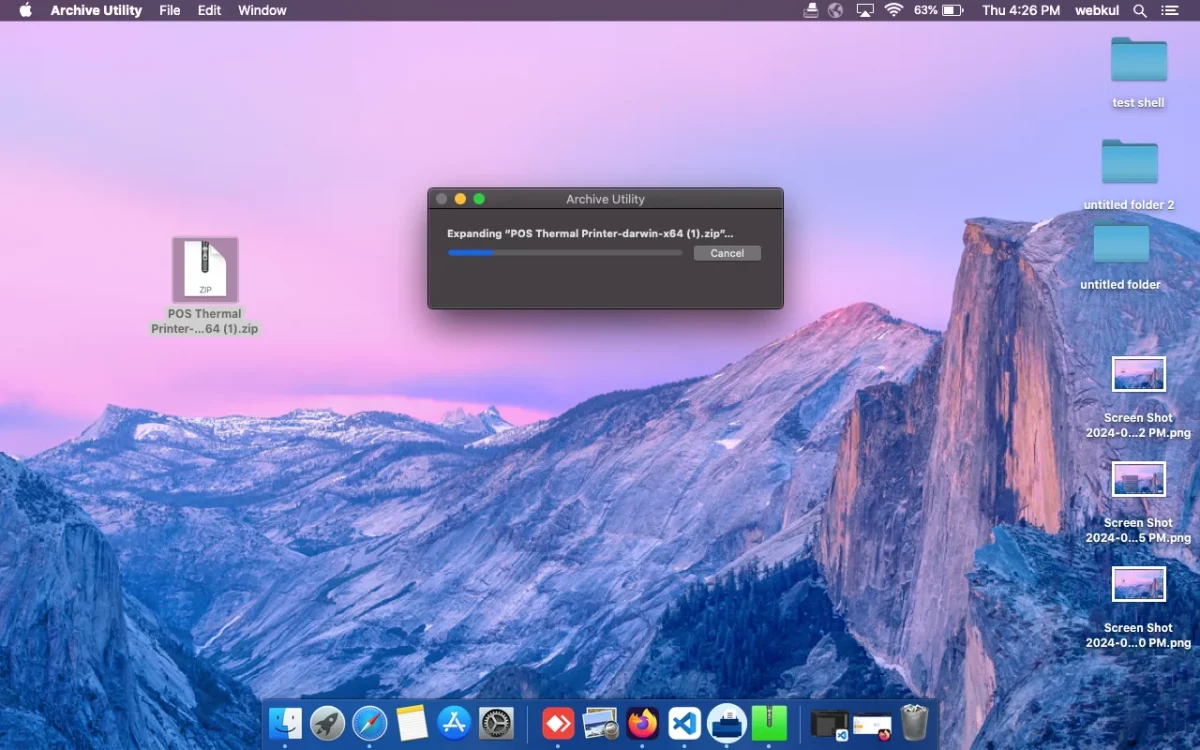
Once the Zip is installed extract and open it.
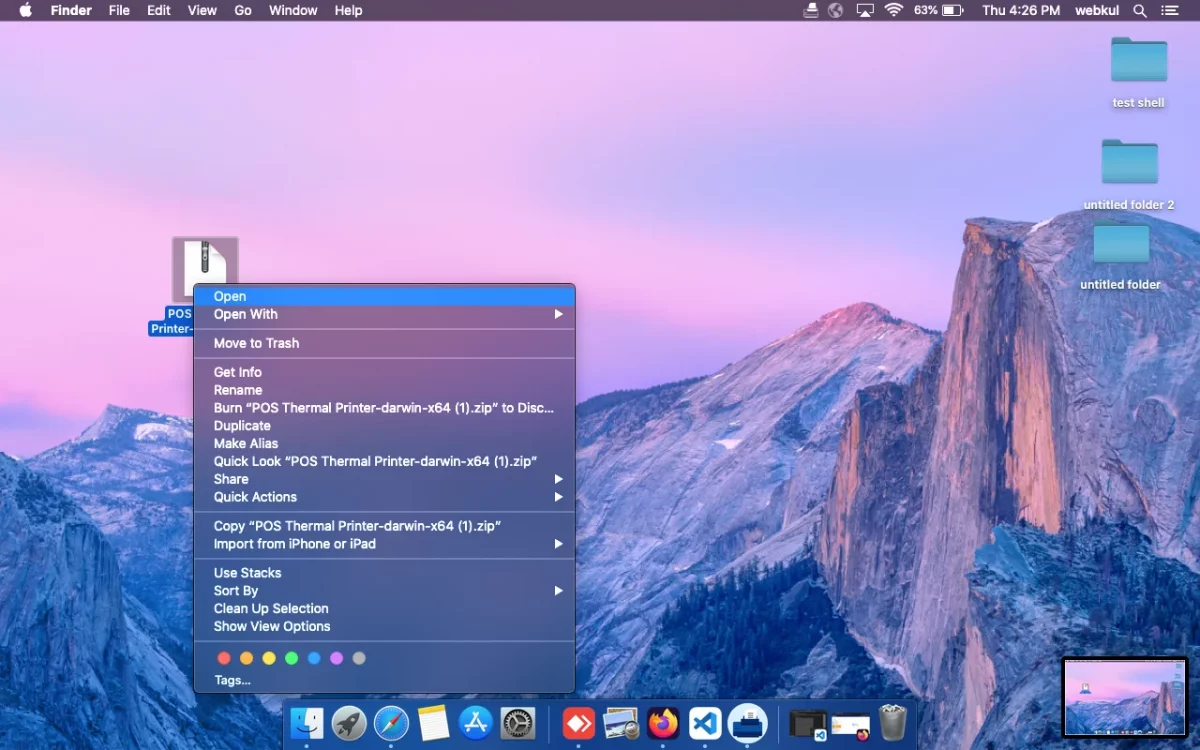
Click on the open icon and the process will run in the background.
After installing the app, the admin sees the icon on their home screen.
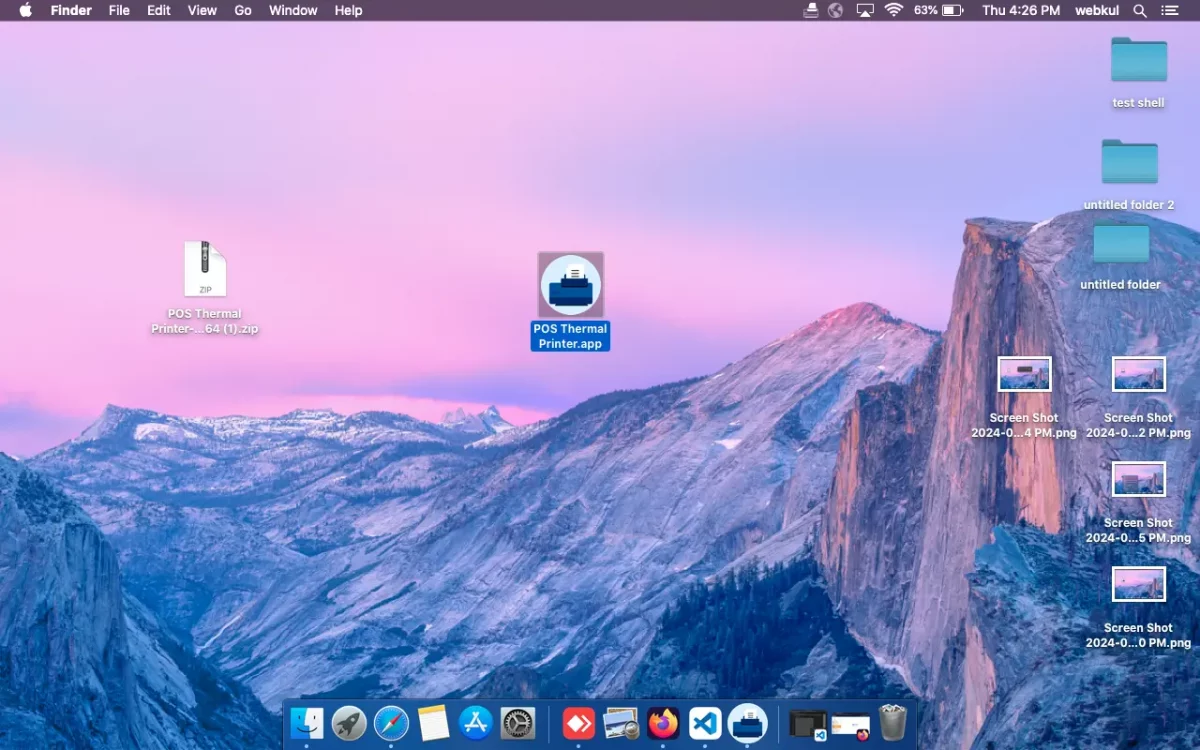
Click on the app, the app will open in your Darwin OS.

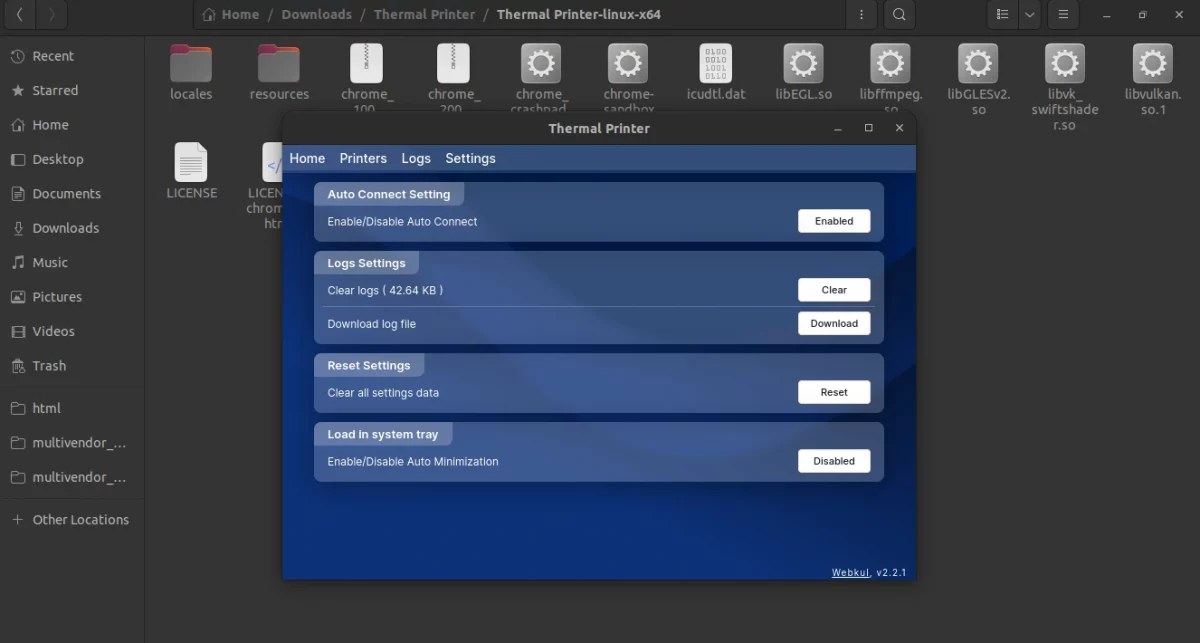
App Setting
After installing the app, the admin configures the app settings.
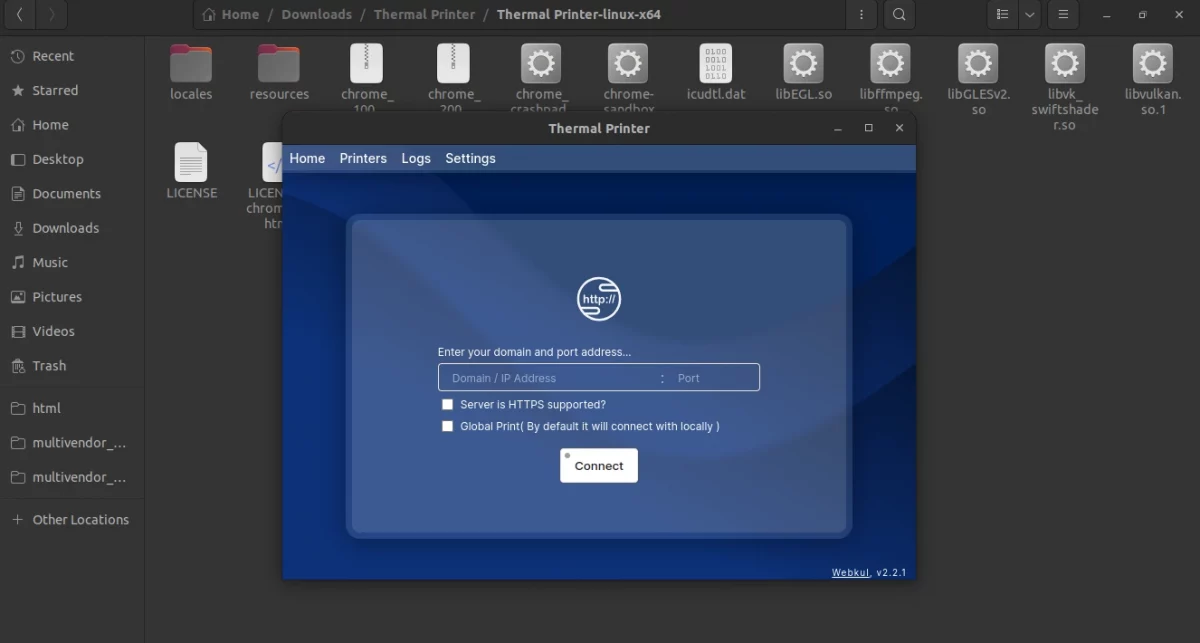
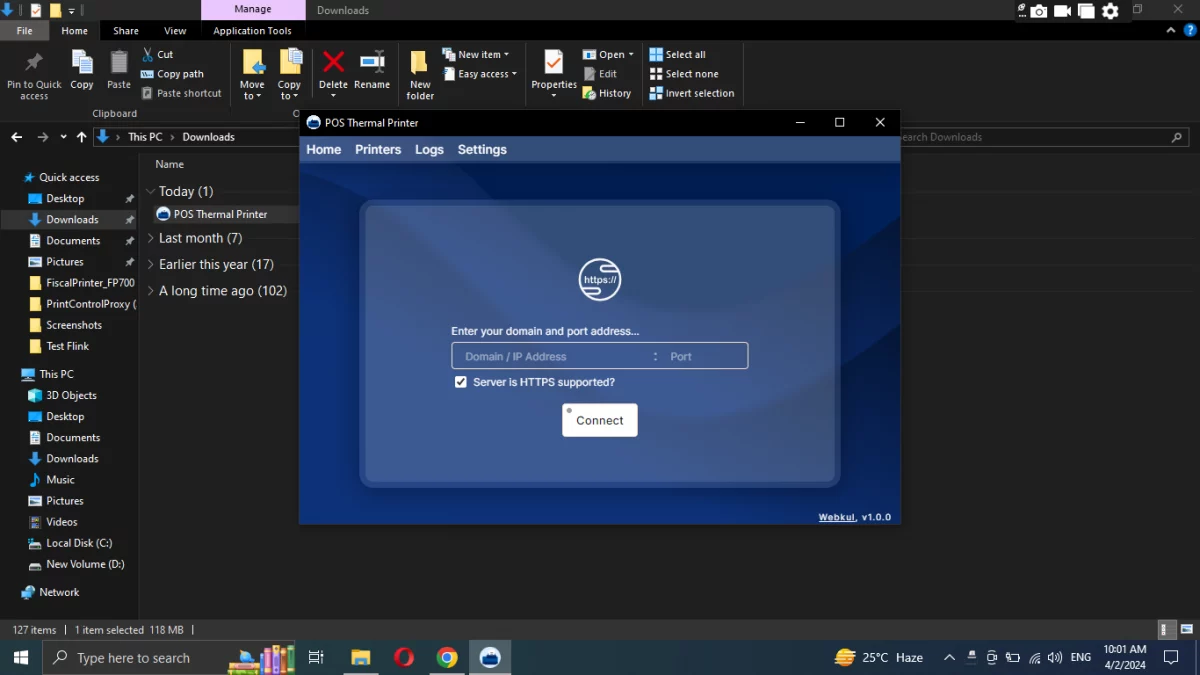
The admin will enter the domain URL or IP address and port number.
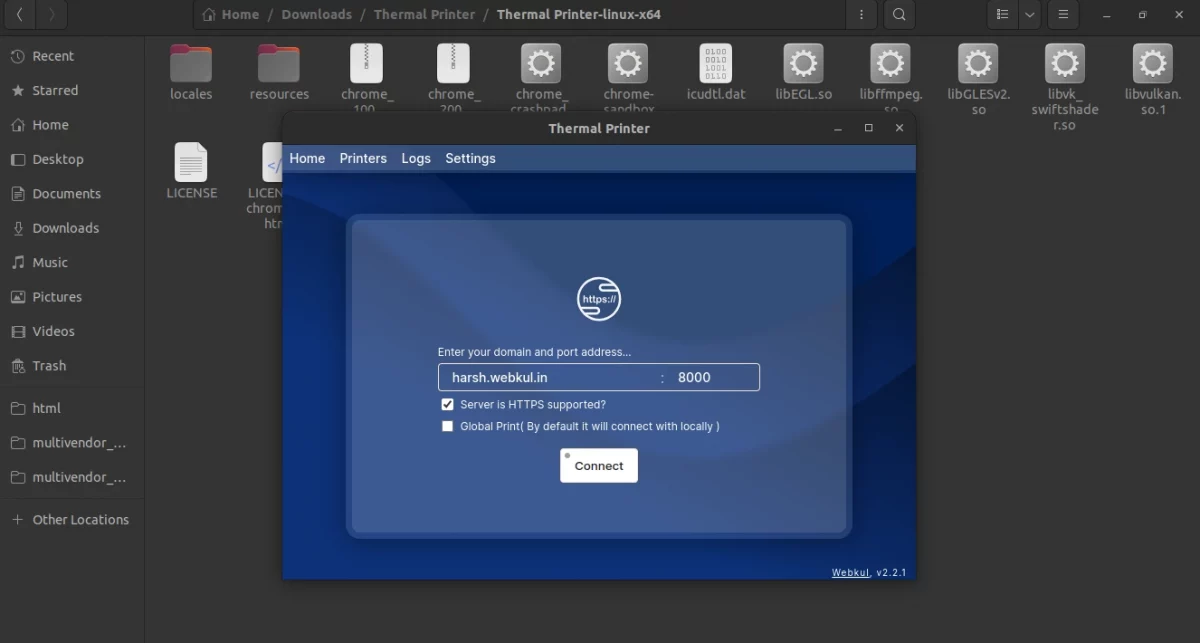
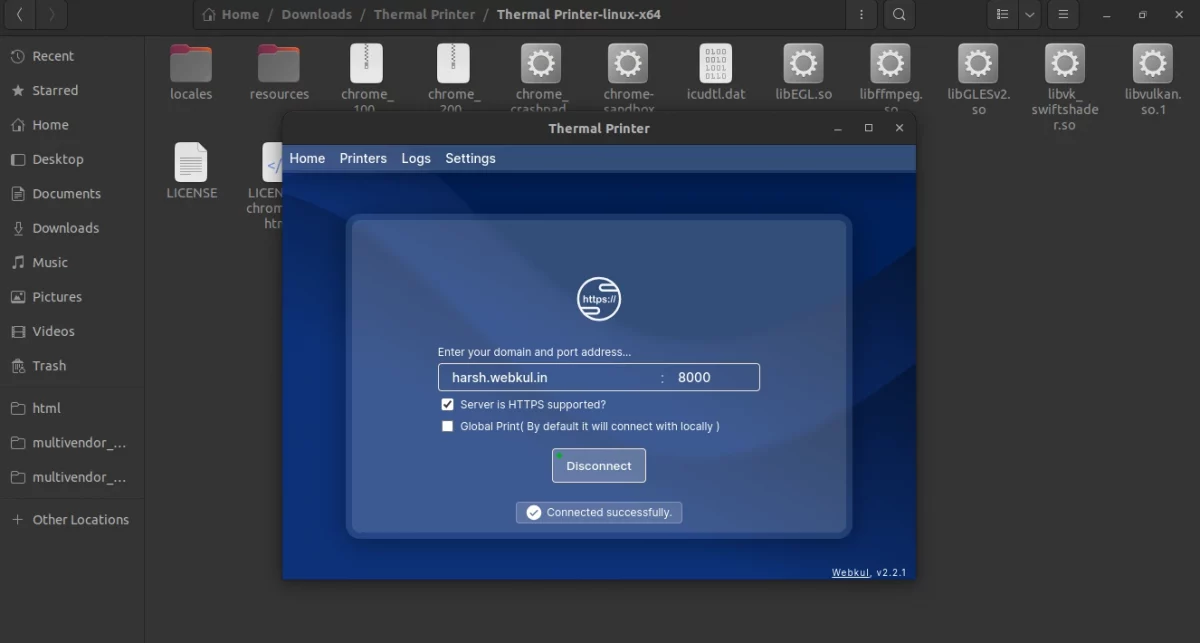
The admin needs to click on the connect button to connect the app to the server port.
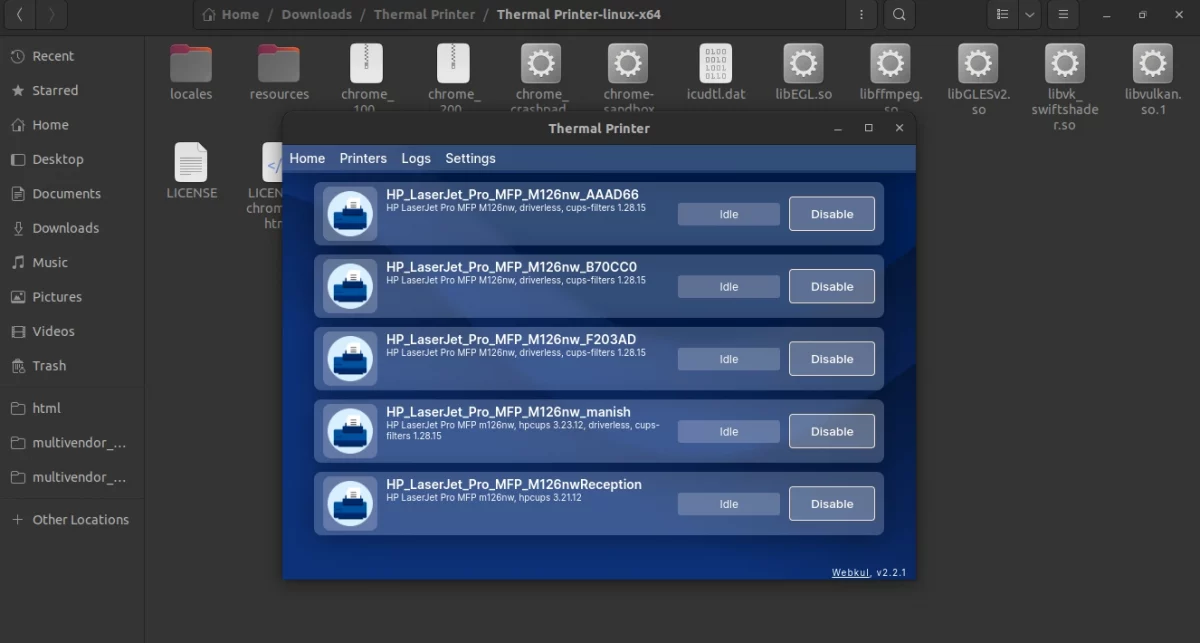
Click on the printer’s option to check the connected printers and connect new ones.
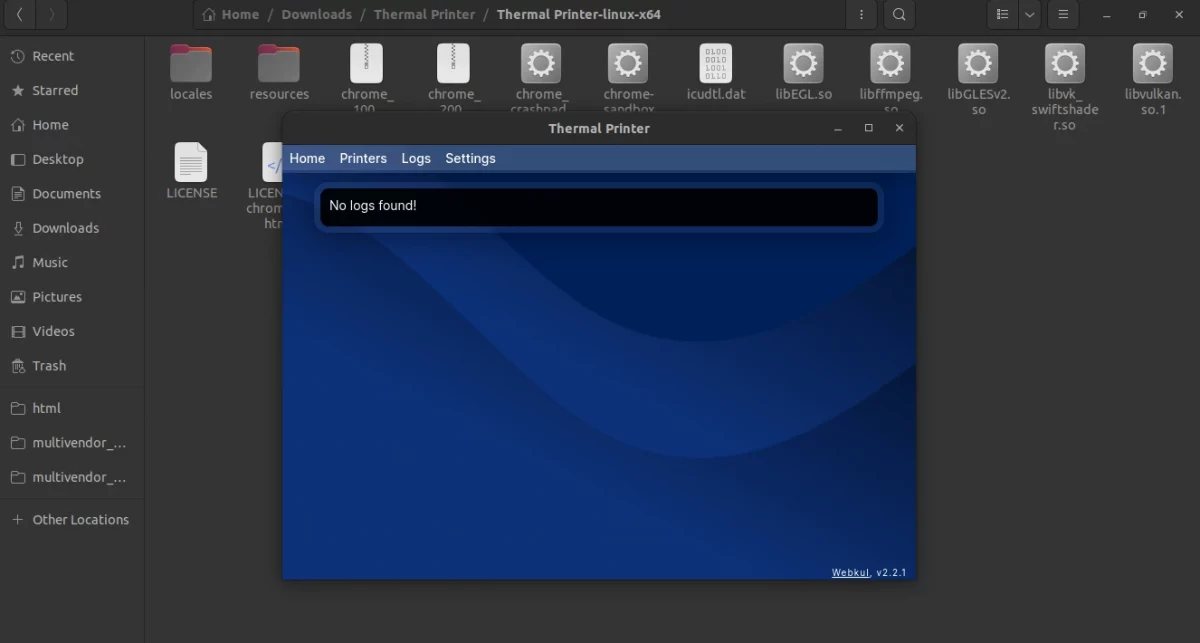
Check the log file directly on your system with every detail of the POS thermal printer app.
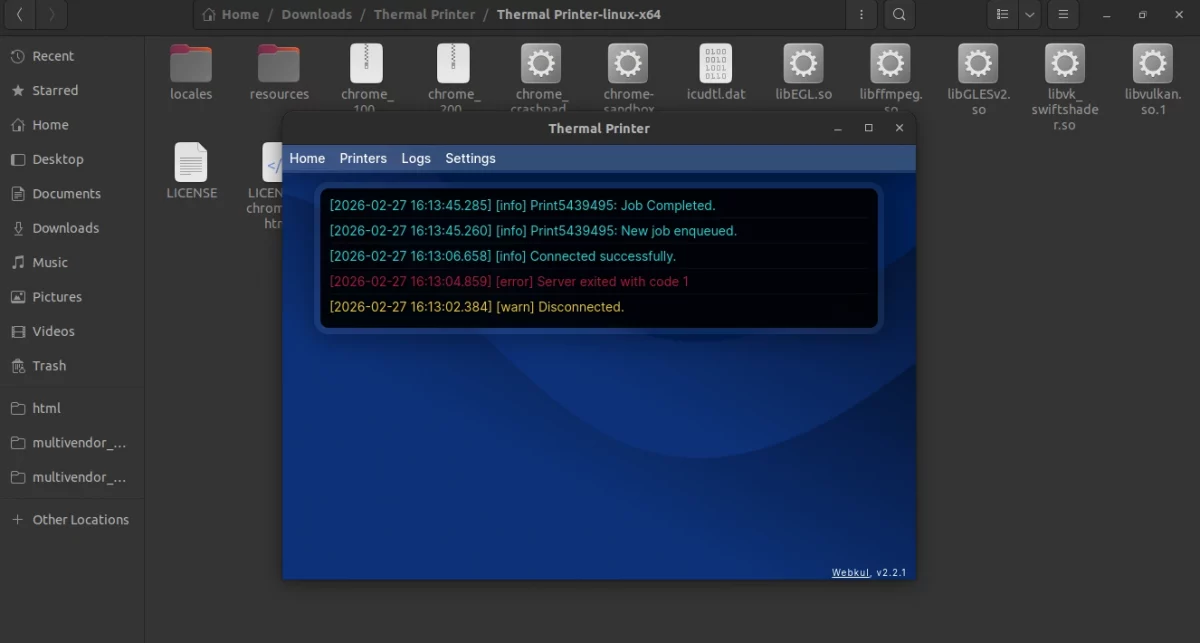
Check the log setting on the app and download or clear any logs from the POS thermal app.
Once you click on the download button the log file will download in your system.
If the admin wants to clear the log they can simply click on the clear button and the log will be cleared from the app.
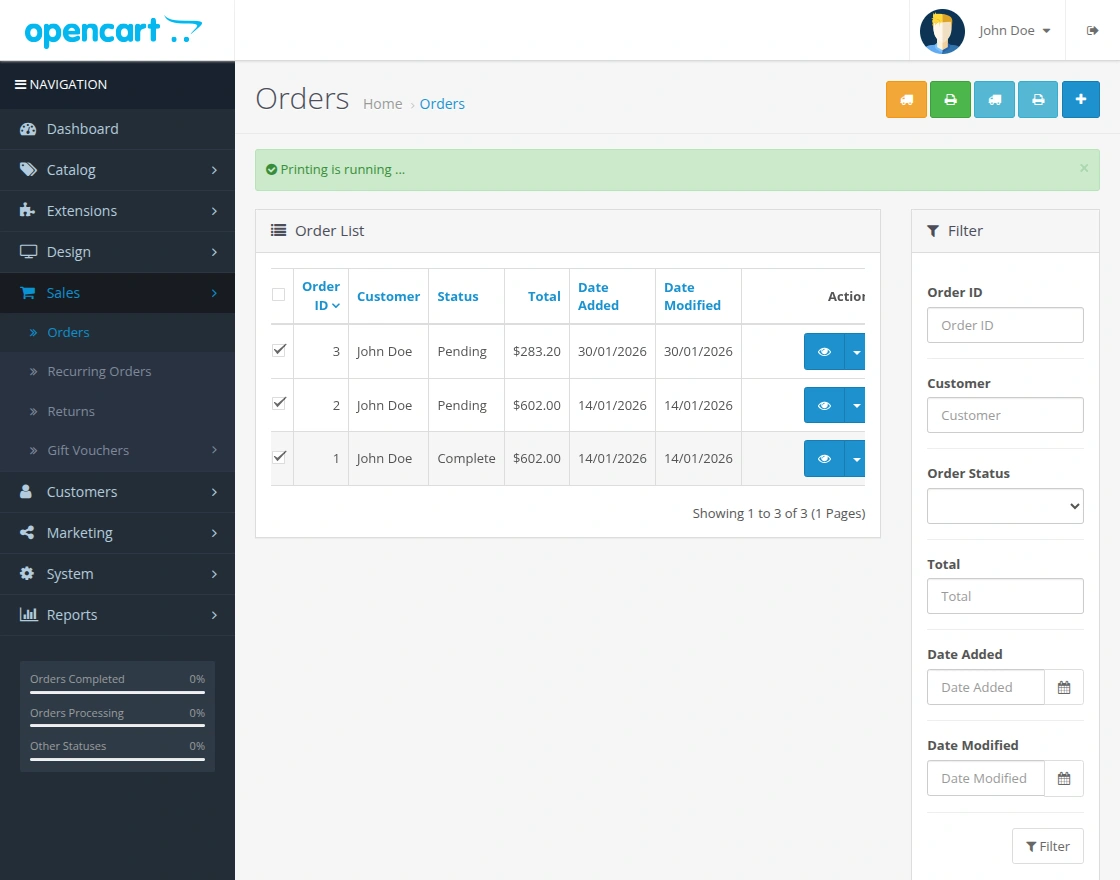
Print Invoices and Shipping Labels
After completing the setup, the admin can print order invoices and shipping labels directly from the OpenCart admin panel.
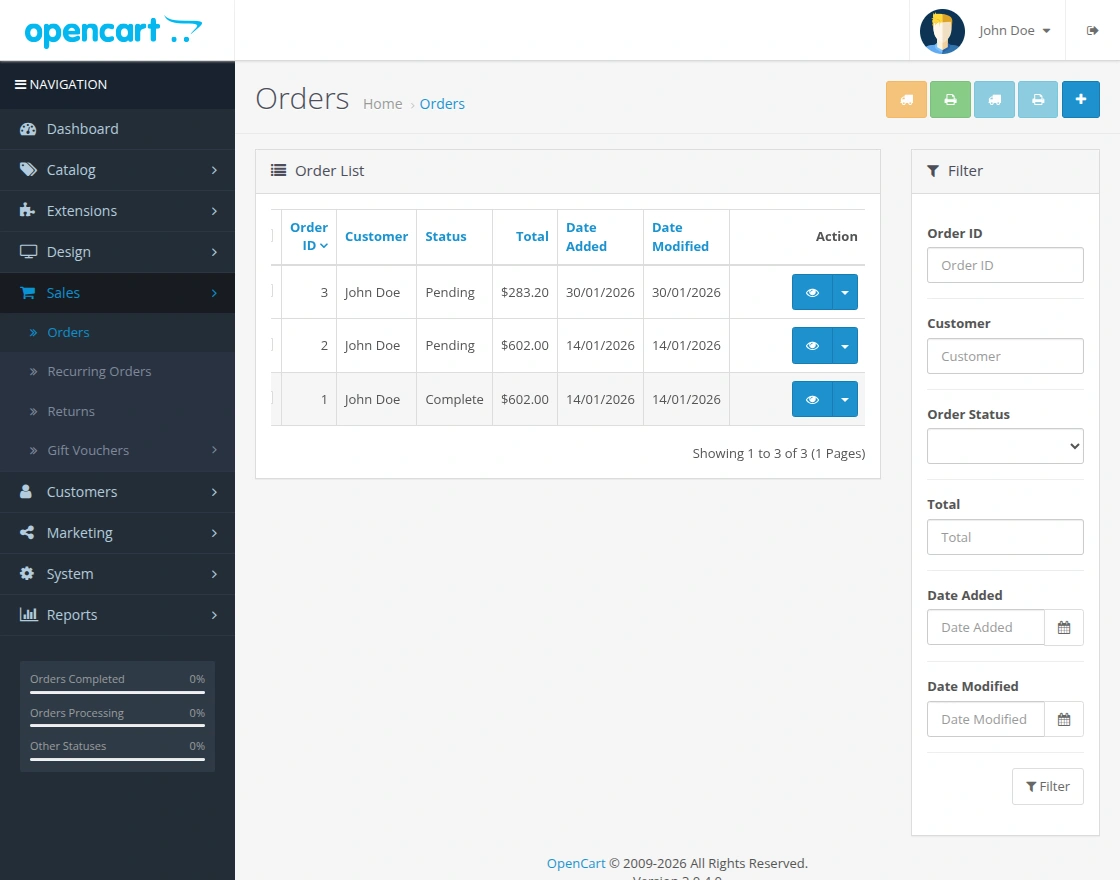
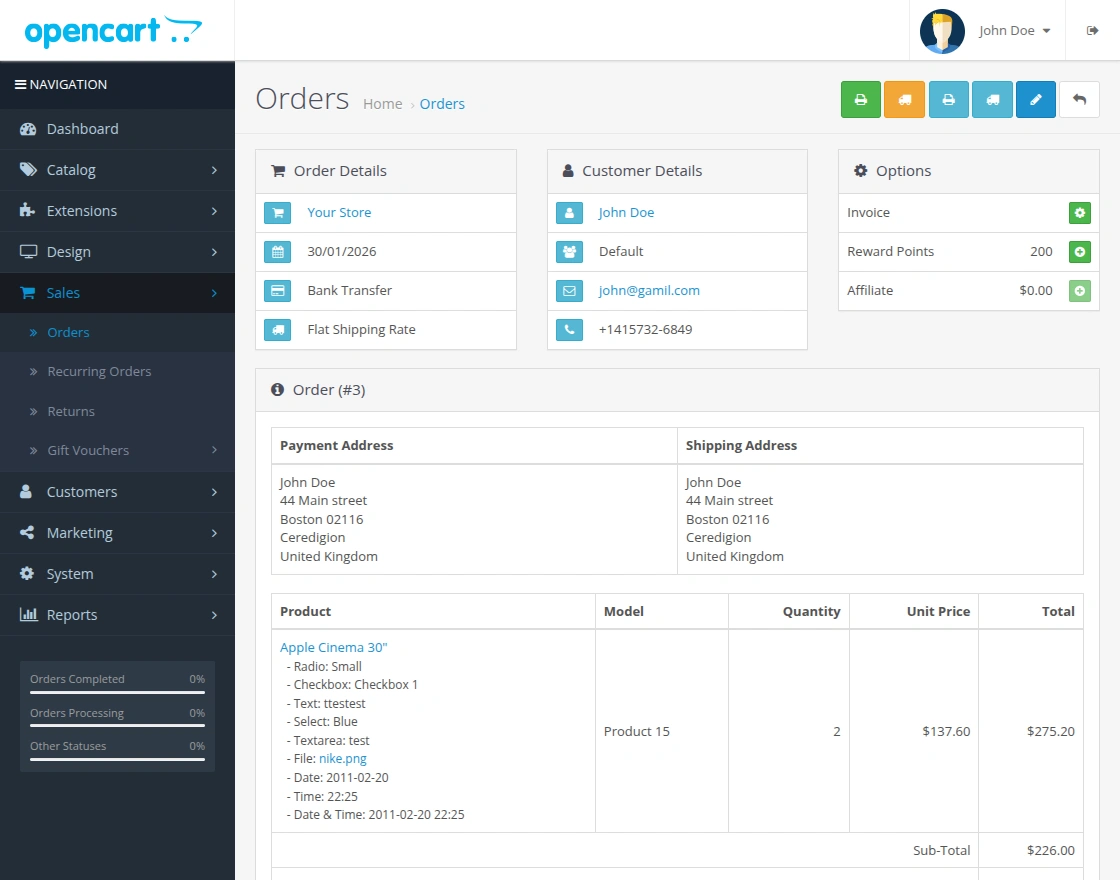
Navigate to Admin Dashboard > Sales > Orders and click the View icon for the desired order.
Use the icons available at the top to print the invoice or shipping label for the selected order.
- Green icon – Quick Print Invoice
- Orange icon – Quick Print Shipping Label
The admin can also print invoices and shipping labels in bulk from the order list page. Simply select the required orders using the checkboxes and click the respective print icons.
Support
If you have any questions, suggestions, or customization requests, feel free to contact us at [email protected] or submit a ticket at webkul.uvdesk.com.
You may also check our quality Opencart Extensions.
Current Product Version - 1.1
Supported Framework Version - 3.x.x.x

Be the first to comment.