Introduction
Odoo Website Swish Payment Acquirer helps businesses accept Swish payments directly on the website checkout. It offers a simple and secure way to complete payments.
This module supports both mobile and desktop payment flows. It improves checkout speed and provides real-time payment updates.
With automatic redirection and confirmation, it ensures a smooth payment experience for customers.
Features
- Accept Swish payments directly on the website checkout
- Redirect mobile users to the Swish app for quick payment approval
- Allow desktop payments using phone number and mobile confirmation
- Show real-time payment status updates in orders and transactions
- Enable secure payments using certificate-based authentication
- Support both test mode and live mode for flexible transactions
- Automatically confirm payments and update order status
- Handle incomplete payments with built-in timeout control
- Track all payment transactions easily from the backend
Installation
- Once you purchase the App from the Webkul store, you will receive a link to download the module’s zip file.
- Extract the file on your system after the download finishes. As a result, you will be able to see a folder named- ‘wk_payment_swish’.
- Copy and paste this folder inside your Odoo Add-Ons path.
- Now, open the Odoo App and click on the Settings menu. Here, click on Activate Developer Mode.
- Then, open the Apps menu and click on ‘Update Modules List.’
- In the search bar, remove all the filters and search ‘wk_payment_swish’.
- You will be able to see the module in the search results. Click on ‘Activate’ to install it.
Workflow
Configuration of Odoo Website Swish Payment Acquirer
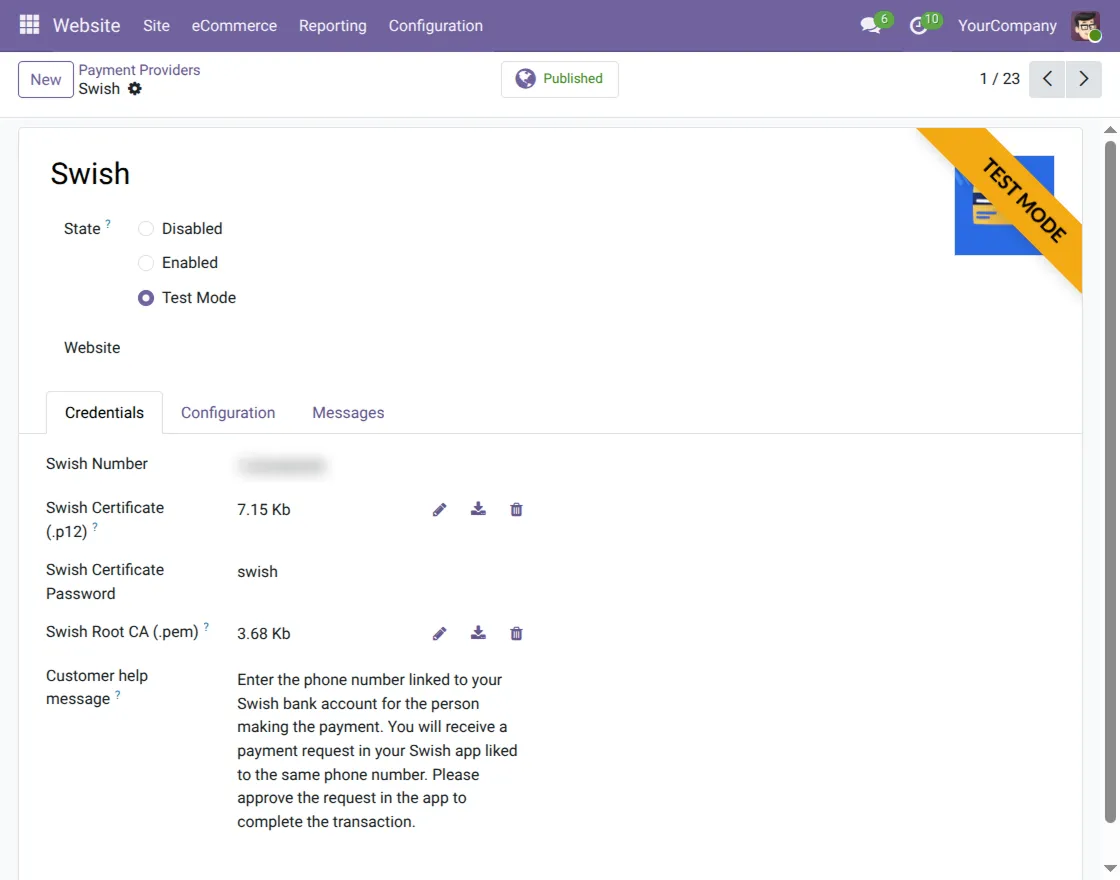
1. Go to Website → Configuration → Payment Providers and open the Swish payment provider. Set the provider state to Enabled or Test Mode, configure the Swish number, certificates, and credentials, then save the settings to activate it.
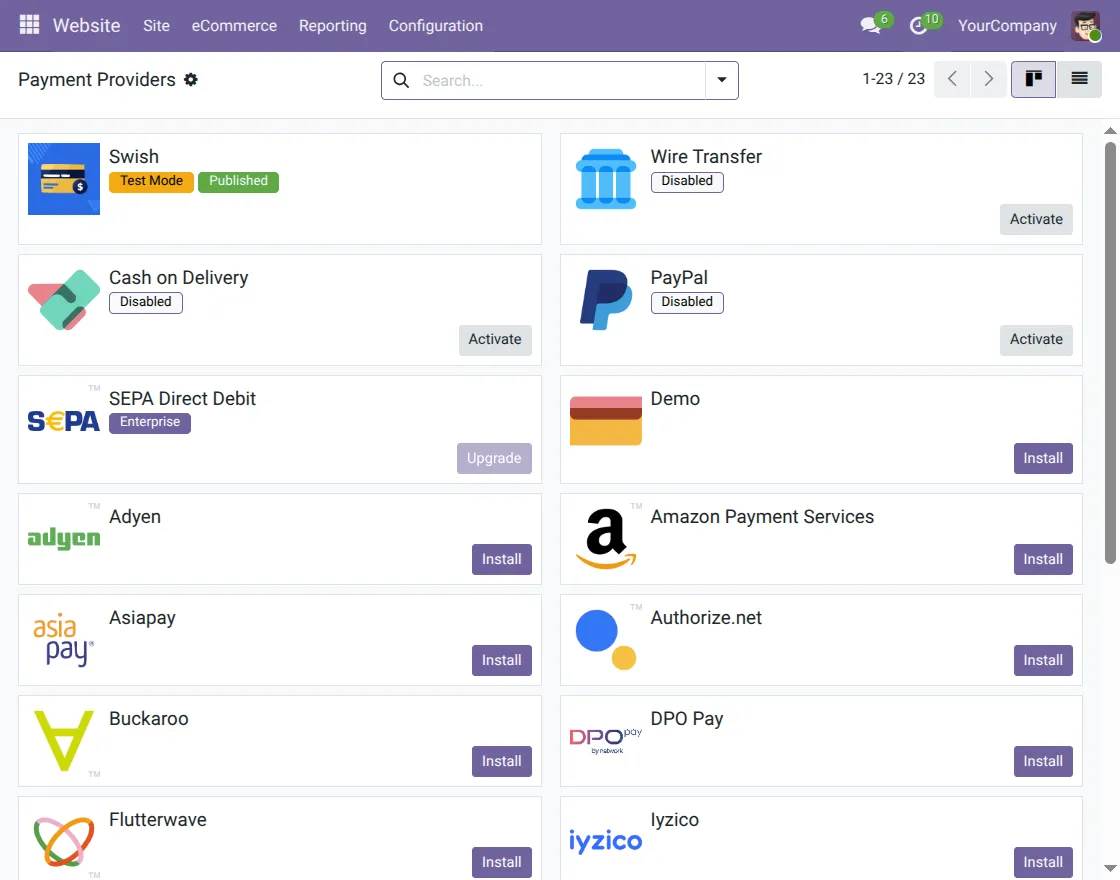
2. Go to Website → Configuration → Payment Providers, locate the Swish provider, and ensure it is set to Published. This makes the Swish payment option available on the website checkout.
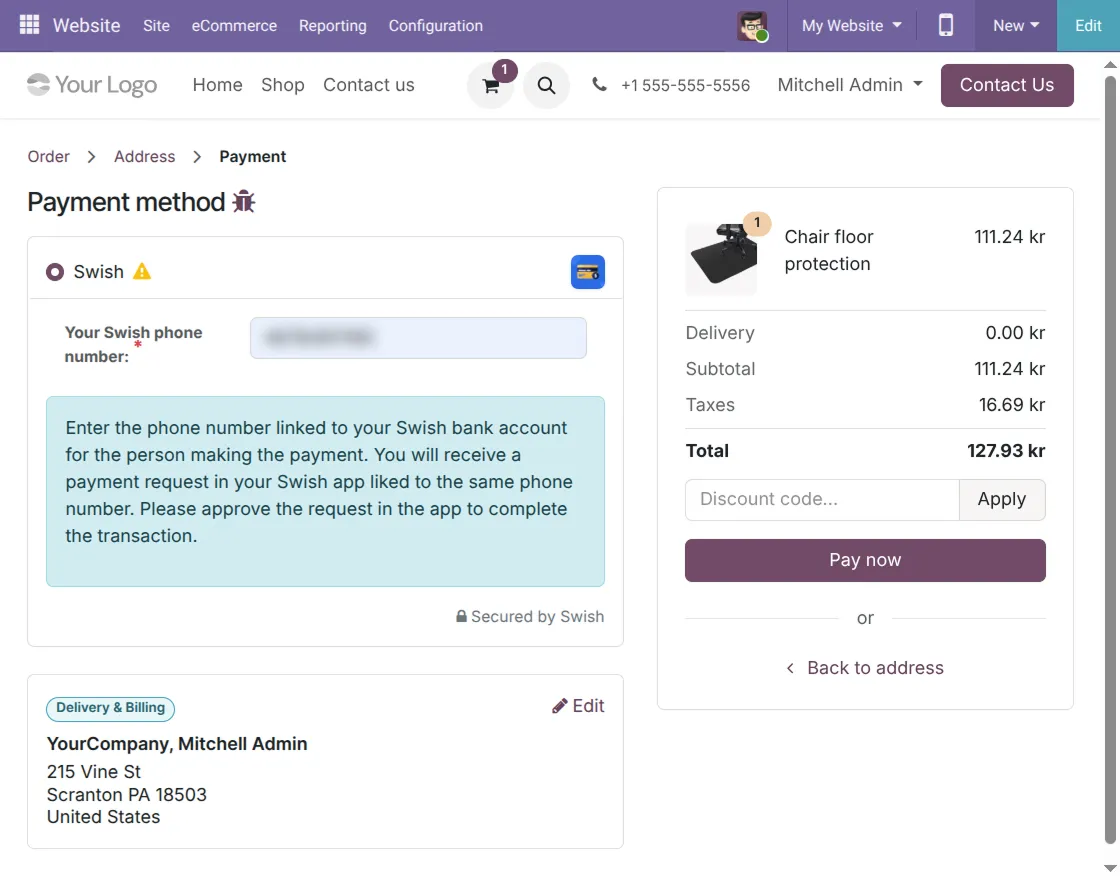
3. Go to the website checkout page, choose Swish as the payment method, enter the phone number (for desktop users), and click on Pay Now to initiate the payment process.
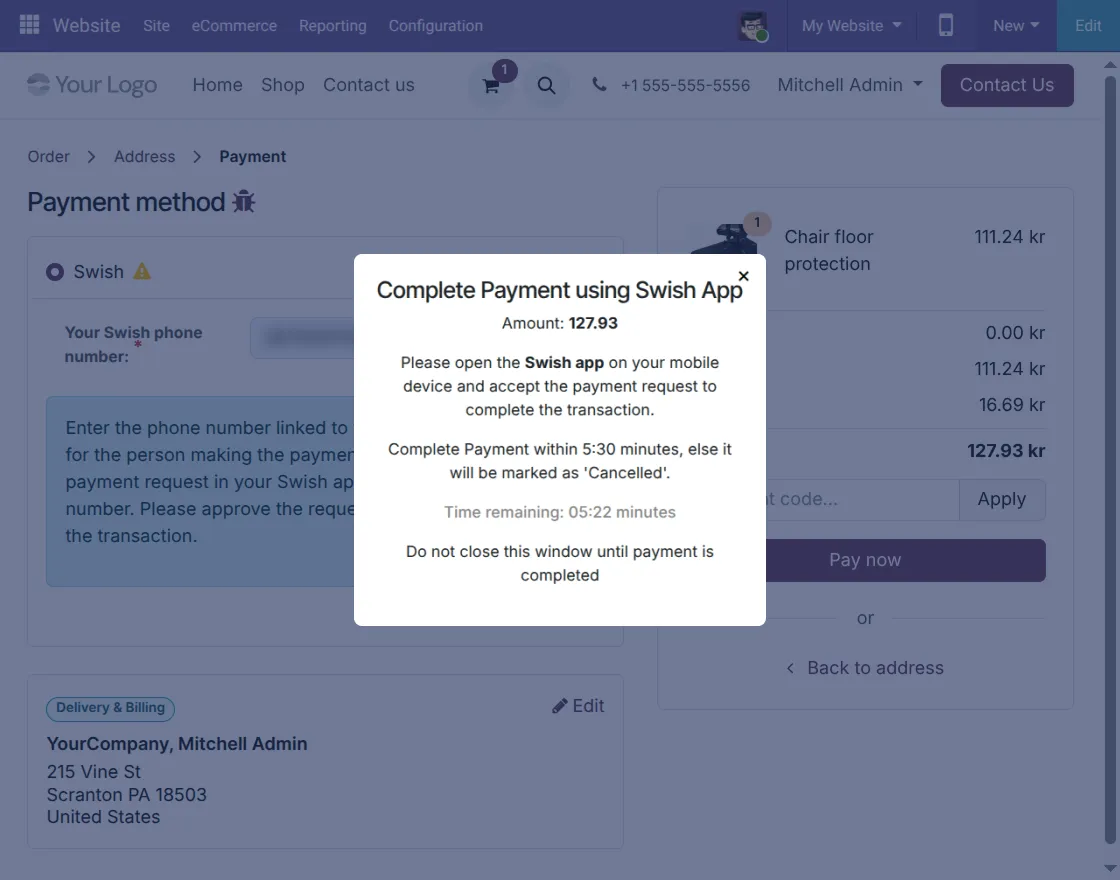
4. After clicking Pay Now, a confirmation pop-up appears showing the payment amount, instructions, and a countdown timer. Open the Swish app on your mobile device and approve the payment before the timer ends.
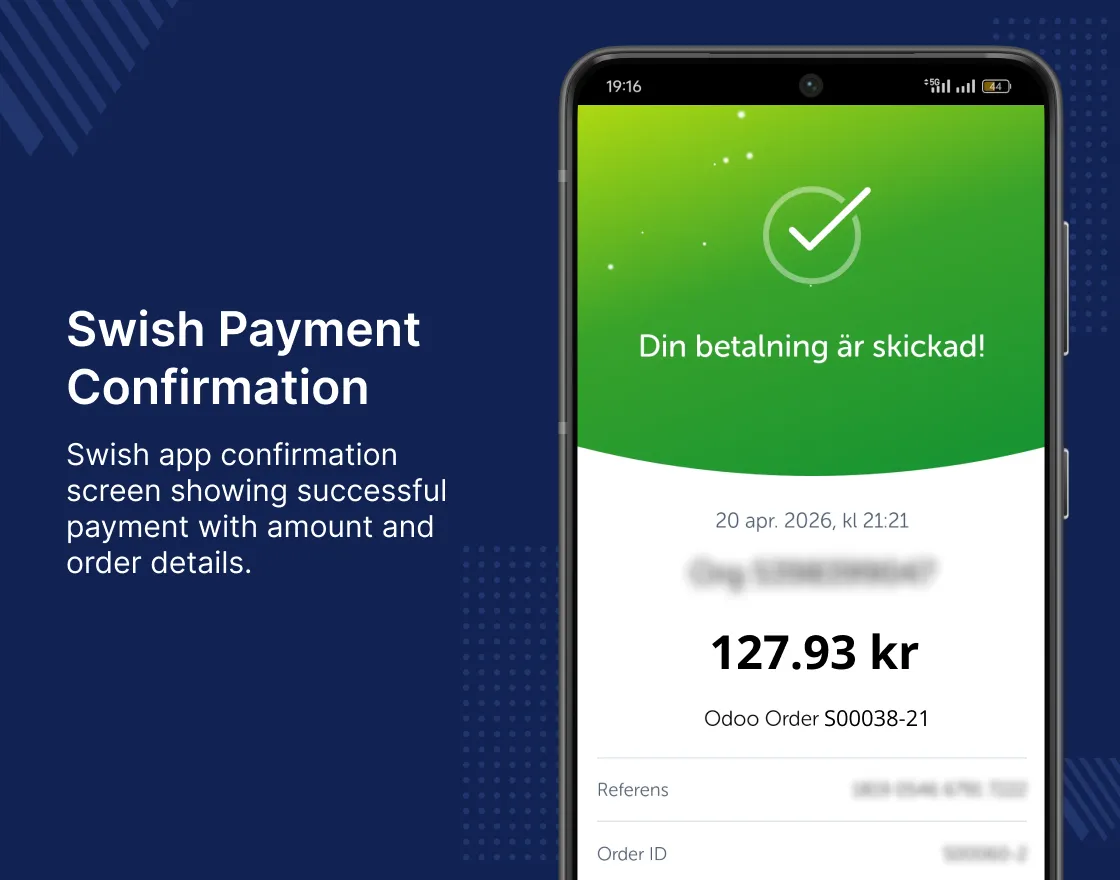
5. Once the payment is approved in the Swish mobile app, a confirmation screen is displayed showing the payment status, amount, and order details.
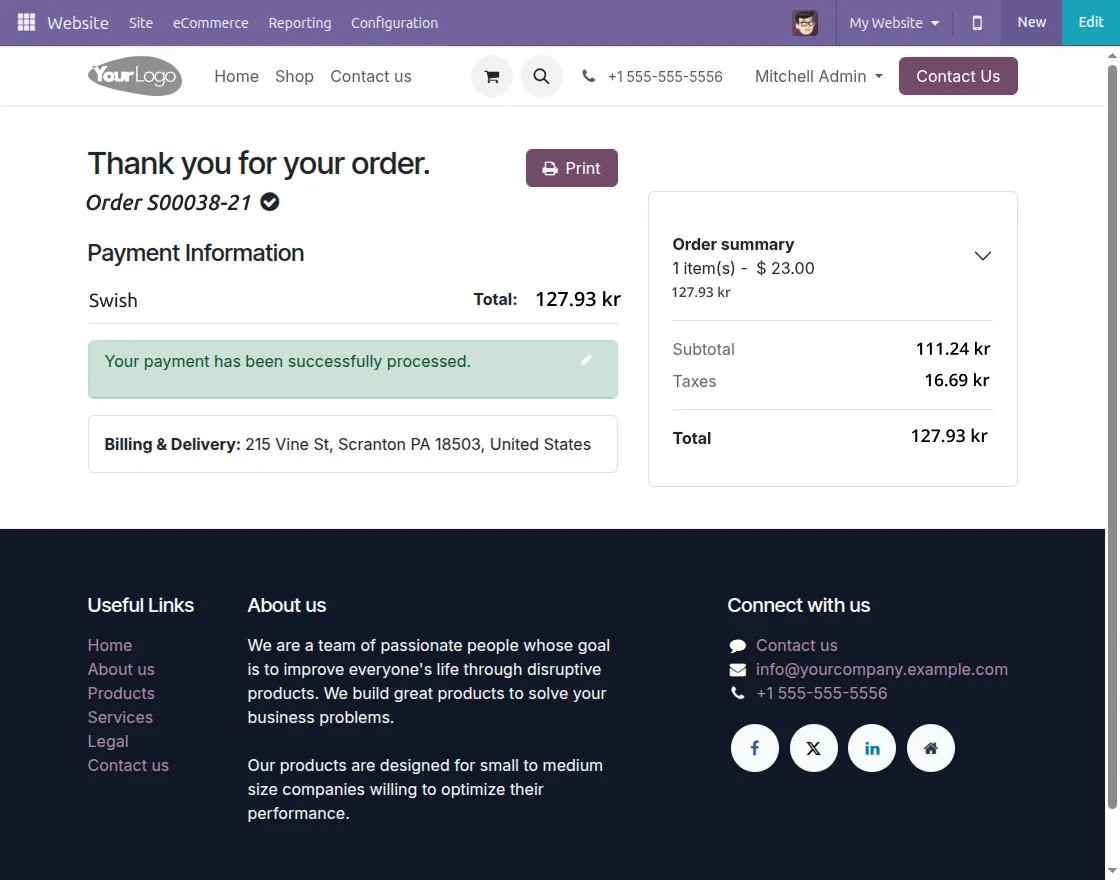
6. After successful payment, the user is redirected to the order confirmation page, where payment details, order summary, and transaction status are displayed.
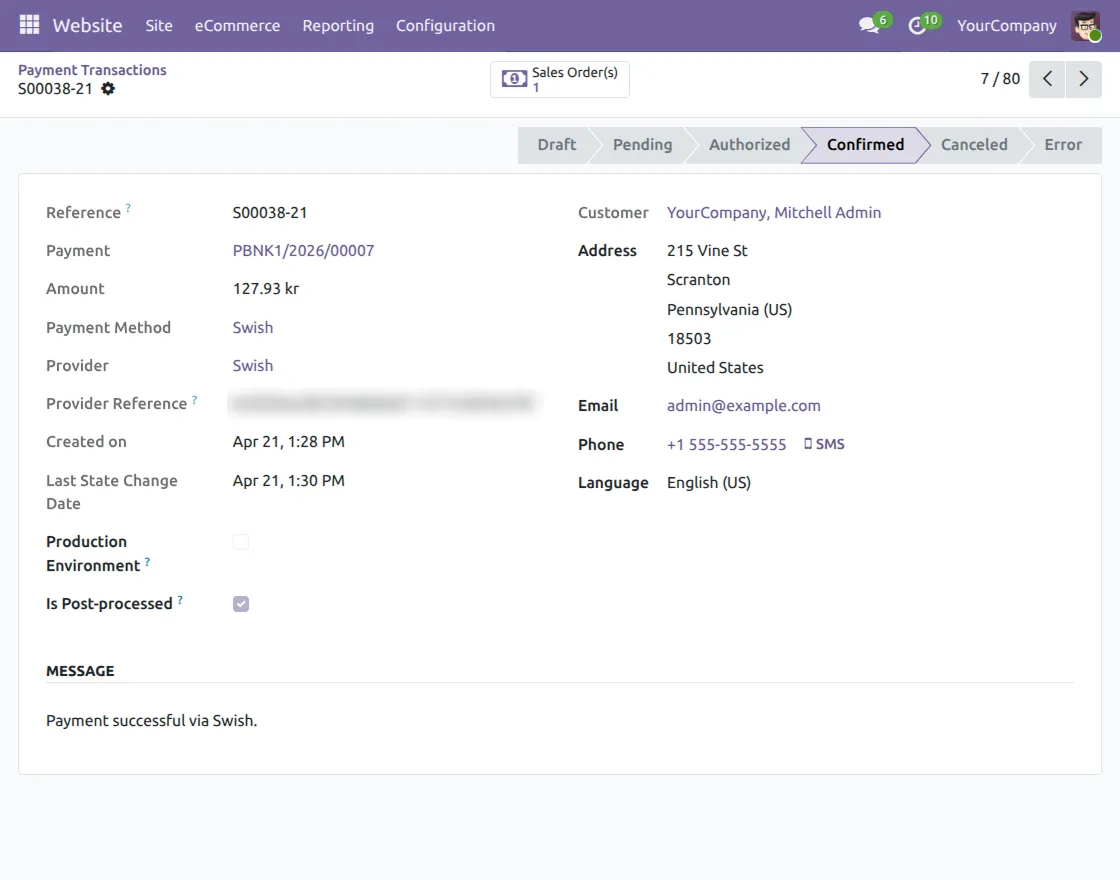
7. Go to Payment Transactions, open the transaction record, and view details such as payment status, reference, amount, and confirmation message after a successful Swish payment.
Need Help?
Hope you find guide helpful! Please feel free to share your feedback in the comments below.
If you still have any issues/queries, please create a ticket at the UV Desk.
I hope this helps. In case of any further queries, contact us at our support mail.
Thanks for paying attention!!
Current Product Version - 1.0.0
Supported Framework Version - ODOO 17, 18, 19

Be the first to comment.