INTRODUCTION
Odoo Website Paymill payment acquirer allows you to configure the Paymill payment acquirer in your Odoo website. The module allows you to integrate Paymill payment gateway with your Odoo eCommerce. Once done, the customers can easily pay through Paymill for their purchase from your Odoo website. The customers are not redirected to Paymill’s website to complete the payment which makes the processing faster. The Odoo admin can view the transaction details for any order in the Odoo backend and also in his Paymill Merchant Portal. This payment method is available for the European merchants only.
FEATURES
- The module configures Paymill Payment acquirer with Odoo.
- The Odoo website Customers can make an online payment using Paymill.
- Paymill Payment supports VISA, VISA Electron, MasterCard, Maestro, SOFORT, etc. To know more visit >> https://www.paymill.com/en/faqs/which-payment-methods-are-available-2/
- The customers are not redirected to the Paymill site while making the payment.
- The admin can view the transactions and mode of payment for each order in the Odoo backend.
- To know about the supported countries and currencies please visit the following link>> https://www.paymill.com/en/faq/
INSTALLATION
1.) Once you purchase the App from Webkul store, you will receive the link to download the zip file of the module.
2.) Extract the file on your system after the download finishes. You will be able to see a folder named- ‘payment_paymill’.
3.) Copy and paste this folder inside your Odoo Add-Ons path.
4.) Now, open the Odoo App and click on the Settings menu. Here, click on Activate the Developer Mode.
5.) Then, open on Apps menu and click on ‘Update Modules List’.
6.) In the search bar, remove all the filters and search ‘payment_paymill’.
7.) You will be able to see the module in the search result. Click on ‘Install’ to install it.
WORKFLOW
Configuring Paymill In Odoo
1.) Navigate through Invoicing >> Payment acquirers. Here you can now see a new option ‘Paymill’. Click on it.

2.) Here, fill your credentials i.e. Merchant ID, private Key, and private key.

3.) Then, click on the message tab. Here you can add various pop-up messages for the customers such as error message, cancellation message, pending message.

4.) Now, click on the configuration tab. Here you can set various options.

5.) Choose the Payment Journal for payouts.
6.) You can also restrict the payment method to specific countries by using ‘Specific countries tab’. Also, choose the type of payment methods supported by the payment acquirer such as VISA, MASTERCARD etc.
7.) You would also need to publish the payment method on the website to make it available to the customers. Click Save.
On The Website
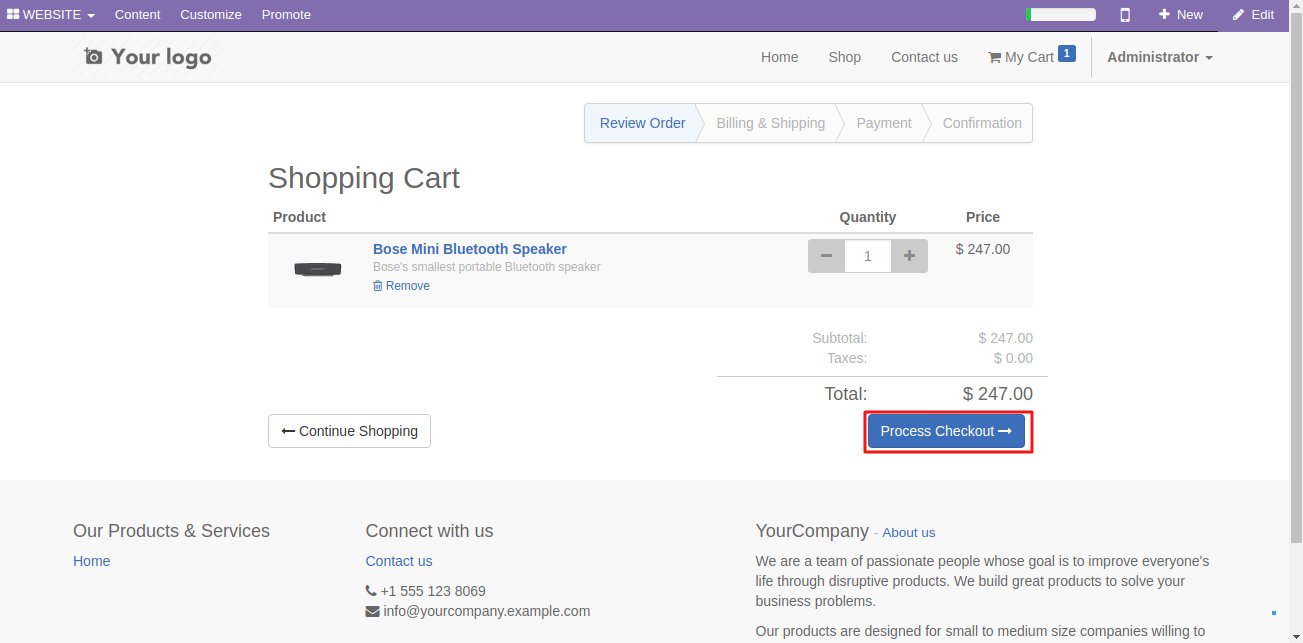
8.) Now, go to the Odoo website. Add any product to cart and proceed with checkout steps.
9.) On, the Payment page, you can now see Paymill Checkout as a payment method. Select the option and click on ‘PAY NOW’.

10.) On the popup that appears, enter the details of the card and click on ‘Pay Now’ to proceed with the payment.

11.) Once, the payment is successful, you will be notified on the checkout page.

Viewing Transactions
12.) To view the online transactions in the Odoo backend, Activate the developer mode.
13.) Then, head to ‘invoicing menu and click on Payment sub-menu. Click on the Payment transactions.

14.) Here, you can view the payment transactions made on Odoo website including the mode of transaction and the concerned sales order.

In the Paymill Merchant Portal
15.) Go to the Paymill Website and login Using the Merchant credentials.
16.) Now go to the transaction. Here you will be able to see the list of all the transaction. Click on anyone to open it.
NEED HELP?
Was this guide helpful? Please share your feedback in the comments below.
If you have any issues/queries regarding the module please raise a ticket at
https://webkul.uvdesk.com/en/customer/create-ticket/
For any doubt contact us at [email protected].
Thanks for reading!!
Current Product Version - 1.0.0.1
Supported Framework Version - ODOO V8, V9, V10, V11

Be the first to comment.