Introduction
Odoo Website Nexi XPay Payment Provider helps you accept Nexi XPay payments on your Odoo website. It gives customers a simple way to pay through the Nexi XPay Hosted Payment Page.
Create a smooth payment flow, from checkout to order confirmation. It also supports payments in multiple currencies and helps you serve customers in supported countries.
Supports card tokenization, recurring payments through Merchant-Initiated Transactions (MIT), and eligible refunds.
Features
- Secure hosted checkout for easy website payments
- Card tokenization for safer future customer payments
- Recurring payment support through the MIT payment flow
- Easy processing of eligible customer payment refunds
- Accept payments in multiple supported global currencies
- Serve customers across multiple supported global countries
- Quick and simple Odoo Website Nexi XPay Payment Provider setup
- Smooth payment flow from checkout to order completion
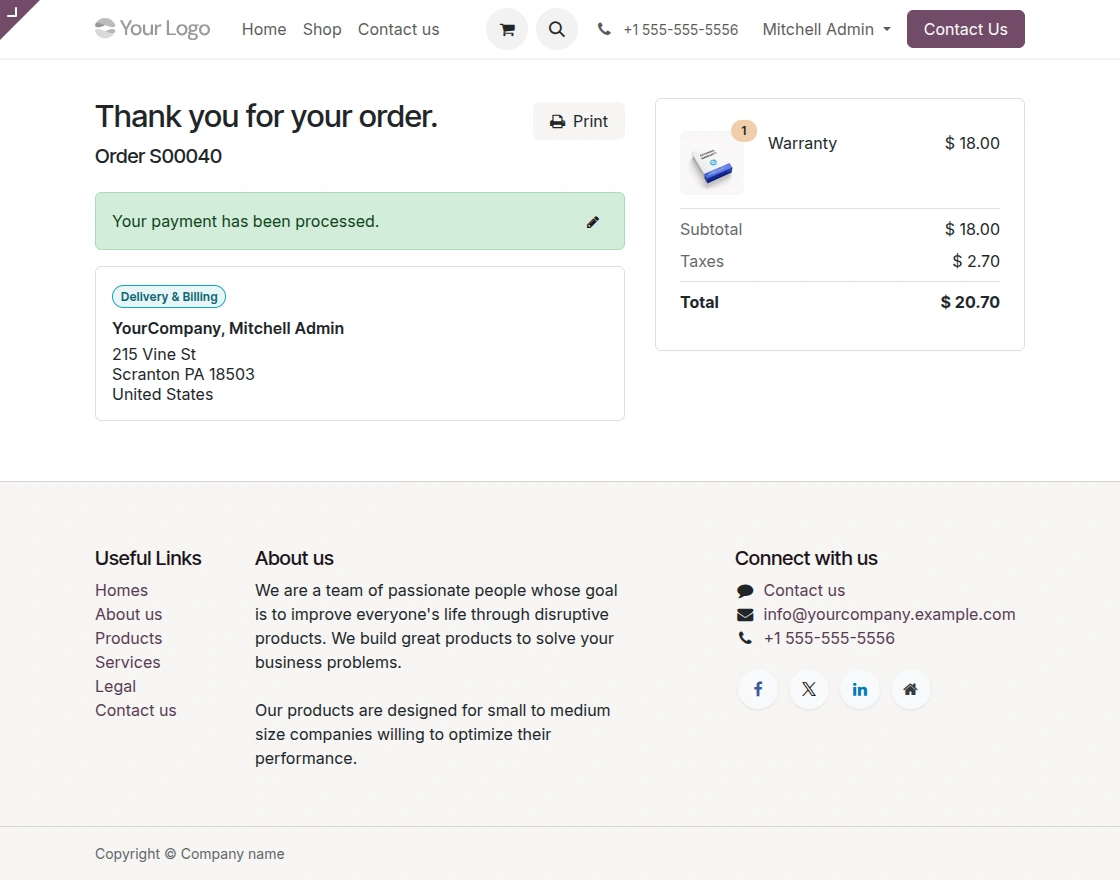
- Clear order confirmation after successful payment completion
Installation
- Once you purchase the App from Webkul store, you will receive a link to download module’s zip file.
- Extract the file on your system after download finishes. As a result, you will be able to see a folder named- ‘wk_payment_nexixpay’.
- Copy and paste this folder inside your Odoo Add-Ons path.
- Now, open Odoo App and click on the Settings menu. Here, click on Activate Developer Mode.
- Then, open Apps menu and click on ‘Update Modules List.’
- In the search bar, remove all the filters and search ‘wk_payment_nexixpay’.
- You will be able to see the module in the search results. Click on ‘Activate’ to install it.
Work flow
1. Select the Odoo Website Nexi XPay Payment Provider in the configuration. This opens the provider settings and lets you begin the payment setup.
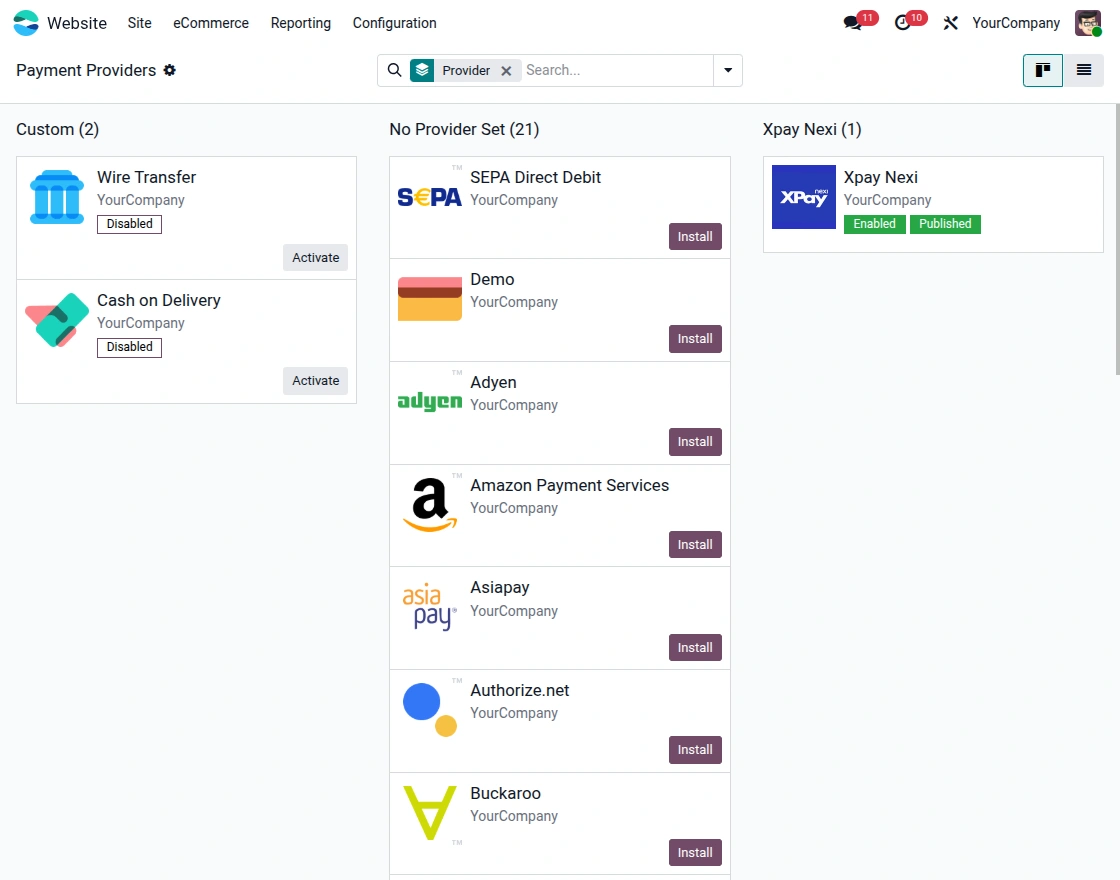
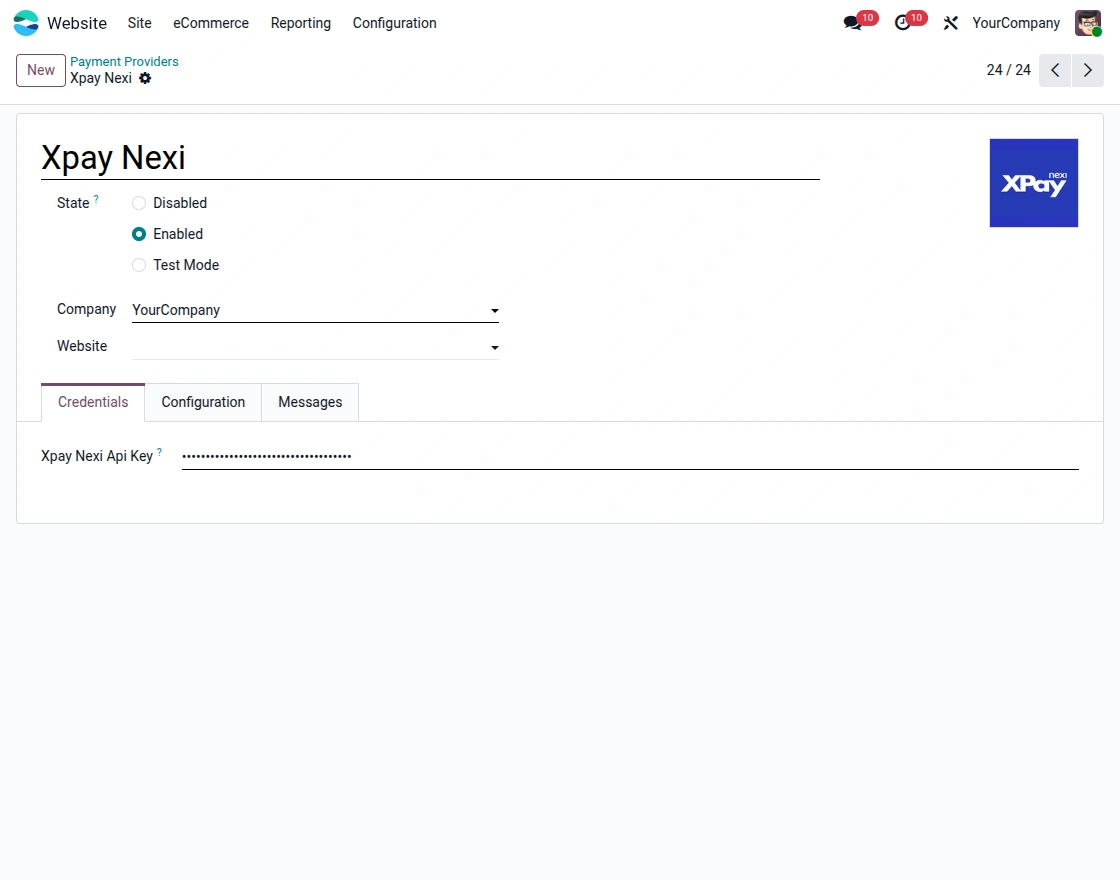
2. Next, enter the required Nexi XPay credential details in the provider settings. Save the details to connect your website with Nexi XPay.
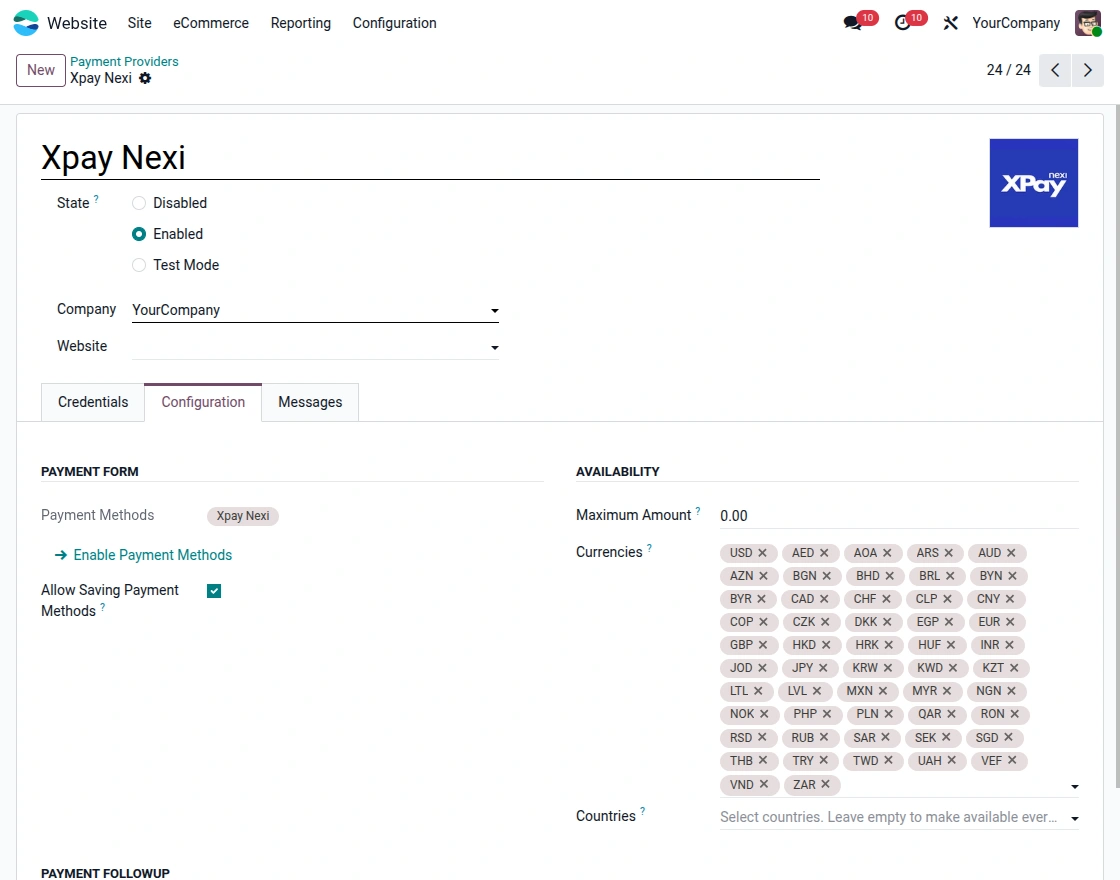
3. Additionally, add the required Nexi XPay configuration details to complete the provider setup. Review the entered values before saving the configuration.
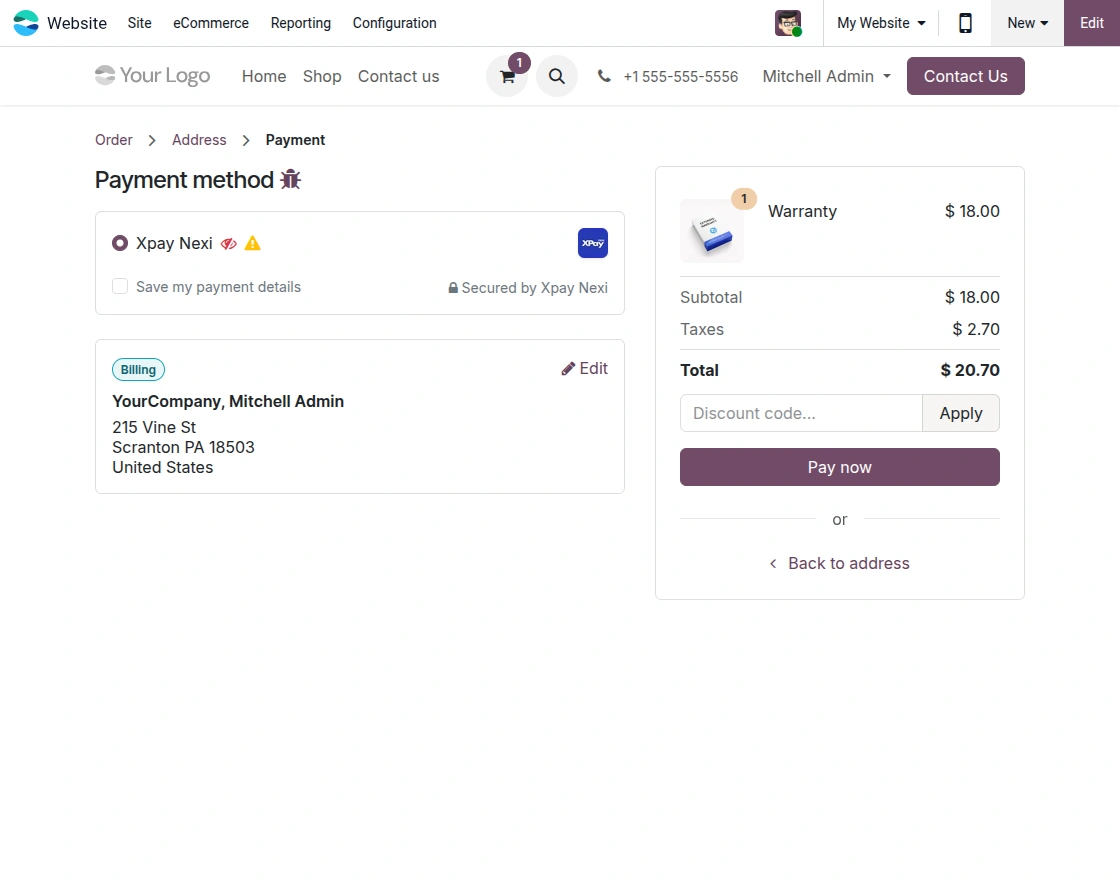
4. Once configured, go to the website checkout and choose Nexi XPay as the payment option. Customers can then continue with the payment process.
5. Furthermore, open the Nexi XPay dashboard to view and manage payment-related information. This helps you review the payment activity for processed transactions.
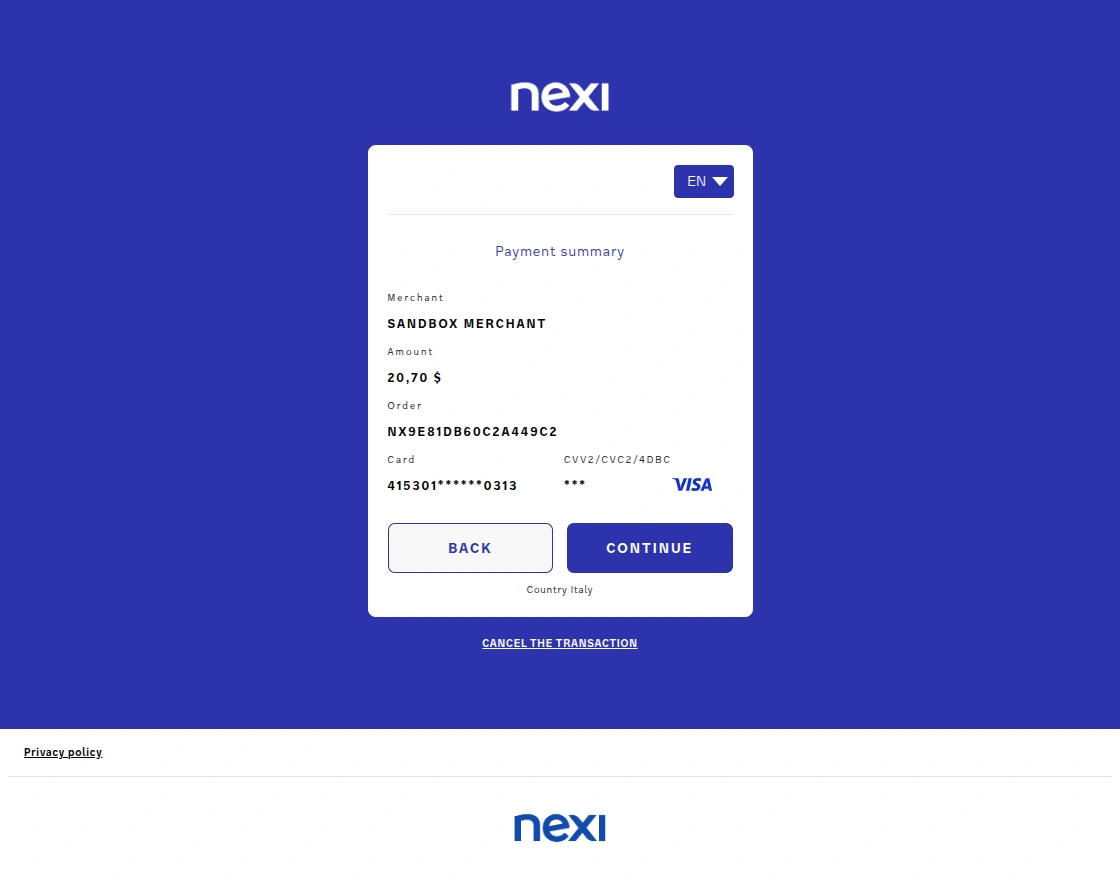
6. Finally, after the payment and order process are complete, the customer can view the order confirmation. This confirms that the order has been processed successfully.
Need Help?
Hope you find guide helpful! Please feel free to share your feedback in the comments below.
If you still have any issues/queries, please create a ticket at the UV Desk.
I hope this helps. In case of any further queries, contact us at our support mail.
Thanks for paying attention!!
Current Product Version - 1.0.0
Supported Framework Version - Odoo 19,18,17

Be the first to comment.