Custom Product Label for Magento 2 module allows the admin to display labels on their products like a sale, new arrival, exclusive, sold out, out of stock, featured product, and many more as the admin wishes to make.
The custom product labels are useful to label the products because using these labels, the admin can attract customers towards that specific product.
The custom product labels can be used for all the product types like – simple, configurable, virtual, downloadable, bundle, and grouped product types.
Moreover, it will be visible on all pages of the store such as – the product page, category page, search page, advanced search page, wishlist page, compare page, and other CMS pages.
Check the overview of the plugin showing where the labels get visible to the customers and the options for creating multiple products labels via the plugin backend settings –
Features
- Design and put promotional stickers on your products – sale, new arrival, exclusive, sold out, out of stock, featured product, and many more.
- Draw customer attention and increase sales with interactive product Image labels.
- Create and edit an unlimited number of product labels.
- Easy to use and customizable product labels.
- Create unique product labels with different logos and names.
- Define the display location of the label on the product – Top Left, Top-Right, Bottom-Left, Bottom-Right.
- It can enable or disable the status of the product label.
- Labels are visible on the product page, category page, search page, advanced search page, wishlist page, compare page, and other CMS pages.
- Product labels can be used for all the product types like – simple, configurable, virtual, downloadable, bundle, and grouped product types.
- Add labels to the Configurable product and the same will be displayed on its associated products also.
- Product labels are visible on the Related/Up-sell/Cross-sell products.
- Add multiple product labels to the product as required.
Installation
The installation is quite simple just like the standard Magento 2 extensions.
Customers will get a zip folder and they have to extract the contents of this zip folder on their system.
The extracted folder has an src folder, inside the src folder you have the app folder. You need to transfer this app folder into the Magento2 root directory on the server as shown below.

After the successful installation, you have to run the command on Magento2 root directory-“php bin/magento setup:upgrade”

Now run this command into the Magento2 root – “php bin/magento setup:di:compile”

Also, run this command into the Magento2 Root- “php bin/magento setup:static-content:deploy” You can refer the below screenshot.

Subsequently, after running the commands, you have to flush the cache from Magento admin panel by navigating through->System->Cache management as shown below.

Multi-Lingual Configuration
For Multilingual support, please navigate to Store>Configuration>General >Locale Options. And select your desired language from the Locale option.
Language Translation
If you need to do the module translation, please navigate to the following path in your system app/code/Webkul/MagentoProductLabels/i18n.
Open the file named en_US.CSV for editing as shown in the below screenshot.

Once you have opened the file for editing. Replace the words after the†comma(,)†on the right with your translated words.

After editing and translating the CSV file, you need to save the translated file name according to your region language and country code such as – de_DE.CSV. Then upload the translated file to the same folder from where you have obtained it. Now your module translation is complete.

Module Configuration
On the successful installation of the module, the admin can set the configurations for the Magento 2 Product Label by navigating through Stores > Configuration > Product Label. Under the tab, an Enable Product Label option is present.
Admin can set the Enable field as ‘Yes’ or ‘No’ to enable or disable the extension as shown in the image below.

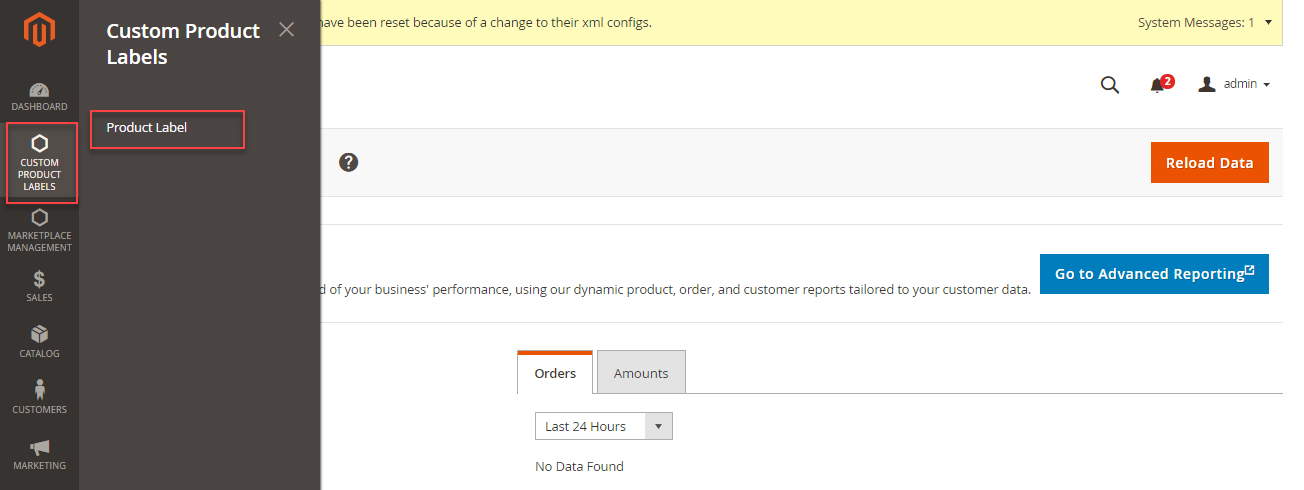
The admin can set the custom product labels by navigating through Custom Product Label -> Product Label as shown below in the screenshot.
After clicking on the Product Label menu option, the admin will be redirected to the Custom Product Label as per the image shown below.

Furthermore, the admin can:
- View the complete list of the Custom Product labels after creation.
- Edit or delete the product labels by clicking on the Select link and choosing the edit option.
- Add new Product labels by clicking on the Add Custom Label.
Add Custom Label:
The admin shall navigate to the Label Information page by clicking on the Add Custom Label button.

Further, the admin can set the configurations under Label Information, like:
- Title – Enter the name of the Label.
- Upload Image – Upload the image of the label. It supports jpg, jpeg, gif, and png files.
- Status – Enable/disable the label.
- Position – Select the position as – Top Left, Top-Right, Bottom-Left, or Bottom-Right for displaying the label.
Assign Custom Product Labels
Moving on, the admin can apply multiple product labels on new and already created products in the catalog.
Subsequently, to apply the label, the admin will navigate to Catalog->Products->Manage Products->Product Custom Label Image and set the label image for the catalog products from here as per the snapshot below.

Under, Product Custom Label Image, the admin will select the labels to add for the product.
Frontend View
Meanwhile, in the front end, the custom product labels will show up as per the configurations set by the admin. These product labels will be visible on the following pages –
Category Page:

Product Page:

Compare Page:

Search Page:

Advanced Search Page:

Wishlist Page:

CMS Pages:

Related & Up-Sell Products:
The customers can view the product labels on the related and up-sell products on the product page.


Cross-Sell Products:
Also, the customers can view the product labels on the cross-selling products on the cart page.

Hence, that’s all for the Magento 2 Product label. If you still have any issues feel free to add a ticket and let us know your views to make the module better at webkul.uvdesk.com
Current Product Version - 5.0.2
Supported Framework Version - Magento 2.0.x, 2.1.x, 2.2.x,2.3.x, 2.4.x

Be the first to comment.