Image Before After module shows the changes in the before after manner. The possibilities for this plugin are endless. For example the very basic use is for doctors,Beauty Shop,Interior Design,Real State and dentist.
Features Of Magento Image Before After
- Slick effect, no Flash needed.
- Adjust Width and Height as per your ease.
- You can use This extension on multiple places within a single page.
Installation Of Magento Image Before After
Its pretty easy you just need to move both folder (i.e. app, skin) into magento root that’s it.

After moving both the folder, flush the cache from magento admin module . Under system > cache management.

And now your Magento Image Before After module has been installed.
Configuration Of Magento Image Before After
After successful installation of the module you need to go CMS -> Pages -> “Your Page”.
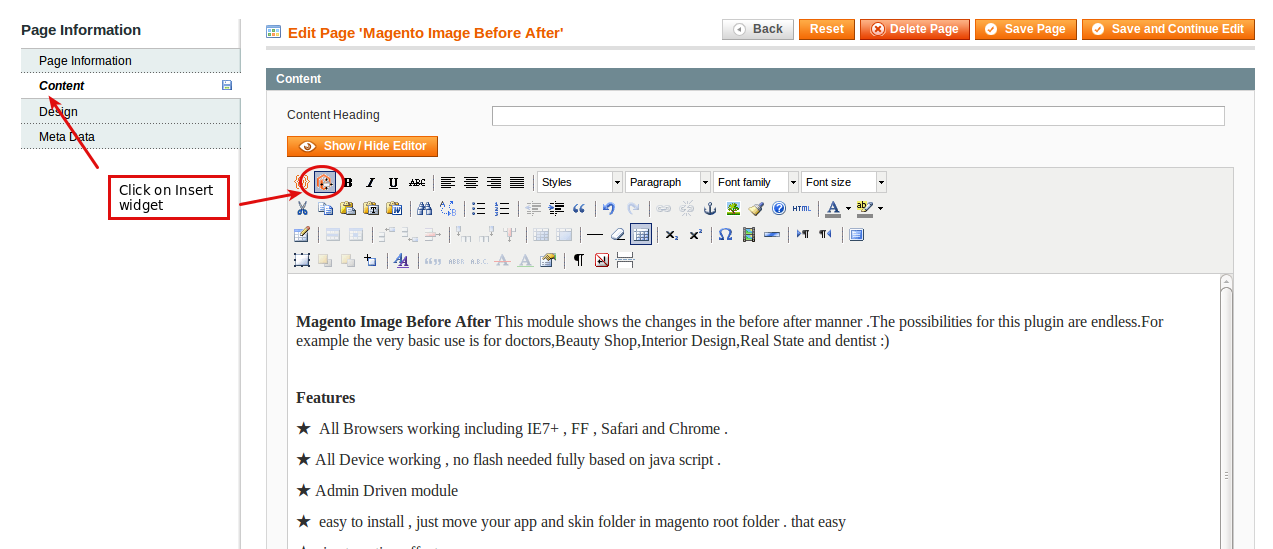
here you need to select Insert Widget option.

select the widget type

select image before after and fill all the required details.

Magento Image Before After At Frontend
At Front end after inserting all required details your Image Before After is ready to display.

That’s all for the Magento Image Before After, still have any issue feel free to add a ticket and let us know your views to make the module better webkul.uvdesk.com
Current Product Version - 1.0.0
Supported Framework Version - Magento 2.0.x, 2.1.x, 2.2.x,2.3.x, 2.4.x

Be the first to comment.