Laravel Marketplace Stripe Payment Gateway allows the customer to make the payment using Stripe payment.
With the help of this module customer’s payment automatically splits between the seller and the admin.
NOTE:-Before buying this module, you have to visit stripe.com to check whether this payment gateway is available in your country or not.
**Note: “Laravel eCommerce Marketplace Stripe Payment Gateway” is an addon of “Laravel Multi-Vendor Marketplace Extension”.
This addon will work on a Multi-Vendor Marketplace extension-based website.
Check a brief overview of the plugin –
- Admin can disable or enable this module from the admin panel.
- Automatically splits the customer’s payment between the seller and the admin.
- Accept all the cards that the Stripe supports.
- Allow sellers to register themselves using laravel Stripe connect.
- Buyers can save stripe cards for future payments while paying.
- PCI (Payment Card Industry) Compliance.
- 3D Secure – Added security layer.
Requirements
- Bagisto: v2.4.x
- Marketplace: v2.4.x
Installation
Unzip the extension package and merge the “packages” folder into the project root directory.
Go to the composer.json file and add the following line under ‘psr-4’:
"Webkul\\StripeConnect\\": "packages/Webkul/StripeConnect/src"
Run the following command:
composer dump-autoload
Go to the bootstrap/providers.php file and add the following line inside the array:
Webkul\StripeConnect\Providers\StripeConnectServiceProvider::class,
Run the following commands to complete the setup:
php artisan marketplace-stripe:install
That’s it! Now execute the project on your specified domain.
Stripe Connect Setup
To connect the seller using Stripe Connect, add the following redirect URI in your Stripe account:
PROJECT_URL/marketplace/stripe/connect/retrieve/token
Webhook Setup
Set up webhooks in Stripe:
- Test Mode: https://dashboard.stripe.com/test/workbench/webhooks
- Live Mode: https://dashboard.stripe.com/workbench/webhooks
- Add a new destination
- Select events:
- payment_intent.canceled
- payment_intent.succeeded
- Select Webhook endpoint
Set the webhook URL as:
https://your_domain/api/stripe/webhook/payment-intent
Copy the signing secret and set it in:
Admin → Configuration → Sales → Payment Methods → Payment Intent Webhook Secret
How To Get The API Keys from the Stripe
To get the API Keys you can use Stripe website. First you’ll need to Sign in to the stripe account.
Go to https://dashboard.stripe.com/login then enter your login details.
Step 1:- From the left sidebar, click on Developers >> API Keys to get your Publishable Key and Secret Key. You can toggle between Test Mode and Live Mode as required.
Step 2:- Copy the Publishable Key (pk_test / pk_live) and Secret Key (sk_test / sk_live) from the API Keys section.
Step 3:- Now click on Settings >> Connect >> Settings. Here you will find your Client ID.
Step 4:- In the same Connect Settings page, scroll to the Redirect URLs section and add your redirect URL like https://example.com/marketplace/stripe/connect/retrieve/token. Make sure the URL matches exactly.
Step 5:- Ensure that OAuth for Standard Accounts is enabled in the Connect settings if you are using Stripe Connect.
Module Configuration
After the successful installation of Stripe Connect for Laravel, the admin can easily configure the module from the admin panel.
Now you will see the Stripe Payment under the Configure > Sales > Payment Method.
Status:- Admin can enable or disable this module.
Title:- Admin can set the title which will be displayed on the front end.
Description:- Admin can enter the description which they want to show on the checkout page.
Debug:- Admin can enable or disable the module for testing.
Who will pay application fee:- Admin can set here laravel stripe connect commission fee pay by seller or customer.
API Key:- Set the API key which is provided by the stripe payment gateway.(Production Mode)
API Publishable Key:- Set the API publishable key which is provided by the stripe payment gateway. (Production Mode)
Client ID:-Set Client Id provided by Stripe Payment Gateway, this is required to connect seller with stripe account.
API Test key:- Set the API test key so that this module will be used for testing.
API Test Publishable Key:- Set the API publishable key so that this module will be used for testing.
Sort Order:- Enter the sort order so that the payment method will appear on the payment page according to the entered sort order.
Stripe Payment Request | Admin
The store admin can view the payment requests generated by sellers under the option Marketplace>Stripe Payment Request
Here it shows the list of all sellers who have requested the admin to process the payouts for their account.
Admin can simple click on the Pay button alongside the respective seller name to process their payment.
Once the installation of the stripe multi-vendor payment gateway in laravel , sellers will find the menu “Stripe Connect” item tab in the seller panel as per the below snapshot:
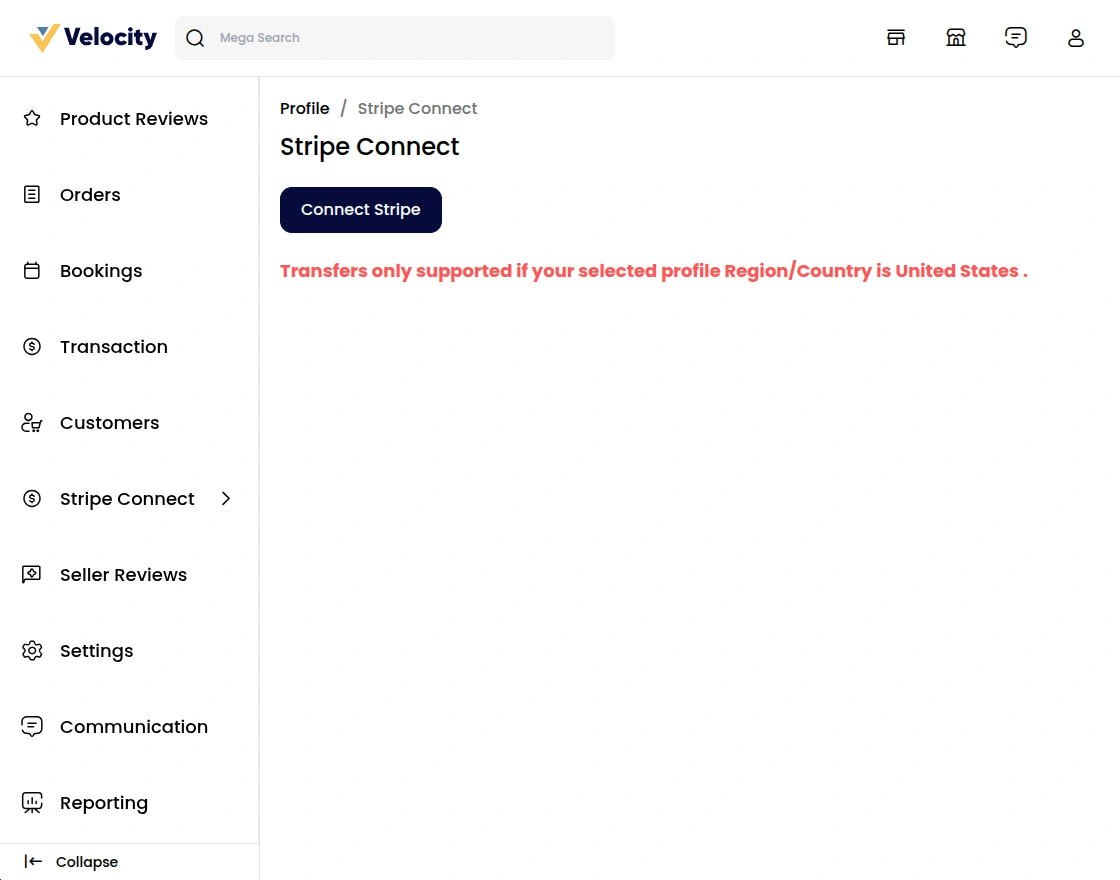
After clicking on Connect Stripe, the seller will be redirected to the Stripe website to connect with Stripe.
Once it is connected, the seller will redirected back to their account section.
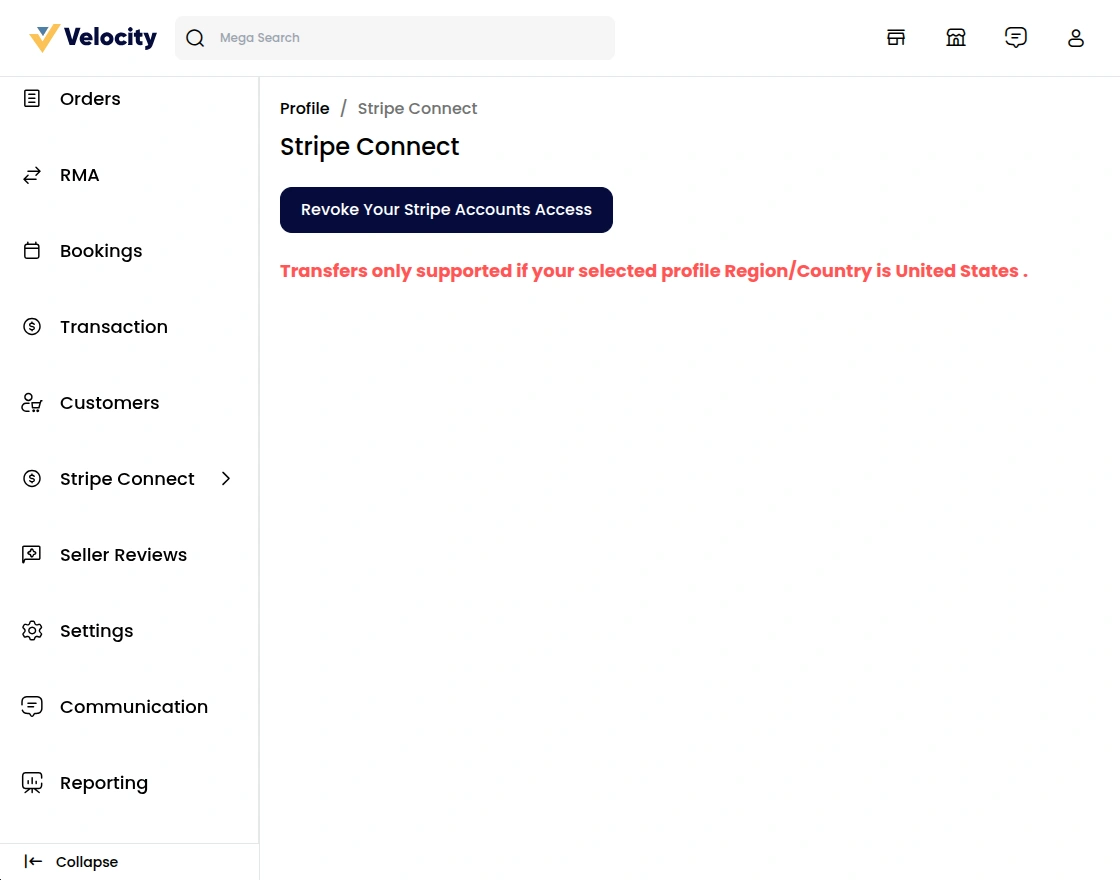
Here seller has to fill out the form and then connect with Stripe to make the transfer successfully.
The seller can also revoke their account by clicking on “Revoke Your Stripe Account”.
At the time of checkout, the customer can select the payment method as Stripe Payment Gateway, to pay with Stripe.
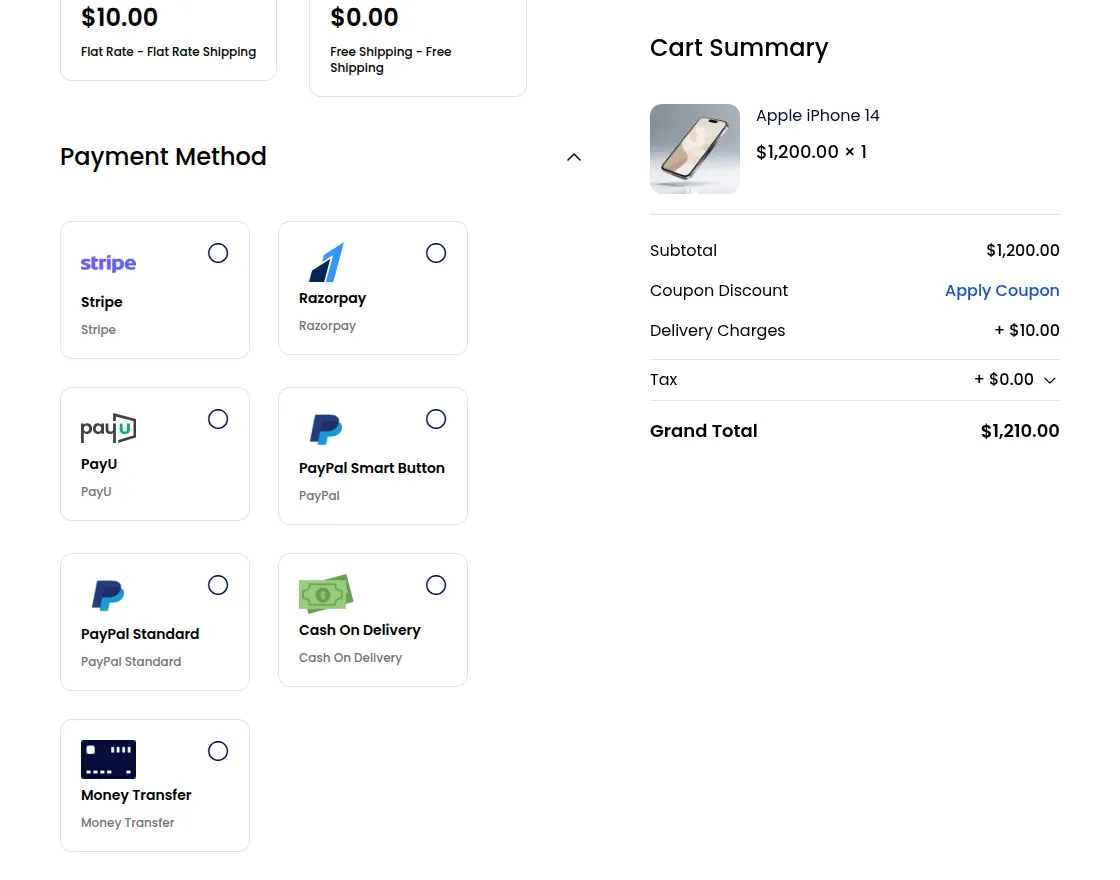
After selecting the Stripe the customer can click on the placed order button to make the payment.
Then the customer will be redirected to the Stripe payment page, here they have to fill card details and click on Pay Now.
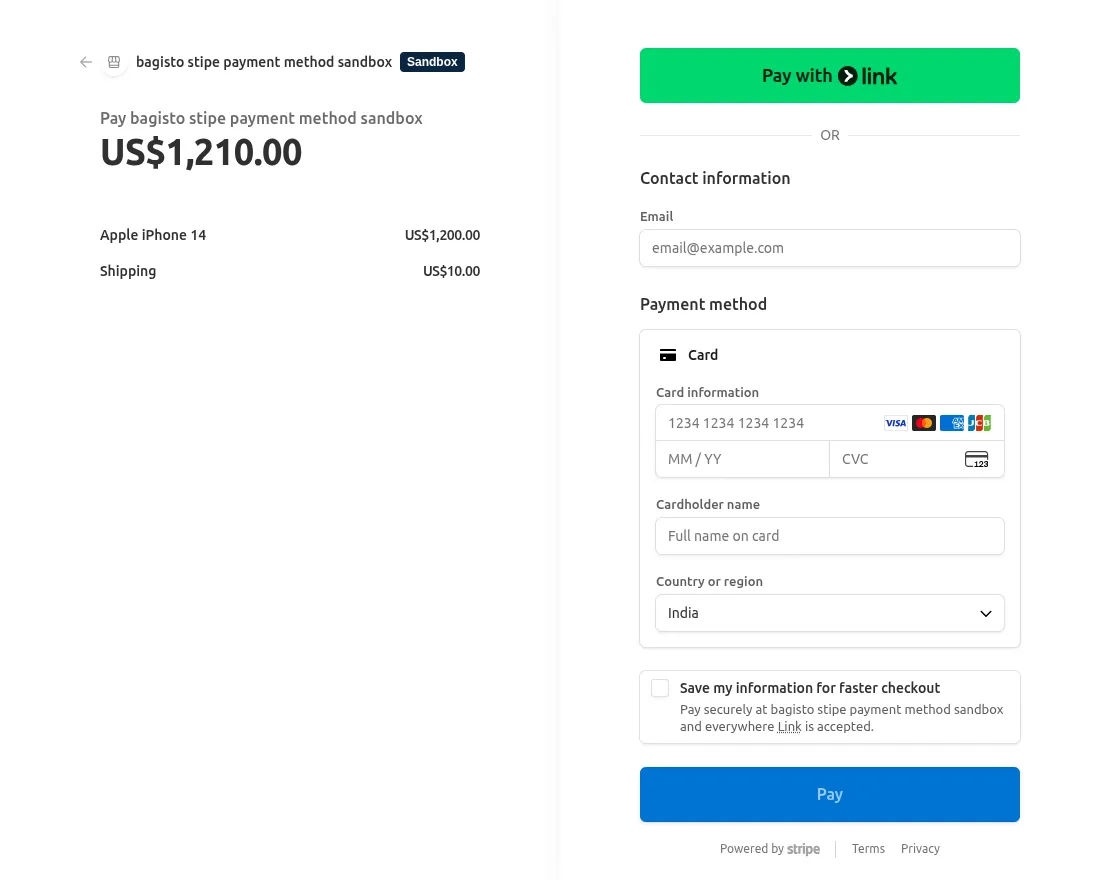
On the other hand, customers can make payments with saved cards. After successful payment, they will get the order ID.

They can check the order status and details in their order history.

After a successful transaction via the Multi-Vendor Stripe Payment Gateway, the seller can view the transaction details for the order.
These details pertain to payments processed using the Stripe Payment Gateway.

Hope it will be helpful for you or if you have any issue feel free to raise a ticket at https://bagisto.uvdesk.com/en/
Current Product Version - v 2.4.x
Supported Framework Version - Bagisto v2.4.4

Be the first to comment.