Laravel eCommerce FedEx Shipping module provides FedEx Shipping method for shipping the product. Now the customers can select the FedEx shipping for their product shipment.
The admin can allow several FedEx shipping services to the customers according to the requirements. The guest customer and the registered customer both can select the FedEx shipping method.
FedEx is widely acknowledged as a world-class company and now it is with the Marketplace.
Features
- The admin can enable or disable the FedEx Shipping method.
- The admin can set the FedEx shipping method name that will be shown from the front side.
- Admin can define the allowed methods and weight units.
- The admin can set packaging type and drop off type.
- The dynamic shipping method for freight calculation.
- Ability to download Invoice.
Installation
Customers will get a zip folder after purchasing the extension and Unzip the extension zip and then merge the “packages” folders into the project root directory.
Goto bootstrap/providers.php file and add following line under ‘providers’
use Webkul\FedExShipping\Providers\FedExShippingServiceProvider;
return [

    FedExShippingServiceProvider::class,
];
Then goto composer.json file and add following line under ‘psr-4’
"Webkul\\FedExShipping\\": "packages/Webkul/FedExShipping/src"
Run these commands below to complete the setup
composer dump-autoload
php artisan fedexshipping:install
Admin Configurations
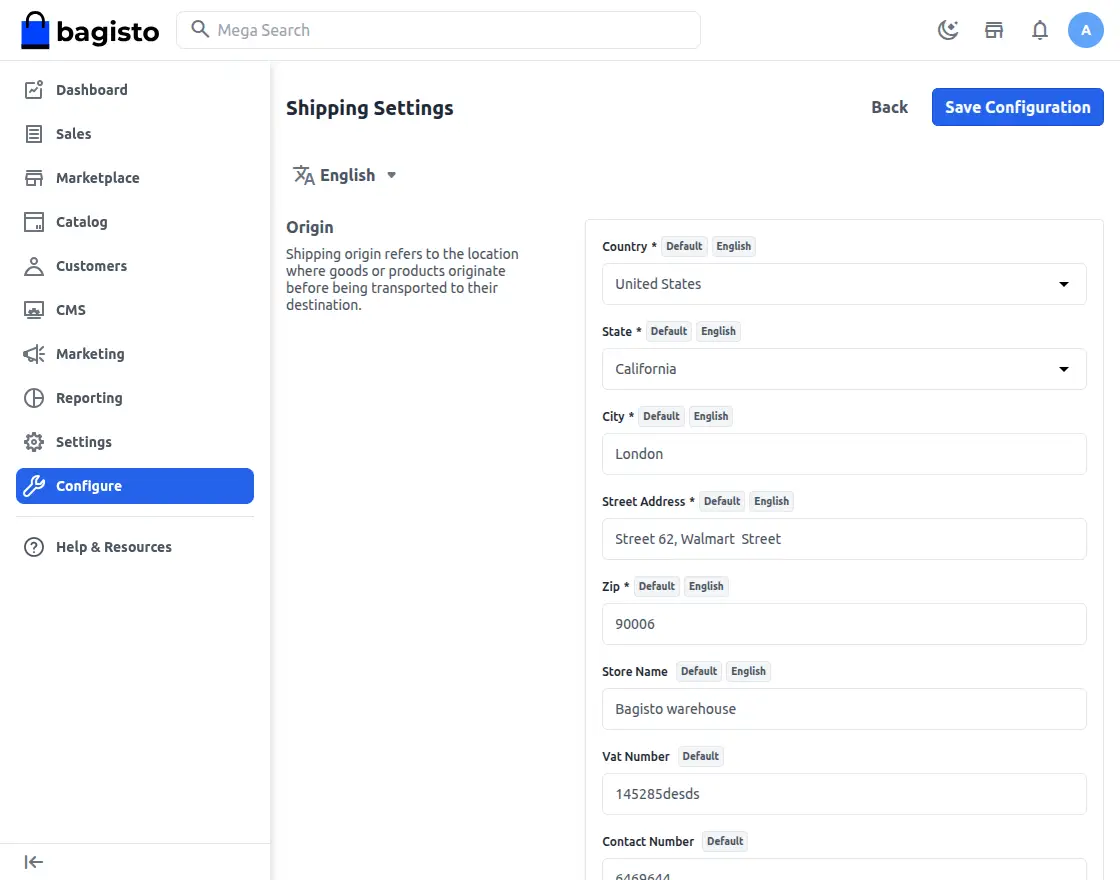
Firstly the admin needs to set the origin address, for this the admin needs to navigate to Configure>>Shipping Methods.
In the above page the admin needs to fill all the details for origin address as shown above.
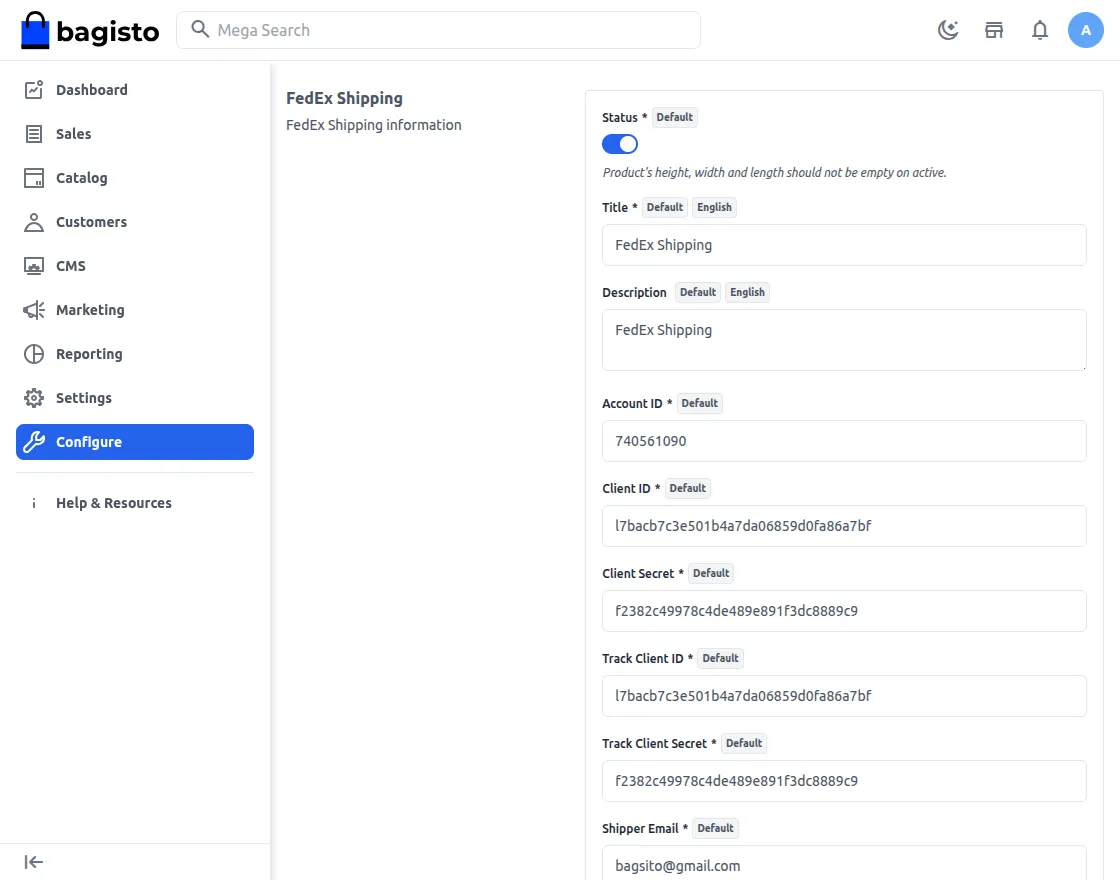
Now the next step is to configure the Laravel eCommerce FedEx shipping module, to perform this the admin needs to navigate to Configure>>Shipping Methods.
Under the Shipping methods, all the shipping methods are visible in the admin panel.
Title
The admin can input the title for the shipping method in this field.
Description
The admin can also describe the shipping method in this field.
Status
The admin can active or inactive the module from this field.
Account ID
The admin needs to enter the Account ID for the FedEx account.
Post Code
The admin needs to enter the postcode here to determine that the shipment is available.
Client Secret
The admin needs to enter the key in this field after creating an account in FedEx.
Password
The admin needs to provide the password in this field after creating an account in FedEx.
Mode
The admin can select between the live and development.
Packaging type
Under this field, the admin can select from various packaging type from the dropdown menu.
DropOff type
The admin can select the dropoff type for the package in this field.
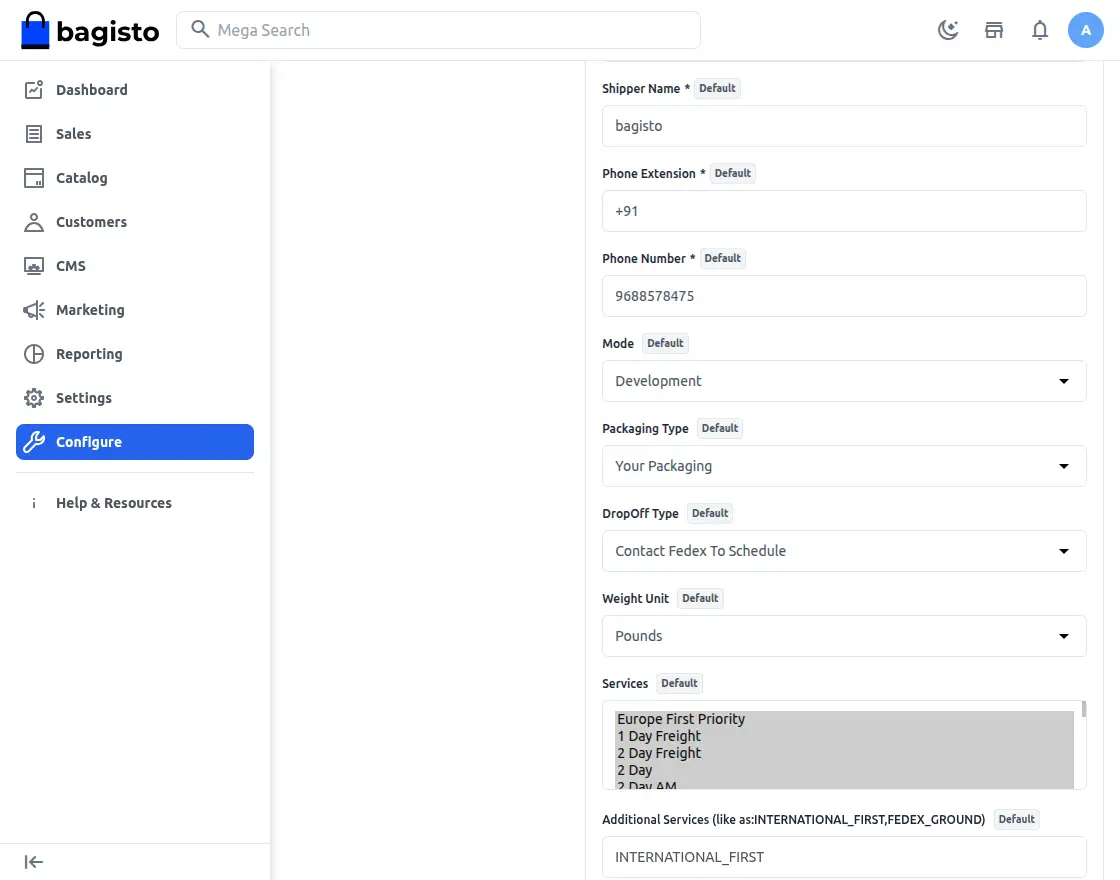
Weight unit
The admin can select the weight unit between Pounds and Kilogram in this field.
Services
The admin can select the services according to the requirement in this field.
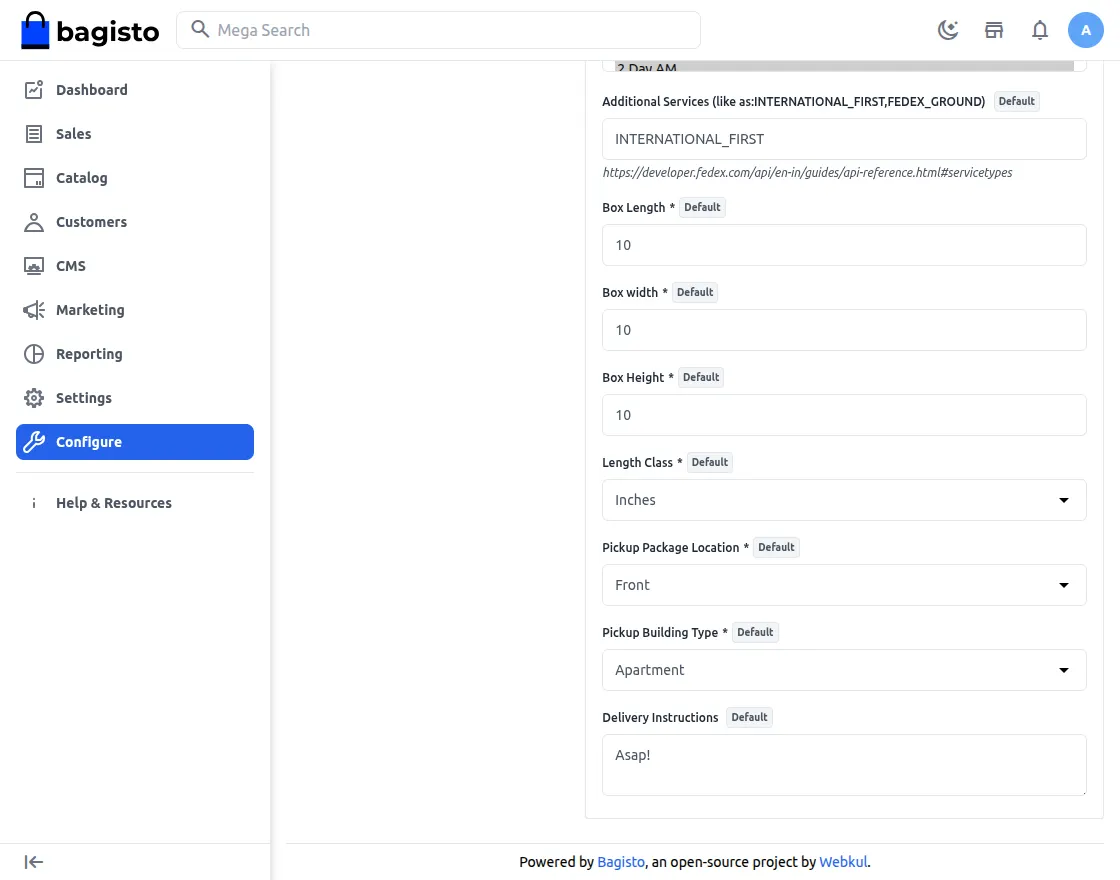
Box Length
The admin needs to enter the length of the box in this field.
Box Width
The admin needs to enter the width of the box in this field.
Box Height
The admin needs to enter the height of the box in this field.
Length Class
The admin needs to select the length unit in this field between inches and Centimetre from the drop down.
Customer End
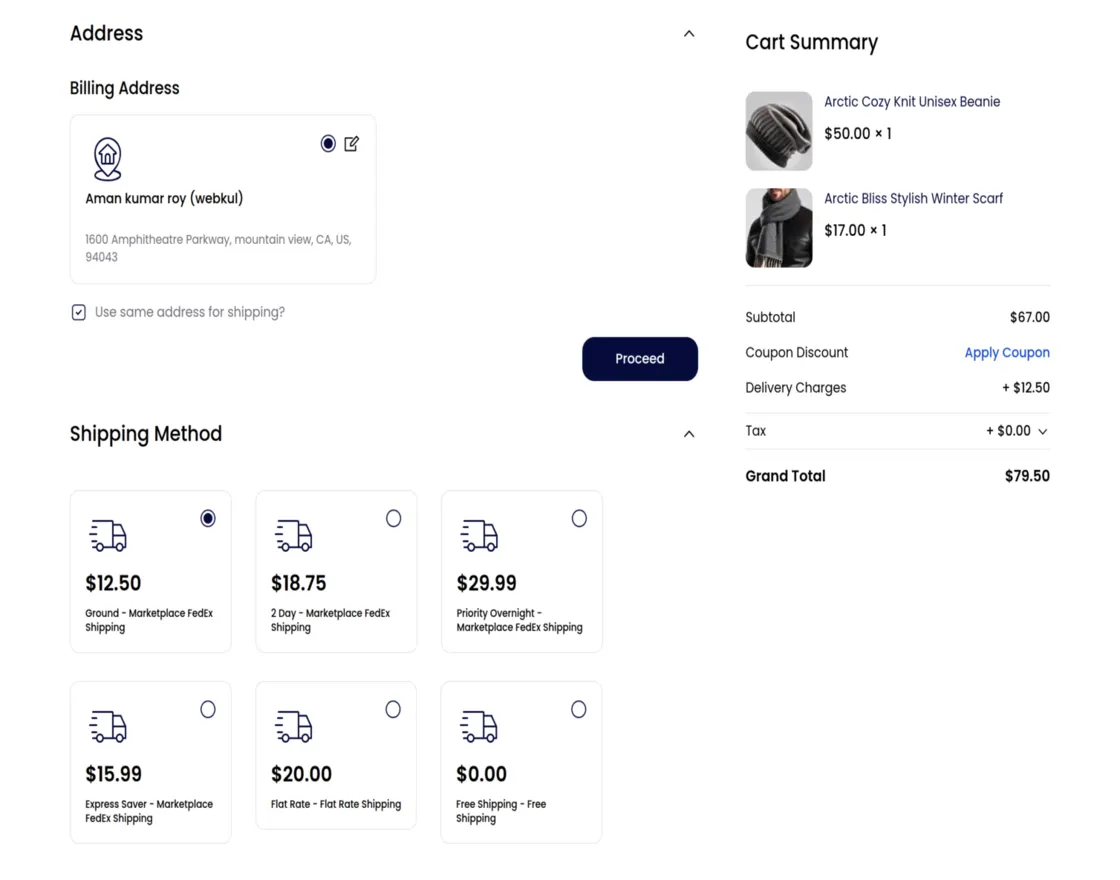
After the successfully configuring the FedEx shipping, the customers can use the FedEx shipping method for the delivery of their products.

Once the order has been placed the customer can see all the details regarding the order in the order summary page including the shipping method used by the customer for the delivery of the package as shown below:-
Orders
The admin can see all the orders that has been placed under the admin panel by navigating to Sales>>Orders as shown in the image below:-
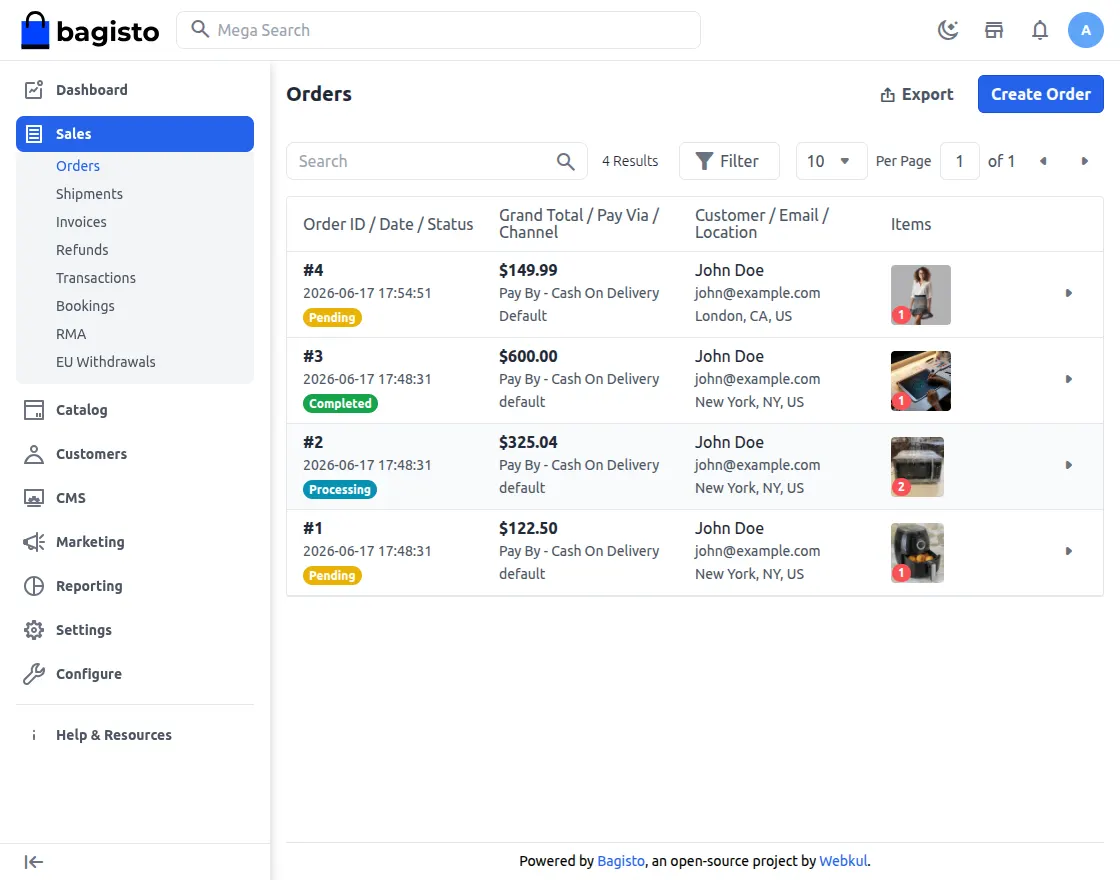
To view the details of any particular order the admin needs to click on the eye button.

After Clicking on the Invoice button the admin can create the invoice for that order as shown below:-
Here the admin also need to enter the quantity to invoice and click on the Save Invoice button.
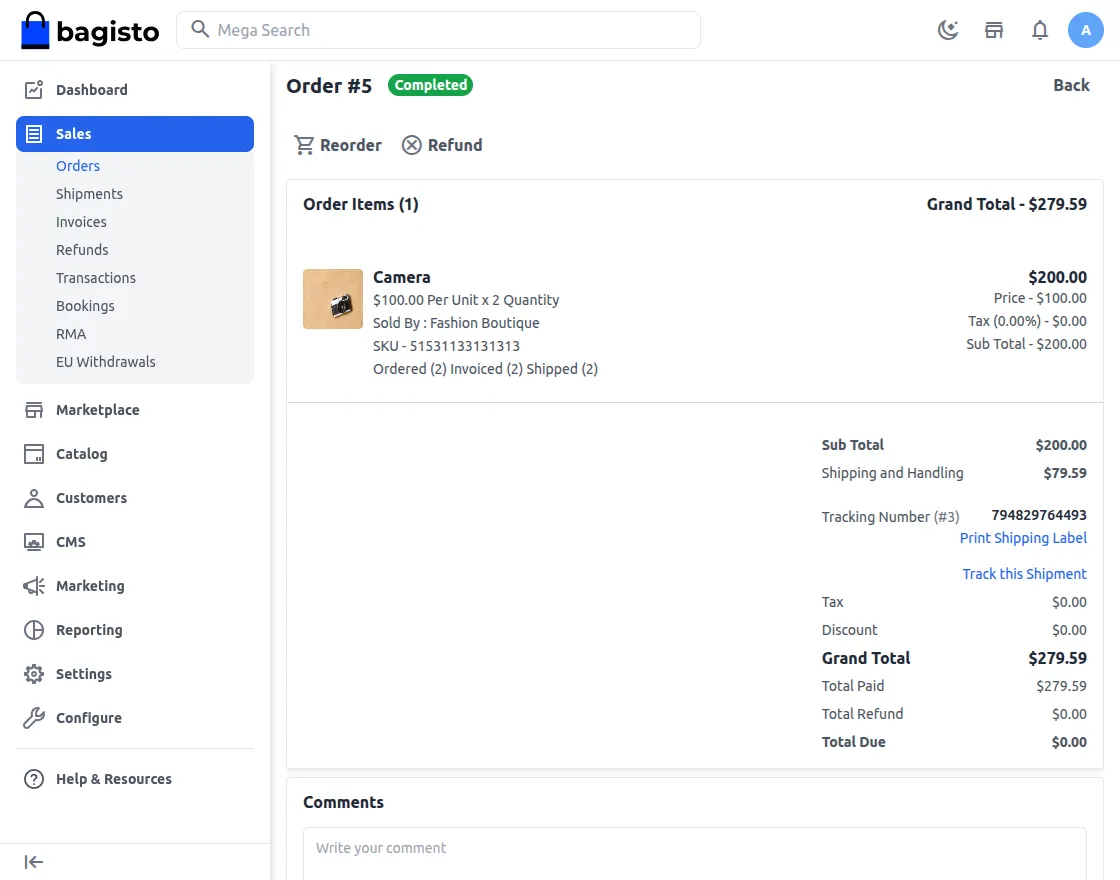
To create a shipment click on the ship button in the order detail page.
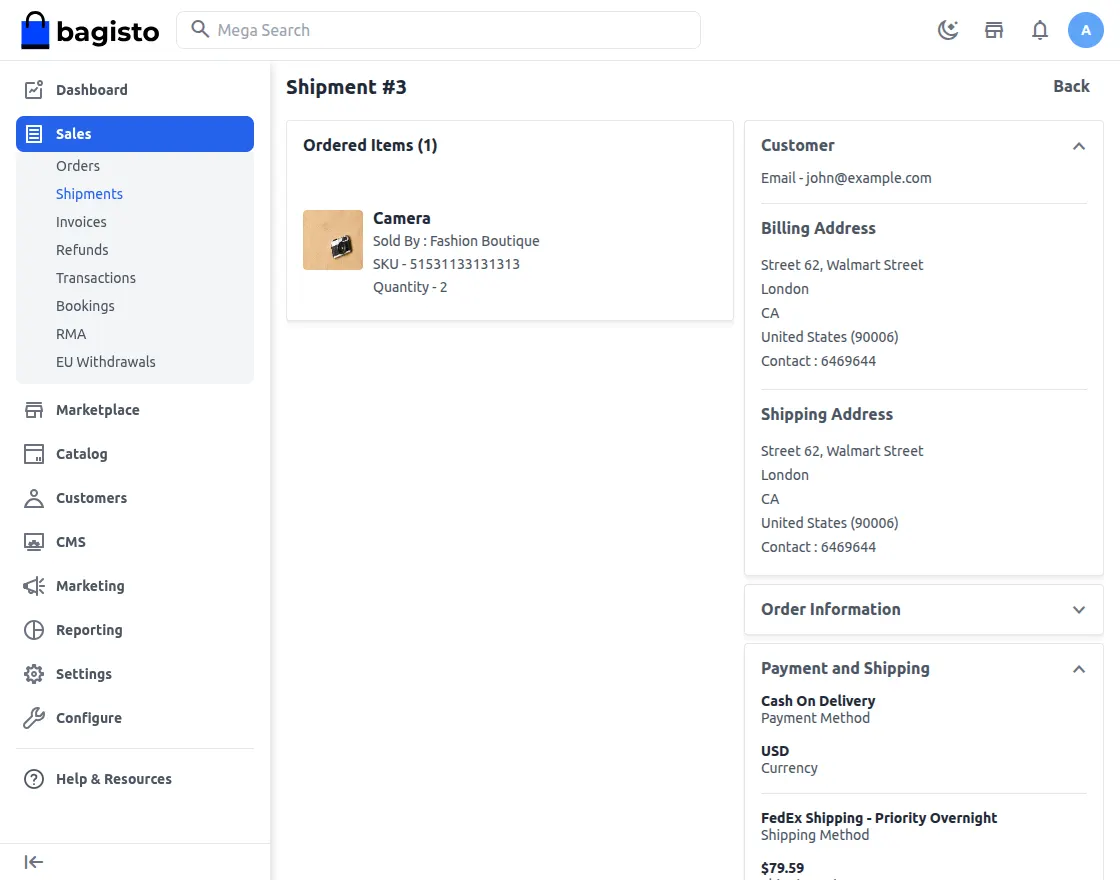
The admin needs to enter the Carrier Title, Tracking Number, Quantity to Ship and also needs to select the inventory source of the product.
Click on the Save shipment button.
The admin can view the invoice and the Shipment for the product by clicking on the edit icon of the order whose status is completed.

That’s all for the Laravel eCommerce FedEx Shipping
Support
If you still have any issue please raise a ticket on https://bagisto.uvdesk.com/en/
Current Product Version - stable/v2.4
Supported Framework Version - v2.4.6

Be the first to comment.