Krayin Multi Tenant CRM SaaS extension is an add-on for Krayin CRM and allows the superadmin of Krayin CRM to onboard tenants and offer them Krayin CRM in the form of Software as a Service.
The tenants get their own individual and specific CRM domain and dashboard with Krayin CRM feature and functionalities.
Apart from this, if you’re also looking to integrate WhatsApp with Krayin CRM, then you can check Krayin CRM WhatsApp Integration.
Features
- Superadmin has the ability to create tenants and assign them personal domains.
- After domain assignment, tenants can login to their CRM admin panel from the domains.
- The superadmin can create, modify and remove Roles within the CRM.
- Specific permissions can be assigned to different roles.
- Agents can be added, changed and deleted by superadmin.
- Roles created by superadmin can be assigned to the Agents.
- Superadmin can mark an Agents status as active or inactive.
- Filters are provided on superadmin dashboard to search for Tenants, Agents and Roles.
- Extension supports multiple locales including RTL languages and can be set by tenant and superadmin both.
Installation
Customers will get a zip folder after purchasing Multi Tenant CRM SaaS extension. After that, Unzip the respective extension zip and then merge the “package” folder into the project root directory.
Note:
If you are already using Krayin CRM and have existing data, you must take a complete backup of your current database and project files before proceeding.
During the SaaS setup process, the existing data will be removed because the installation requires fresh configuration and setup changes.
Make sure to back up:
- Database
- Storage folder
- Complete project files
You also need to remove the existing vendor folder before starting the setup process to avoid dependency conflicts.
After that, follow all setup instructions exactly as mentioned in the blog/documentation.
If you do not already have Krayin CRM installed, first clone Krayin CRM into your root directory.
After that, move the SaaS package into the packages/Webkul directory and then follow the below setup and installation steps as mentioned in the blog/documentation.
Now, follow the below process for installation,
1) Run the below command from root directory in terminal:
composer create-project
2) Update the .env file with your main SaaS domain in APP_URL, then configure domain/subdomain mapping and wildcard subdomain support for local setup.
APP_URL=http://saas.com
subdomain
company1.saas.com
company2.saas.com
3) Goto config/app.php file and add following line under ‘providers’
Webkul\SaasKrayin\Providers\SaasKrayinServiceProvider::class,
4) Goto config/app.php file and add following line under ‘aliases’:
'Company' => Webkul\SaasKrayin\Facades\Company::class,
5) Goto config/concord.php and packages/Webkul/Core/src/Config/concord.php files and add following line under ‘modules’ index in both files:
\Webkul\SaasKrayin\Providers\ModuleServiceProvider::class,
6) Goto composer.json file and add following line under ‘psr-4’:
"Webkul\\SaasKrayin\\": "packages/Webkul/SaasKrayin/src"
7) Another entry inside file(‘app/Http/Kernel.php’):
In this file you can find an array ‘middlewareGroups’ inside it there is a key named ‘web’ inside it do an entry:
\Webkul\SaasKrayin\Http\Middleware\ValidatesDomain::class
8) Goto App\Http\Middleware/EncryptCookies.php file and add following line under $except array:
'saas_dark_mode',
'saas_company_dark_mode',
9) Run the commands below from the root directory in the terminal:
composer dump-autoload
php artisan saas:install
10) After that, access the super admin panel using – (http://saas.com/super/login)
About DNS Records
CNAME:- Cname stands for Canonical Name. Every website has an IP address to connect to the world wide web.
Wherever we need more than one domain on a single IP address, their Cname will be useful to map the multiple domains on a single IP address.
For example, If you have your domain shop.mydomain.com and you want this domain point on your main domain(shop.com).
Then you have to just replace the IP address of mydomain.com with shop.com so that your CNAME record will be created.
Wildcard:- With the help of the Wildcard DNS record, we can match the request for the non-existence domain name.
A Wildcard DNS record is identified by an “*” asterisk. For example *.example.com.

Super Admin Panel
After the successful installation of the Krayin CRM Multi Tenant SaaS extension, we can now login to the Superadmin CRM panel dashboard.
Enter the credentials and tap on the Login button to access the dashboard,
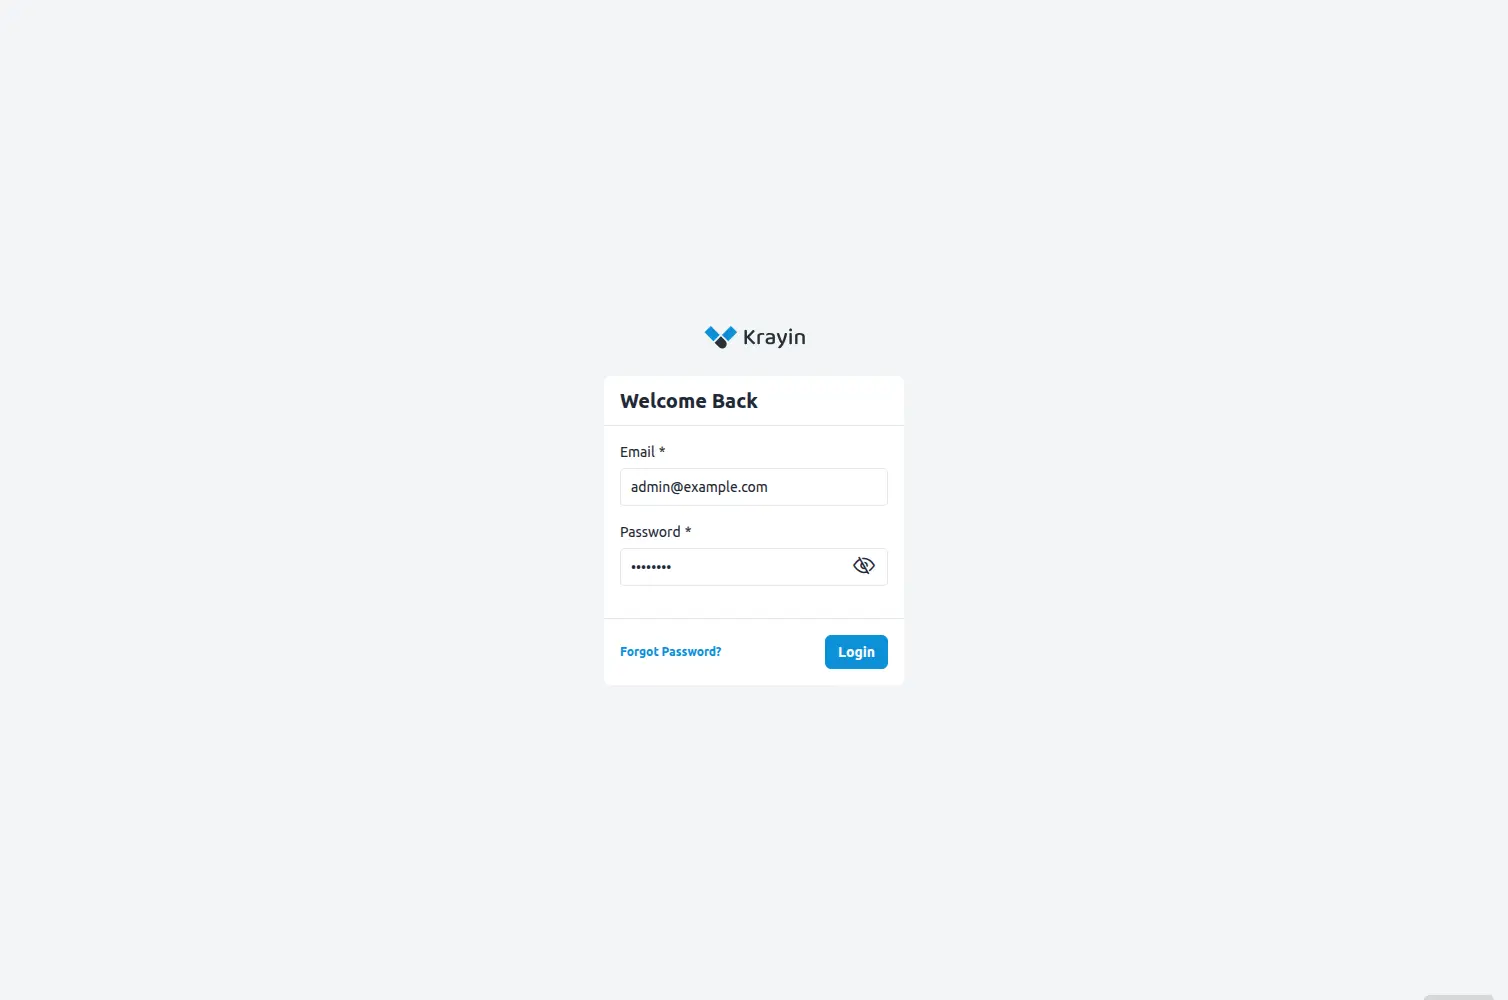
Once logged in, the superadmin is redirected to the dashboard as per the image below,
Now, from here, the superadmin manages the Tenants, Settings and Configuration, let’s check the workings below,
Tenants
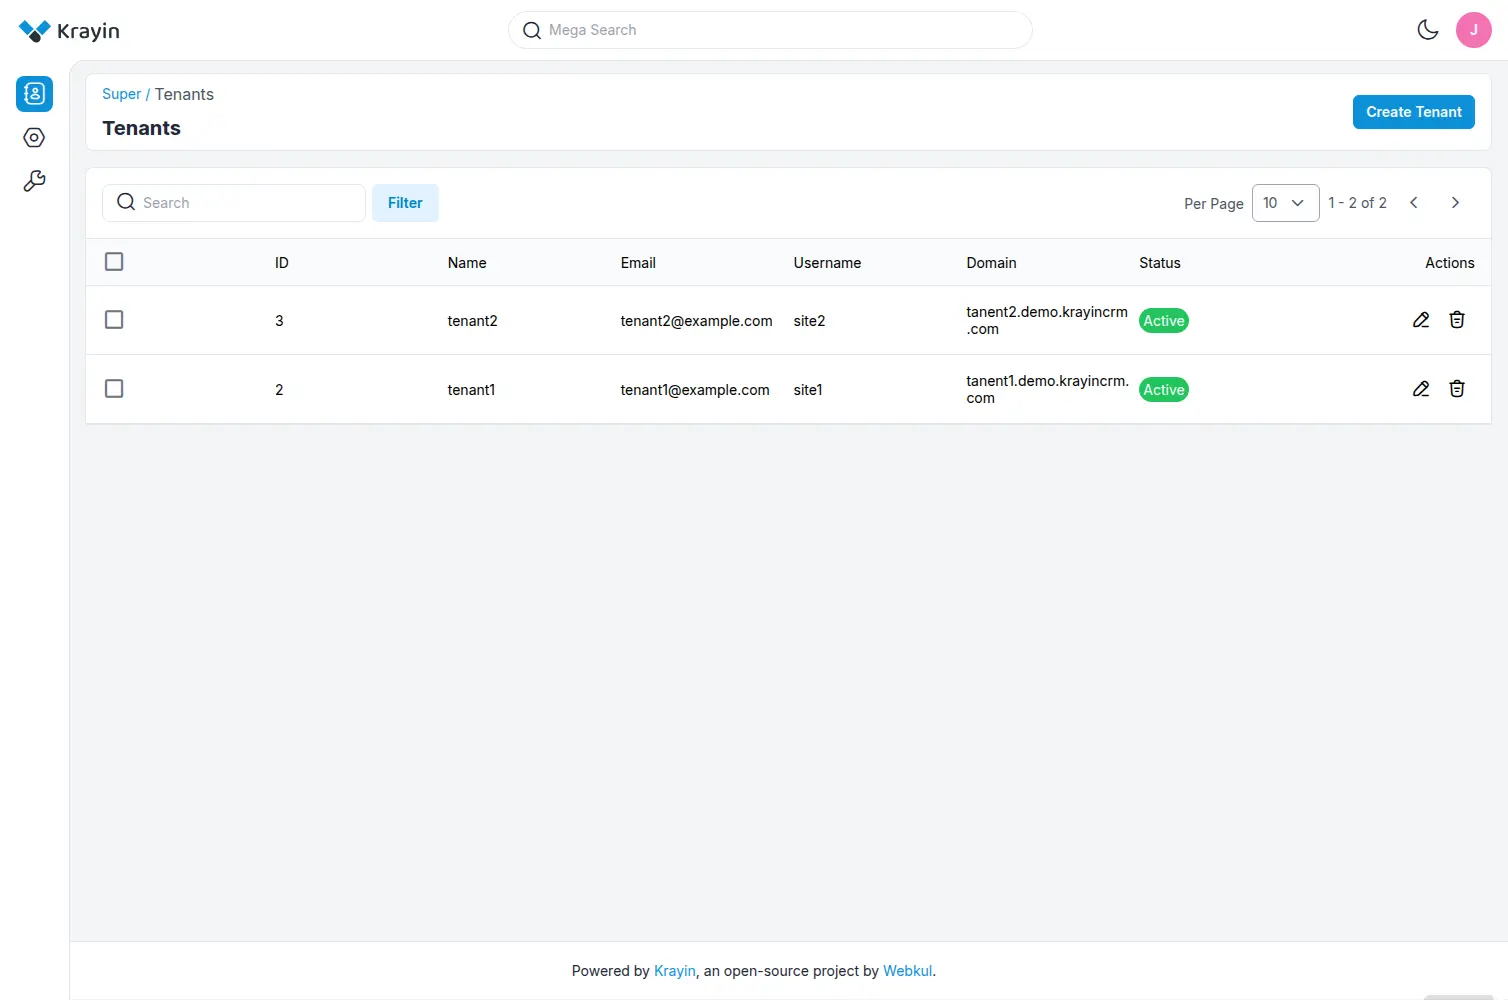
On the Tenants page, the superadmin manages the Tenants and their listing. They can view the list of tenants which are registered on their Krayin CRM SaaS platform.
On the listing page, they can check the following tenant information,
- ID– Check ID of the tenant.
- Name – View the Tenant’s name.
- Email– View Tenant’s email address.
- Username – View Username of tenant.
- Domain– Check Tenant’s Domain name
- Status– View Tenant Status
- Actions– Edit and Delete option for Superadmin.
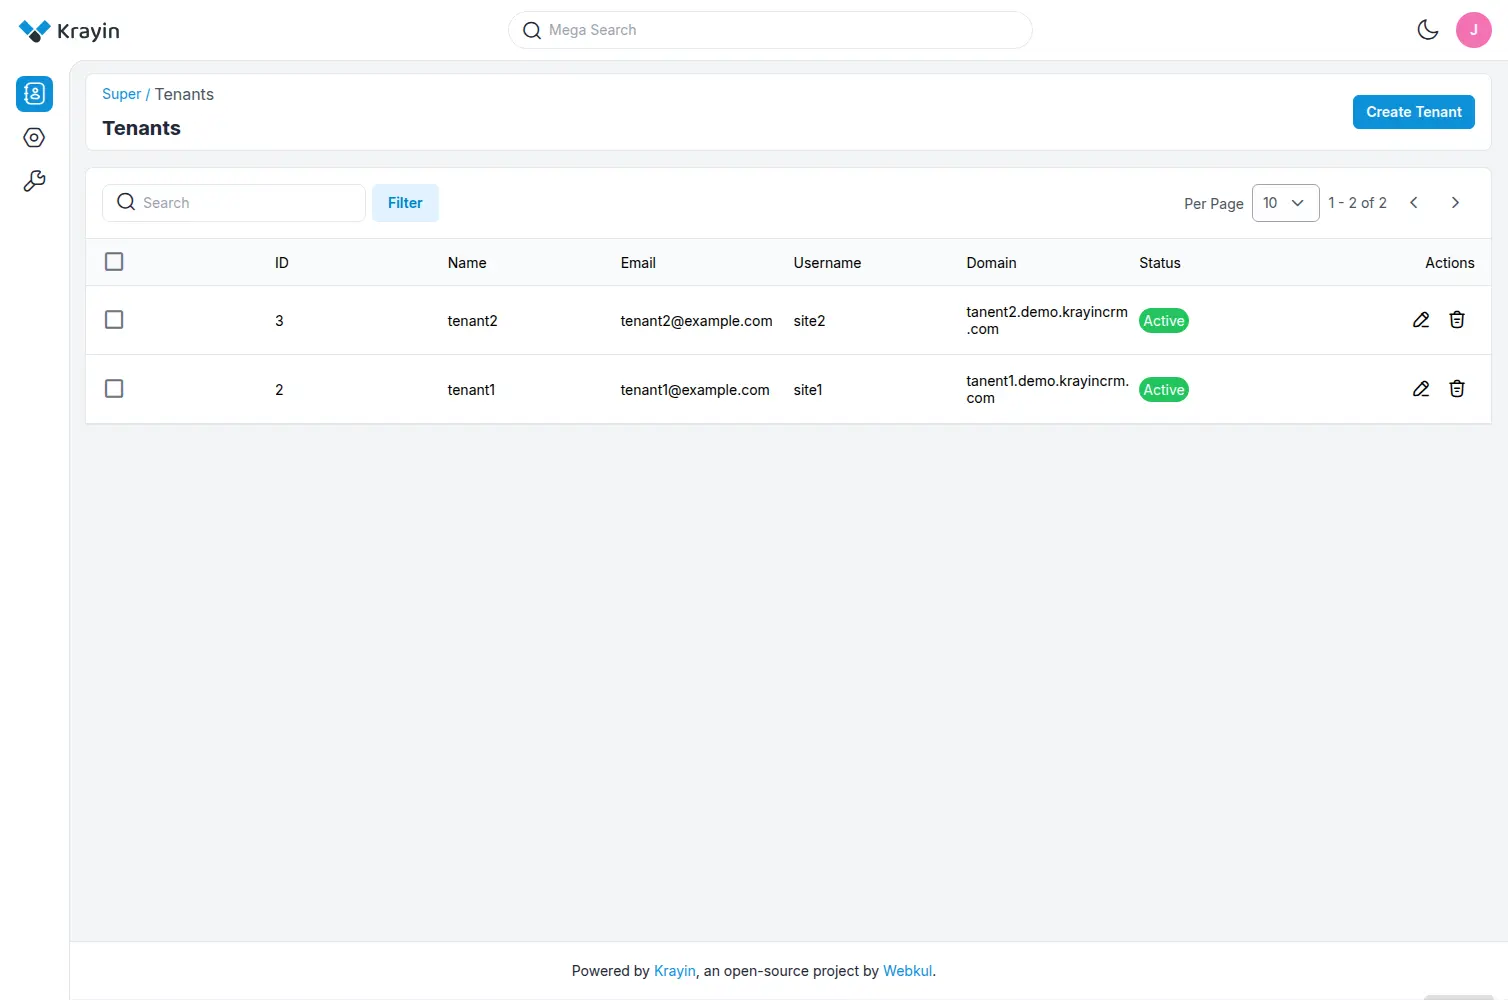
A Search bar is provided to search from the list of tenants and a Filter option to set conditions and filter the required tenant list.
Superadmin also has Edit option to update tenant information and Delete button to delete them.
Create Tenant
A Tenant can also be created by the superadmin when they click on the Create Tenant button. After which they fill the below details,
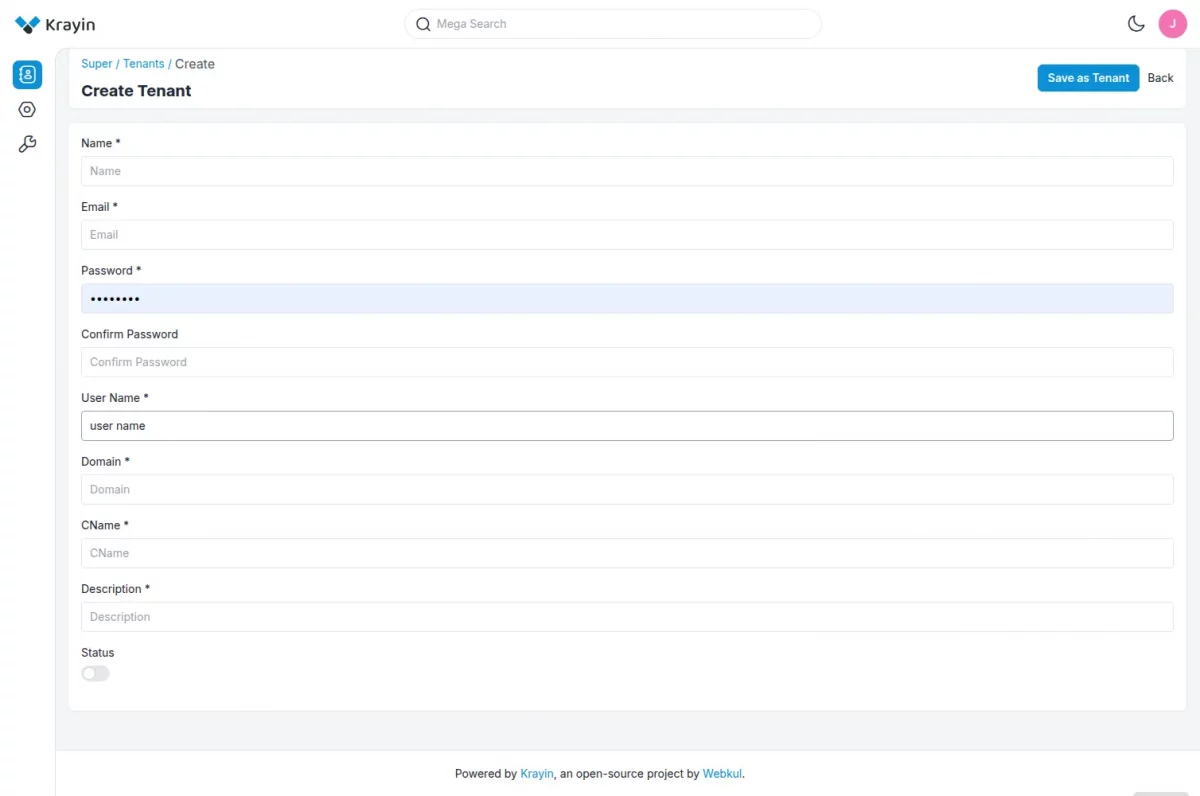
Once the details are filled, they’ll tap on Save as Tenant which will save the tenant details and credentials and add them to the tenant list.
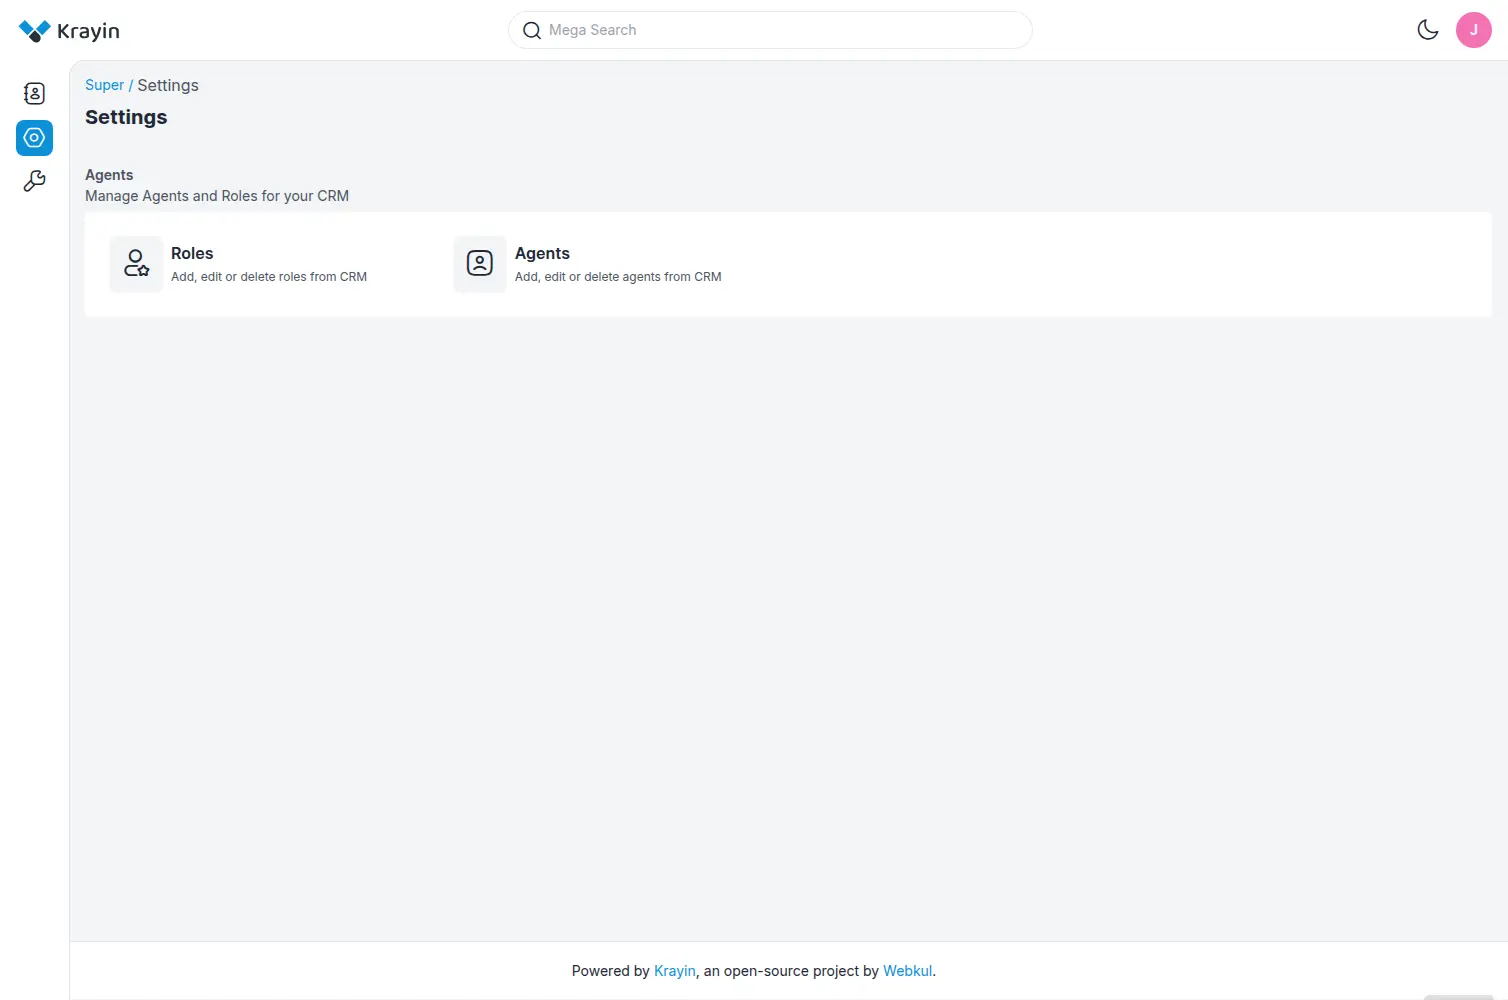
Settings
In the Settings section, superadmin creates Roles and Agents for their CRM and can manage them from here as well.
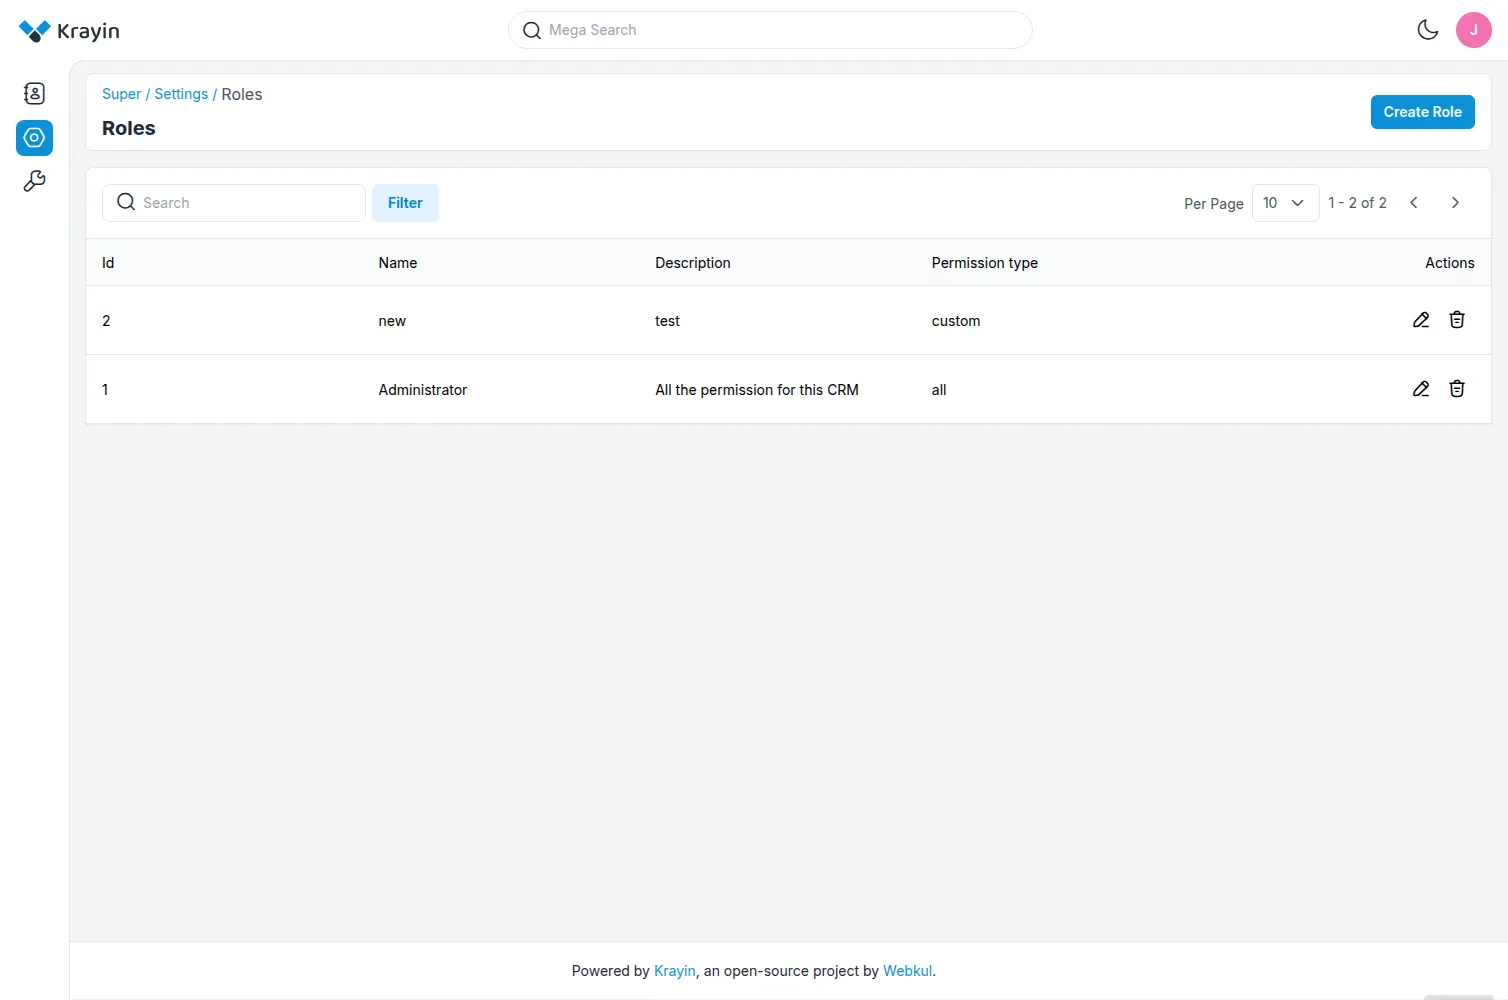
Roles
The superadmin creates Roles and can provide them custom permissions or all permissions for their CRM.
To create a Role, they tap on Roles which will redirects them to the Roles listing page where all of the roles created are visible. It is displayed as per the image below,
To create a new role, superadmin will tap on Create Role button and then fill the necessary details as below,
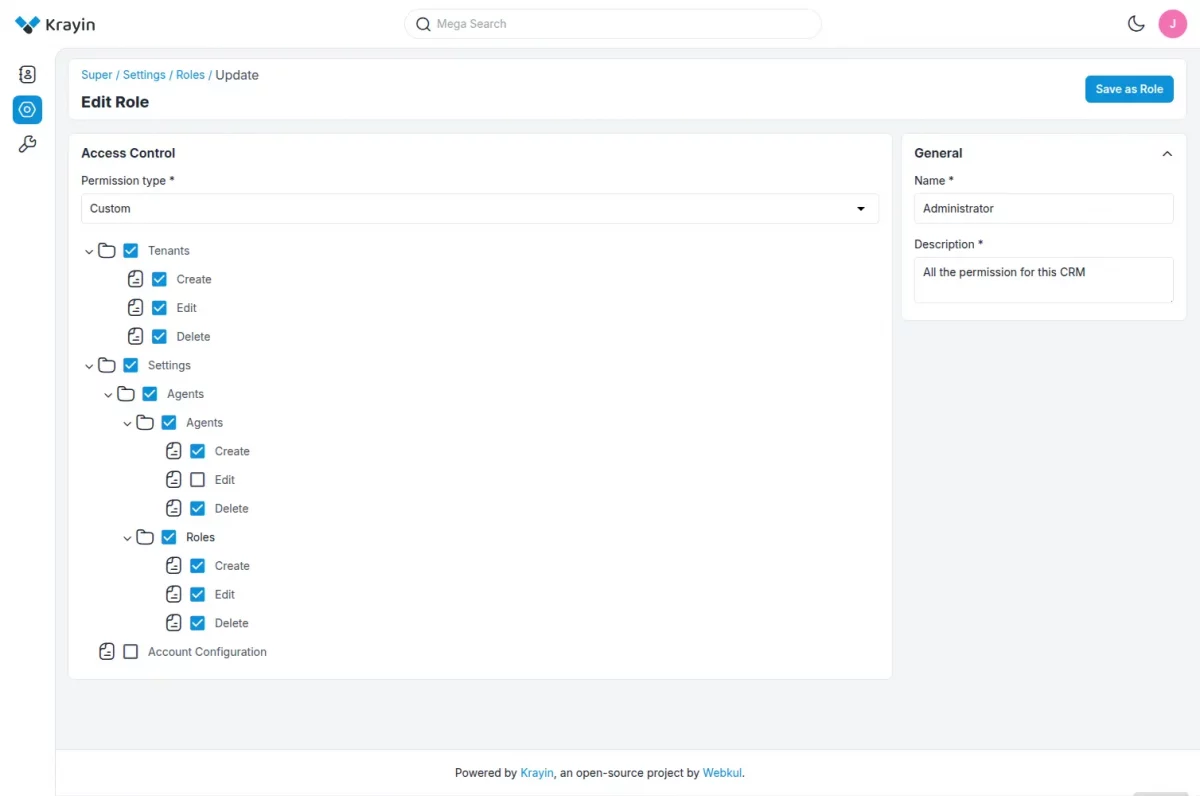
1) For All Permissions
If they want to create a Role and provide them all permissions, then they have to enter the Name, Description and select Permission Type as All. It will be visible as below,
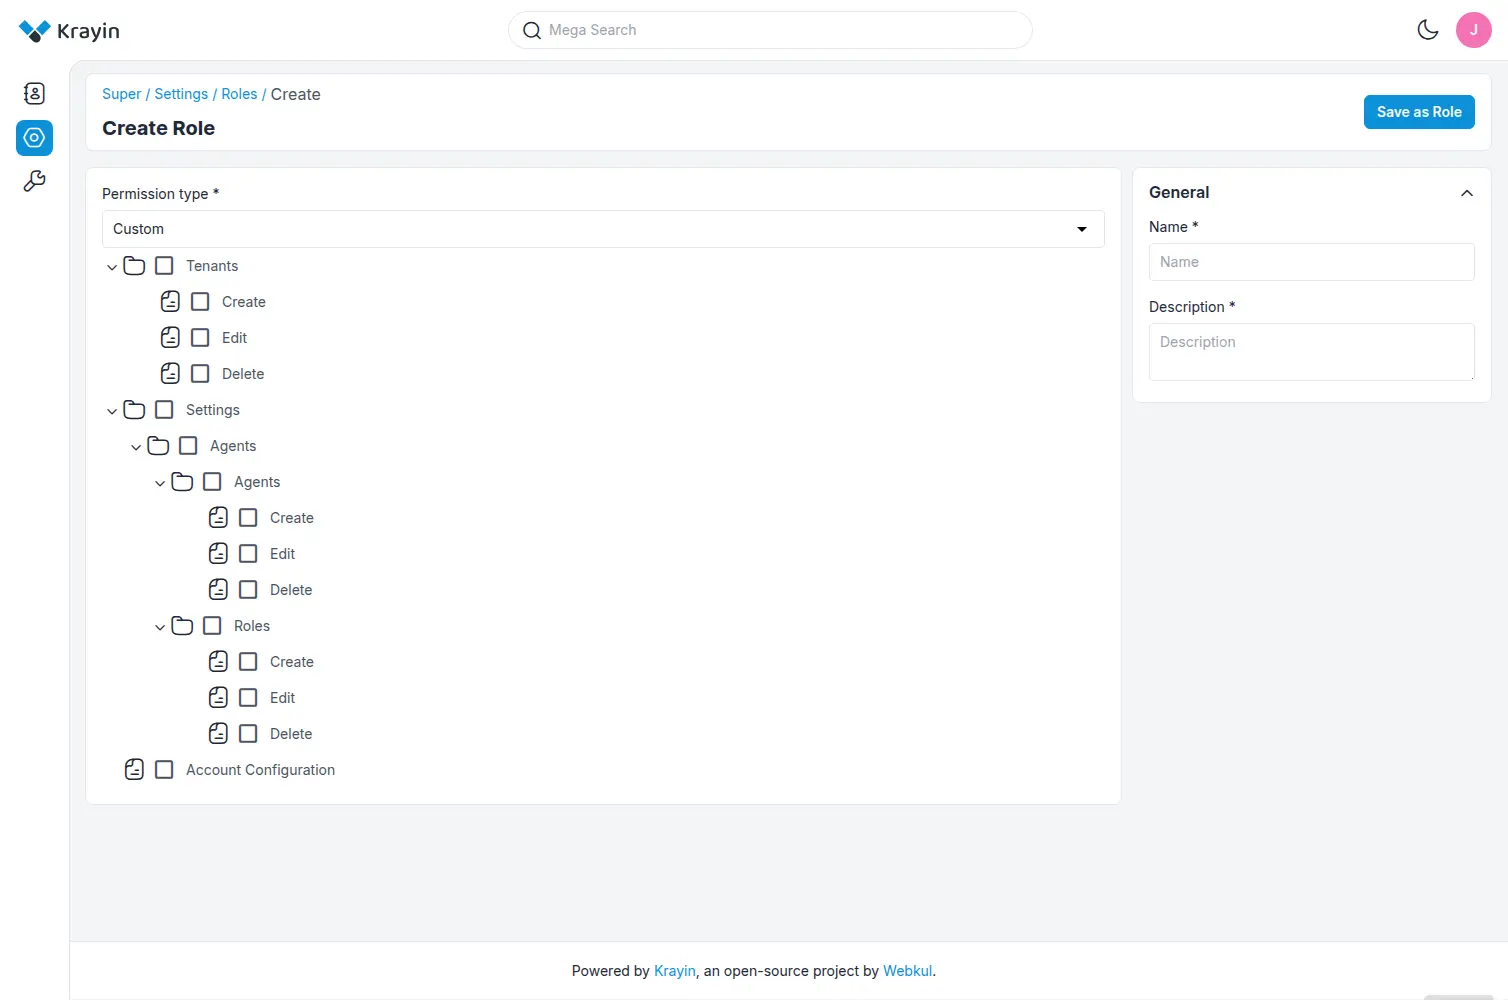
2) For Custom Permissions
If a role needs to be created with custom permissions, then, the superadmin enters the Name, Description and selects Permission Type as “Custom“.
After selecting custom permissions, superadmin selects the permissions that are to be given to that particular role. It will be visible as per the image below,
After filling the details, they’ll simply tap on Save as Role which will create the role and will be visible on the Roles section.
Agents
Superadmin of Krayin CRM Multi Tenant SaaS extension can create Agents and assign them roles as well.
When they tap on Agents, they are redirected to the listing page where all of the created agents are visible.
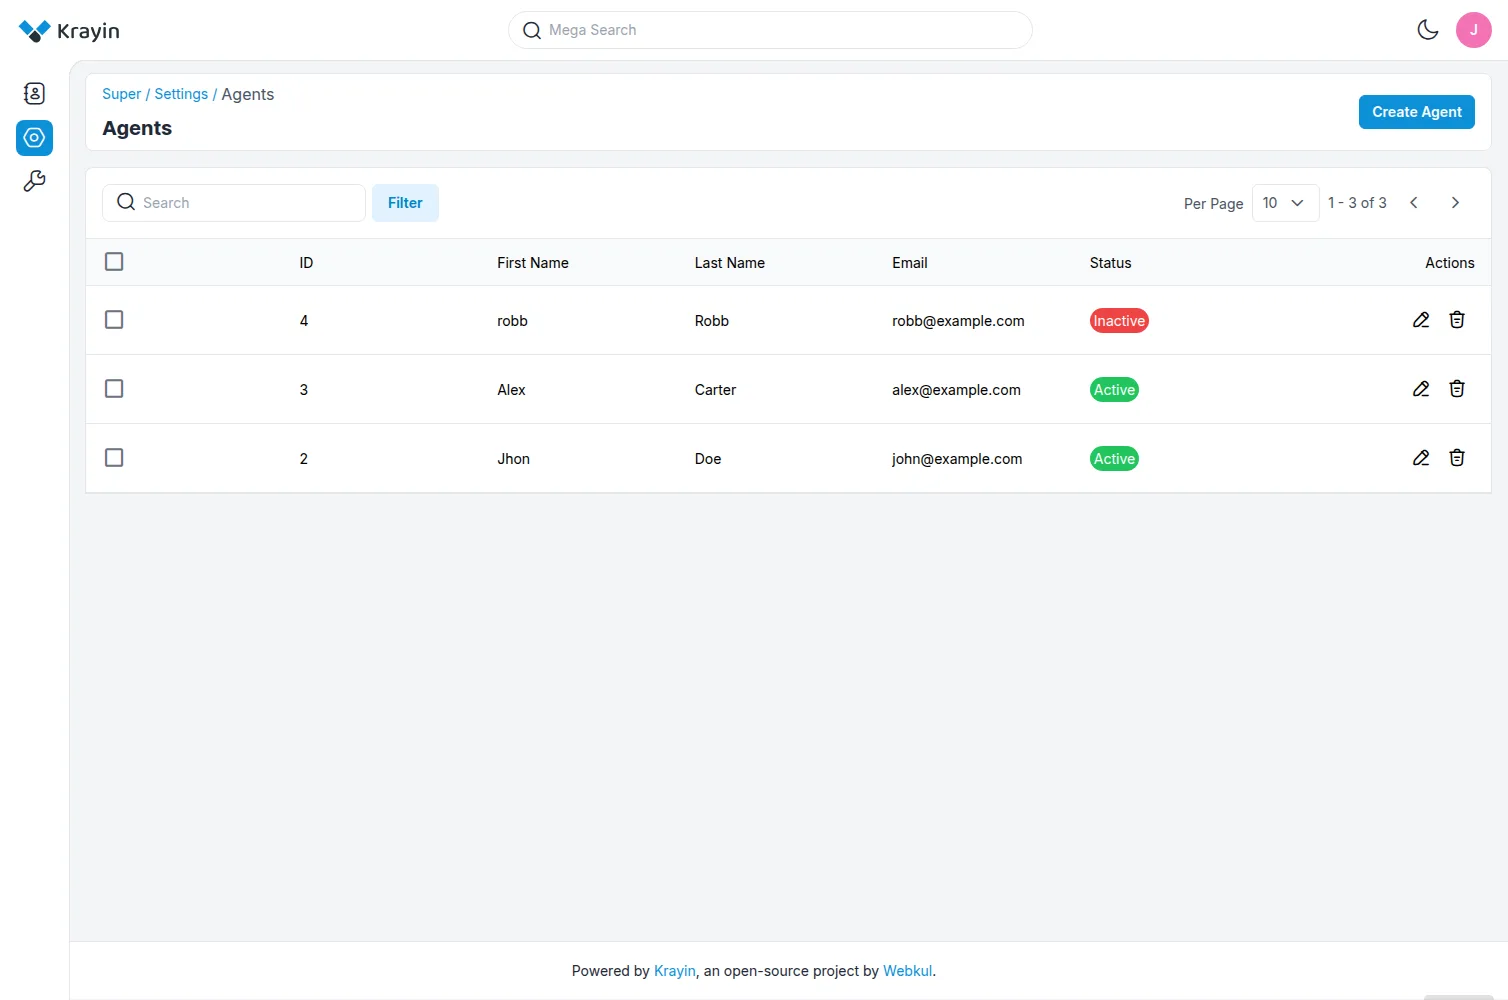
To create a new agent, simply tap on Create Agent and fill the necessary details like First Name, Last Name and Email address.
Additionally, they’ll have to assign a Role to the agent as per their requirement and set the status of Agent as active or inactive.

Now, to save the details, superadmin taps on Save as Agent and the agent will be successfully created.
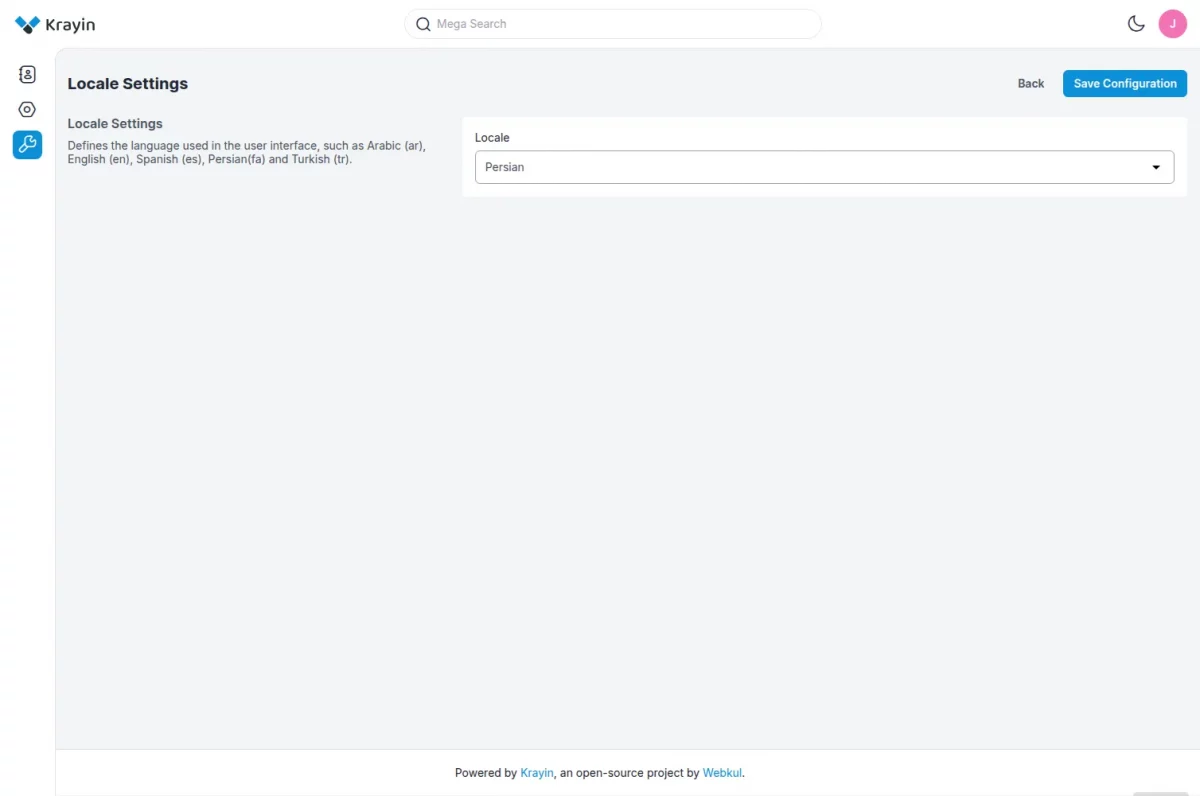
Configuration
Superadmin gets the functionality to set the Locale of their admin panel dashboard as per their requirement. The extension also supports RTL (Right to Left) script languages.
They’ll navigate to Configuration>Locale Settings and then select the required locale as per the below image.
Tenant Registration
Moving further, lets check how Tenants or Merchants can register on Krayin Multi Tenant CRM SaaS platform and get their own CRM dashboards.
Register Company
Initially, the merchants have to navigate to the Registration page and tap on Register Company to start the registration process,

Merchant Registration
Next, after tapping on Register Company, the merchants/tenants are redirected to the Merchant Registration page which is displayed as below,
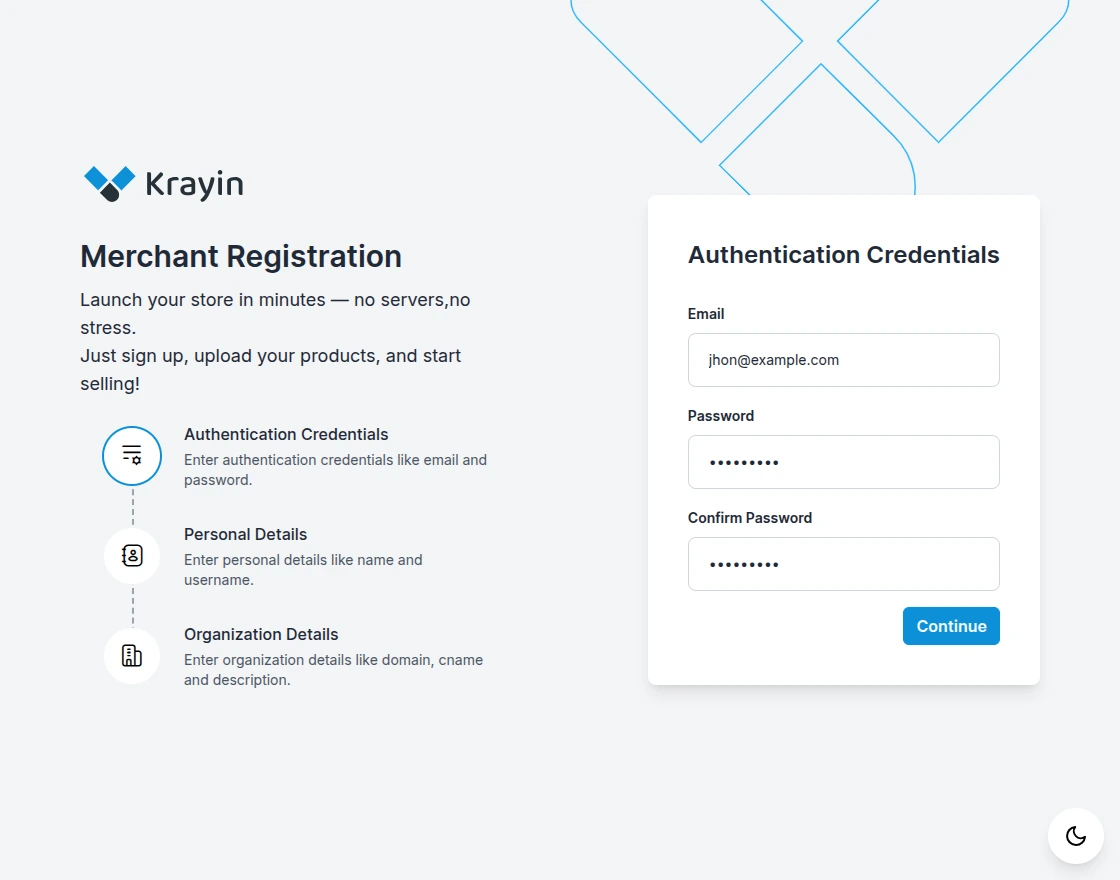
Here, the merchant has to filldetails.
- Password
- Confirm Password
After the above details are filled, tap on Continue to proceed to the next step which is to fill the personal details,
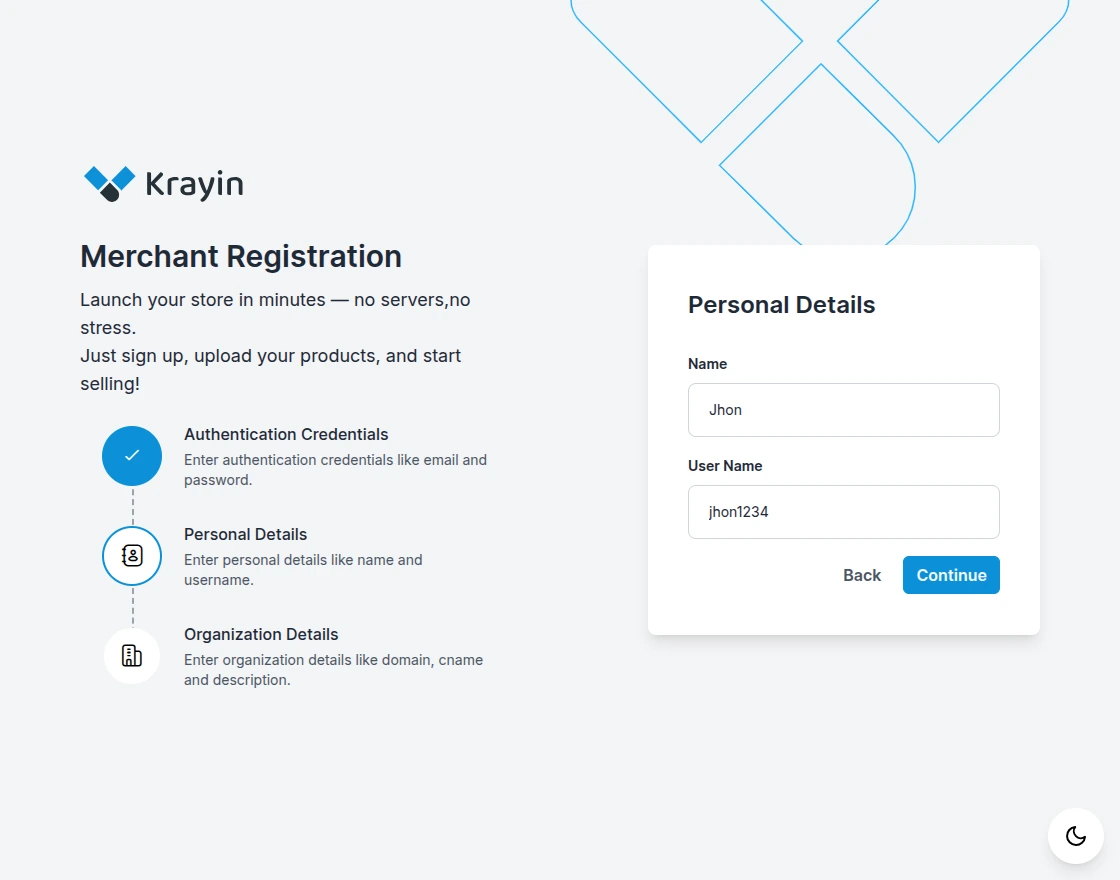
Here, they’ll enter the Name and User Name and then tap on Continue to proceed further,
For the next step, tenant has to enter the Organization details as per the below image,
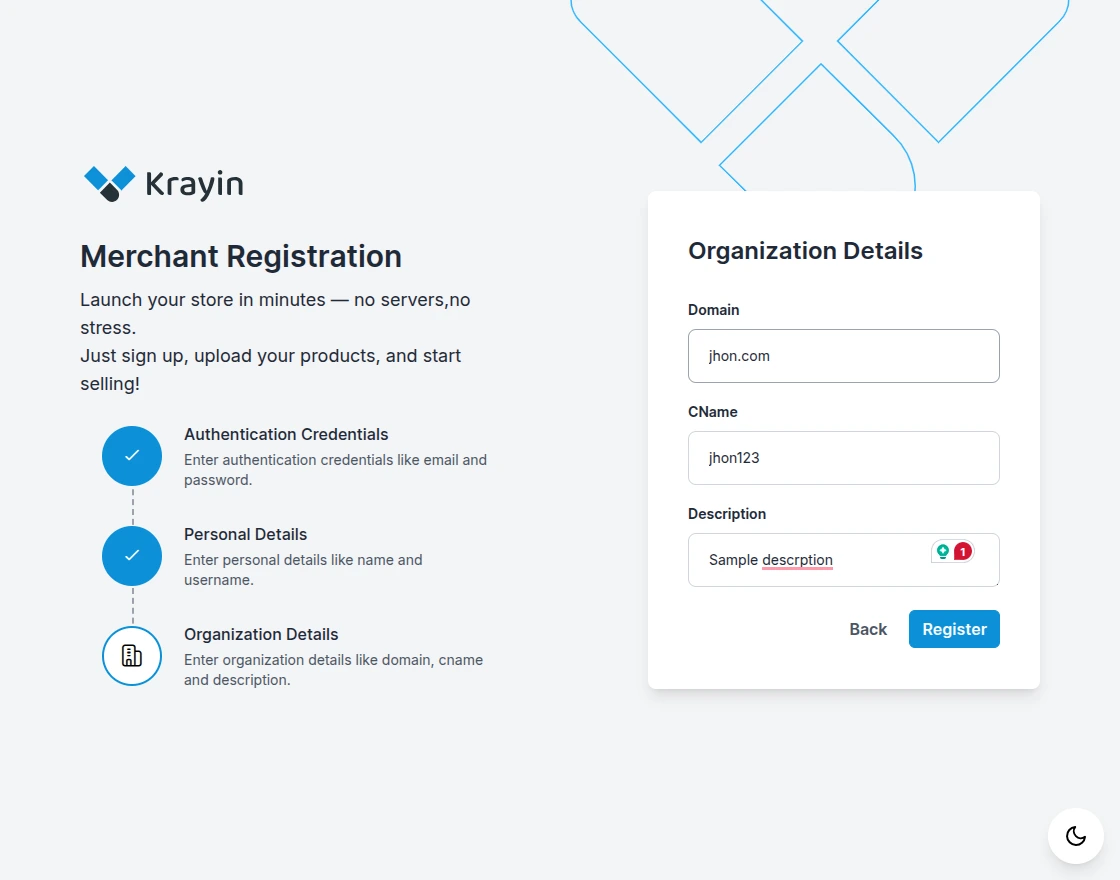
The merchant fills the below organization details,
- Domain – Fill the domain name as per requirement
- CName – Fill the Canonical name as per requirement
- Description – Provide a suitable description
Once filled out, tap on the Register button to complete the tenant registration page. Once the registration is successful, the merchants can now login to their personalized CRM dashboard.
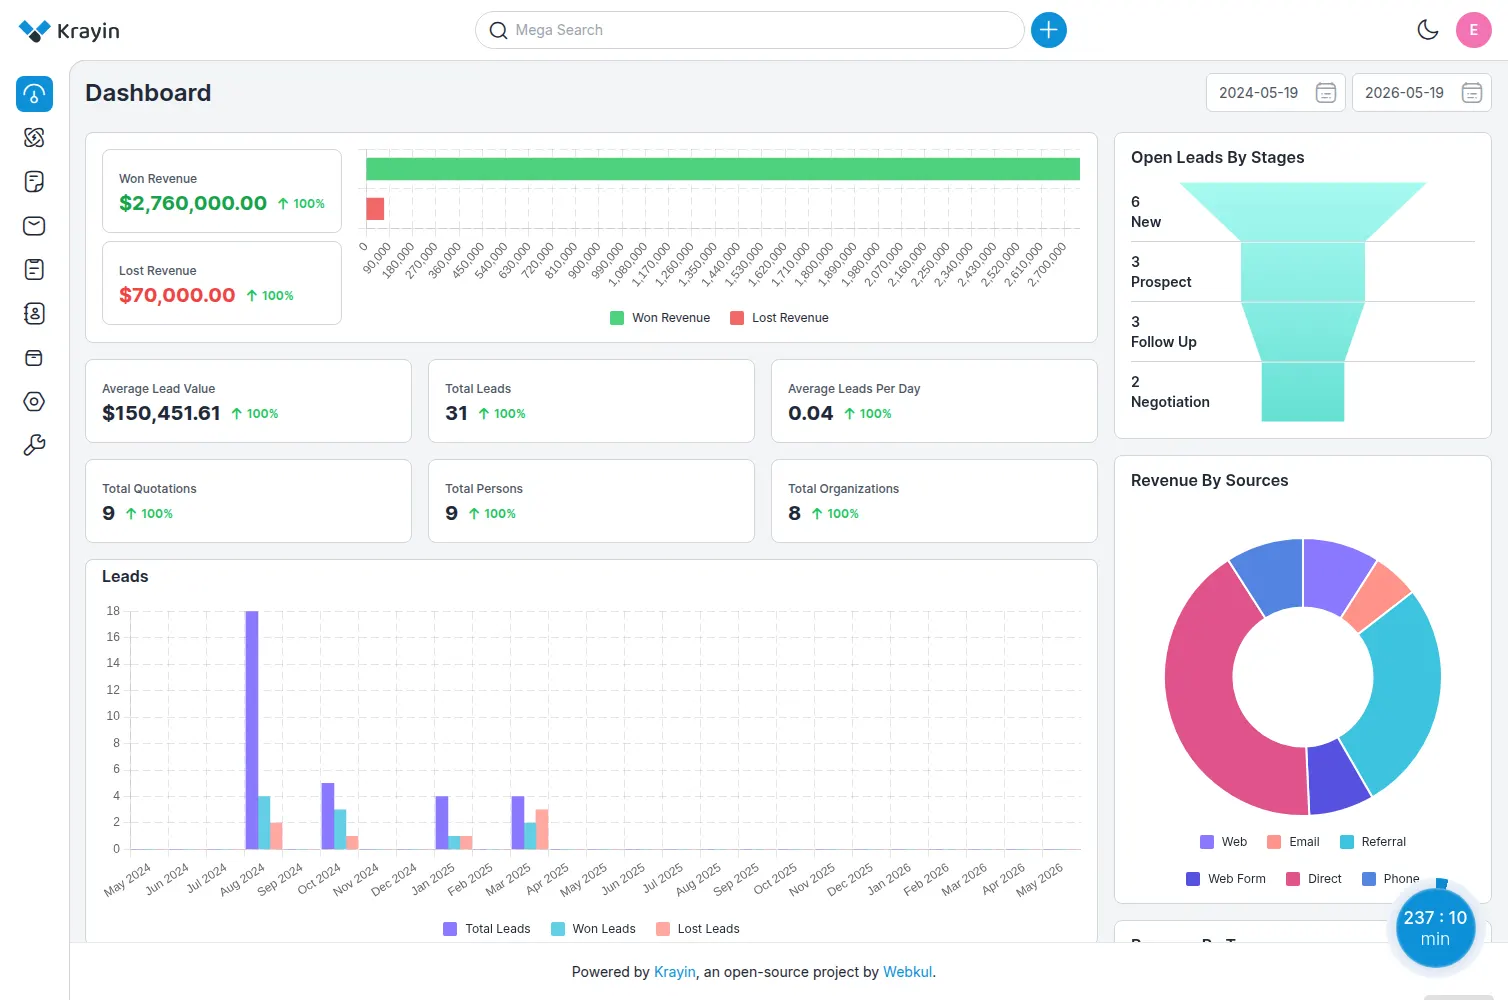
From here, they can access the features and functions of Krayin CRM such as,
- Leads – Section to create and manage leads.
- Quotes – Tenant can create new quotes from this section.
- Mail – Email section with options like composing, inbox and outbox as well.
- Activities – Tenant can check their activities from this section.
- Contacts – The tenant creates person or organization contacts from this section.
- Products – Tenant can create and manage products in this section.
- Settings – Options such as Users, Lead, Automation & other settings are available here.
- Configuration – Tenant can set the Locale from this section.
The features and functions can be restricted by the superadmin as per requirement.
Support
So that was much about the Krayin Open source Multi Tenant CRM SaaS extension. If you have any more doubts or require further assistance you can raise a ticket or email us at [email protected].
Current Product Version - 2.1.0
Supported Framework Version - 2.1.0

Be the first to comment.