Introduction
ERPNext Zoho CRM Connector helps you connect your ERPNext system with Zoho CRM. It allows you to manage your CRM data from one place without switching between platforms.
You can easily sync data like contacts, leads, deals, and products between ERPNext and Zoho CRM. This keeps your data updated and consistent in both systems.
The module uses secure OAuth2 authentication and smart data mapping to handle records. It also ensures smooth data flow with proper control and access management.
Features
- Connect ERPNext with Zoho CRM using secure OAuth2 authentication
- Sync contacts, leads, deals, and products between Zoho CRM and ERPNext
- Import and export data in both directions with automatic record updates
- Automatically match records using email to avoid duplicate data
- Track synced records using entity mapping between both systems
- Manage Zoho CRM connections with status tracking and validation
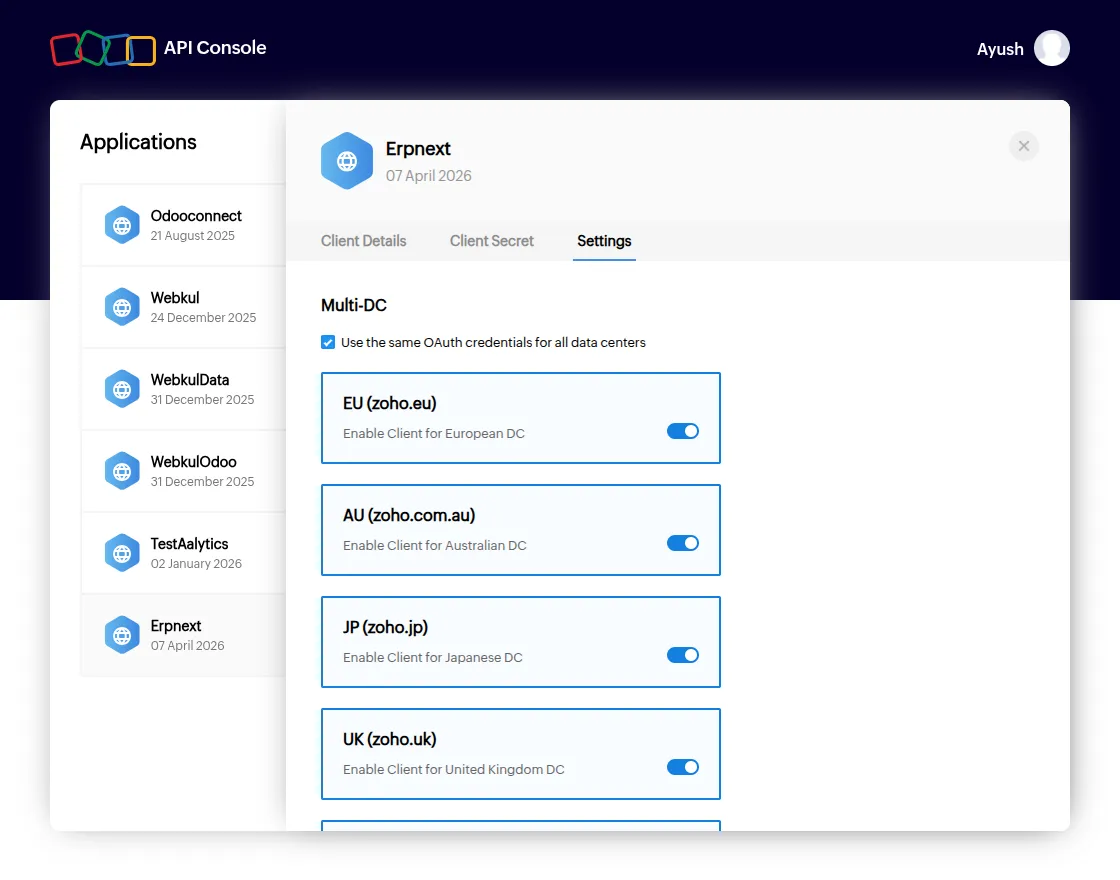
- Support multiple Zoho data centers like US, EU, India, China, and Australia
- Restrict access using role-based permissions for secure integration
Installation
1. After purchasing the app from the Webkul store, you will receive a link to download the module ZIP file.
2. Extract the downloaded ZIP file, and you will see a folder named ‘wk_zoho_crm_connector’.
3. Set up the module in your Git repository.
4. If the app is hosted on GitHub, fetch it using the command:
bench get-app --branch main
https://github.com/your-account/erpnext_zoho_crm_connector.git
- (Replace “main” with your branch name and replace the “HTTPs URL” with your HTTPS clone URL.)
5. Install the app on your site using the command:
bench --site <your-site_name> install-app erpnext_zoho_crm_connector
6. Finally, run the “bench migrate” command to complete the installation.
Workflow
ERPNext Zoho CRM Connector configuration: –
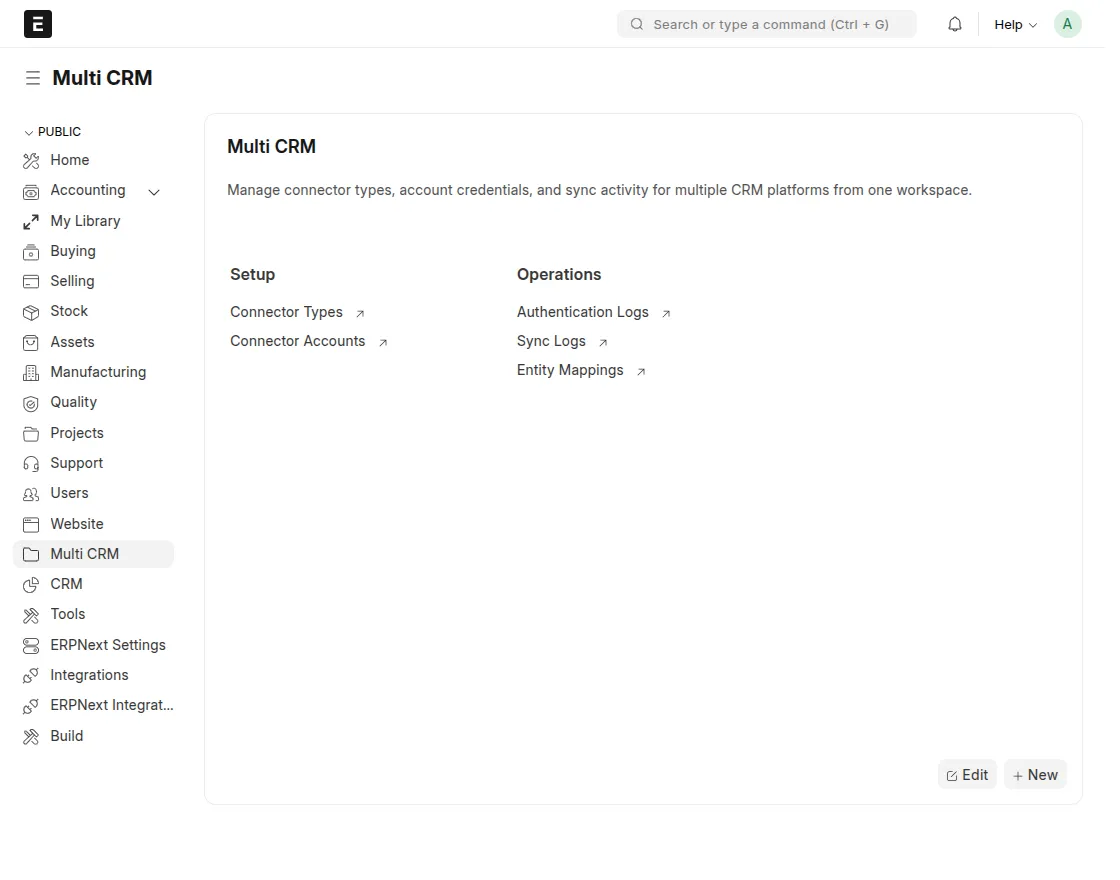
1. First, open dashboard in the ERPNext Zoho CRM Connector module by clicking on Multi CRM from the vertical navbar on the left side. Then, click on Connector Types to create a new connector type based on your requirements.
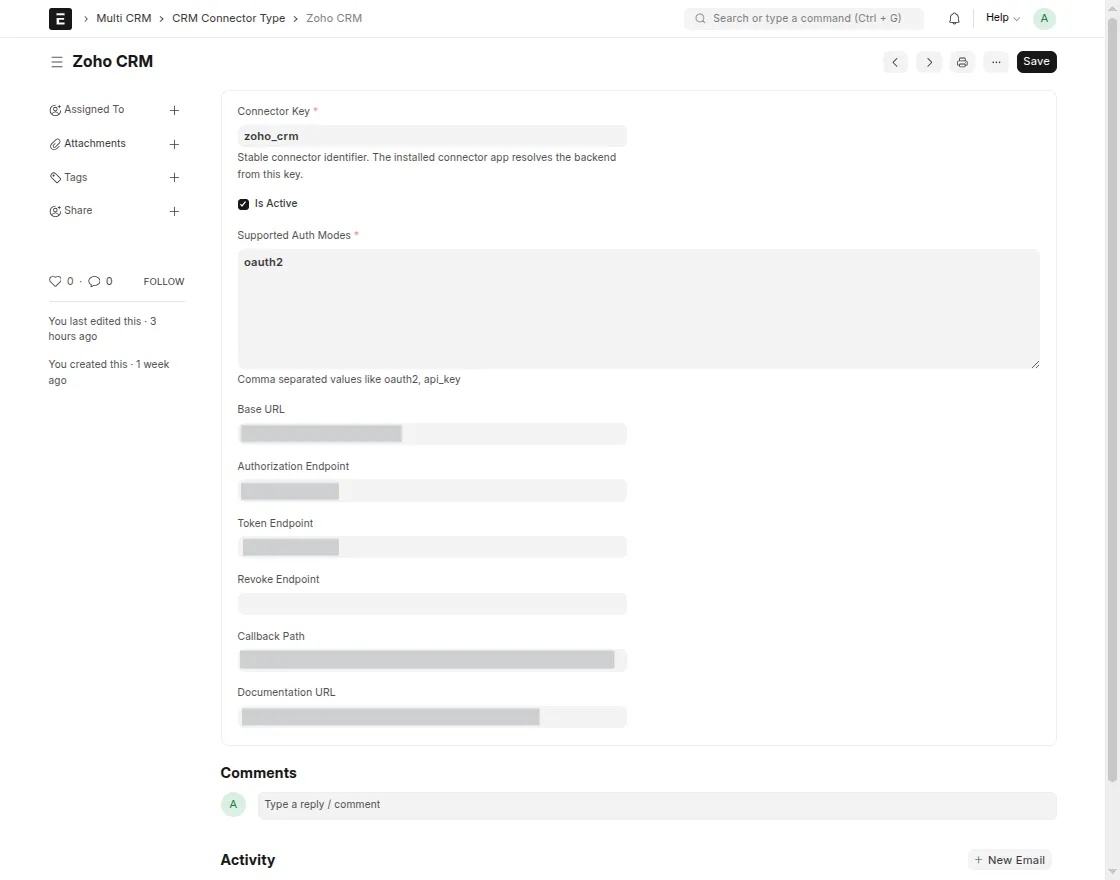
2. Next, fill in all the required fields on the Connector Types page. Enter the Connector Key, choose the Supported Auth Mode, and provide the Zoho Base URL, Authorization Endpoint, Token Endpoint, Revoke Endpoint, Callback Path, and Documentation URL. After that, click on Save.
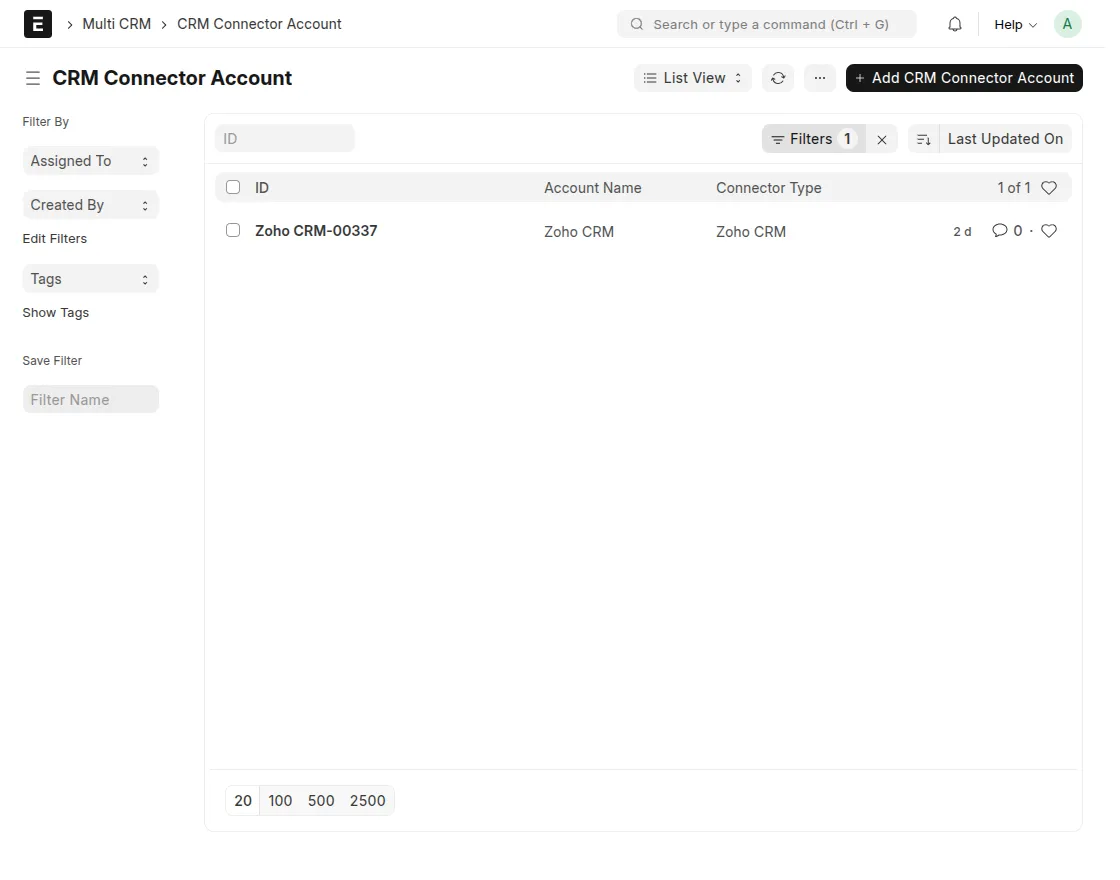
3. After that, click on Connector Accounts to set up your connection.
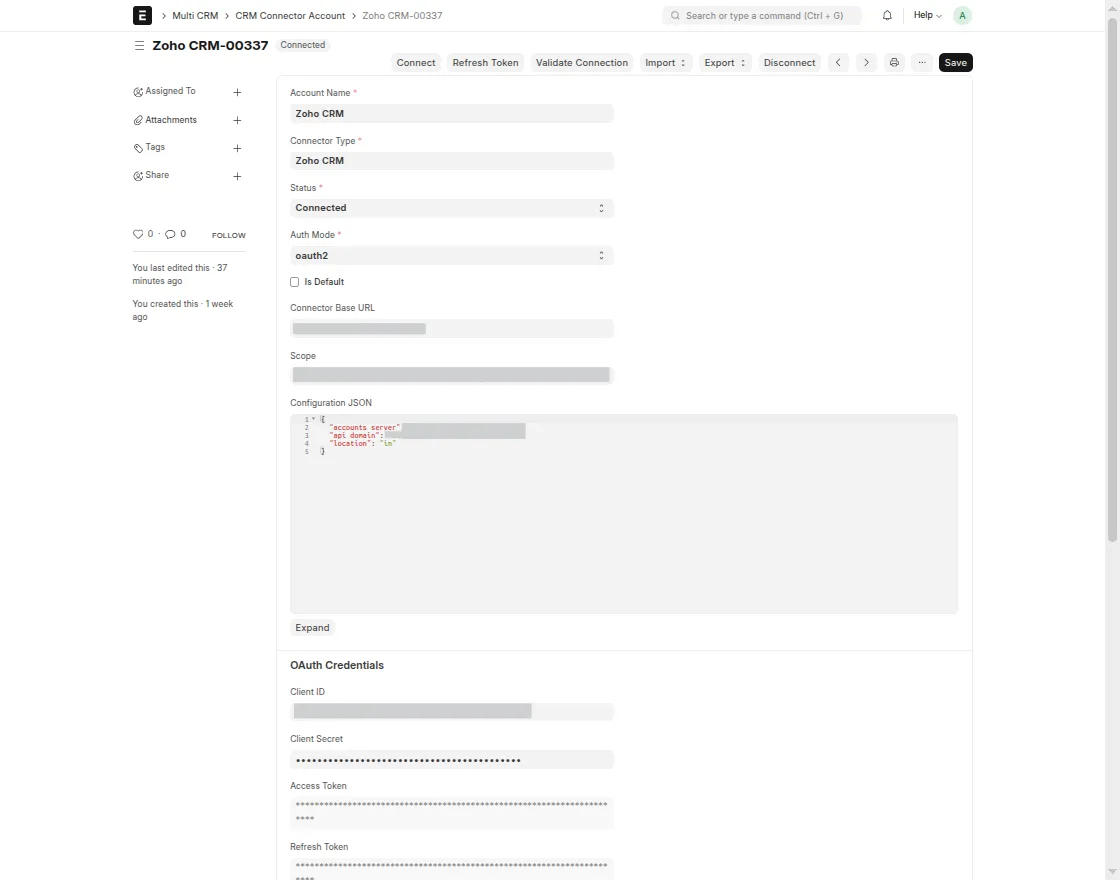
4. In the Connector Accounts form, enter the account name, select the connector type and auth mode, and then add the Zoho base URL along with the client ID and client secret generated from the CRM. Then click on Save and Connect, and verify the connection status by clicking on Validate Connection.
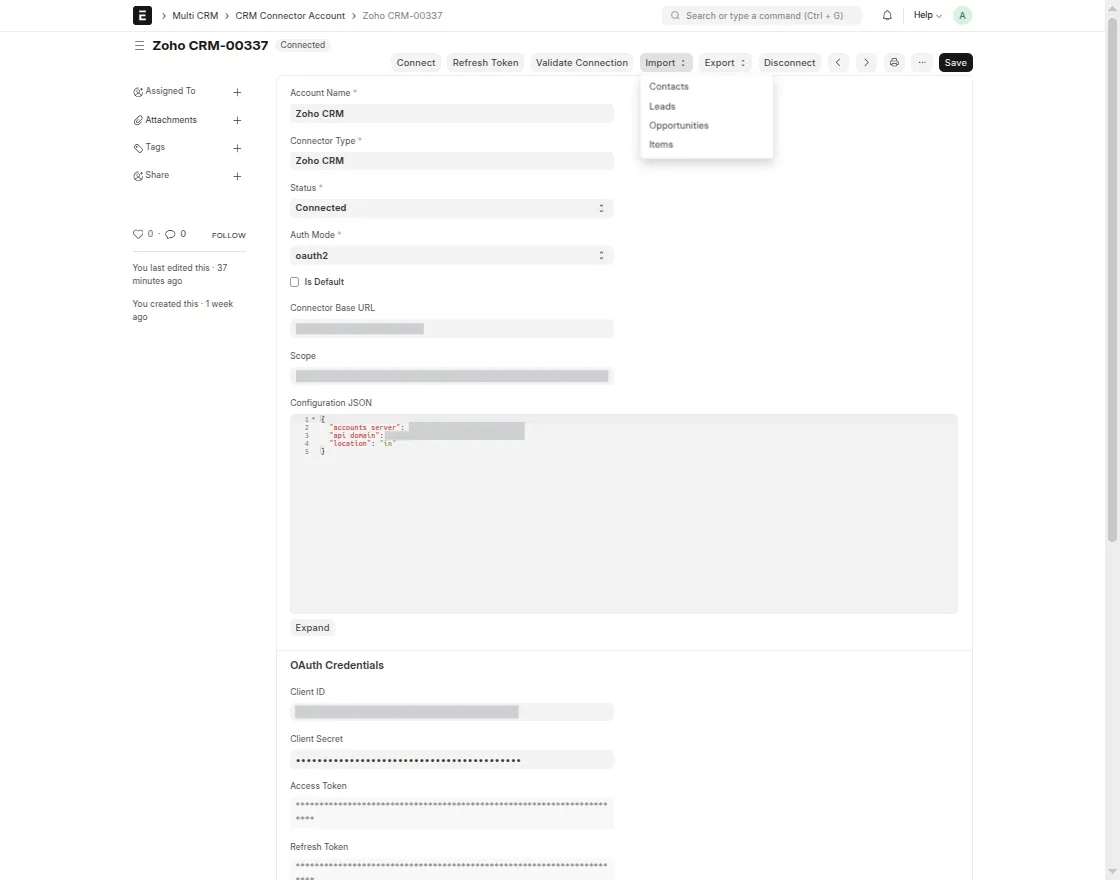
5. Here, you can perform bidirectional synchronization of records such as contacts, leads, opportunities, and items from Zoho into ERPNext.
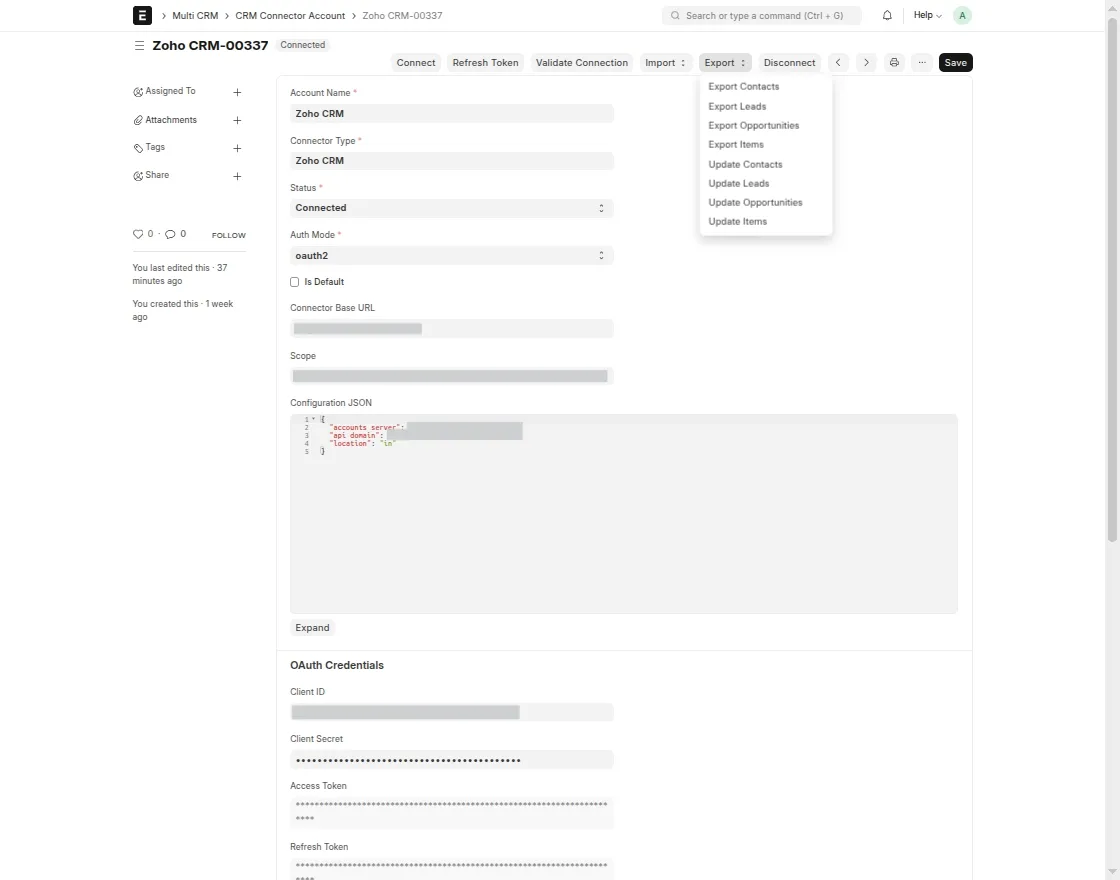
6. You can also sync and update records such as contacts, leads, opportunities, and items between ERPNext and Zoho.
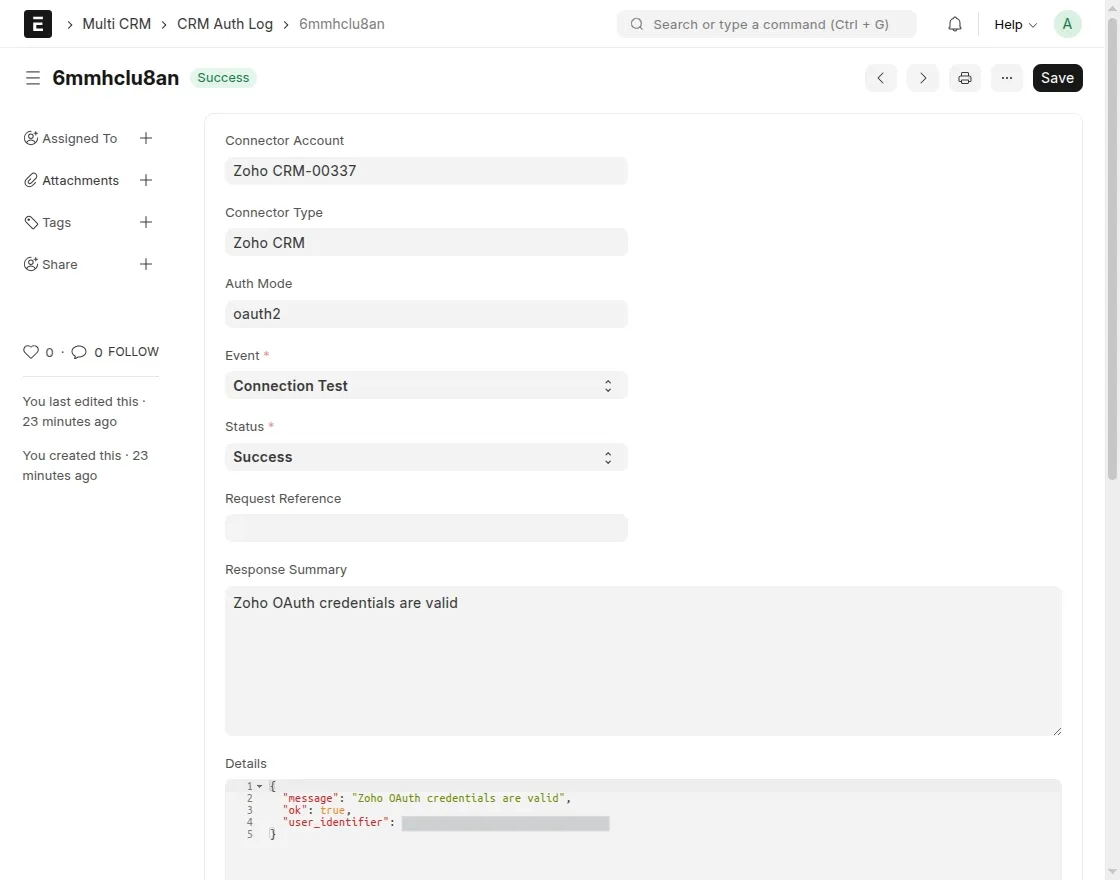
7. After that, click on Authentication Logs from the ERPNext dashboard to review the connection status and check authentication details like Connector Account, Connector Type, Auth Mode, Event, Request Reference, and Response Summary.
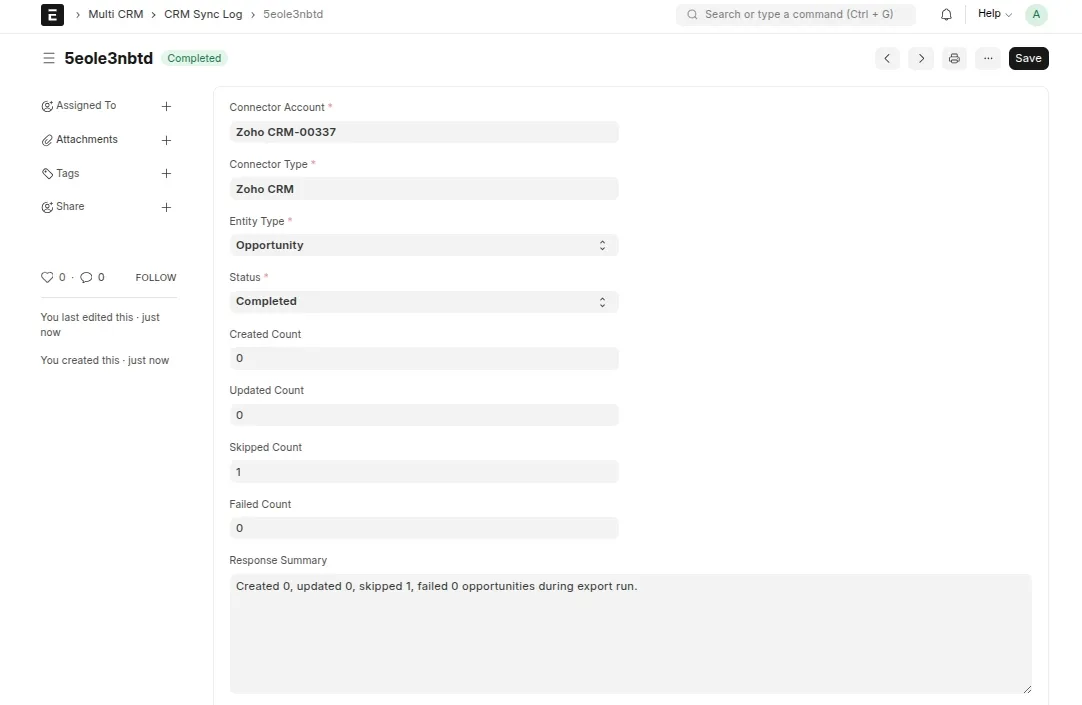
8. Then, click on Sync Logs from the ERPNext dashboard to view all the records that are synchronized between ERPNext and Zoho.
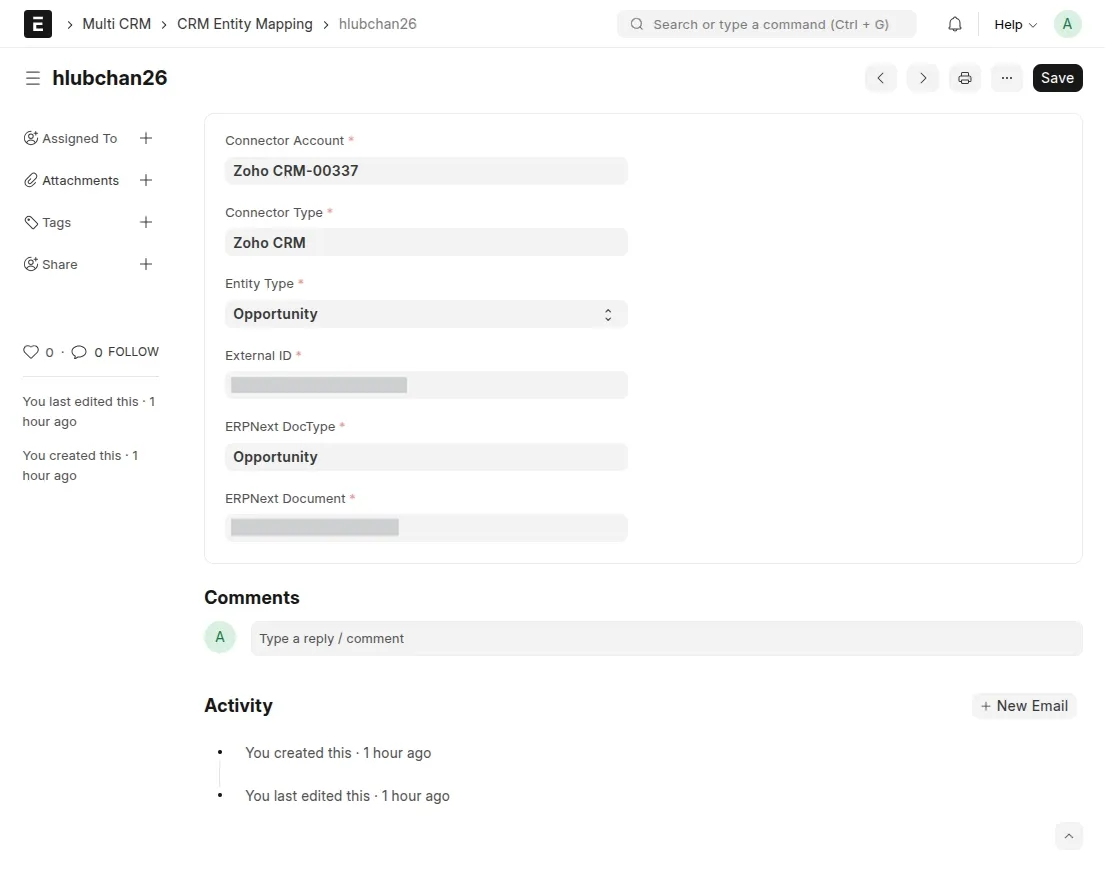
9. Finally, click on Entity Types from the Multi CRM dashboard to check all the records that are mapped between ERPNext and Zoho.
Client id and Client Secret Generation in Zoho: –
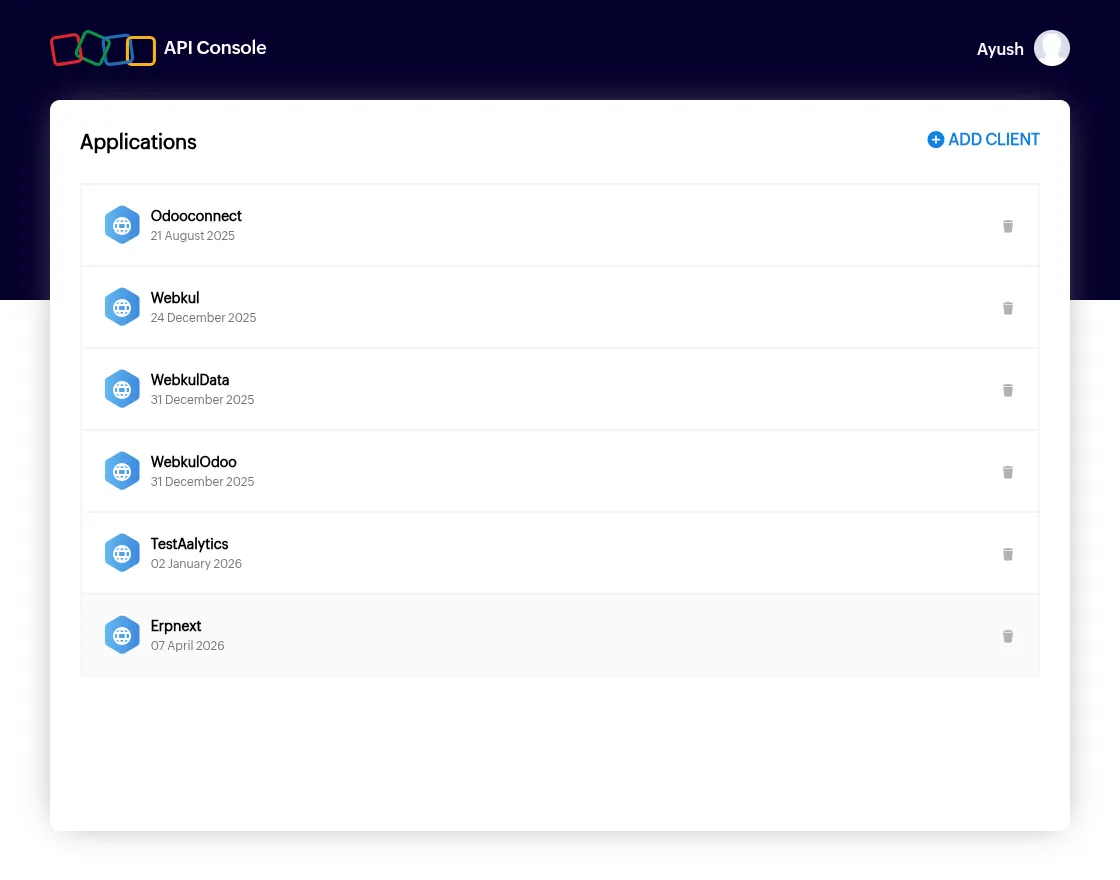
1. For generating the client ID and client secret ID, open the developer console Zoho CRM and click Add Client.
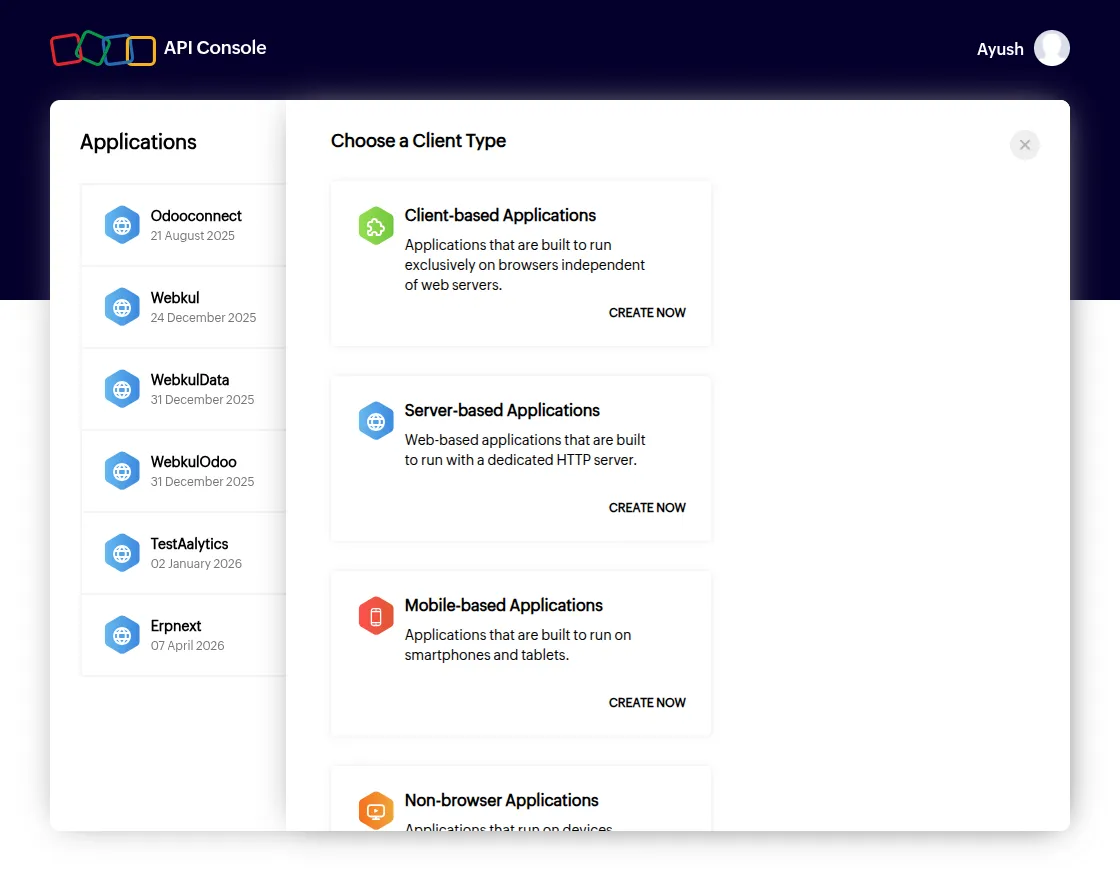
2. After that, select and click on Server-Based Applications to create a new server-based application.
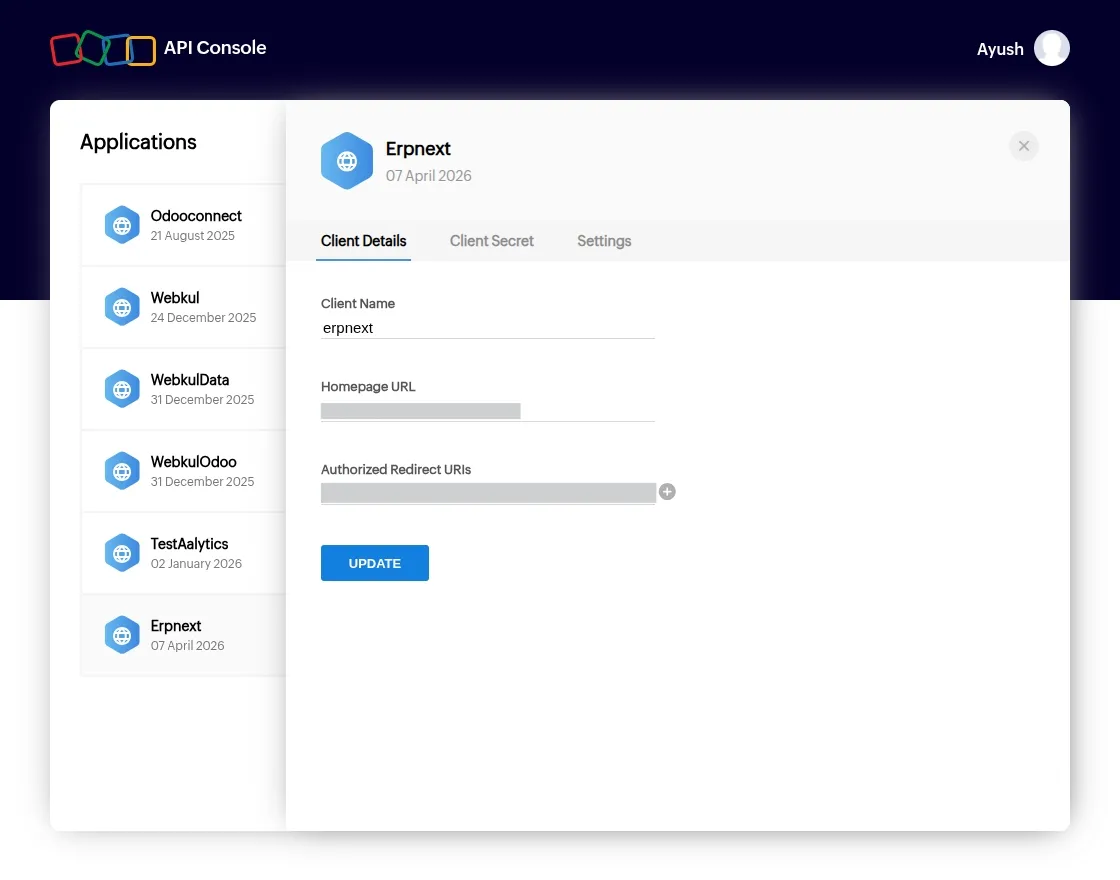
3. After that, an empty form will appear. Fill in the details such as Client Name, Homepage URL, and Authorized Redirect URIs, and after finishing, click on Create.
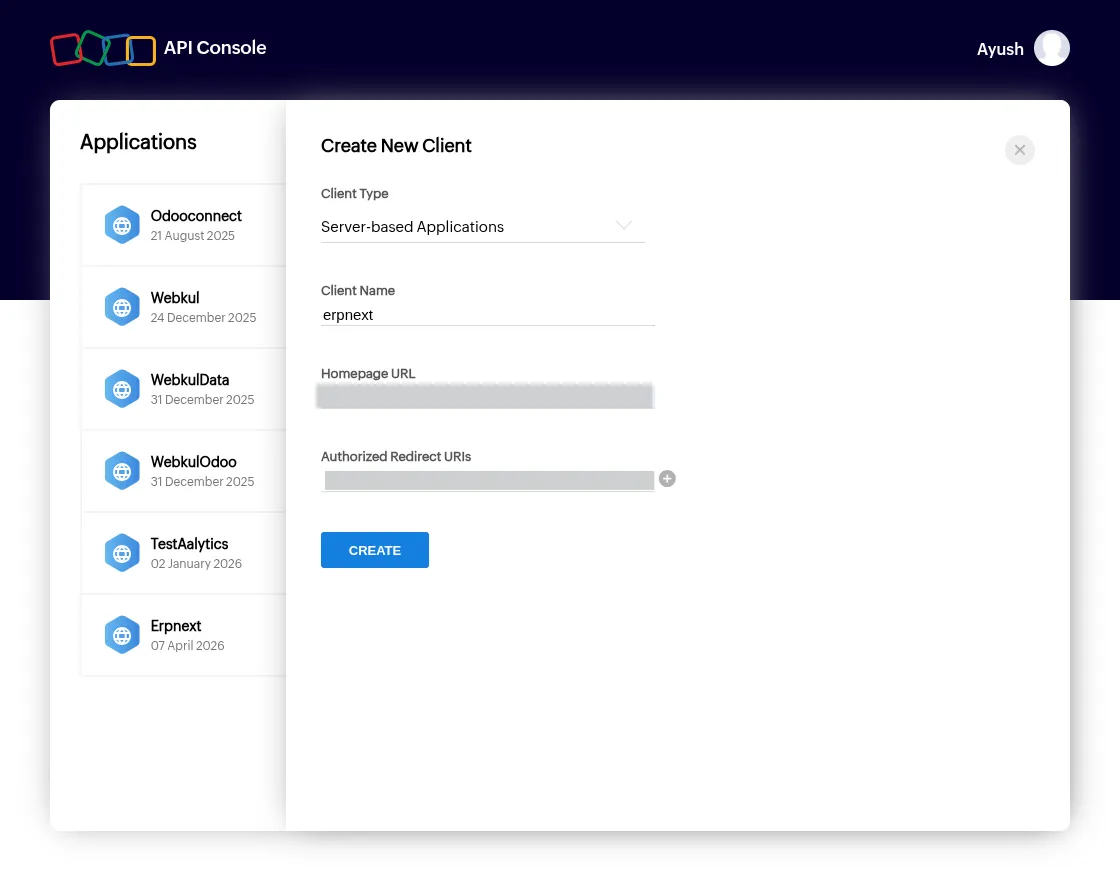
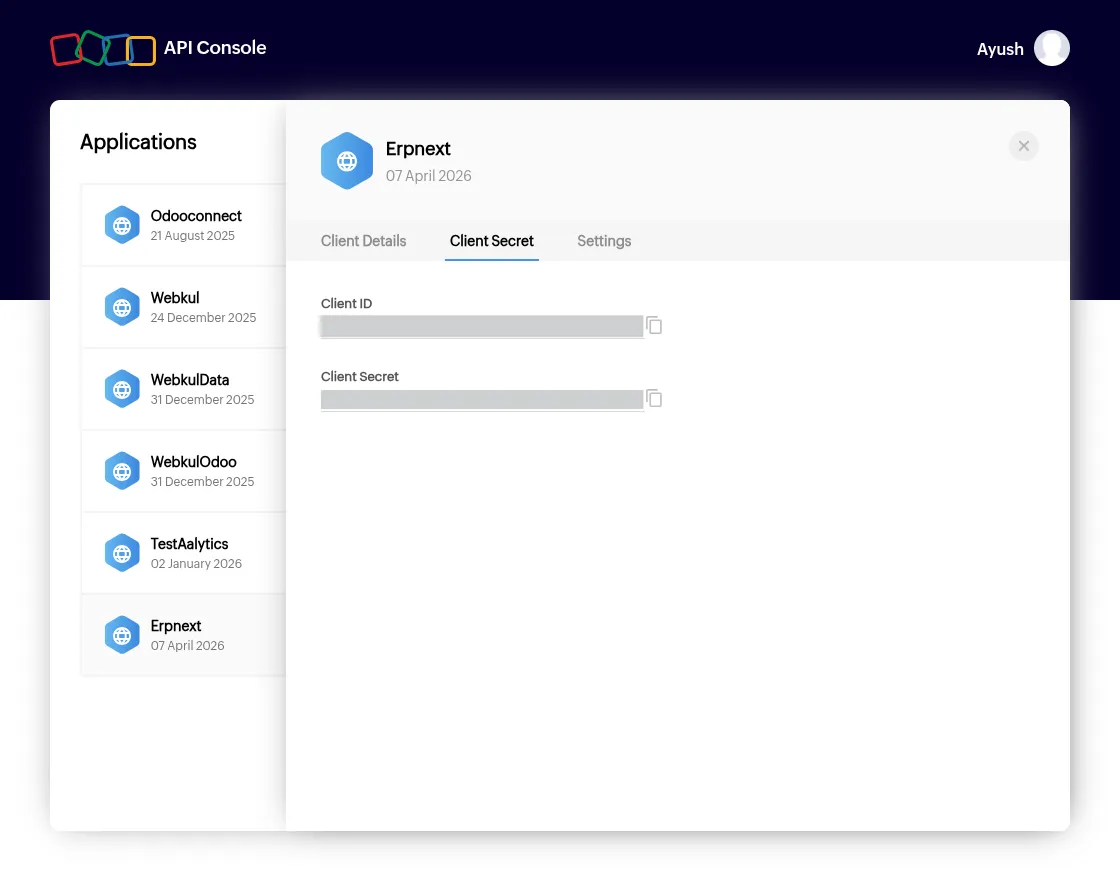
4. Upon creating the server-based application, you will receive the client ID, client secret, and other details, which can be used to set up the connection with ERPNext.
Need Help?
Hope you find guide helpful! Please feel free to share your feedback in the comments below.
If you still have any issues/queries, please create a ticket at the UV Desk.
I hope this helps. In case of any further queries, contact us at our support mail.
Thanks for paying attention!!
Current Product Version - 1.5.0
Supported Framework Version - ERPNext V15

Be the first to comment.