Salesforce Wedgecommerce allows the admin to create and manage a store front at Salesforce end. The concept of template has been provided at backend which allows the admin to design store as per template. This document will help you to configure frontend template of Salesforce Wedgecommerce.
CONFIGURE TEMPLATE

- Click on “configure” to manage the settings of Template.
Display of Template Components

The above image displays the objects in the end of template. The option to configure central showcase, footer menu links, header links, image slider in the position of banner, logo of store, frontend panels, listing of social icons and footer text is available.
Central Show Case
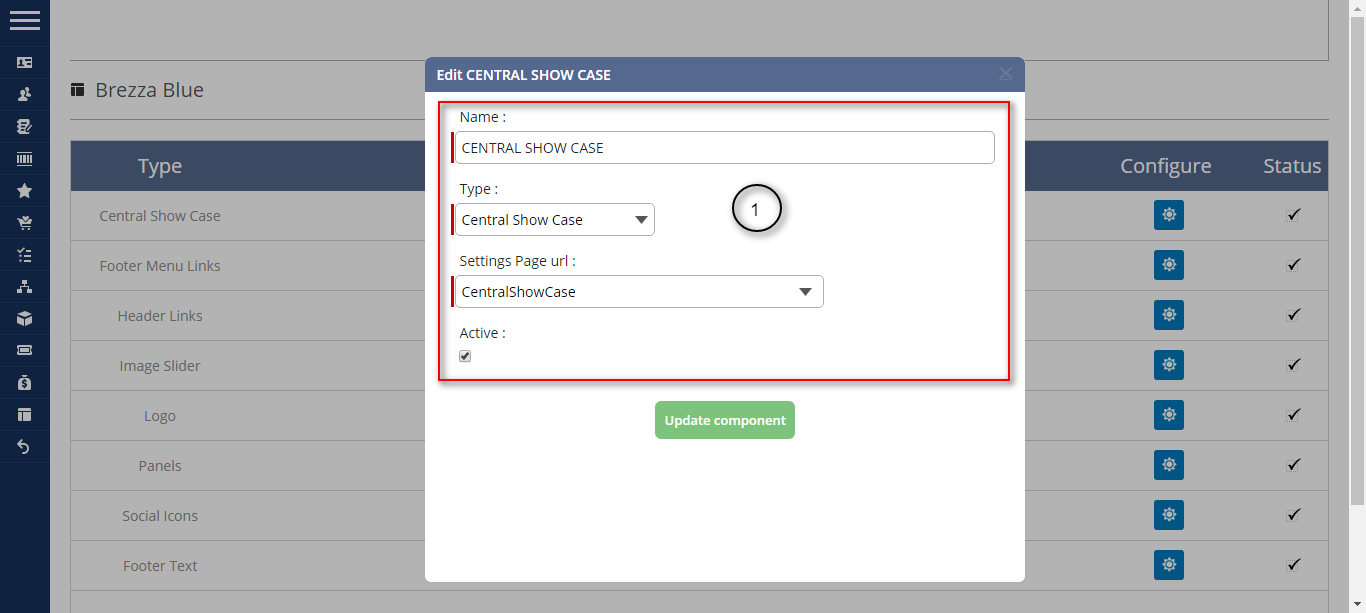
- Enter a name.
- Select the type as “Central Show Case” from the drop-down provided.
- Choose “CentralShowCase” as the settings page URL. Click to active the object at frontend.
Footer Menu Links
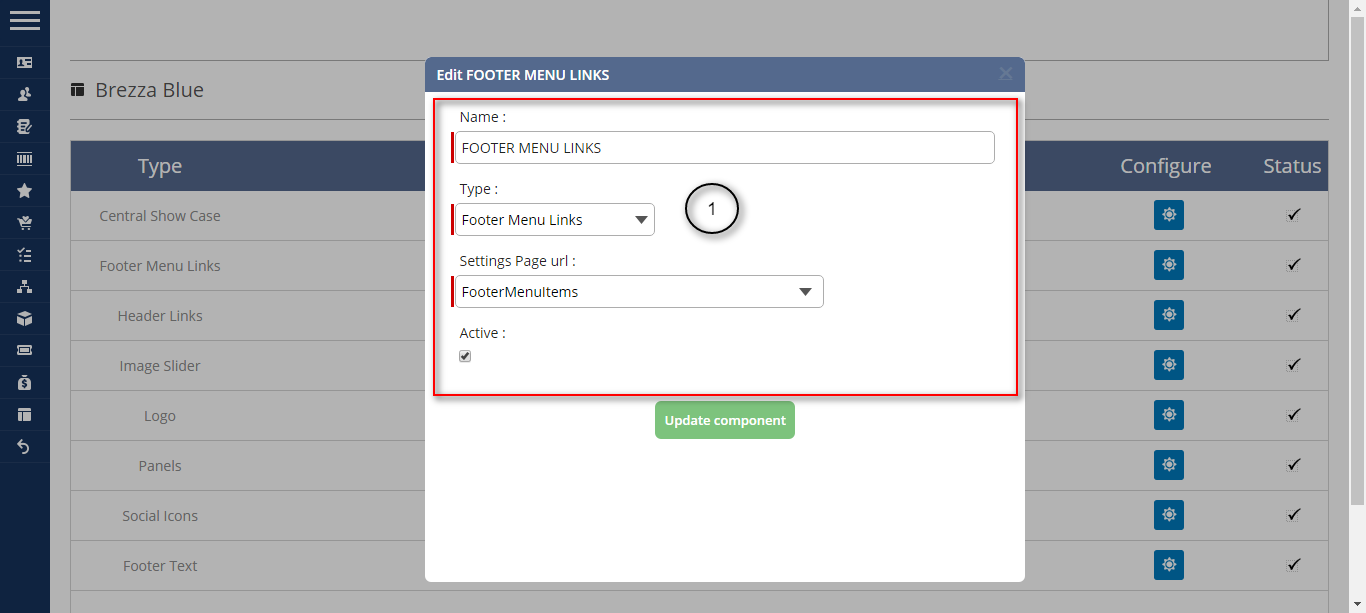
- Enter a name.
- Select the type as “Footer Menu Links” from the drop-down provided.
- Choose “FooterMenuItems” as the settings page URL. Click to active the component at frontend.

- 1. Click on “+” to create a menu link.
- 2. Option edit/delete the link is available.

- Select the type from the drop-down.
- Click to active the field at store end.
Header Menu Links
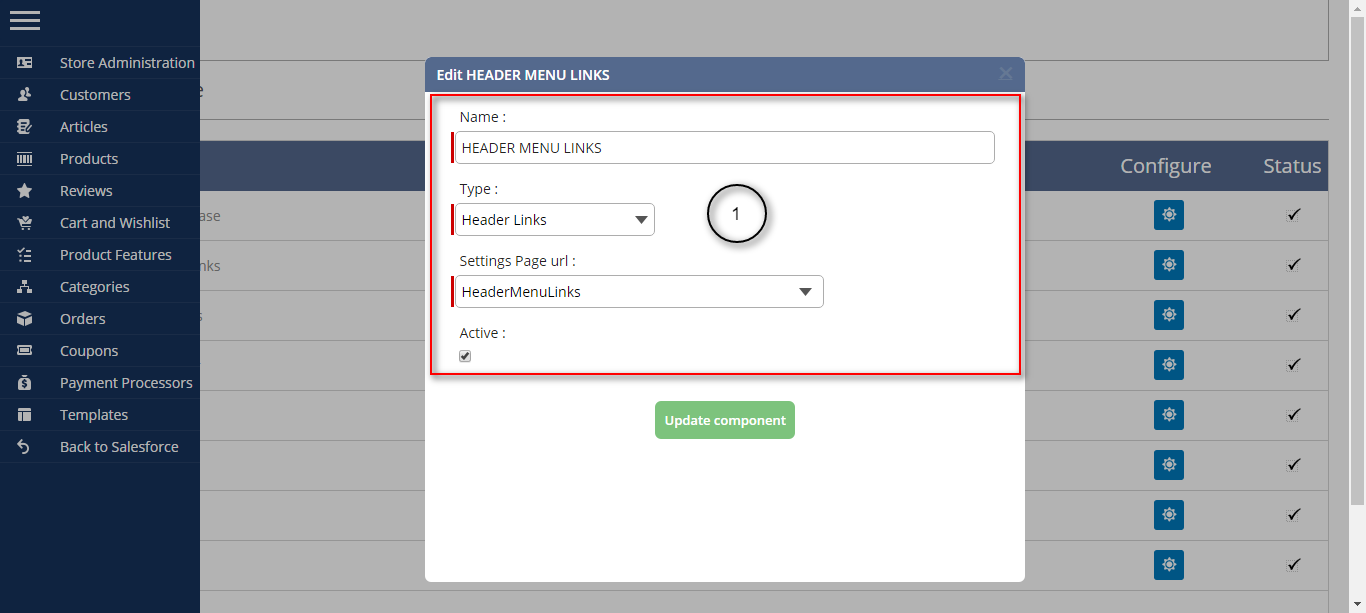
- Enter a name.
- Select the type as “Header Menu Links” from the drop-down provided.
- Choose “FooterMenuLinks” as the settings page URL. Click to active the component at frontend.
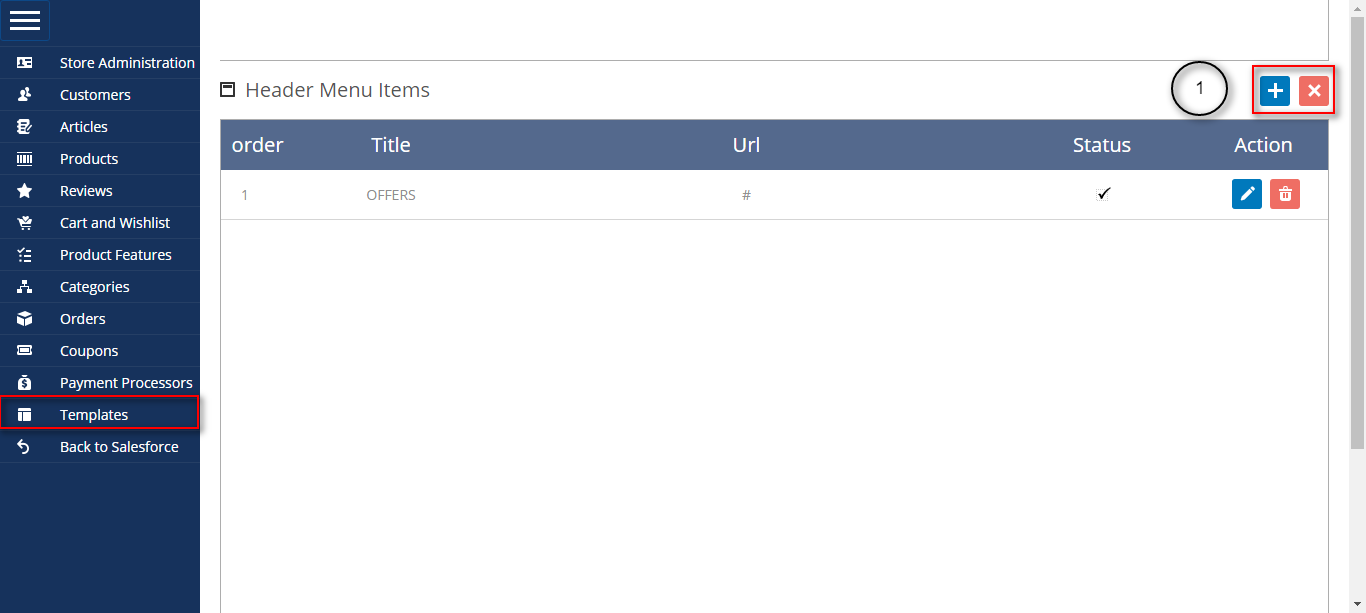
- Click on “+” to create a link.

- Enter a title for the header menu.
- Select a type from the drop-down.
- Click to active it at frontend.
- Set a order number based on which the fields will be arranged in a numeric sequence.
Image Slider

- Enter a name.
- Select the type as “Image Slider” from the drop-down provided.
- Choose “ImageSlider” as the settings page URL. Click to active the component at frontend.

- 1. Click on “+” to add an image.
- 2. Option to edit/delete the image is provided.
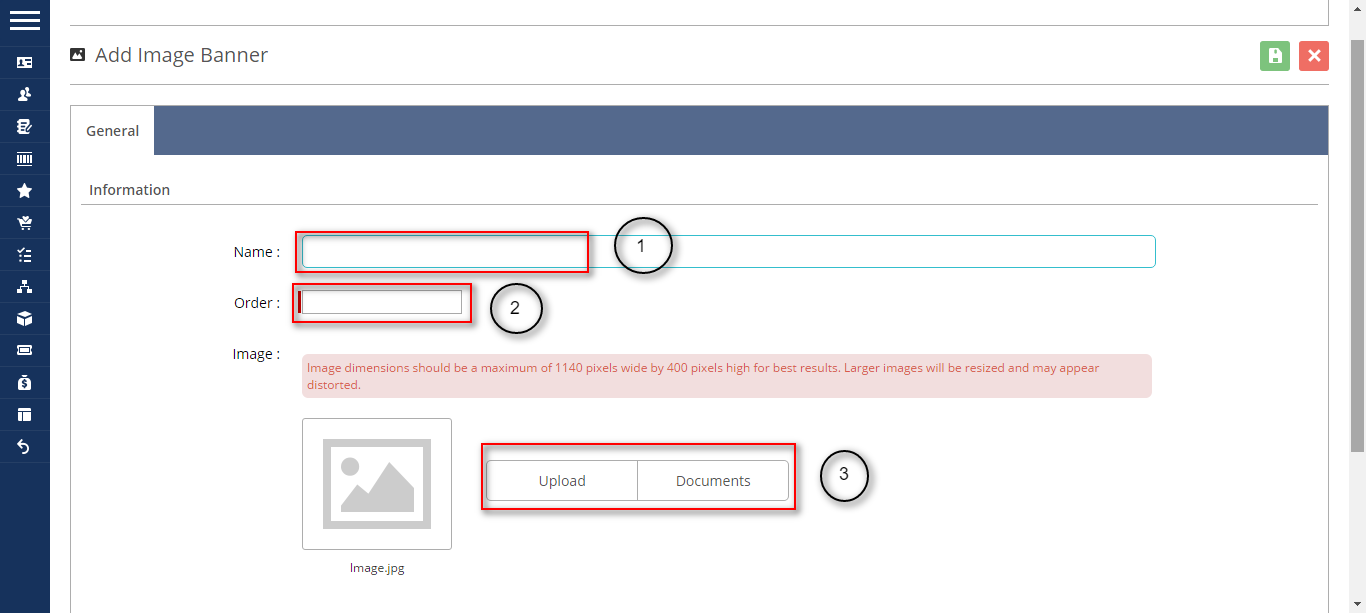
- 1.Set a name for the image to be uploaded.
- 2.Set a order number based on which the images will be arranged in a numeric sequence.
- 3.Upload the image.
Logo
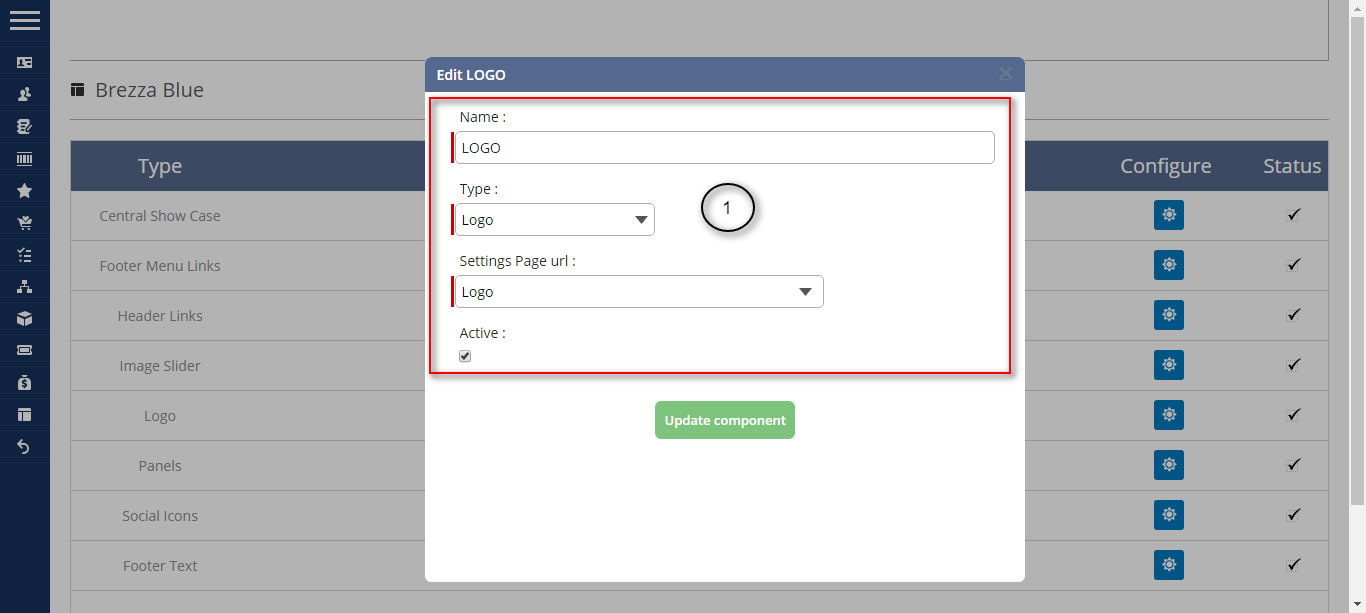
- Enter a name.
- Select the type as “Logo” from the drop-down provided.
- Choose “Logo” as the settings page URL. Click to active the component at frontend.
Panels

- Enter a name.
- Select the type as “Panels” from the drop-down provided.
- Choose “ShowCasePanels” as the settings page URL. Click to active the component at frontend.
Social Keys

- Enter a name.
- Select the type as “Social Icons” from the drop-down provided.
- Choose “SocialMediaListing” as the settings page URL. Click to active the component at frontend.
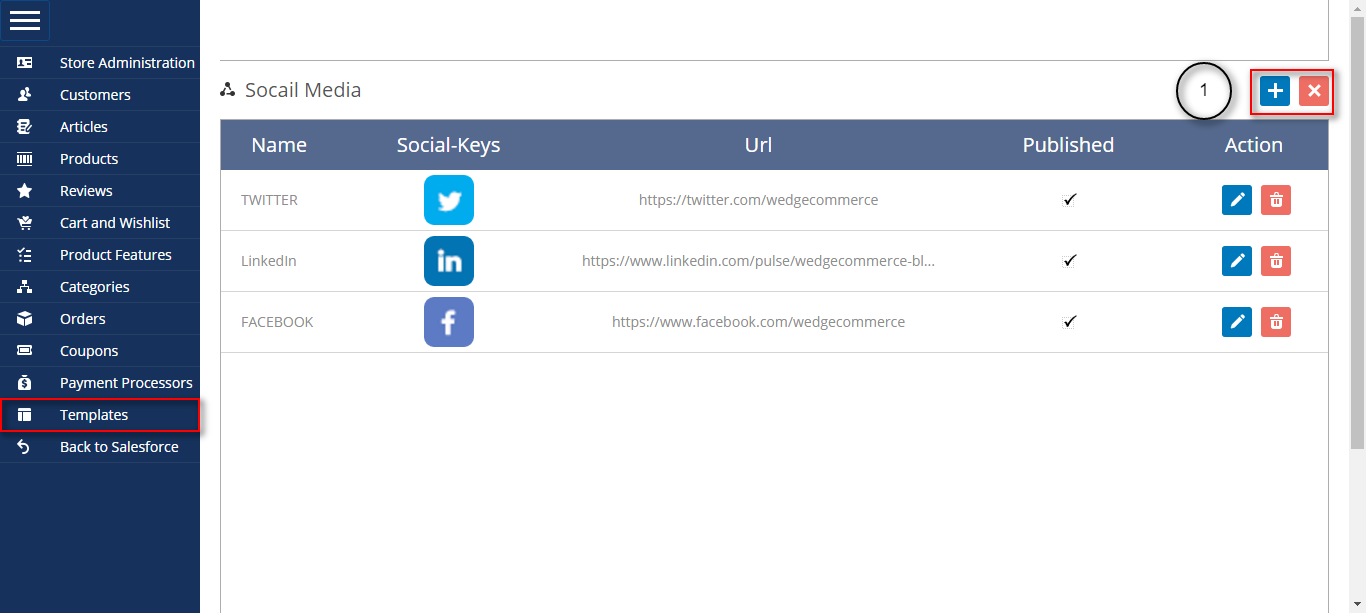
- Click on “+” to list a social media at store end.
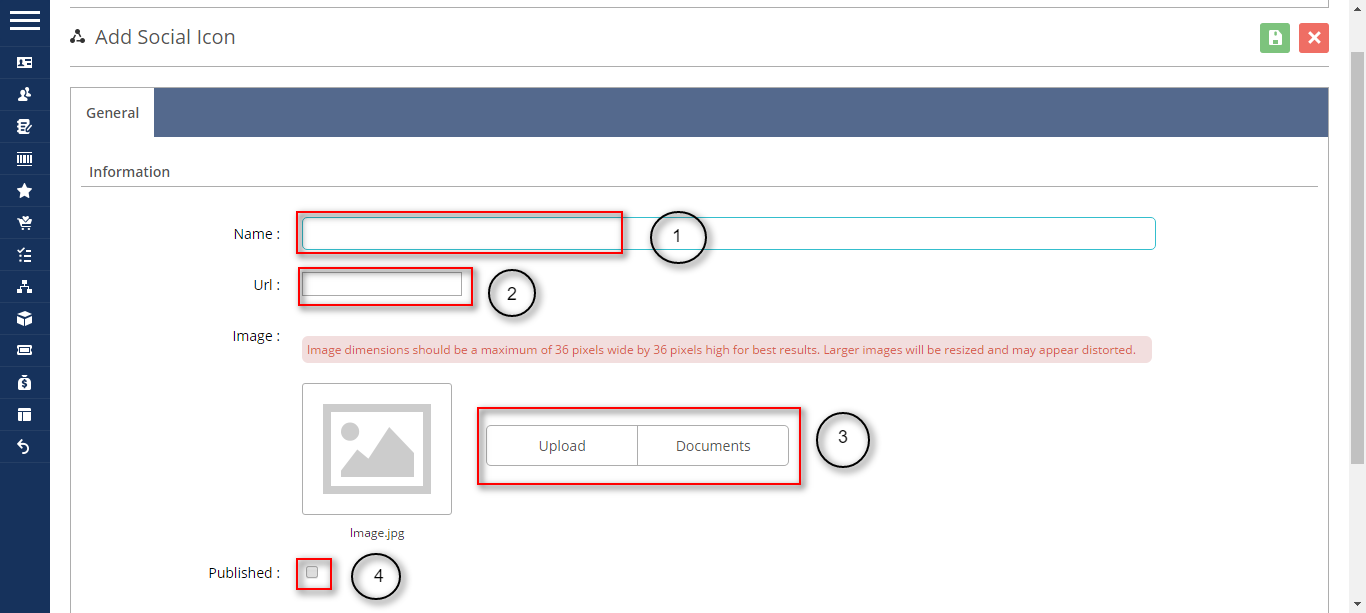
- 1. Enter the name of social media.
- 2. Enter the URL of the social page.
- 3. Upload the icon of the social media.
- 4. Click to publish the social listing.
Footer Text

- Enter a name.
- Select the type as “Footer Text” from the drop-down provided.
- Choose “FooterText” as the settings page URL. Click to active the component at frontend.
To know more about Salesforce Wedgecommerce please view the site http://wedgecommerce.com/. For further any query please create a ticket at http://webkul.uvdesk.com

Be the first to comment.