This User Guide only describes the workflow of Odoo SaaS Custom Plans. Read the User Guide for Odoo Saas Kit to know the workflow of Base Module: Odoo SaaS Kit.
INTRODUCTION
Offer Odoo Saas with a Subscription Plan with Odoo Saas Custom Plans!
Odoo Saas Custom Plans helps the business to provide Odoo Saas Platform with installed apps on a subscription basis. The Admin can create multiple Odoo Saas platforms from a single place with different Odoo Versions as demanded by customers.
It provides powerful configurations that help the admin manage Odoo Saas with required apps by customers efficiently.
FEATURES
- Make various Odoo Saas from a Single place.
- It allows admins to create Odoo Saas with different Odoo Versions.
- Admin can offer different Odoo Apps with Odoo Saas.
- They can provide various Subscriptions to customers for the installed apps.
- The admin can also offer free users to customers for the selected apps.
- It allows the admin to set Odoo Saas to on a category basis.
- The Business admins can extend or hold the contracts of customers.
- The Module allows easy Saas Server Connectivity and Server Status Tests.
Make a backup of Odoo Saas with Odoo Saas Kit Backup that helps the business admins to take backups of Weekly/Monthly/Daily time.
The module is dependent upon its base module- Odoo SaaS Kit, which needs to be installed first for Odoo SaaS Custom Plans to work properly.
INSTALLATION
- After purchasing the module, a link will be provided to download a zip file.
- Extract the file and a folder name ‘saas_kit_custom_plans’ will be visible.
- Copy the folder to the Odoo add-ons path.
- Open the Odoo app, and click on settings. Then, Click on Developer Mode.
- Now, open the Apps Menu and click ‘Update Module List’.
- At the search bar, remove all filters and search ‘saas_kit_custom_plans’.
- And Click on Install for Installation. Kudos!
Before moving further, explore our Odoo development services & an extensive range of quality Odoo Apps.
WORKFLOW
Configurations:
- After the Successful Installation of the module, route to Saas Kit from the Odoo menu and Open Saas Server.
- To set up Connections for Odoo Saas, fill in the required details on the page.

- Now, to test the connection status click on “Test Connection”.

- To add modules on their category basis, Route to Odoo “Saas Kit >> Module Categories”.
- On this Module Category Page, you can view the list of already created categories and to add a category click on New.

- Fill up the required details and click on the Save button to save the changes.

- To Set the Odoo Version for the Odoo Saas instance, add the Odoo Version that can be configured during instance creation.

- On this page, click on New to create a new Odoo Version and fill in the needed details. And Click on Save.

- To Add apps for the Odoo Saas that can be selected by customers while purchasing, you need to navigate to the path Saas Kit >> Configurations >> Modules.

- On this page, you can see the already created module. To create a new module Click on NEW.
- On this page, Fill in the required details and click on Save.

Saas Plans:
Create a Plan:
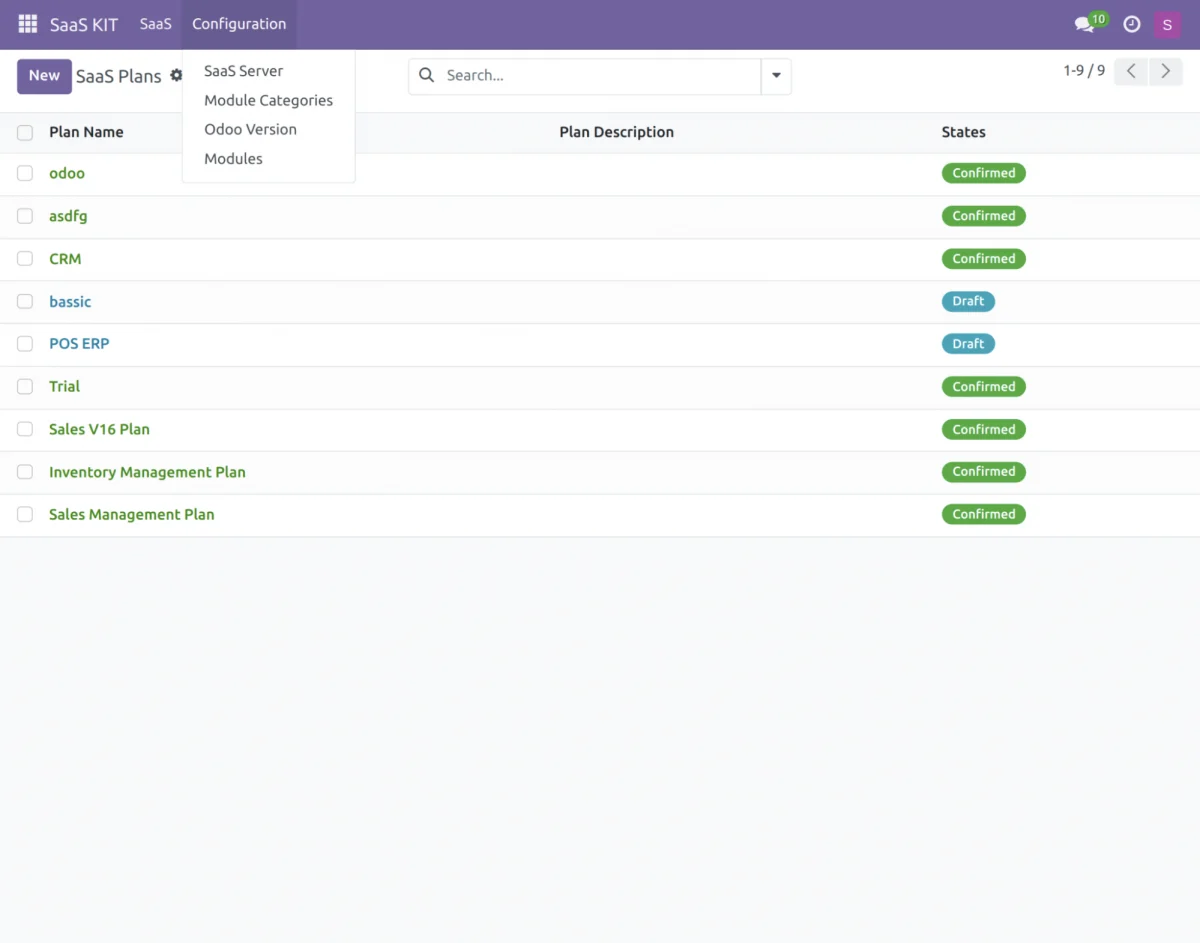
- To create a plan navigate to Saas >> Saas Plans. There You can view a list of already created plans.

- On this page click on New to create a new plan. Fill in the required details and Click on Save to save all the configurations.

- To View On Live Contract route to Saas >> Live Contracts. Here you can see the contracts that are in use by the customers.

- For Viewing On Trial Contacts route to Saas >> Trial Contracts and see the list of contracts that are on running as trials for the apps.

- To view all contracts with the status route to Saas >> All Contracts you will be able to see all contracts that are for the Request for approval as well as confirmed.

- You can see all the registered clients from Saas >> Saas Clients with a list of registered clients.

Instance Deployment and App Purchase:
- To purchase the module, route to the home page of the website.

- Select the option of “Select your own apps”

- Input the number of Users and modules for the purchase.

- The module will proceed to the final checkout page listing the number of items added for final proceedings.

- After Successful payment, a message will appear there with a green text box.

- Now, route to the admin page for providing approval on the app for the purchase.

- On the admin side, route to Saas >> All Contracts and select the user request for approval.

- On selecting the user request, and a page will appear that says to fill up and check a few important details.
- Fill in the required details and click on the Button “Create & Confirm Client”. To create the Odoo Saas Instance.

- After creating the instance you can see various other options such as “Send Invitation Mail”, “Extend Contract” and “Hold Contract” which allows the user to hold authority over the created instance with the installed app. You can Copy the Domain name and hit the URL to test the instance.

- The instance will open when hitting the URL which the Customer can use as per their opted price plan.

NEED HELP?
Hope you find the guide helpful! Please feel free to share your feedback in the comments below.
If you still have any issues/queries regarding the same, please raise a ticket at the UV Desk.
I hope this helps. In case of any further queries, contact us at our support mail.
Thanks for paying attention!!

Be the first to comment.