CS-Cart Stripe Connect Custom Account: This magnificent extension allows user to integrate their CS-Cart platform with Stripe Connect.
Through Connect, the site can interact with both standalone and custom stripe accounts.
Via this add-on CS-Cart platform gets linked with a Stripe Custom account which will be completely invisible to account holders.
Also, the admin is responsible for every interaction with his users.
For a detailed understanding please click the link provide https://stripe.com/docs/connect/managed-accounts.
Also, If you are looking for an extension that connects your POS store with POS stripe terminal. So you can explore our CS-Cart Stripe POS Terminal Connector.
Check a brief overview of the plugin –
Features
- Well integrated with CS-Cart Multivendor.
- Easy to manage and configure at the admin end.
- Advanced backend options for Admin to configure Stripe connect.
- Also Supports popular payment options which include Visa, Mastercard, American Express etc.
- Admin has the functionality to set vendor commission.
- During checkout, the total amount customers pay includes vendor amount and admin’s commission.
- Moreover, Customers and vendors have the accessibility to view the details of the primary recipient i.e. the admin of the site.
- Admin has the functionality to allocate the payment and cost of services provided to vendors.
- Also, the add-on includes the concept of payment via Stripe.
- For “checkout.js” the user of the store has the option of payment via card, Alipay, and BITCOIN.
- Details of payment via Stripe can be viewed at the admin end.
- In addition, a separate page has been provided to list the vendor account details.
- The functionality of refund, delay time, and cancel payment is available.
- In addition functionality to add an additional surcharge to the vendor’s order is available. The charges will be applicable to vendors.
- The option to set a delay time for transactions to the vendor’s account is available.
- Besides this Cancellation of vendor payment is possible via admin before executing transactions with respect to vendors.
- Sellers can link an existing Stripe account or set up a new one using our integrated Stripe Connect add-on.
Recurring Payment method
Note: Utilising the recurring payment option in the Stripe payment gateway requires the recurring access payment addon.
You have to install the Recurring Payment Access addon for using this feature.

After installing the add-on you have to enable it from the admin panel. You have to select the method for recurring payments.

Then, you have to go to the product list and select the product on which you want to create the recurring payment option Products>product
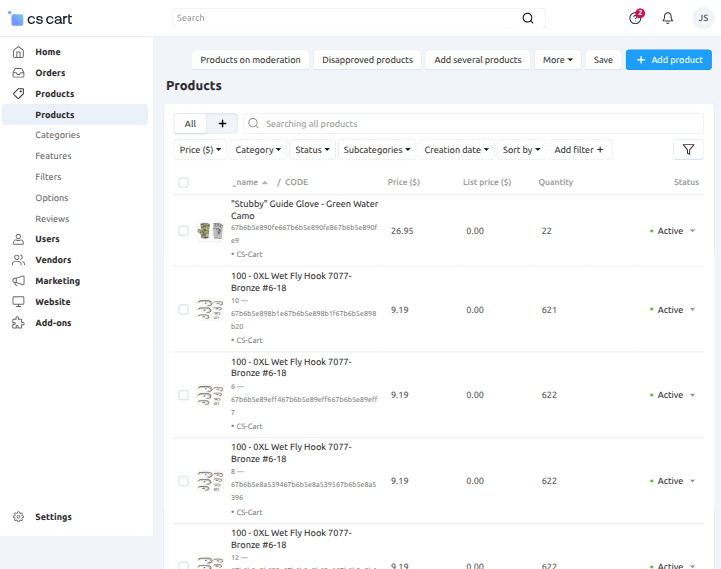
After, selecting the product, click on the option Stripe Recurring then you can add the initial amount and the recurring amount and the recurring type.

- Recurring Type: By selecting this you can set the recurring cycle, it may be daily, weekly, monthly, or yearly basis.
- Interval Count: Set the Interval count time for payments.
- Iteration: Set the iteration for payments.
- Initial Amount: This amount refers to the amount payable at the start of the subscription of the product like a downpayment.
- Recurring Amount: This amount will be the amount that will be debited from the customer’s account on the basis of the selected subscription plan.
After filling in all the details click on the Save button.
Customer View
When the admin assign the product as a subscripted product, the customer able to see the subscritption button beside add to cart button.

The customer have the option to subscribe the product. When the customer click on the subscription button a dialog box appear mentioned below.
From there the buyer can select the starting date and subcription plan as per needed.

When the customer select the subscription plan then it come to payment of the subscription and redirect to the checkout page.

When you click on the Place Order the customer is redirect to the card details page where buyer have to fill the email ID, card information, billing address details and click on Subscribe button.

After clicking on the Subscribe button, buyer will get order confirmation.

CS-Cart Stripe Connect custom Account
Configuration at Stripe end
Firstly Go to the manage add-ons page. Browse and select the zip file, upload, and install.
Now go to the Stripe Connect Dashboard then login with your credentials. After that Click on “Developers” as shown below in the snapshot.

Click API keys as per the mode selection and use the credentials provided.
 Finally, click on the +Create button and then click on “Activate your account” to activate Stripe custom account.
Fill out the form and submit it. Wait for the approval from Stripe end to use the custom account.

How to upload and install
After downloading the CS-Cart Stripe Payment Gateway add-on you’ll get one zip file, one install.txt file, and a relevant User Guide manual doc.
Read it carefully for proper configuration.
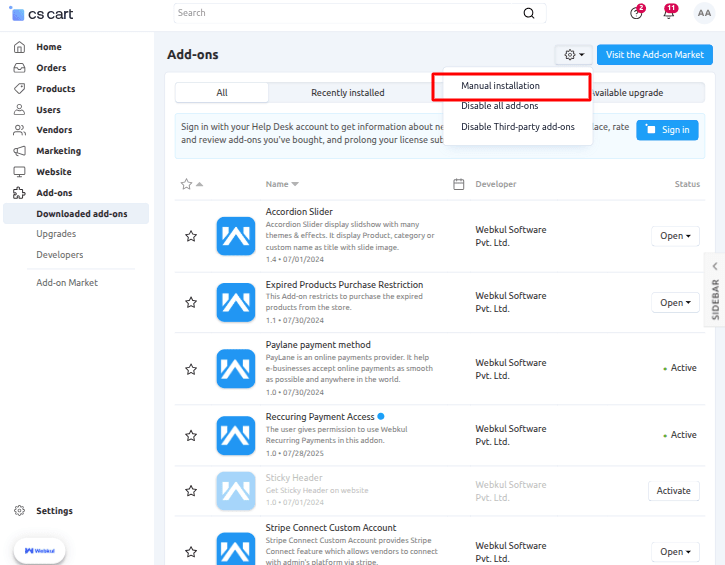
Go to Add-ons>> Developers >> Webkul Software pvt.ltd , and click on “Manual Installation” as shown below in the snapshot.
Click on “Local” to browse the zip file and then click on “Upload & Install” as shown below in the snapshot.

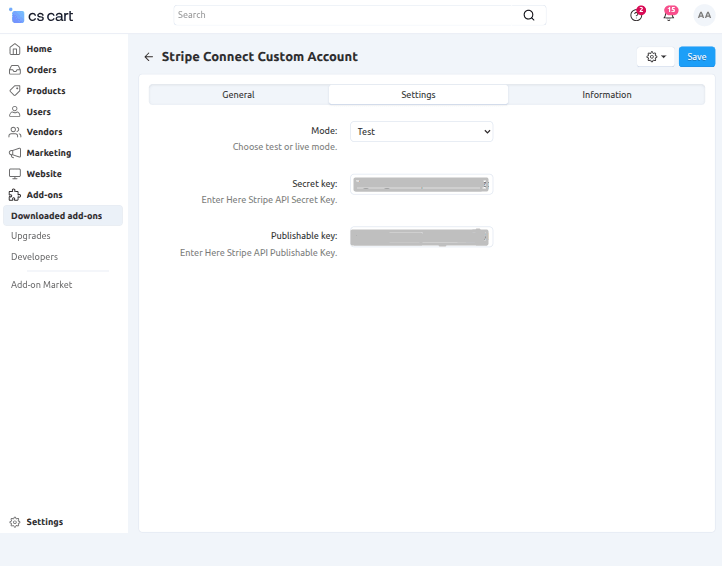
Select the mode and based on which enter the credentials provided by Stripe.
Go to “Settings” and click on “Payment Method”.
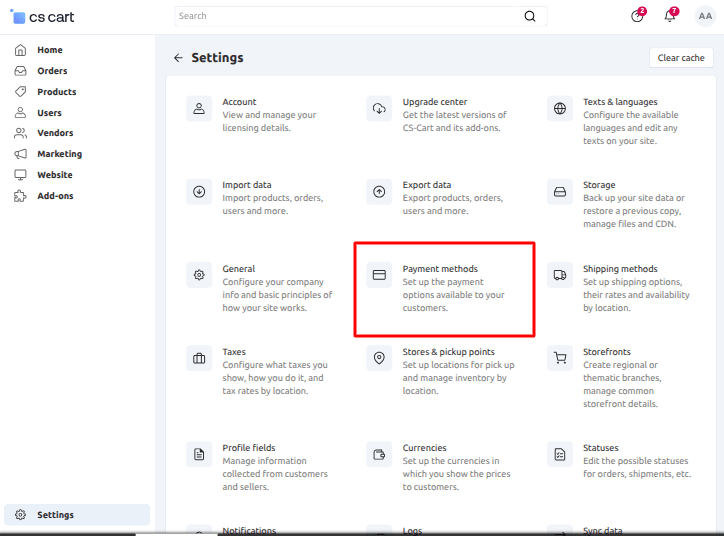
Click on “+” to create a new payment method.
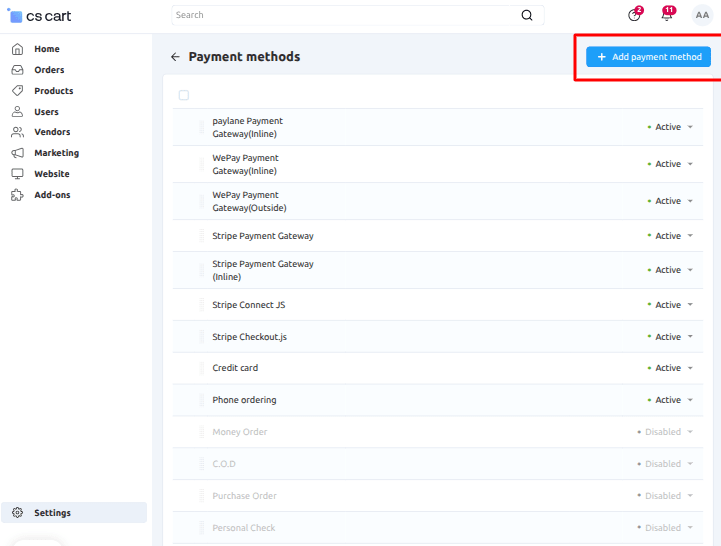
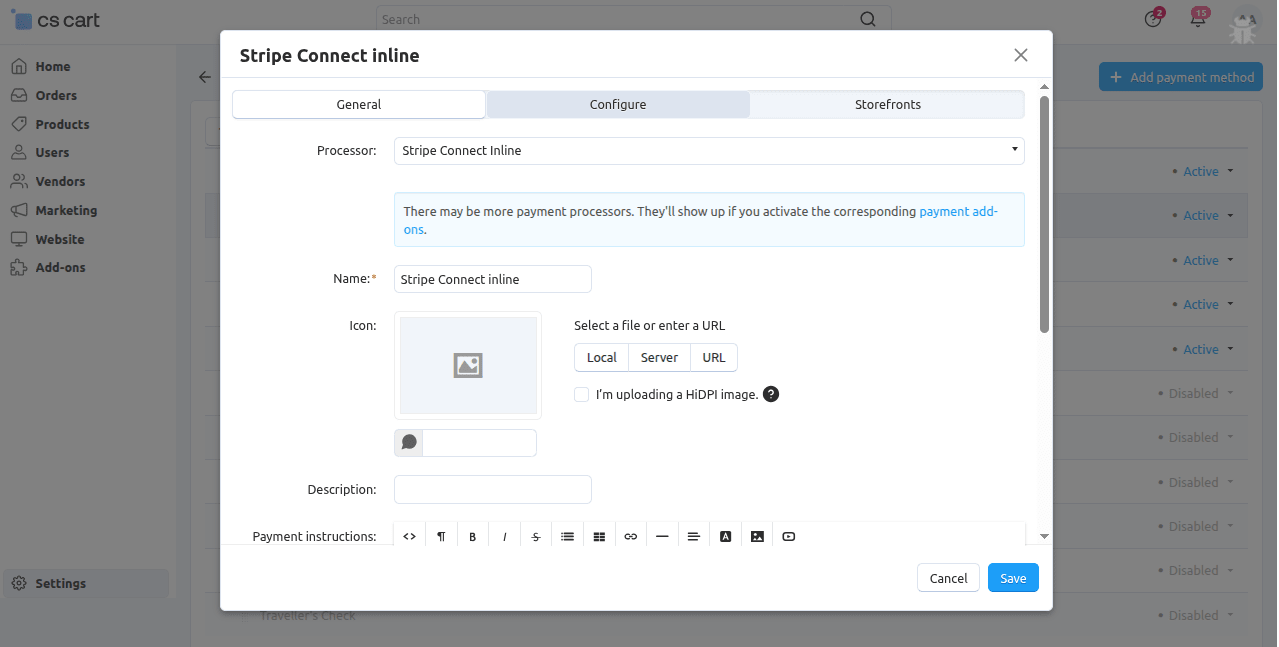
Set the parameters as shown below in the snapshot
- Set the name of the payment method.
- For checkout choose the processor as “Stripe Connect(Inline)”.
- Configure the below tabs accordingly as shown below in the snapshot.
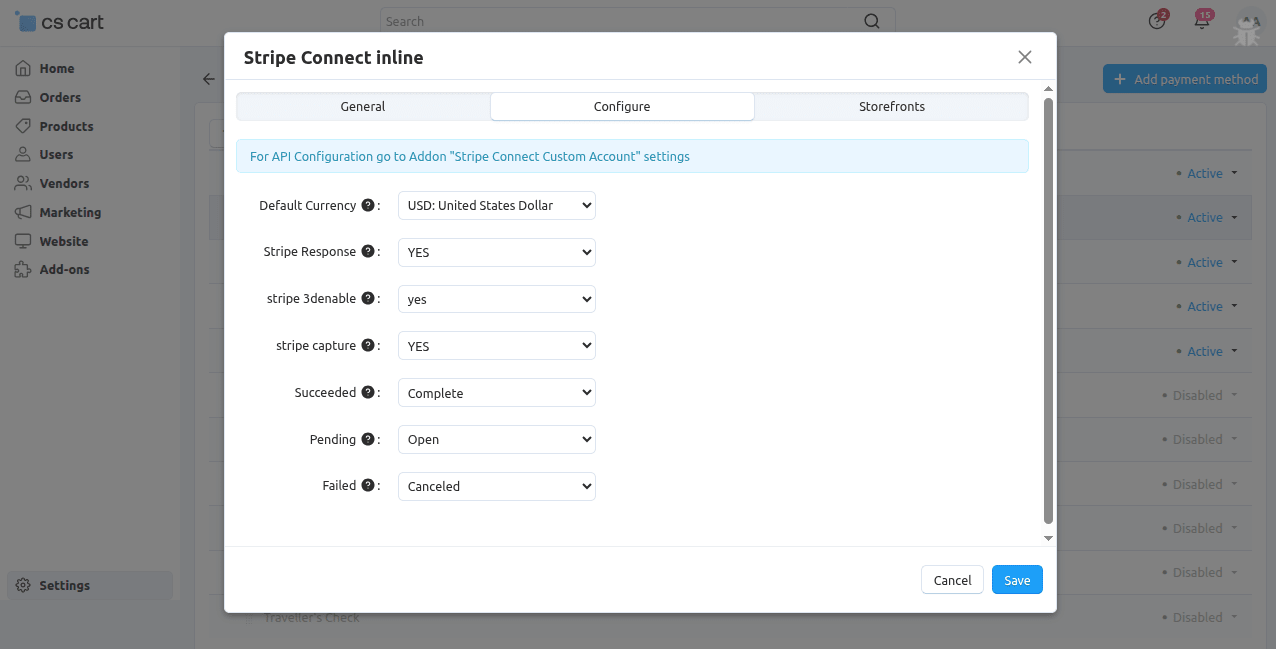
Click on “configure” and set the parameters as shown below in the snapshot.
- Select the default currency for stripe payment.
- If any user selects any non-supported stripe currency then the default currency will get applied instead of the non-supported chosen currency.
- Enable “yes” to allow Stripe response as shown below.
- Select “yes” to enable Stripe 3denable.
- Select “yes”
- Finally, Select the order status for different stripe payment responses as shown below.
Set the parameters as shown below in the snapshot
- Set the name of the payment method.
- For checkout choose the processor as “Stripe Connect”.
- The select template as “cc_stripe.tpl” from the dropdown.
- Configure the below tabs accordingly as shown below in the snapshot.

View at Vendor panel
Firstly Go to “Marketing” and click on “Stripe Connect”.
How to add Stripe account
Stripe account can be added by 2 ways:-
Vendor can use their pre-existing stripe account.
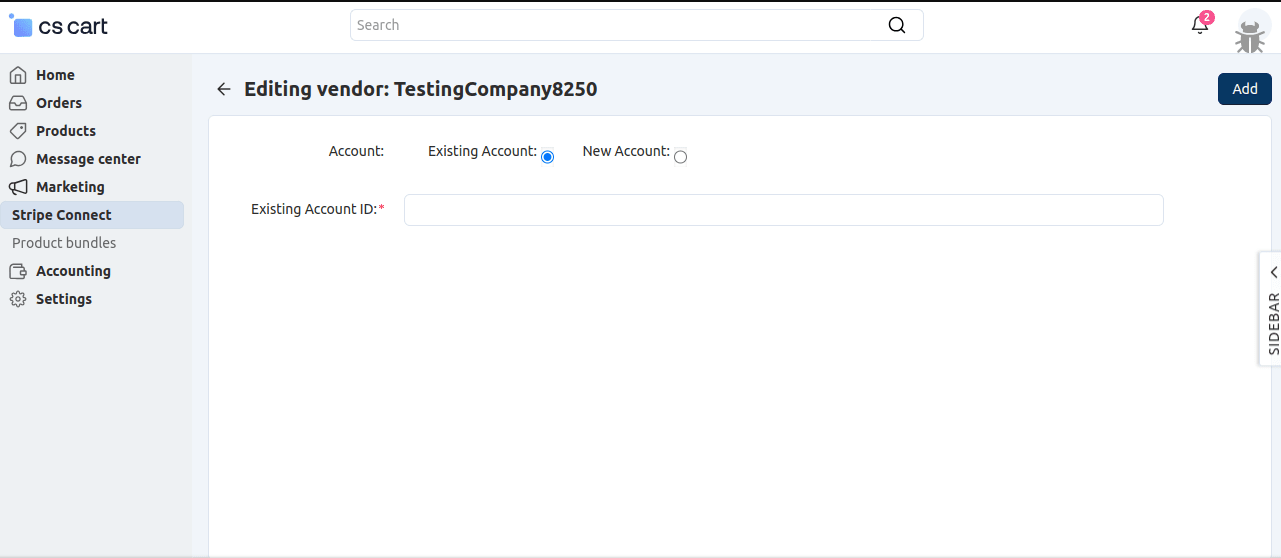
1.Enter the existing Stripe Account Id
2.Click on Add Button
Vendor can add a new account.
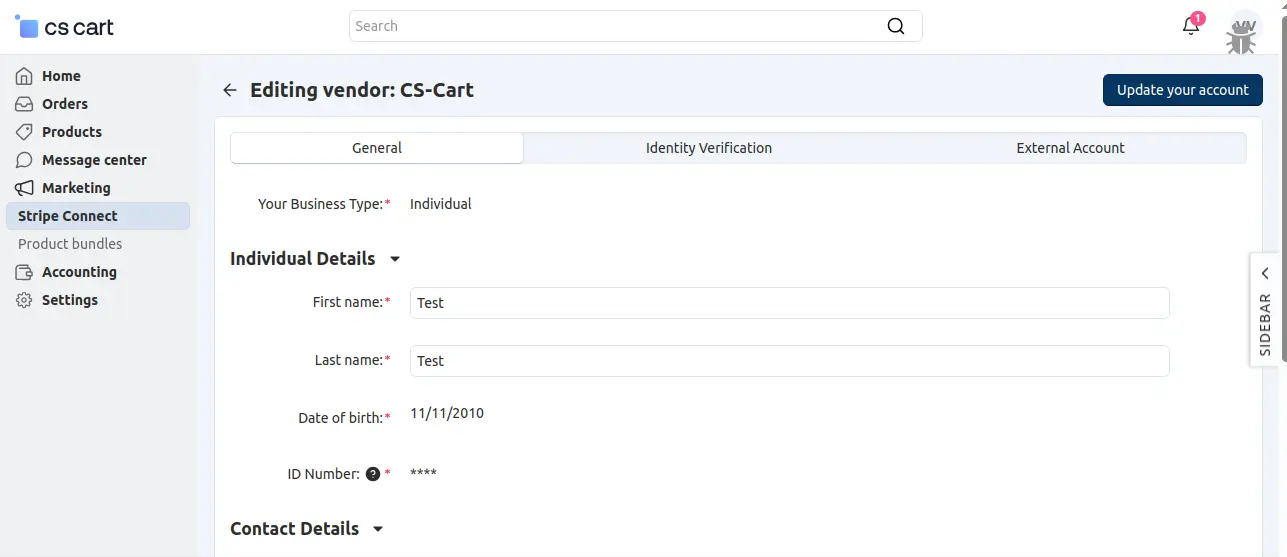
Set the parameters mentioned below in the snapshot.
- Select your Business Type.
- For Individual account fill individual details and then contact details.
- For the company, fill in the company details followed by the company contact details.
How to add Vendor bank details
After registering an account 2 tabs ges activated.
Under “External Account” section seller’s bank details can be collected
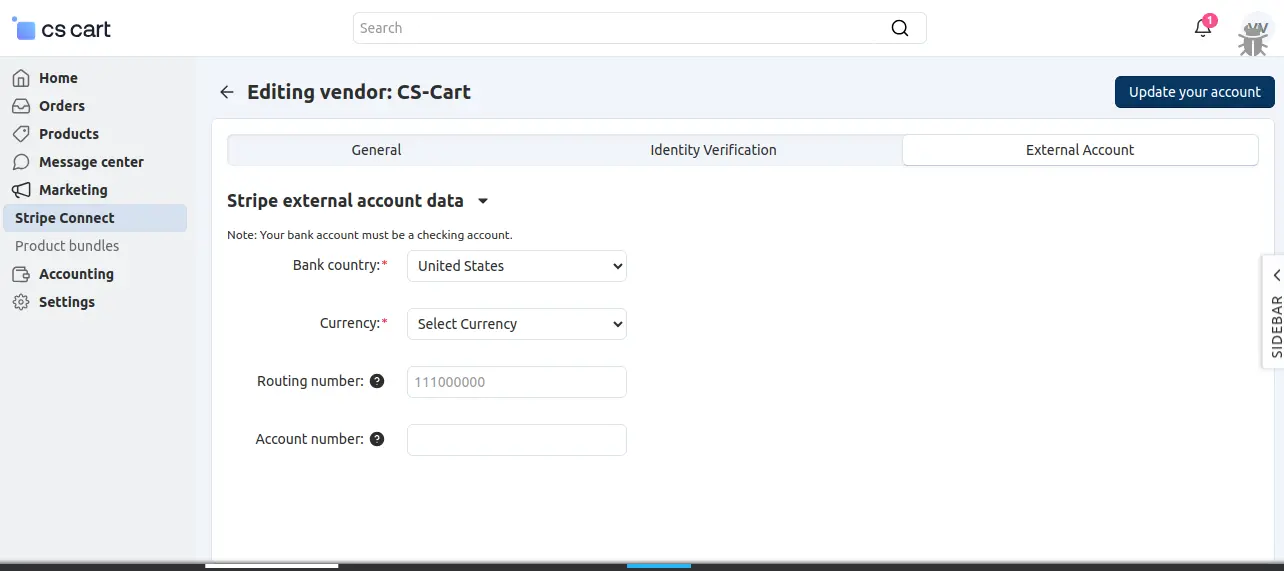
Enter the details as following
1.Bank Country: Enter the country in which vendor is operating
2.Currency: Select currency from various options
3.Routing: Enter nine digit routing number
4.Account Number: Enter vendor’s account number
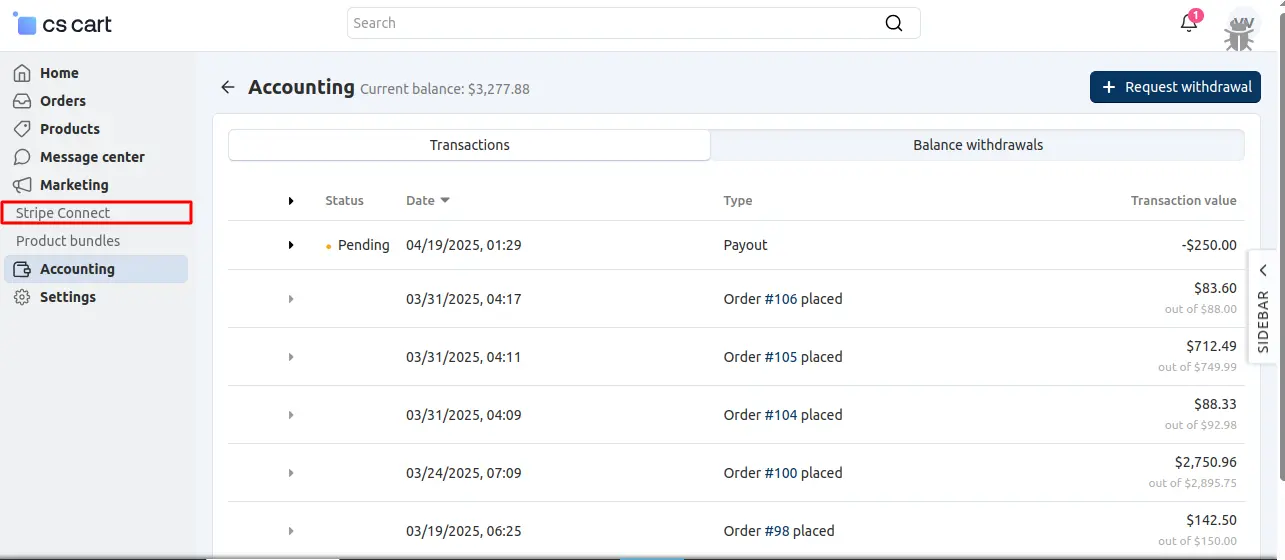
View at Admin panel
Go to “stripe connect” as shown below in the snapshot.
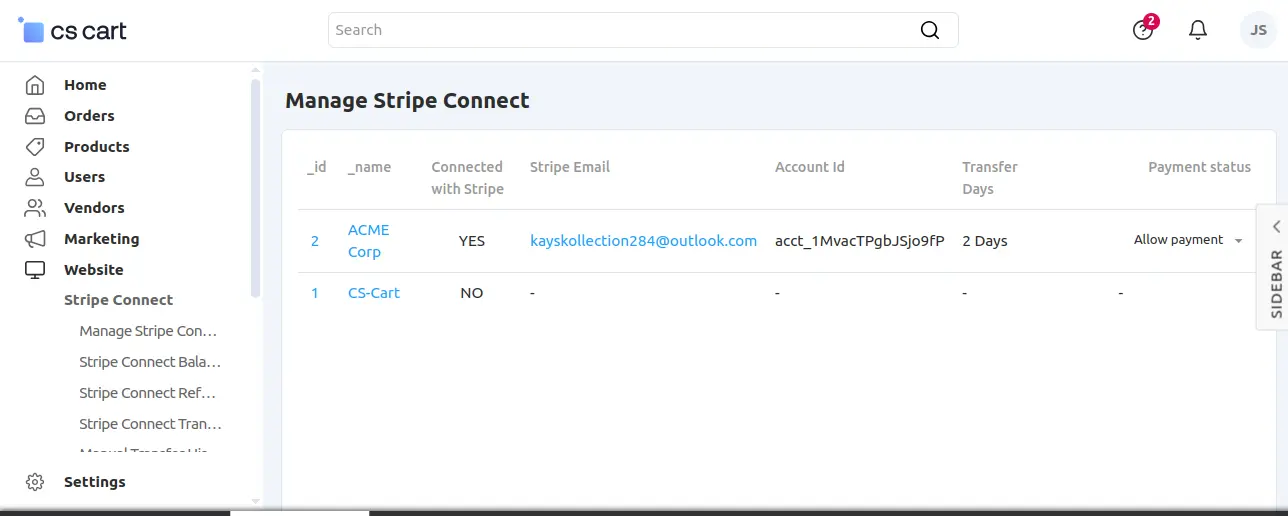
- Click on “Managed Stripe Connect” to view and manage the vendor listed.
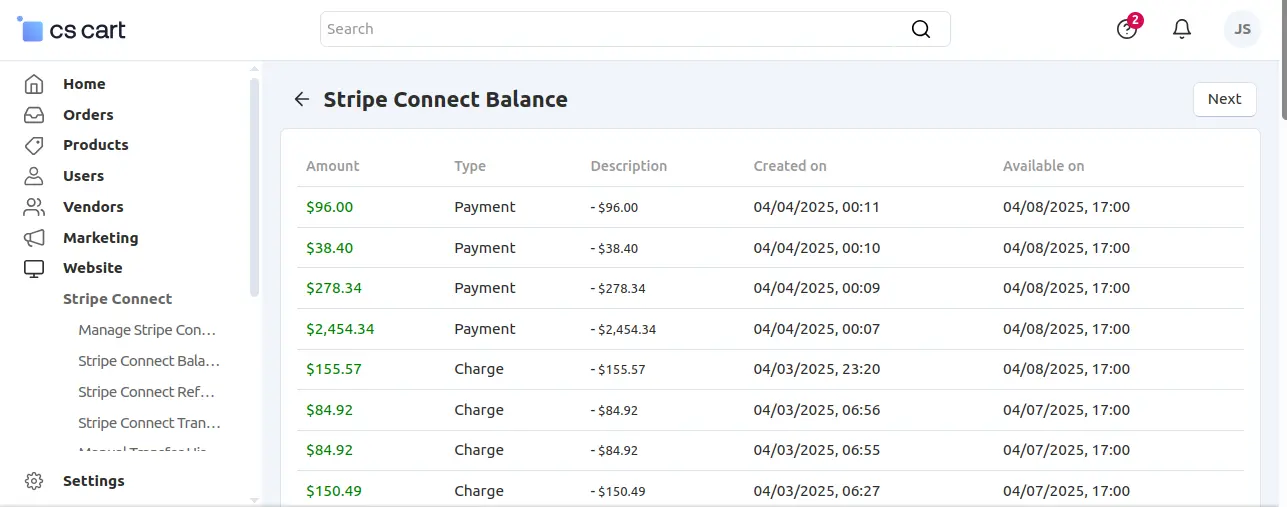
- In “Stripe Connect Balance”, the admin can view the details which include the credit/debit balance.
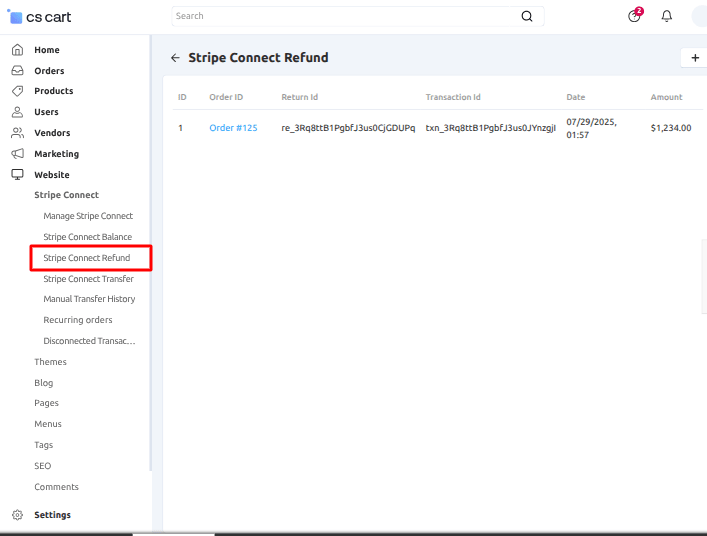
- The “Stripe Connect Refund” tab displays the refund details.
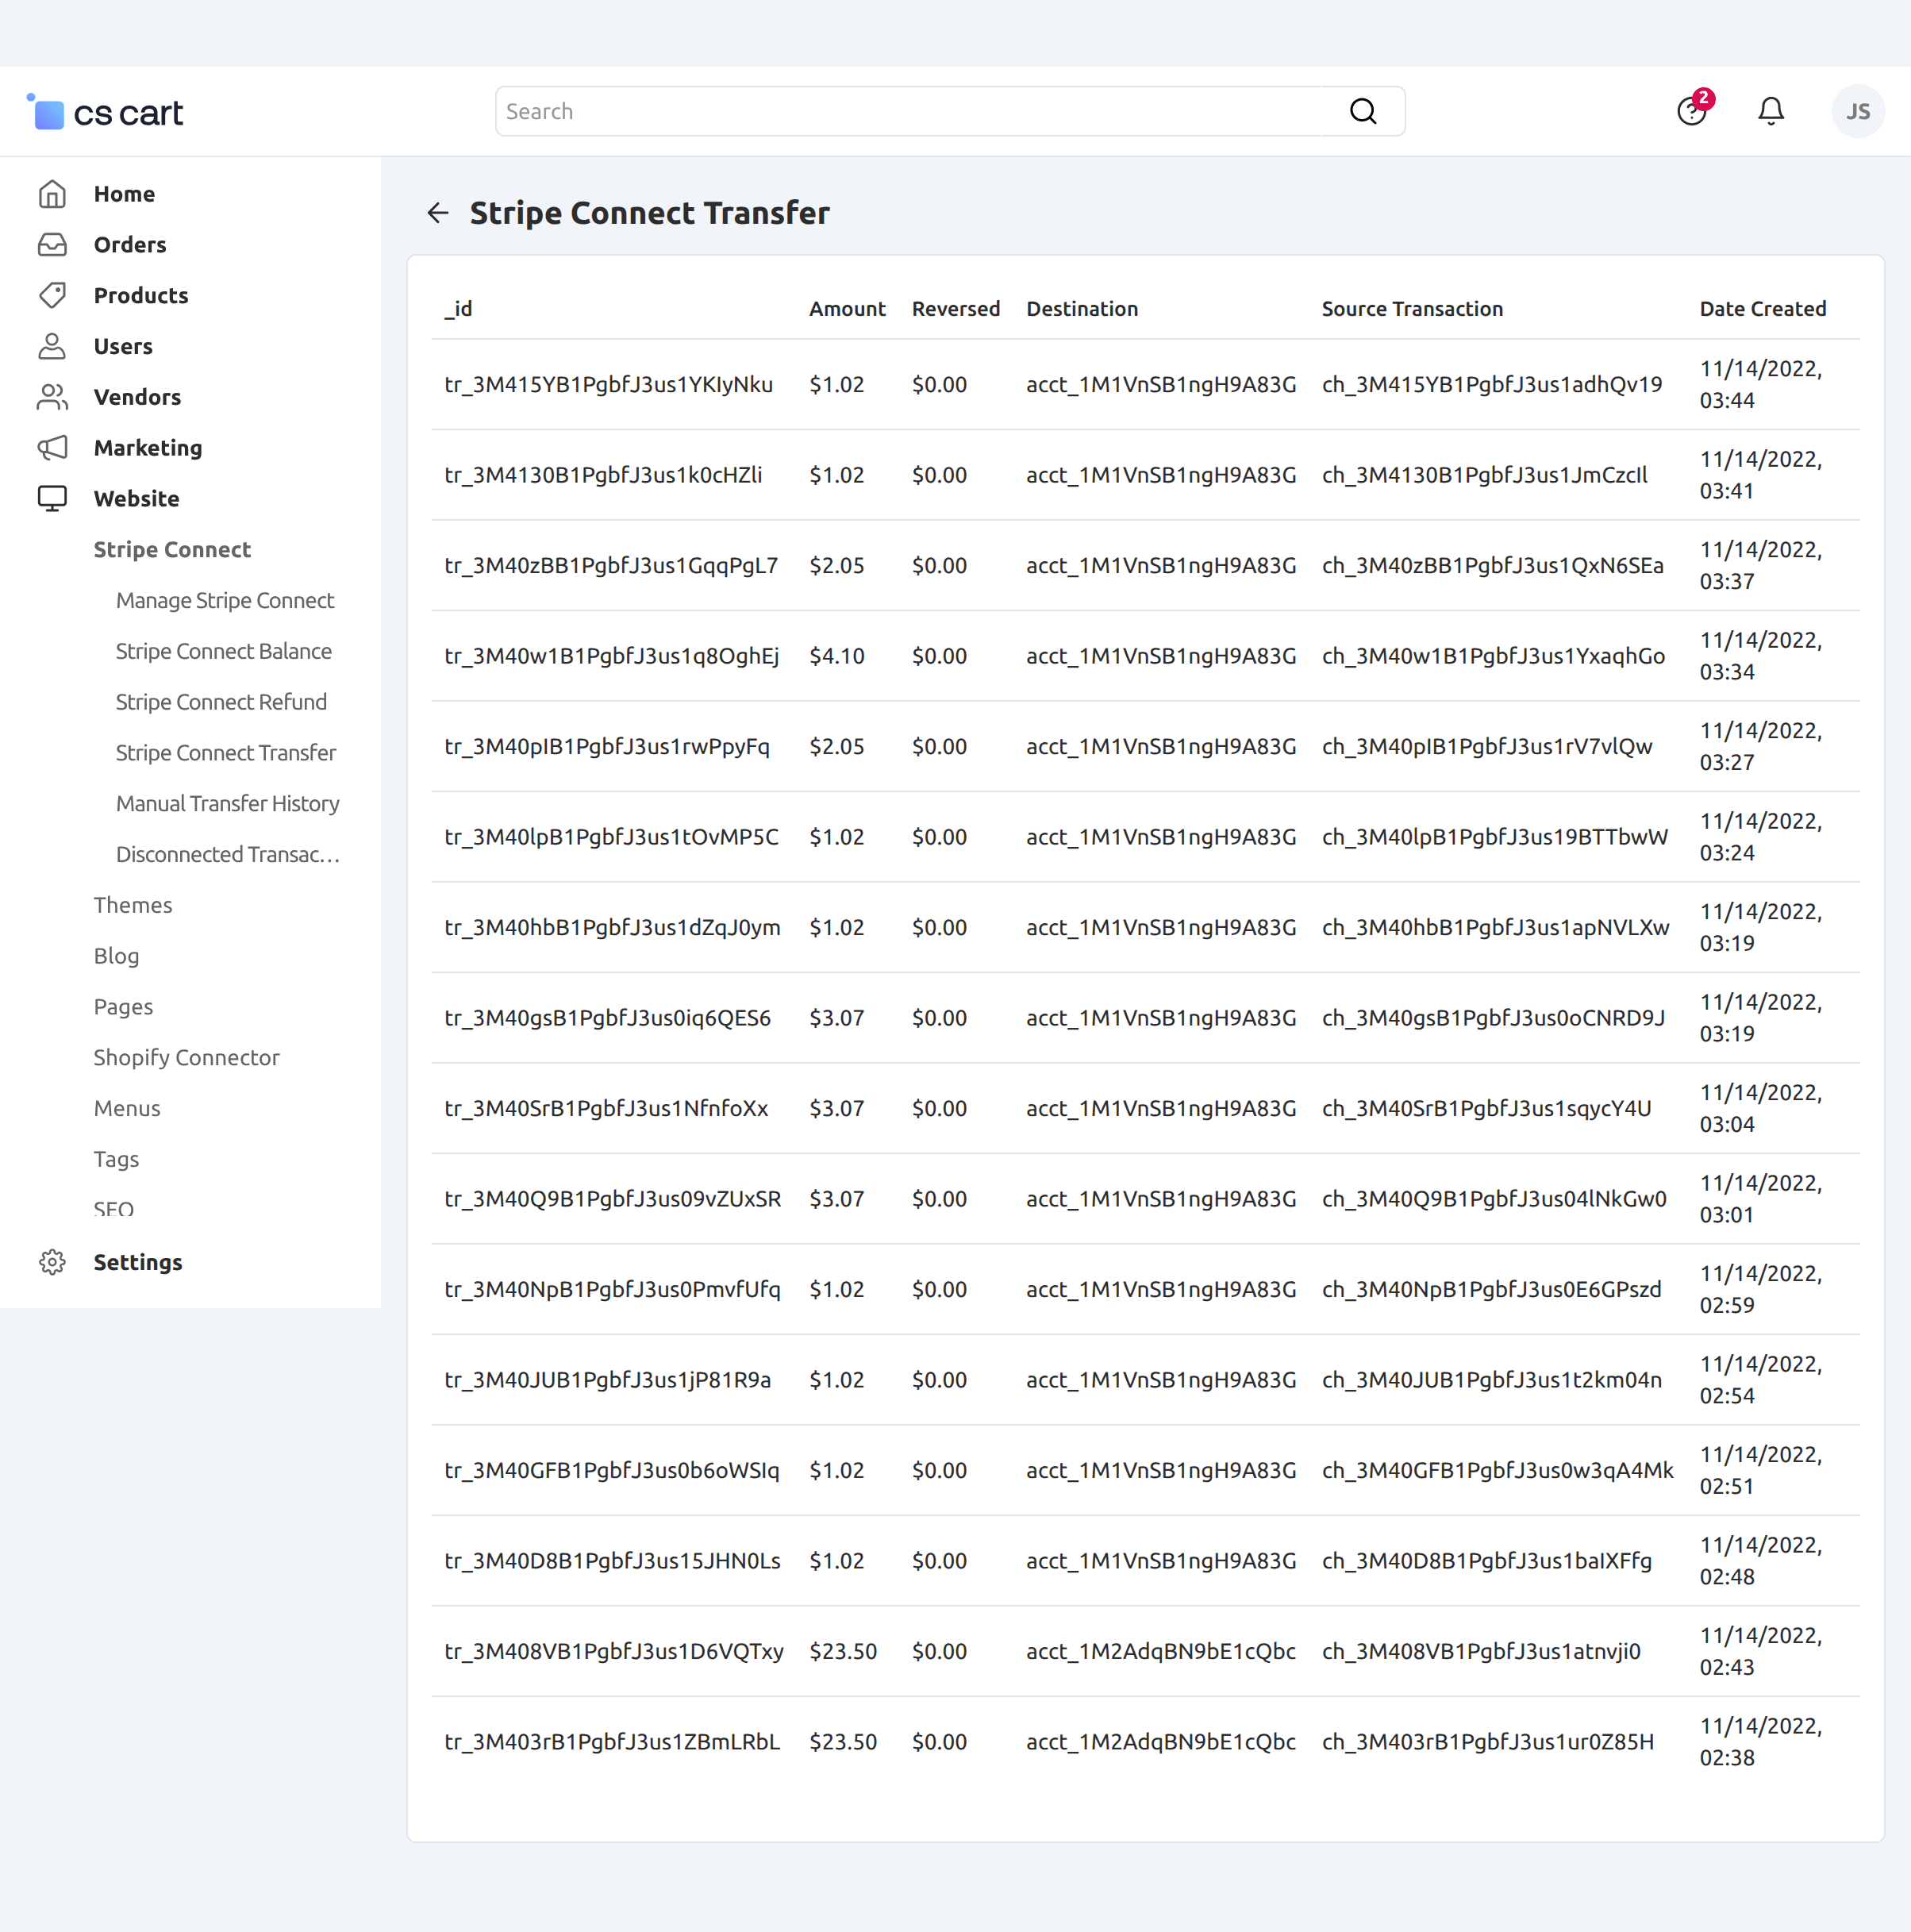
- In “Stripe Connect Transfer”, the admin can view the logs related to the transfer of balance.
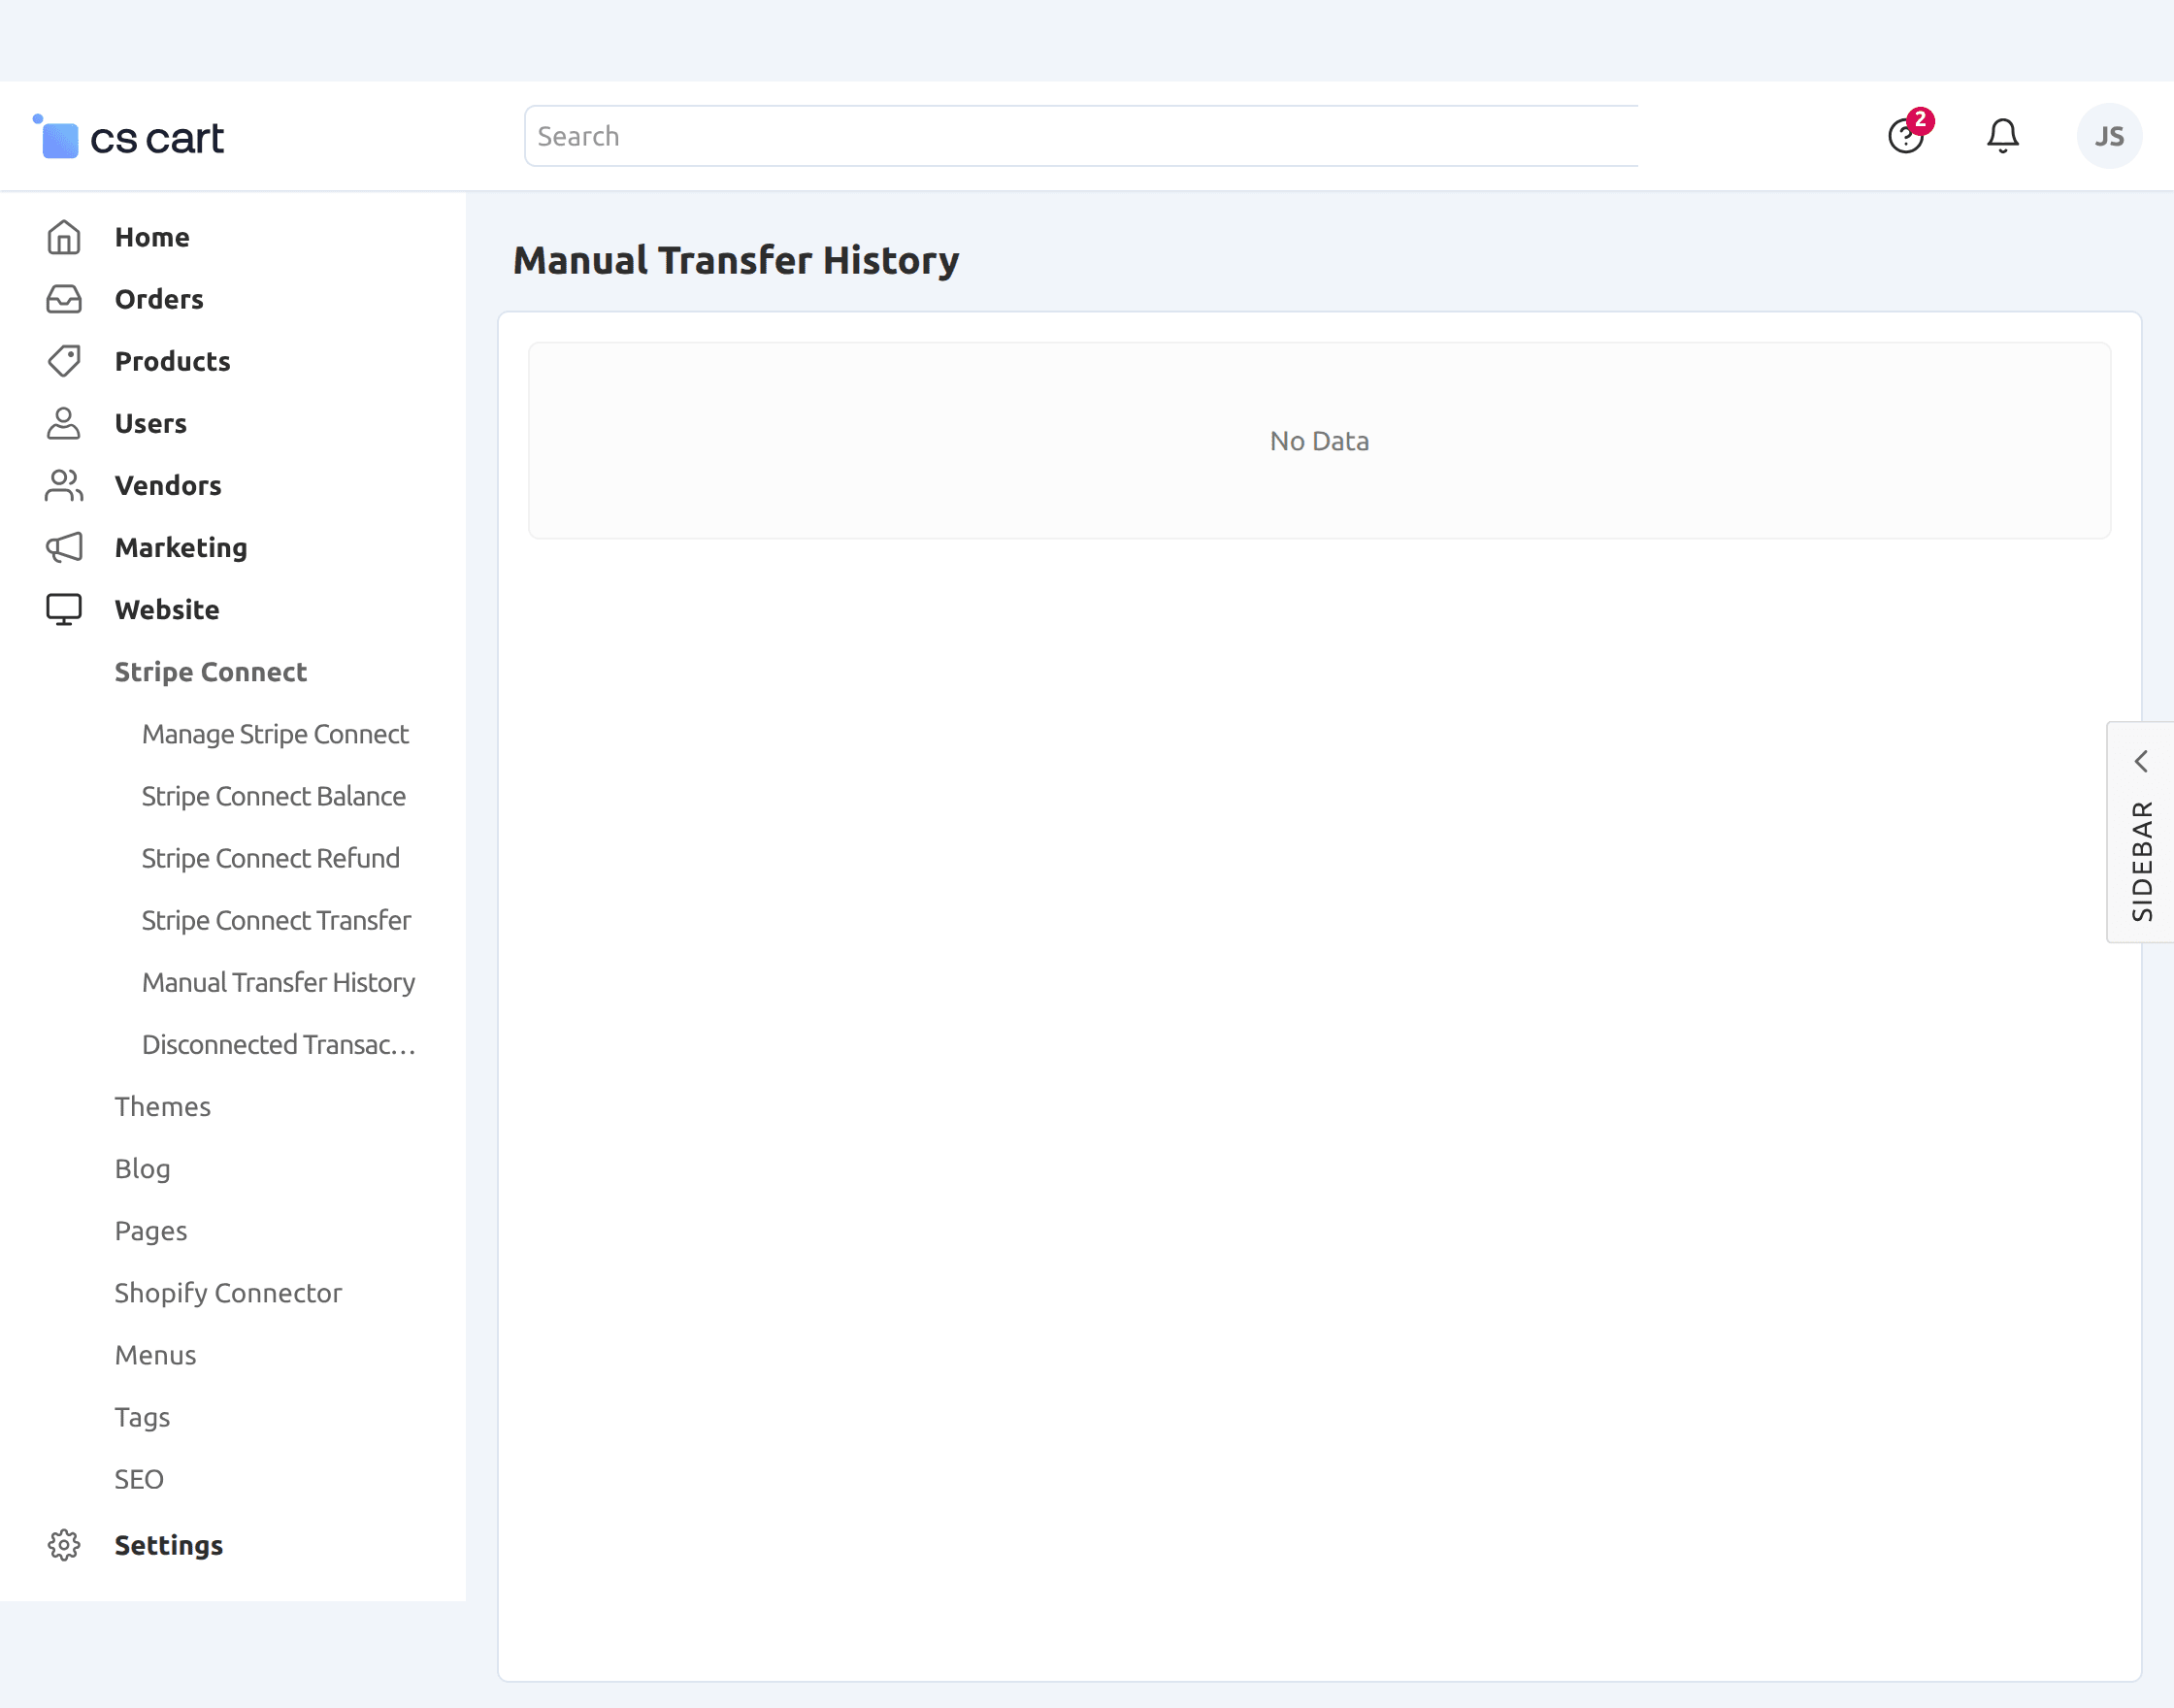
- Finally, Click on “Manual Transfer History” to view and manage the manual transfer of the amount.

View of “Managed Stripe Connect”.
View of “Stripe Connect Balance”.
In “Stripe connect Refund Log”, the admin can manage and view the log related to refunds. Click on “Refund” to create a refund as shown below.
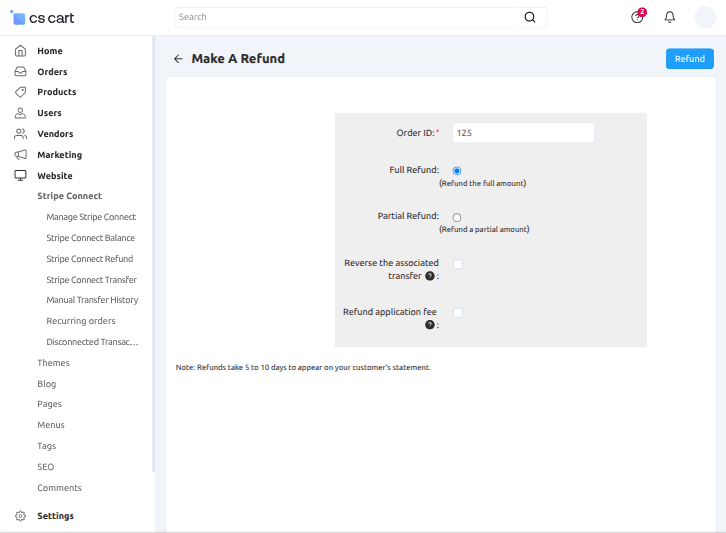
Set the field as shown below.
- Enter the “order id”.
- Select the type of refund “full” or “partial”.
- Click “reverse associated transfer” to withdraw the amount from the connected vendor account.
- Click to allow the refund of the application fee.
In the below snapshot, the admin can view the logs related to funding transfers.
In “Manual Transfer History”, the admin can manage and view the details of the manually transferred amounts.
Under the Disconnected Transactions section, all the vendor’s orders will show that are not connected to Stripe. 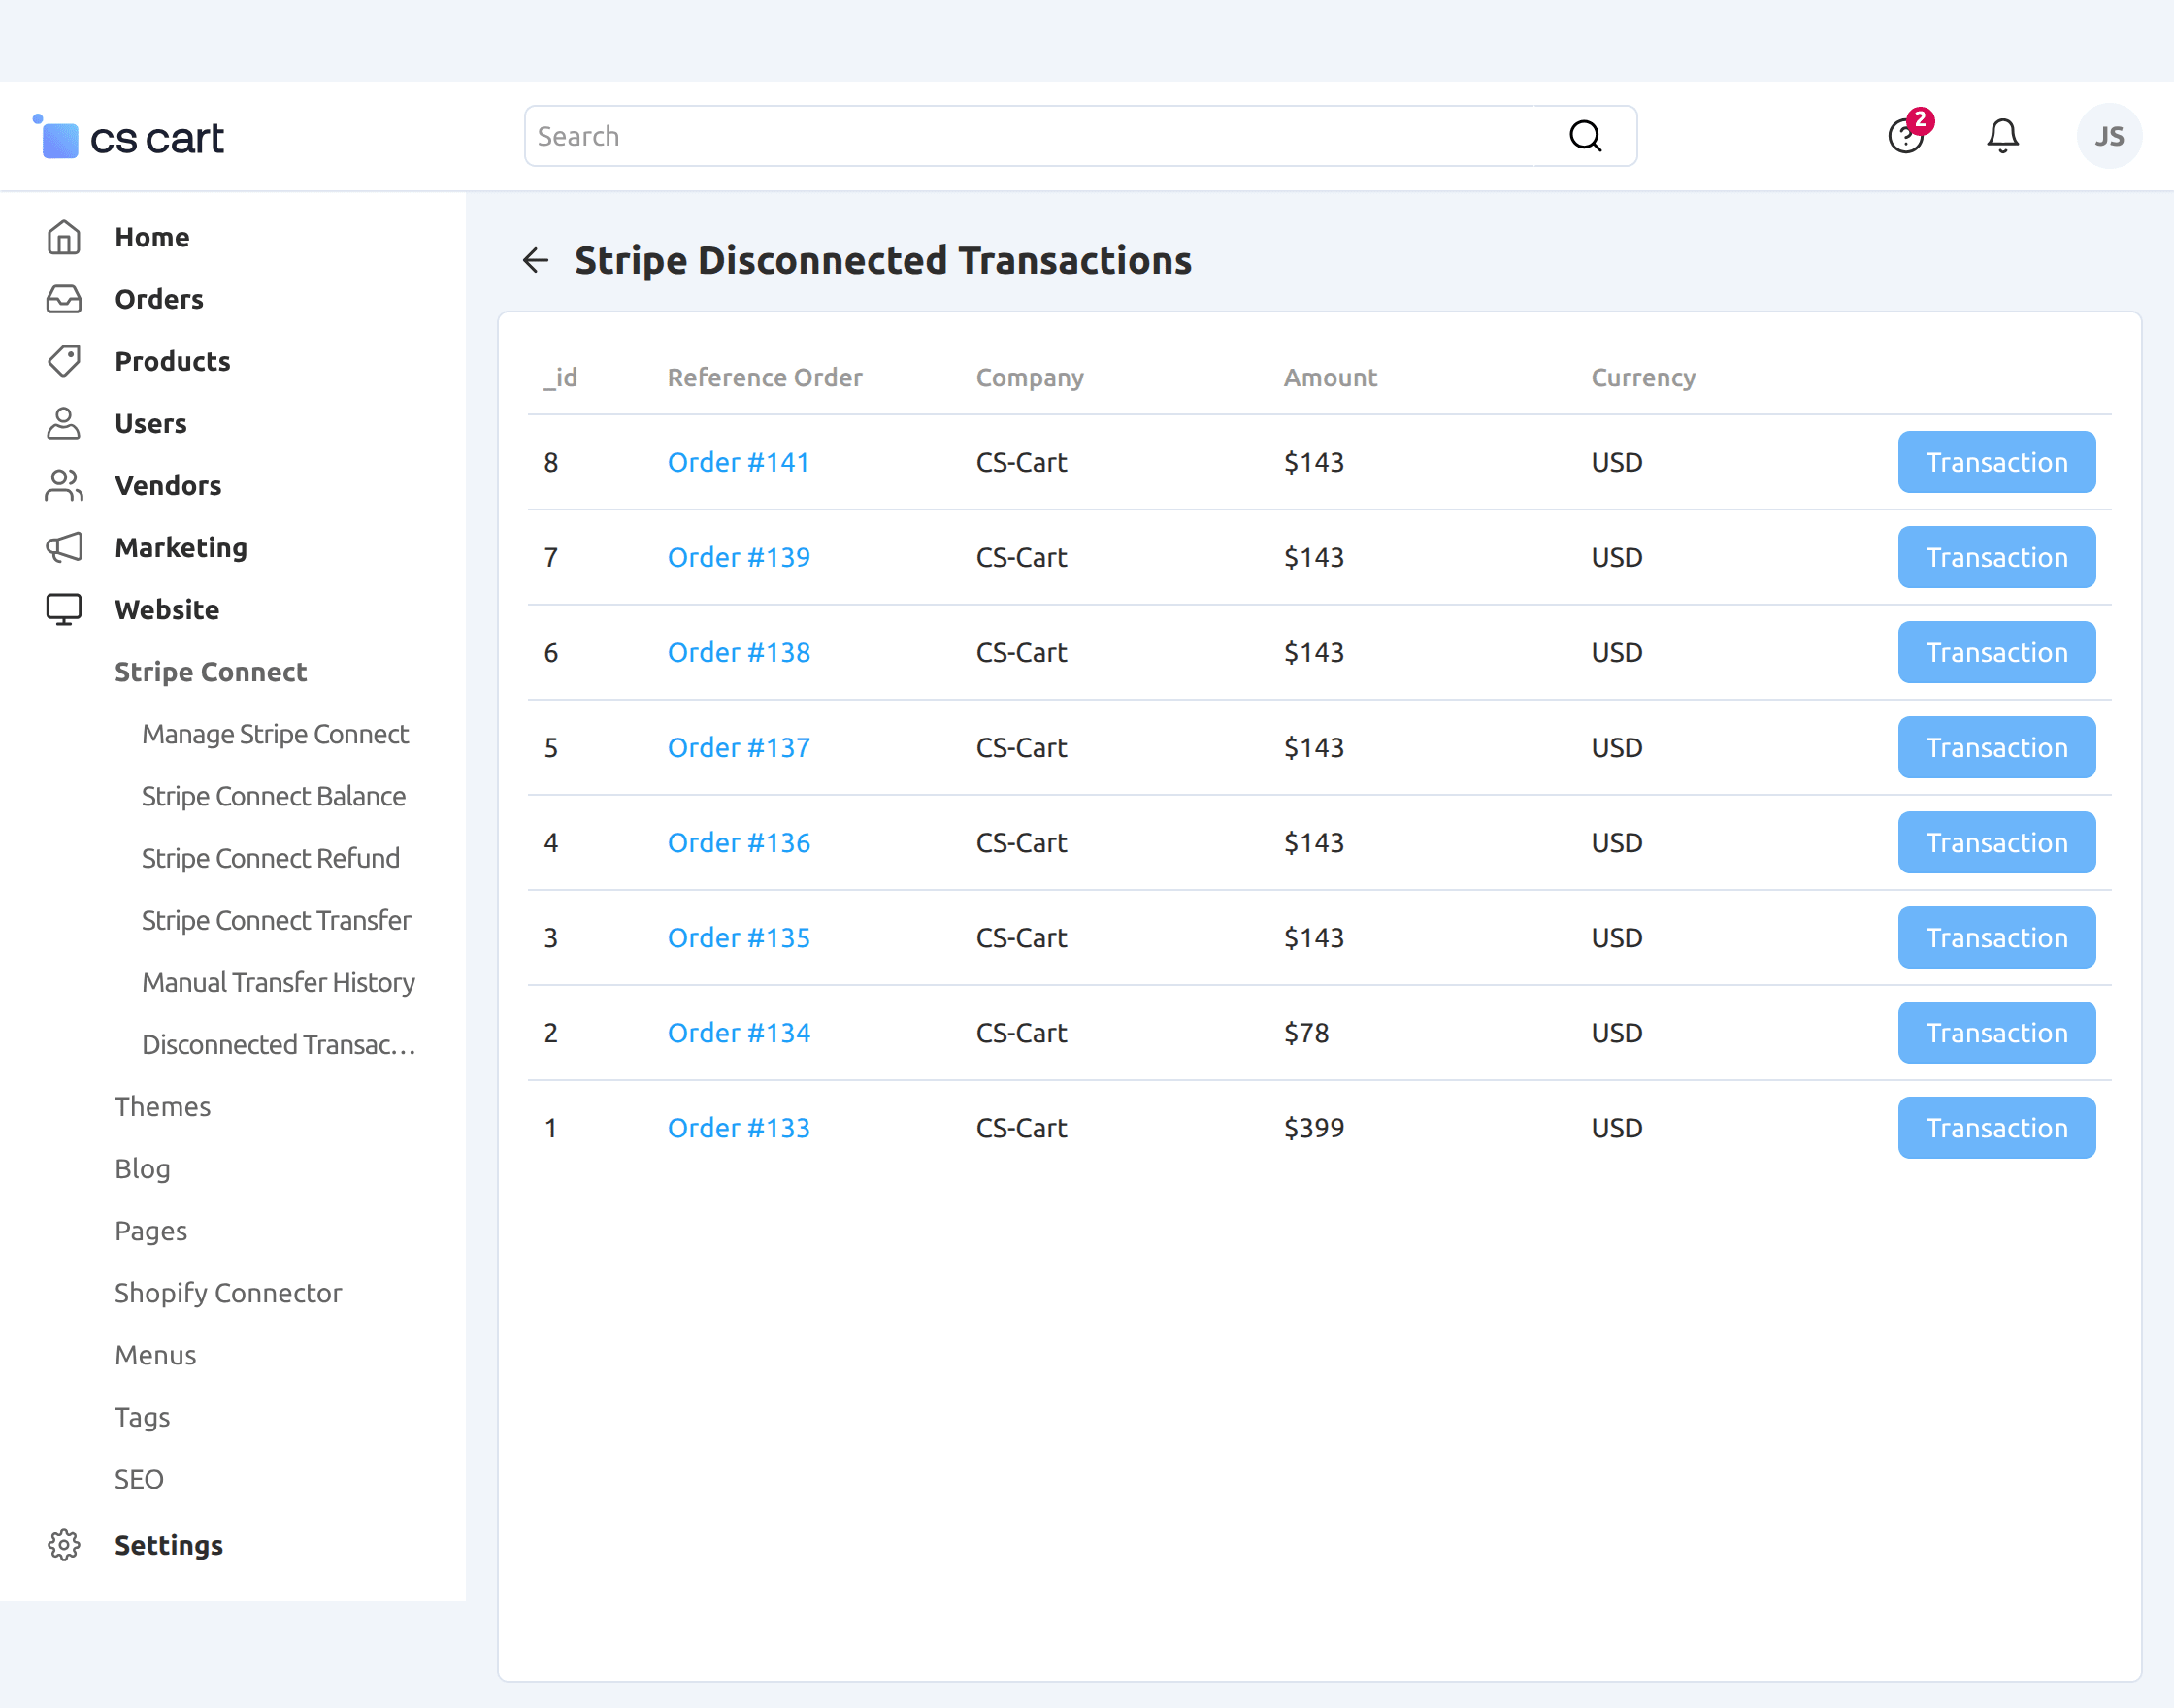
Frontend
For the payment, we offer a “3D secure feature” to the customers who only need to complete an additional verification step with the card issuer when paying.

While choosing payment via “Stripe Connect checkout.js” select the option as shown below in the snapshot.

Then, fill in the credentials as shown below for the payment.
For payment via “Stripe Connect Inline” select the option and fill in the credentials as shown below in the snapshot.
 After “successfully” entering the information, the order is placed as shown below. You can also check the information of your order.

Support
For further any query feel free to contact us at http://webkul.uvdesk.com.
Besides this, you can explore our cs-cart Development Services and Quality cs-cart add-ons.
Current Product Version - 1.7
Supported Framework Version - 4.18

Be the first to comment.