


















Introduction
Website AI-Powered Product Image Search adds search by image to your ERPNext Webshop. A shopper uploads a photo, and the shop shows the products that look most like it.
The app turns each product photo into a list of numbers called image embeddings. It then compares the shopper’s photo with those numbers.
This visual product search works next to the normal text search.
This guide shows the store admin how to set up the app and store embeddings. It also shows how a shopper uses the camera button in the Webshop search bar.
Prerequisites for using Website AI-Powered Product Image Search
Website Product Image Search works in conjunction with the following module:
Webshop
You must install the above-mentioned module to use the Website Product Image Search.
Features
- Add a camera button to the Webshop search bar.
- Let shoppers search by image from any device with a browser.
- Show a preview of the uploaded photo before the search runs.
- Zoom, crop, rotate, reset or replace the photo before searching.
- Store image embeddings for all published products, or only for chosen ones.
- Set the lowest match score and the most results to show.
- Show each match with its image, name, price and a link to the product.
- Mark embeddings as stale when a product changes, and delete them when you delete the product.
- Manage visual product search from the Website workspace.
Installation
- After purchasing the app from Webkul Store, you will receive a link to download the module ZIP file.
- Extract the ZIP file. You will see a folder named ‘website_product_image_search’.
- Set up the module in your git repository, then fetch it using:
bench get-app --branch main https://git.webkul.com/erpnext-apps/erpnext-ai-powered-image-search-product.git
(Replace “main” with your branch name and replace the “HTTPS URL” with your HTTPS clone URL.)
- Install the app on your site:
bench --site <your-site-name> install-app website_product_image_search
- Run bench migrate to complete the setup.
Workflow
Setting Up Image Search in the Backend
- Open the Website workspace. The app adds an Image Search section to the sidebar. It also adds two shortcuts under Product Image Search.
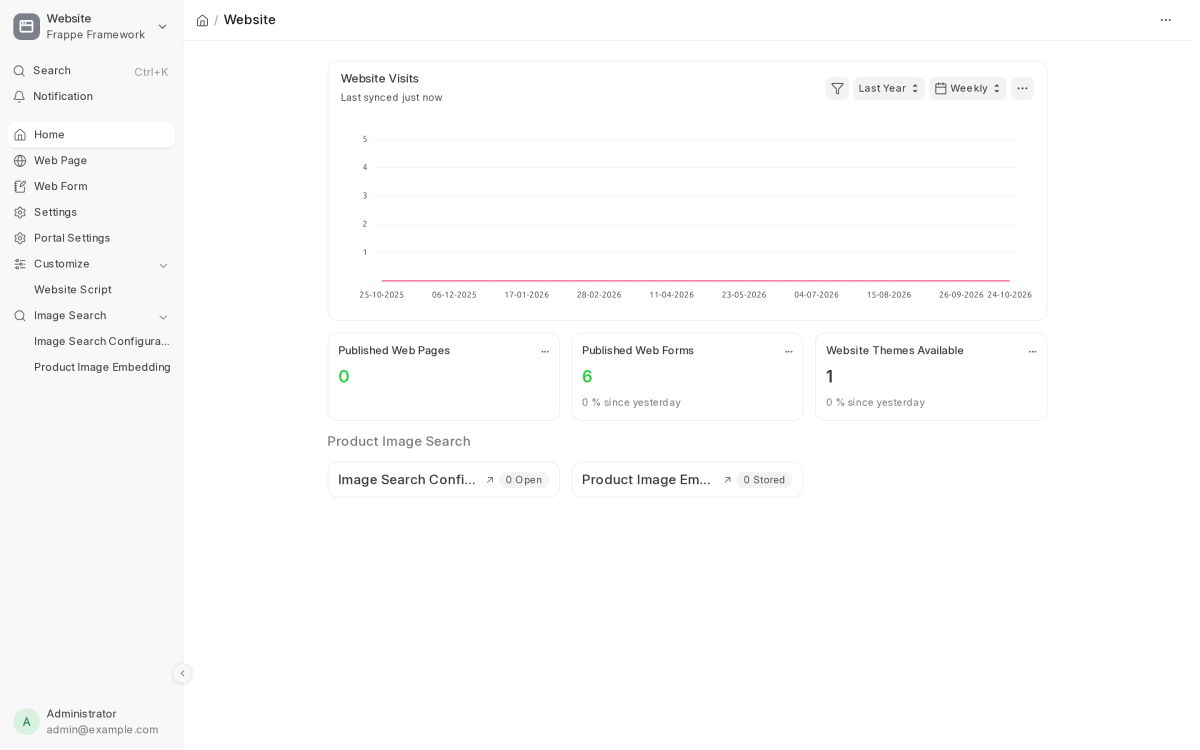
- Click Image Search Configuration, then click Add Image Search Configuration.
- Type a Configuration Name. Keep Enabled ticked.
- Under Search Behavior, leave Select Product set to All Products. Set Maximum Suggestions to the most results a shopper should see. Set Score Threshold to the lowest match score, from 0 to 1.
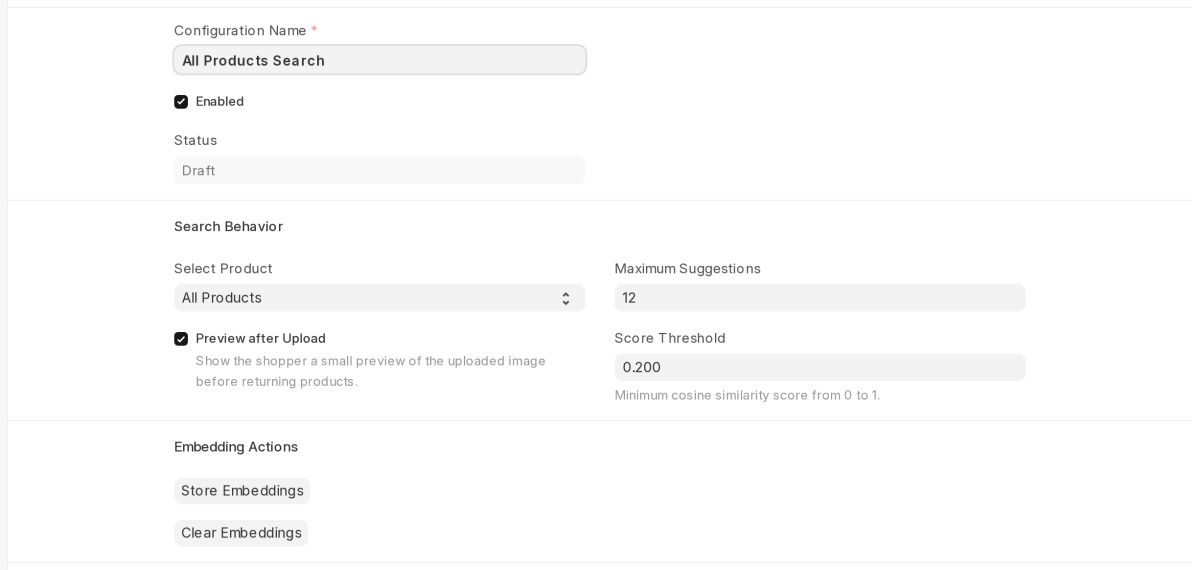
- Click Save. The Status shows Draft, because no image embeddings exist yet.
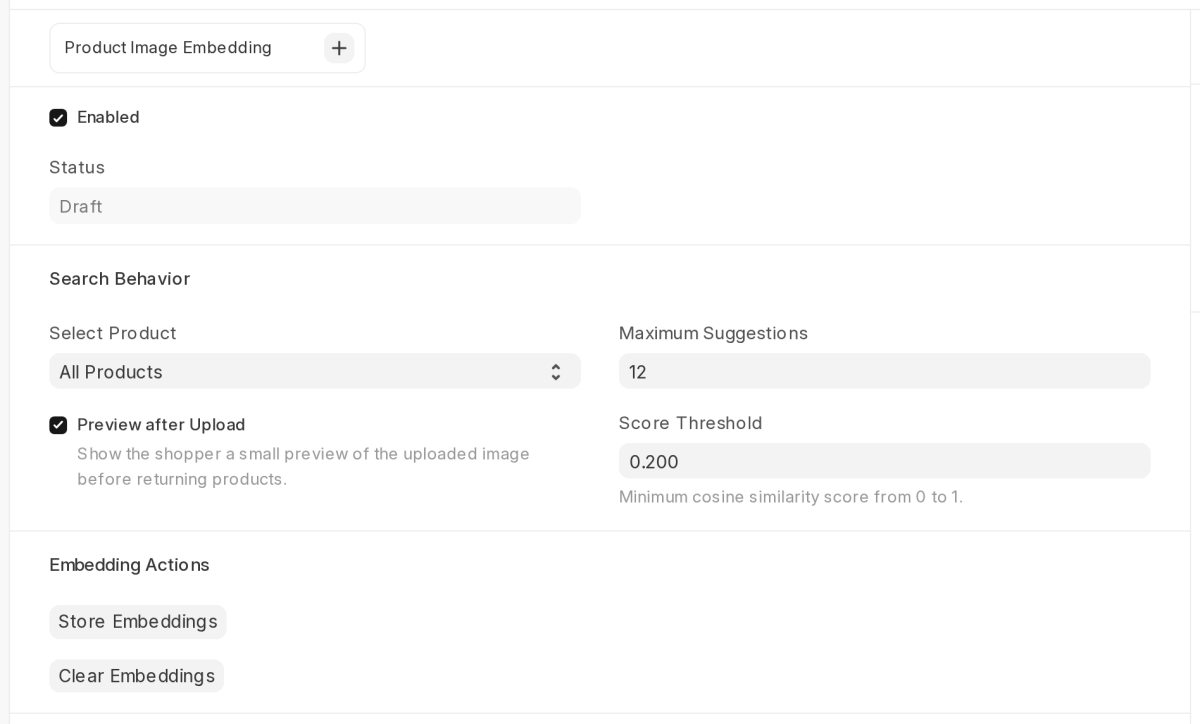
- Click Store Embeddings. The app reads the image of each published Website Item and saves its embedding. This can take a few minutes for a large catalog.
- Check the result. The Status changes to Stored, and Last Generated On shows the time. The Product Image Embedding box shows how many products are ready for search by image.
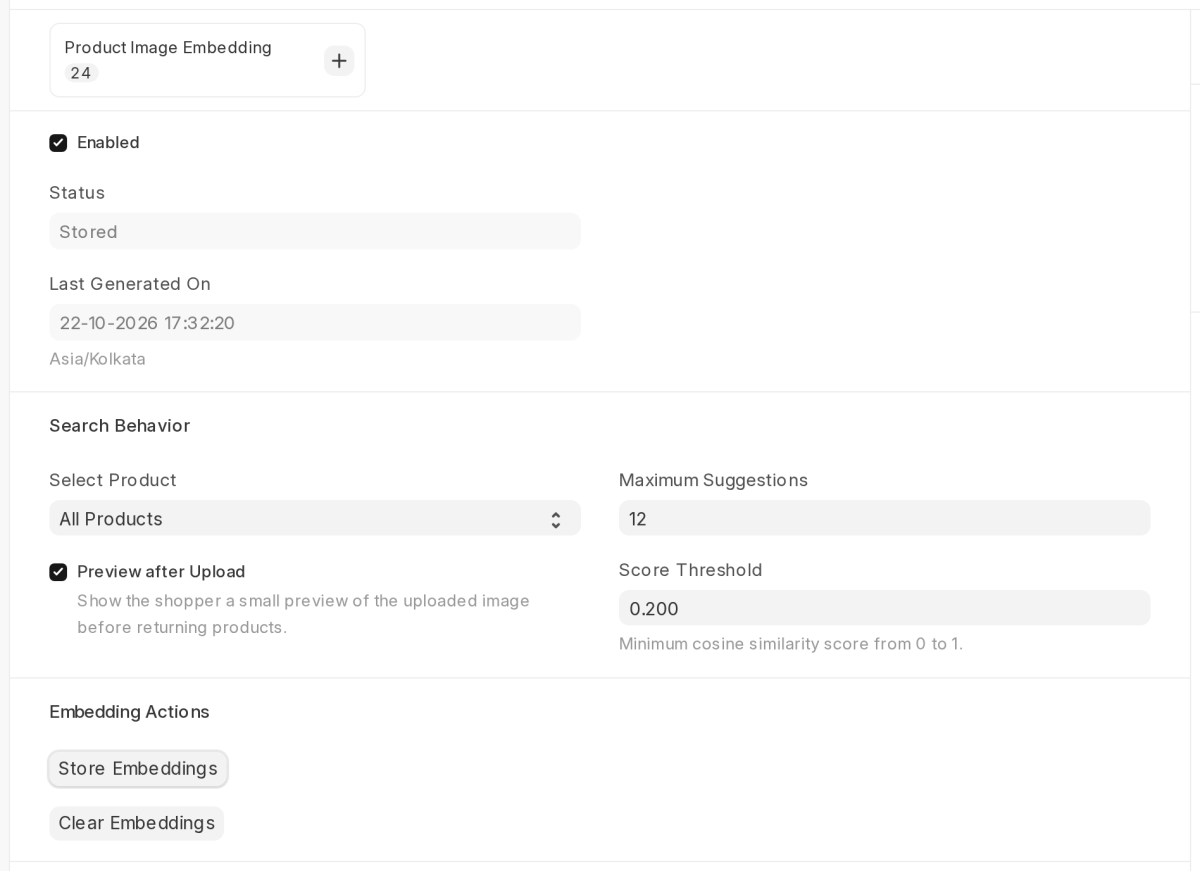
Note: The camera button appears in the Webshop search bar only after an enabled configuration reaches Stored status.
Searching Only Selected Products
- To limit visual product search to some items, set Select Product to Selected Products.
- Add one row per product in the Products table. Pick the Website Item in each row.
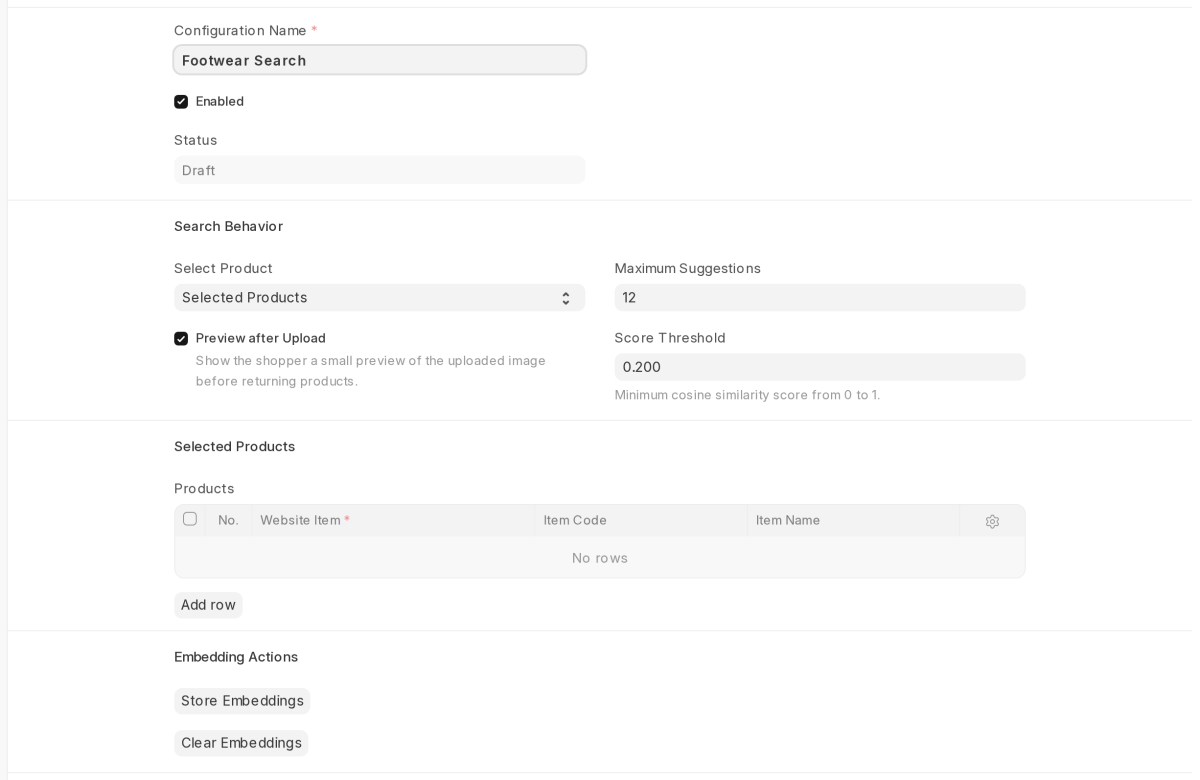
- Click Save, then click Store Embeddings. The app will not save the form if the table is empty.
Reviewing Stored Embeddings
- Click Product Image Embedding in the sidebar. Each row is one product image, with its Status.
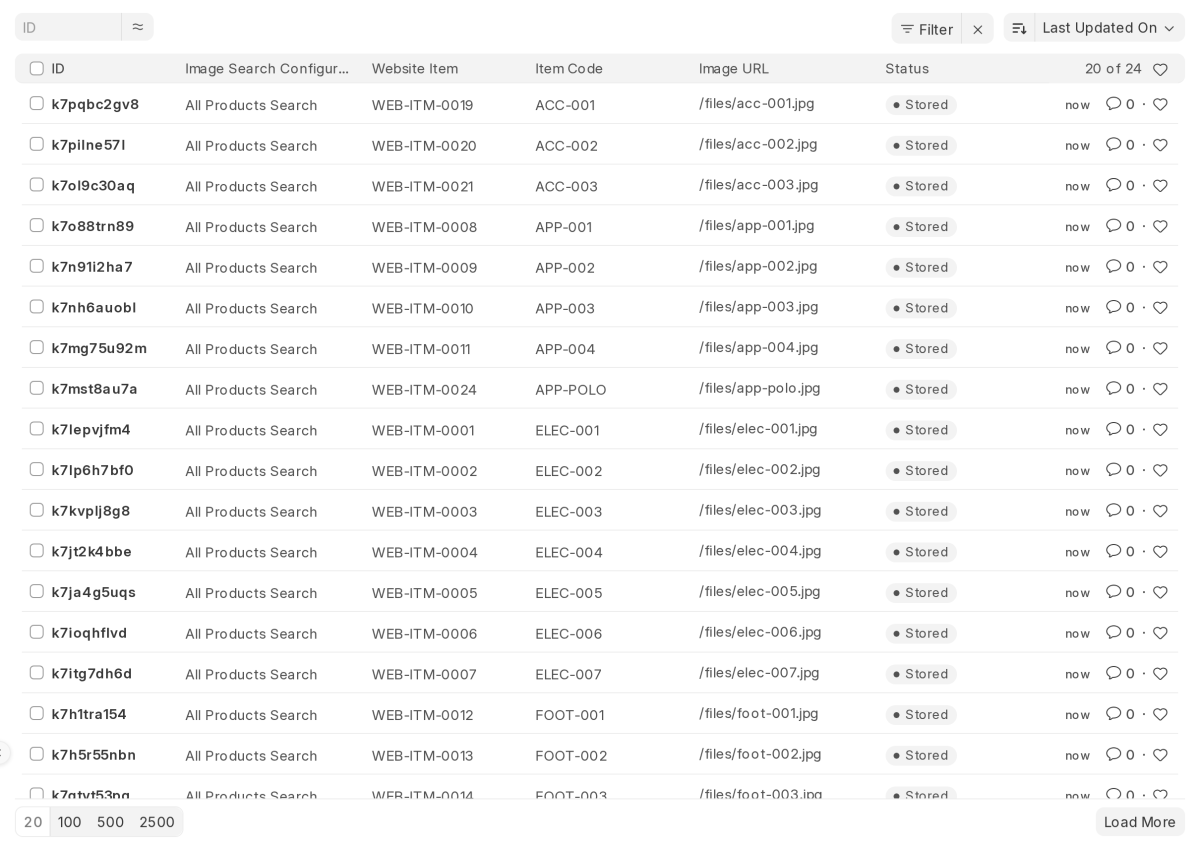
- Edit a Website Item, and the app marks its embedding Stale. The configuration also shows Stale. Search skips stale rows, so click Store Embeddings again after you change products.
Searching by Image on the Website
- Open the shop’s All Products page. A camera button now sits inside the Search for Products box in the Webshop search bar.
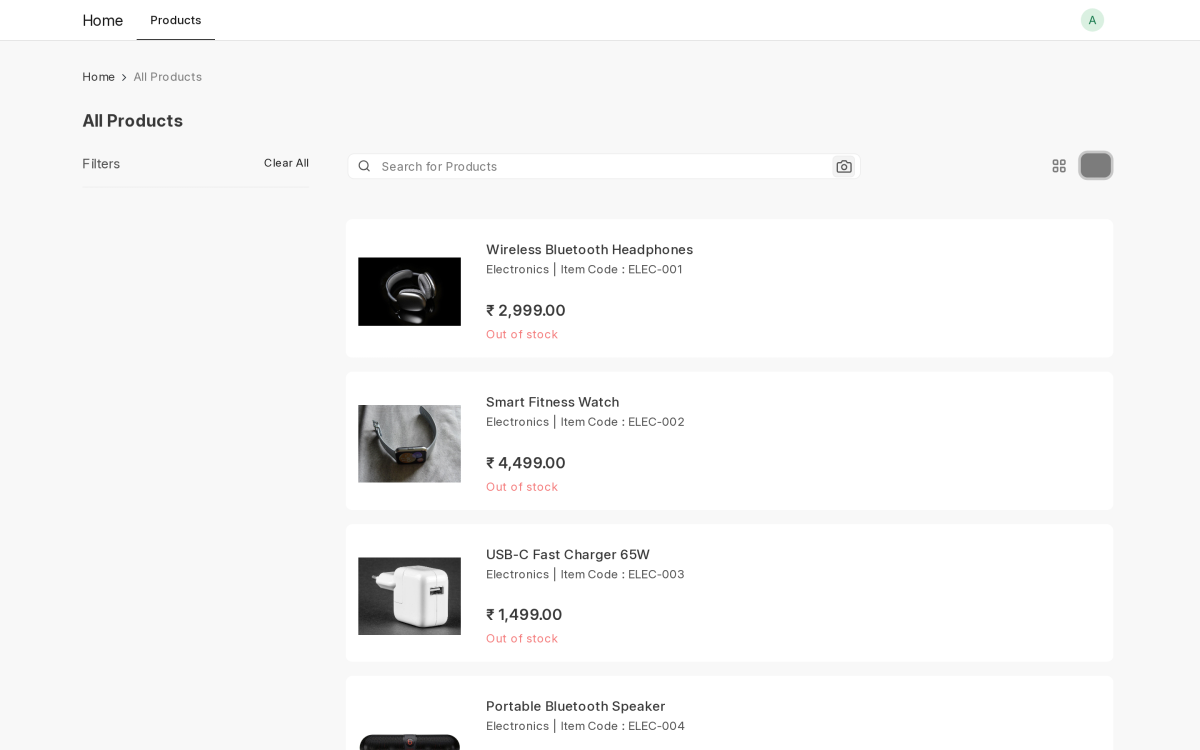
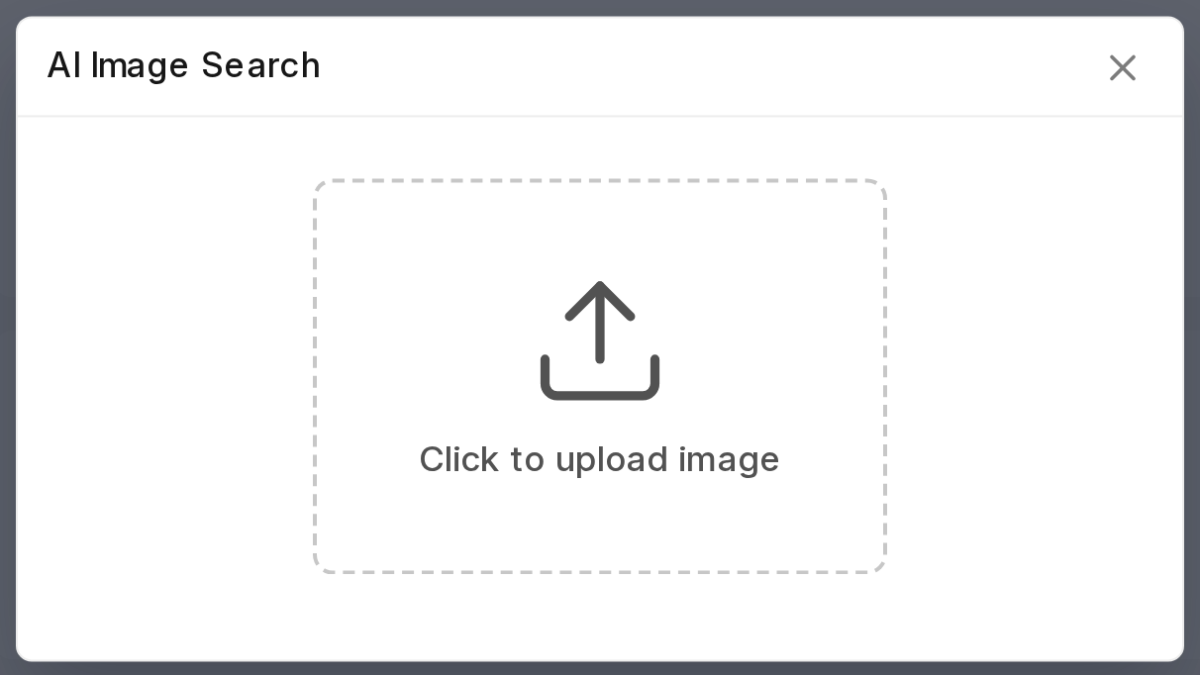
- Click the camera button. The AI Image Search window opens. Click Click to upload image, or drag a photo onto it.
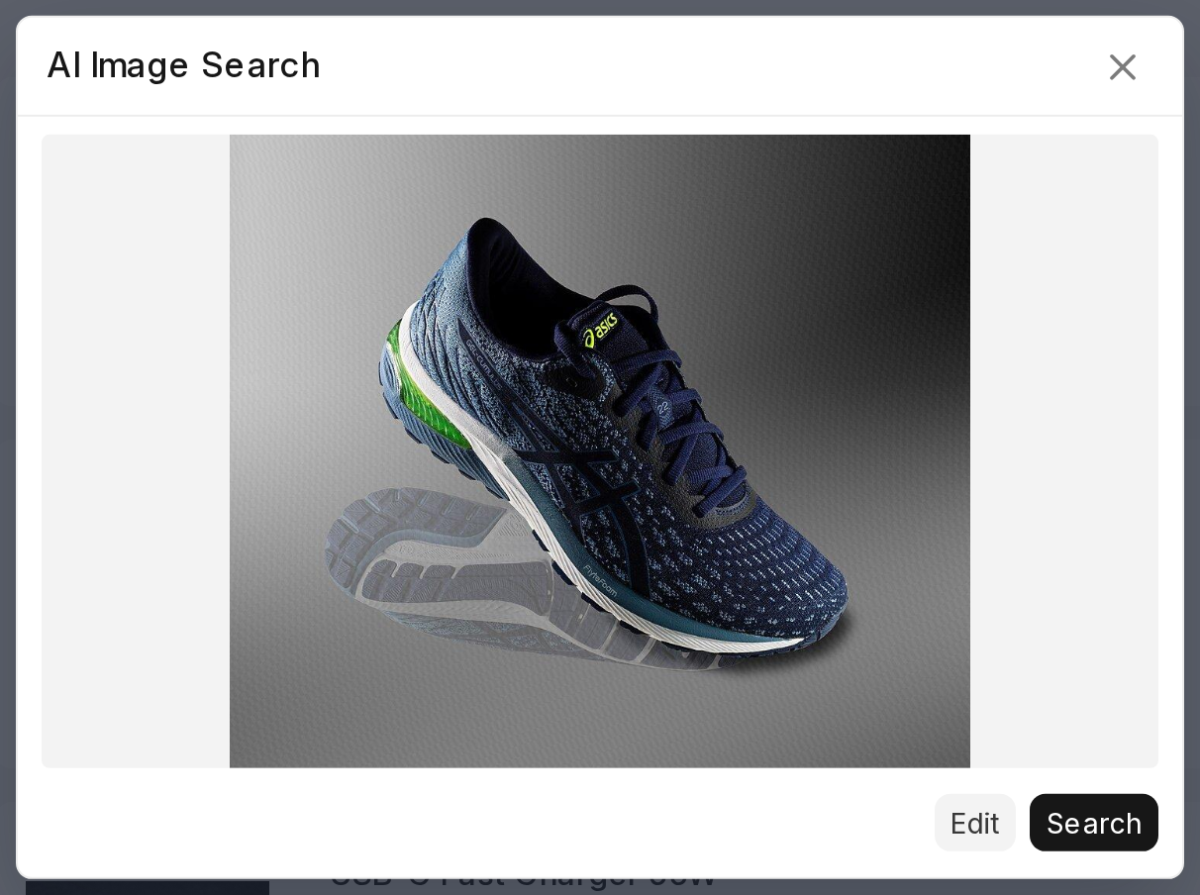
- Check the preview of the photo. Click Search to find matches, or click Edit to change the photo first.
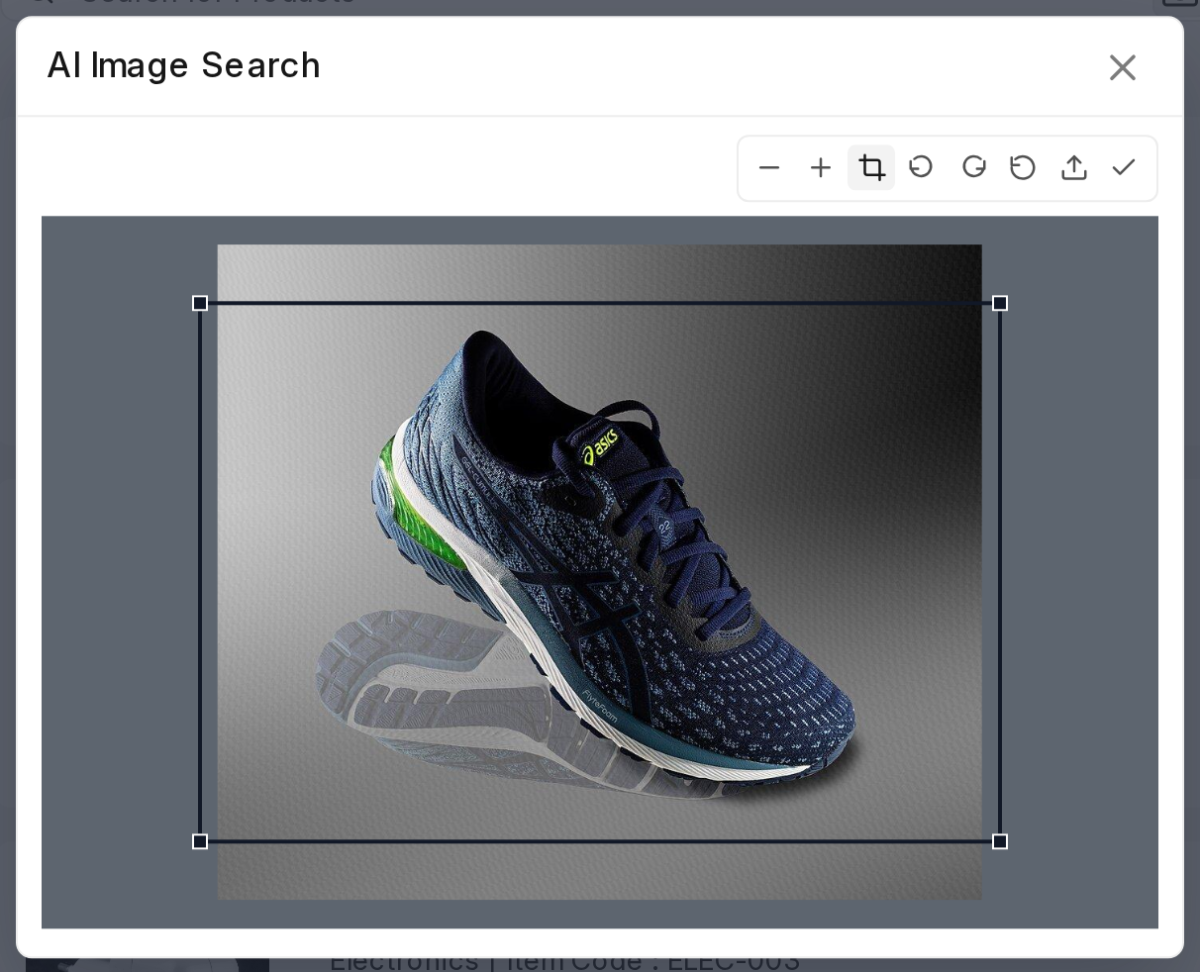
- In the editor, use the toolbar to zoom out, zoom in, crop, rotate left, rotate right, reset or upload a new image. Drag the crop box to frame the product. Click the tick to save your changes and go back to the preview.
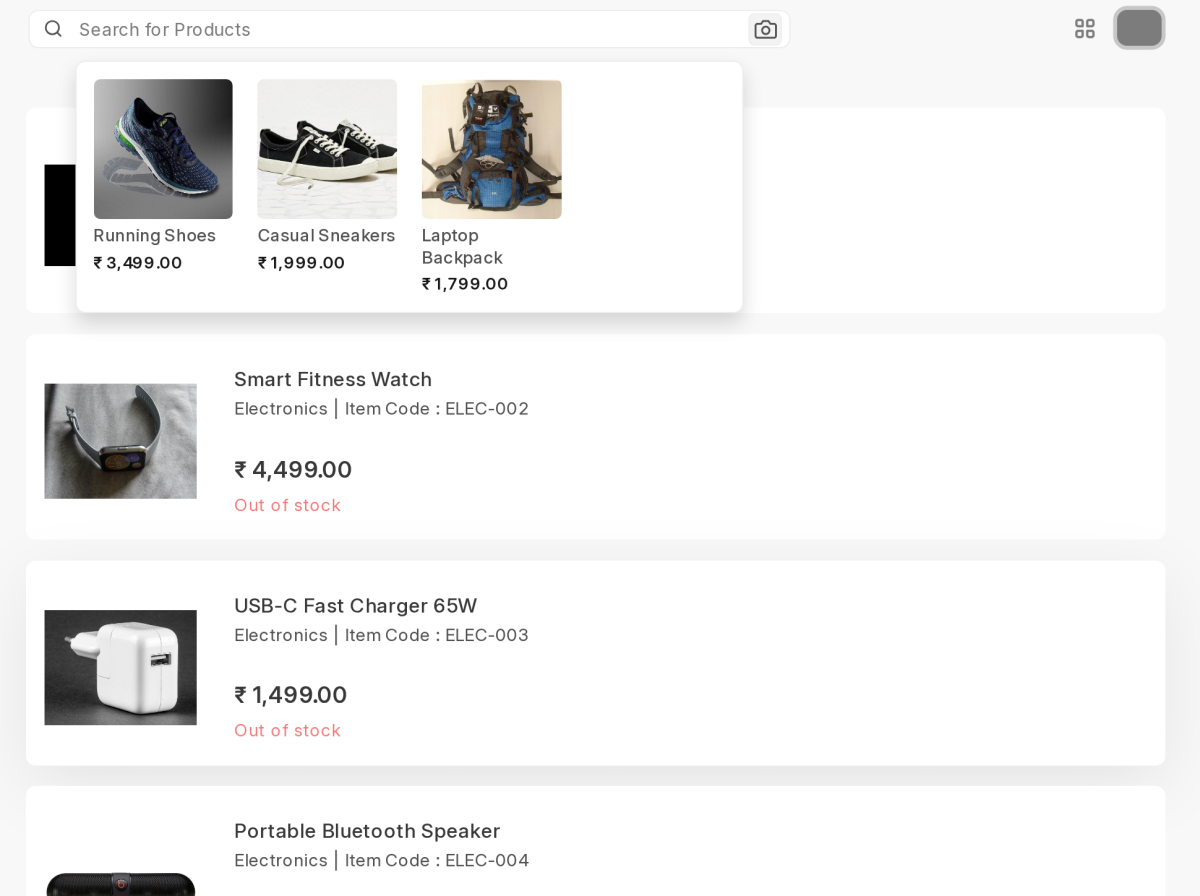
- Click Search. A spinner shows while the app looks for matches. The results open under the search box, with the best match first. Click a product to open its page.
Need Help?
Hope you find this guide helpful! Please feel free to share your feedback in the comments below.
If you still have any issues/queries, please create a ticket at the UV Desk.
I hope this helps. In case of any further queries, contact us at our support mail.
Thanks for paying attention!!
Current Version – 1.0.0
Supported Framework Version – ERPNext v16

Be the first to comment.