Introduction
Odoo WordPress SSO Connector allows Odoo to work as an OpenID Connect (OIDC) Identity Provider for connected applications. Users can sign in to these applications with their Odoo credentials through Single Sign-On (SSO).
Configure OIDC clients from the Odoo backend by adding client details, credentials, and redirect URIs. You can also manage connected clients and review user consent records from one place.
Once the setup is complete, users can select Login with Odoo on a connected application and complete the sign-in process with their Odoo account. Odoo WordPress SSO Connector then provides a simple way to access connected applications through Odoo authentication.
Features
- Configure OIDC clients from the Odoo backend.
- Add client credentials and redirect URIs for connected applications.
- Manage multiple OIDC client applications from one place.
- Allow users to sign in with their Odoo credentials.
- Provide a Login with Odoo option for connected applications.
- Support Single Sign-On (SSO) through the OpenID Connect (OIDC) protocol.
- View user consent records and granted access scopes.
- Review consent details for each connected user and application.
- Manage user consent records from the Odoo backend.
- Control which Odoo users can authenticate through the OIDC provider.
Installation
- Once you purchase the App from Webkul store, you will receive a link to download module’s zip file.
- Extract the file on your system after download finishes. As a result, you will be able to see a folder named- ‘wk_odoo_oidc_provider’.
- Copy and paste this folder inside your Odoo Add-Ons path.
- Now, open Odoo App and click on the Settings menu. Here, click on Activate Developer Mode.
- Then, open Apps menu and click on ‘Update Modules List.’
- In the search bar, remove all the filters and search ‘wk_odoo_oidc_provider’.
- You will be able to see module in the search results. Click on ‘Activate’ to install it.
Workflow
1. Access the OIDC Clients
Go to OIDC Provider > Clients from the Odoo backend. Here, you can view all the OIDC clients configured in your Odoo instance.
The client list displays the Name, Client, Client Type, and Active status of each configured client.
Click any client to open its details and manage its configuration.
2. Configure an OIDC Client
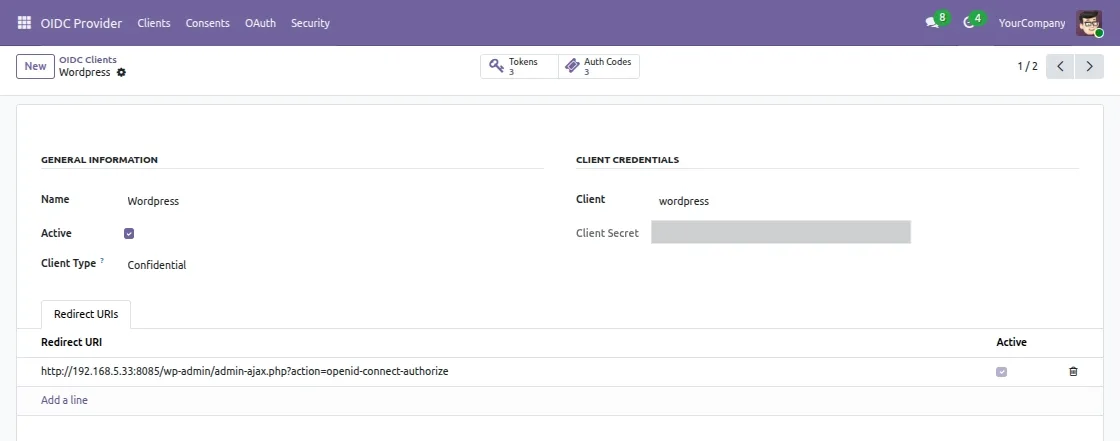
Open the required client from the OIDC client list to configure its settings.
Enter the Client Name and select the required Client Type. Then, add the Client ID, Client Secret, and Redirect URI for the connected application.
Enable the Active option to allow the client to use the configured OIDC settings. Once the details are added, click Save to complete the client configuration.

3. Configure OIDC User Type
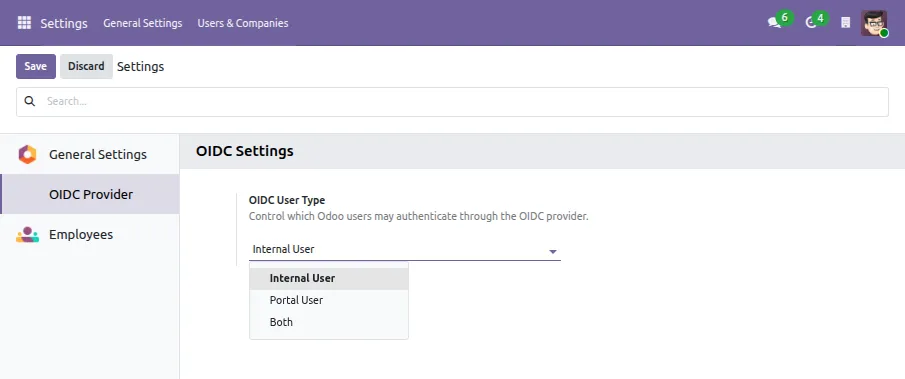
Go to Settings > OIDC Provider and find the OIDC User Type option. This setting controls which Odoo users can authenticate through the OIDC provider.
Select Internal User, Portal User, or Both based on your requirements. Save the settings to apply the selected user type for OIDC authentication.
4. Sign In with Odoo
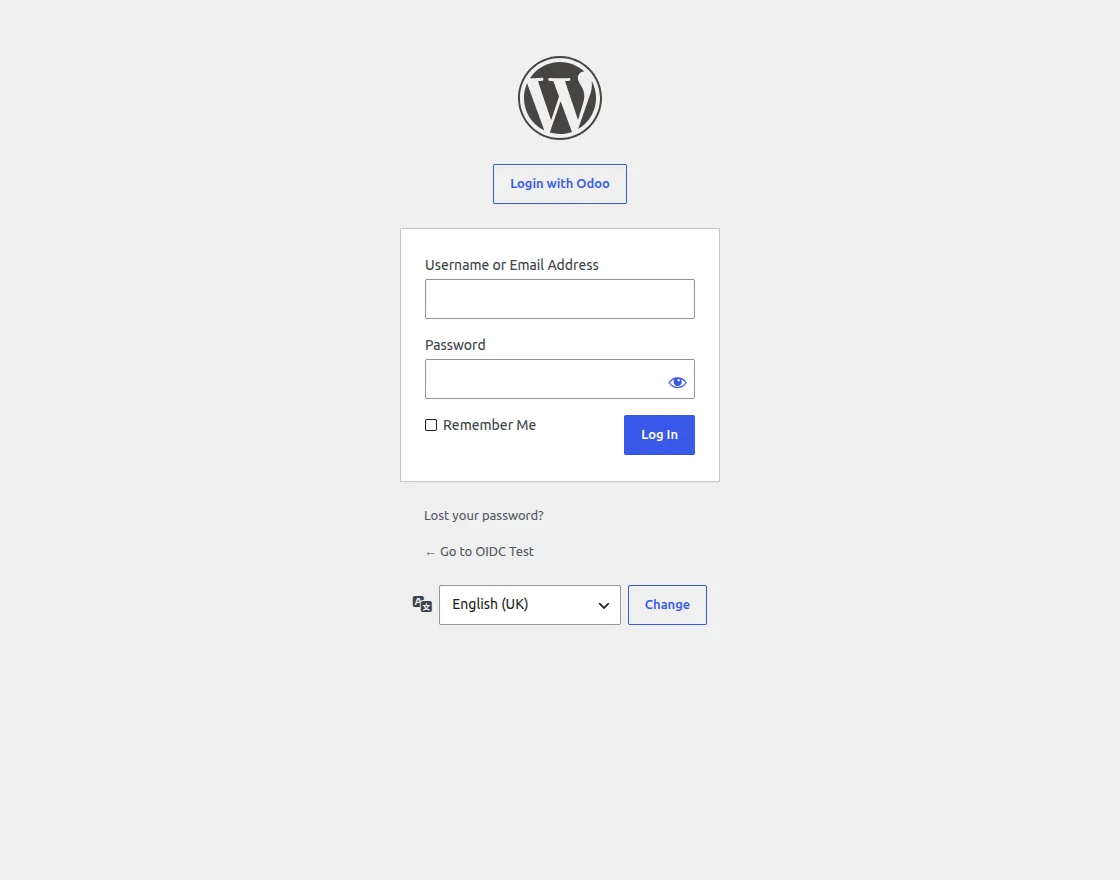
Open the connected application and click the Login with Odoo option to start the Single Sign-On (SSO) process.
Odoo opens the sign-in page where users can enter their Odoo credentials. After successful authentication, users can continue to the connected application with their Odoo account.
5. Review Consent Details
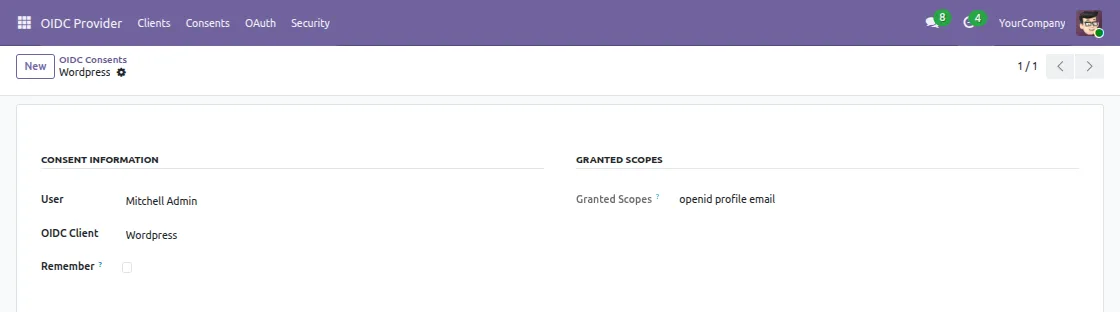
After a user completes the sign-in process, Odoo records the consent details for the connected application.
Open the required consent record to review the User, OIDC Client, Granted Scopes, and Remember details.
Review the consent information to check which application has access and which scopes were granted by the user.

6. Manage User Consents
Go to OIDC Provider > Consents from the Odoo backend to view all user consent records.
The consent list displays the User, OIDC Client, Granted Scopes, Remember, and Created On details for each record.
Open any consent record to review its details and manage the consent information as required.
Need Help?
Hope you find guide helpful! Please feel free to share your feedback in the comments below.
If you still have any issues/queries, please create a ticket at the UV Desk.
I hope this helps. In case of any further queries, contact us at our support mail.
Thanks for paying attention!!
Current Product Version - 1.0.0
Supported Framework Version - Odoo V19

Be the first to comment.