Introduction
Magento 2 Marketplace Seller Categories can help the seller to create the category from the seller panel.
The default Magento 2 will not allow the seller to manage the categories.
This module will allow the seller to create categories for the collection page.
These categories are created by the admin or seller. Thus, giving them efficient category management.
This module is helpful for the seller to introduce the seller category as per the products.
Thus, this will help in the inclusion of the categories apart from that of the Magento default catalog.
Watch the below video tutorial to understand the extension workflow :
Features of Magento 2 Marketplace Seller Categories
- The seller can create and manage the categories from the seller panel.
- Admin can configure the module for the seller by allowing them to manage the categories.
- The customer can filter the products as per seller categories on the seller collection page.
- Admin can create seller categories on behalf of the seller.
- Introduction of independent categories from that of Magento default catalog.
- This extension is compatible with the Hyva theme.
- GraphQl has been implemented for the extension.
Note- This module is an add-on to the Magento 2 Marketplace module. To use this module, you must have installed the first Magento 2 Marketplace Module.
Installation of Marketplace Seller Category for Magento 2
#1 Download Module
Firstly, you need to log in to the Webkul Store, go to My Account>My Purchased Products section, verify, and then download and extract the contents of this zip folder on the system.
#2 Upload Folder
Customers will get one zip folder and they have to extract the contents of the zip folder on their system.
Also, the extracted folder will have an src folder, inside the src folder you have the app folder.
Then, You need to transfer this app folder into the Magento 2 root directory on the server as shown below.

After the successful installation, you have to run these commands in the Magento 2 root directory:
#3 Run Commands
After uploading the module folder, you need to run the following commands in the Magento 2 root directory:
php bin/magento setup:upgrade
php bin/magento setup:di:compile
php bin/magento setup:static-content:deploy
php bin/magento indexer:reindex
php bin/magento cache:flush
Install Extension from Magento Marketplace
If you have purchased this extension from the Magento Marketplace then please follow the below process or visit this link.
#1 Get Access Keys
You need to get access keys, navigate to My Profile in Magento Marketplace, then choose Access Keys in the My Products section.

Go to Magento 2 and then you need to copy both the Access Keys – Public Key and Private Key. These access keys will be needed in the next steps for authentication.

If access keys are not created earlier, click Create A New Access Key, enter any name, and click OK.

#2 Update composer.json File
To know the component name and version number, go to your Magento Marketplace account section, My Profile>My Purchases, and then find this extension to view the details. Please note – Below is an example image, every extension will have its unique component name and version.

After that, navigate to your Magento project directory and update your composer.json file in the following format.
composer require <component-name>:<version>
For example, to install version 5.0.0 of this extension you need to run the following command:
composer require webkul/marketplace-seller-category:5.0.0
#3 Enter Access Keys
Now you will need to enter the Access Keys that you obtained as explained in the first step #1 Get Access Keys. Wait for Composer to finish updating your project dependencies and make sure there aren’t any errors.
#4 Run Command
You need to run the following commands:
php bin/magento setup:upgrade
php bin/magento setup:di:compile
php bin/magento setup:static-content:deploy
php bin/magento indexer:reindex
php bin/magento cache:flush
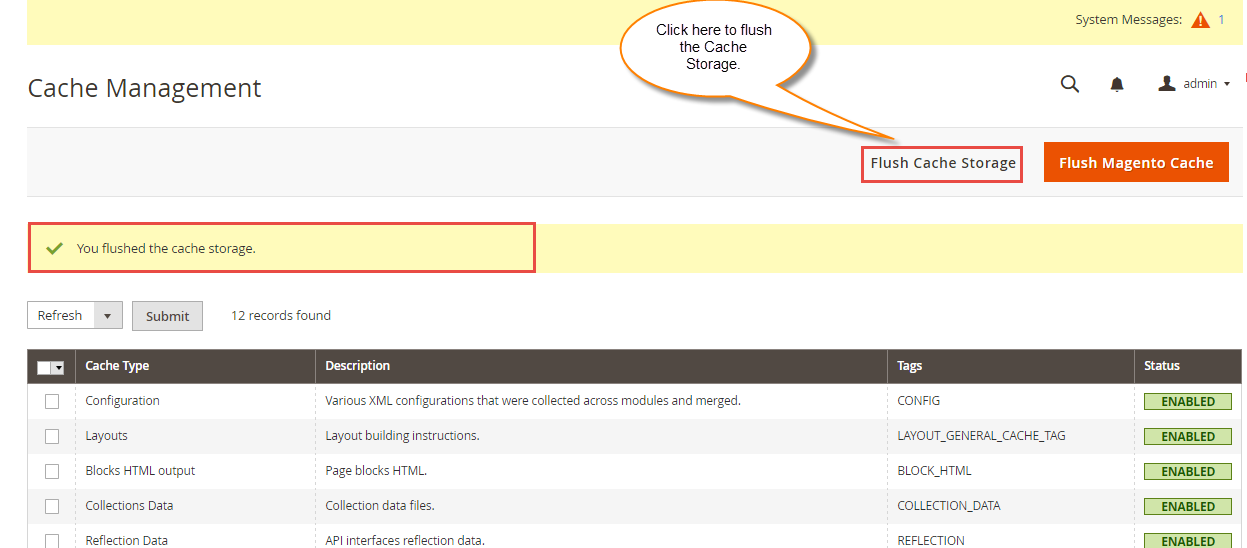
So, post running the commands, you have to flush the cache from the Magento admin panel by navigating through->System->Cache management.
Configuration for Multi-lingual Support
For multilingual support, the admin will navigate through Store->Configuration->General ->Locale Options and select the locale as German (the language into which the admin wants to translate his store content).

Module Translation
If a user wants to translate their module from English to German then they need to follow the path app/code/Webkul/MpSellerCategory/i18n in their unzipped Magento Marketplace folder.
Here, you will get a CSV file with name “en_US.csv”.
Now they will rename that CSV as “de_DE.csv” and translate all right side content after the comma in the German language.
After editing the CSV, save it and then upload it to the path app/code/Webkul/MpSellerCategory/i18n where they have installed Magento 2 on the server.
Now, the module gets translated in the German Language.
It supports both the LTR and RTL languages.


The user can edit the CSV like the image below.

Marketplace Seller Categories Admin Configuration
The admin can configure the module to allow the seller to set the categories by navigating through Store>Configuration>Marketplace seller category.

The admin can enter the details in the following fields-
- Allow Seller Categories– The admin needs to set it, to ‘yes’. So as to allow the seller categories to appear in the navigation panel on the collection page.
- Allow Seller to Manage Category– The admin will allow the seller to manage the categories. For this, the admin needs to set this field as ‘Yes’.
- Display Name For Filter in Layered Navigation– The name of the filter is visible in the layered navigation.
Admin Category Creation
The admin can create a category on behalf of the seller. For this, the admin can follow the navigation as Marketplace Management>Seller Categories.

The admin can click on ‘New Category‘ to create a new seller category. So, for this, the admin here can enter the details like-
- Name- The name of the seller category which will be visible on layered navigation.
- Position- The sort order of the category as it appears on the collection page.
- Status- The admin can enable the category to make the category visible.
- Seller- The admin can associate the category with the seller from here.

Customer View
The customer can view the seller categories on the seller collection page under layered navigation. So, this will allow the seller to find out the desired product from the seller’s collection.

Marketplace Seller Categories View
The seller can even edit/add the categories from the seller panel. For this, the seller needs to navigate through My Account>Manage Categories.

Thus, from here, the seller can either edit/add categories. This will give the seller the power to manage the categories in a better way.

Thus, the seller can enter the following details-
- Name- The seller can enter the category name.
- Position- The sort order of the category as it will appear in the layered navigation of the collection page.
- Status- The admin can set the category as enable to make it visible on the collection page.
- Product in the Category- In this section seller can mention those products that are part of the category in bulk.
Note-
Here, the seller can even go to the Product edit option in My Product List. Then assign the Seller Category to each product.
So, after entering all the details the seller will save the category. This will make it appear on the collection page as below –

Admin Configuration- ‘Allow Seller to Manage Category’ Is ‘No’
Till now, we have been discussing- whether ‘Allow Seller To Manage Category’ is ‘Yes’. However, the admin will set the field as ‘No’.
This will disable the functionality of management of the categories by the seller. Thus, the seller can only view the categories created by the admin for the seller and assign them to a product.
The seller can assign the category to a product by editing a product in My Product List.
Thus, here, the seller can select the desired categories to be associated with the product.
Note– This functionality will avoid bulk product assignment to the category by the seller.
So, that’s all for the Marketplace Seller Category for Magento 2 still have any issues feel free to add a ticket and let us know your views at the HelpDesk System to make this module better.
Current Product Version - 5.0.3
Supported Framework Version - Magento 2.0.x, 2.1.x, 2.2.x,2.3.x, 2.4.x

Be the first to comment.