After creating world best marketplace plugin for Magento, we are going to release Magento marketplace responsive theme. This theme will support all screen either you are viewing your marketplace store site in iPhone, iPad, android based mobile devices or small or big screen devices it will work very fine in all screens. After installing this theme, marketplace seller list and their products will be displayed on home page.
Please Note – This module is an add-on of Webkul Magento Marketplace Multi-Vendor module.
Features Of Magento marketplace Responsive Template
- It will adjust your complete template view in screen format.
- To adapt the responsiveness of Magento, we are not editing core template or files its complete package.
- working with all third party, modules having responsiveness.
- Ajax cart basket is already installed, which will turn your add to cart / remove into ajax based cart system and will increase the sales.
- Ajax based Sign up and log in.
- Easy to Make a review and contact to the seller.
- Product image gallery is already included in the template that means for product thumbnails you don’t need to increase the area. Gallery will display rest of the product images in the carousel format.
- Mega menu supported.
- Retina based product zooming.
- Complete flat design.
- Social media sharing option included.
- Lightbox product thumbnail zoom.
- Working with all Magento marketplace add-ons and modules.
Installation Of Magento Marketplace Responsive Template
Installation of the module is very easy. You need to move the app and skin folder into Magento root directory.

After moving both the folder flush the cache from Magento admin module. Under System > Cache management.

After those primary step, you just need to configure the module.
Configuration Of Magento Marketplace Responsive Template
Admin can configure the Marketplace Responsive Template under System > Configuration > Design. Here admin can set the Current Package Name and save it.

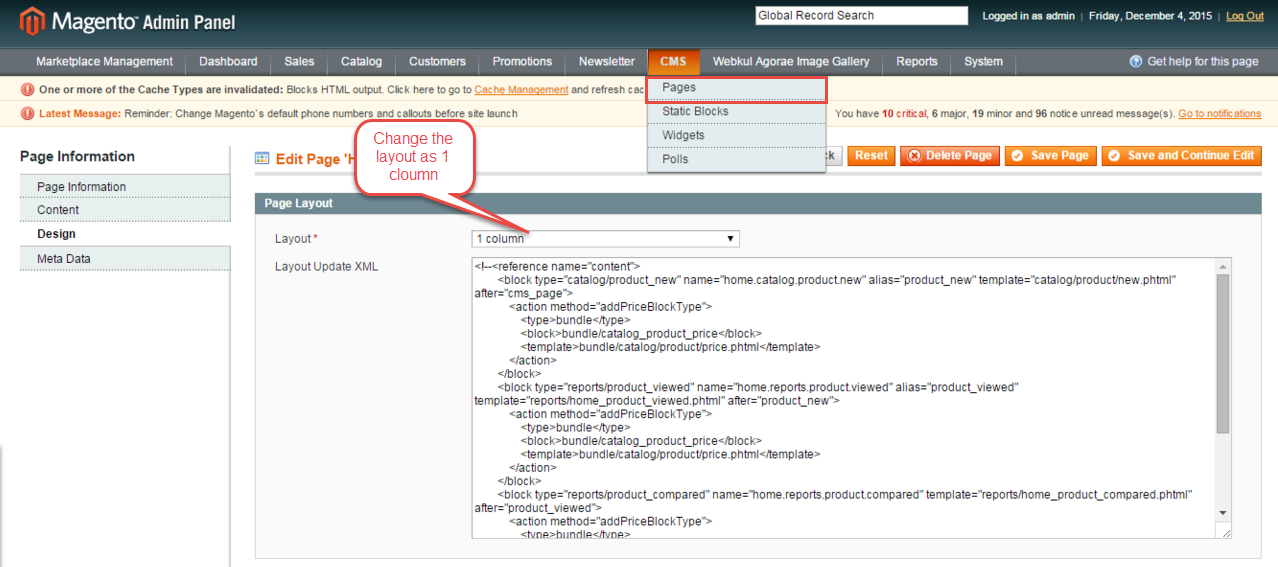
After changing the current theme package, go to CMS->Page->Home Page and change the layout as 1 column.
At the homepage, the user can view attractive slider and this can be configured by the admin from the backend.

For adding the Slider image on the homepage, the admin will upload the banners in “Webkul Agorae Image Gallery” as per the below image.
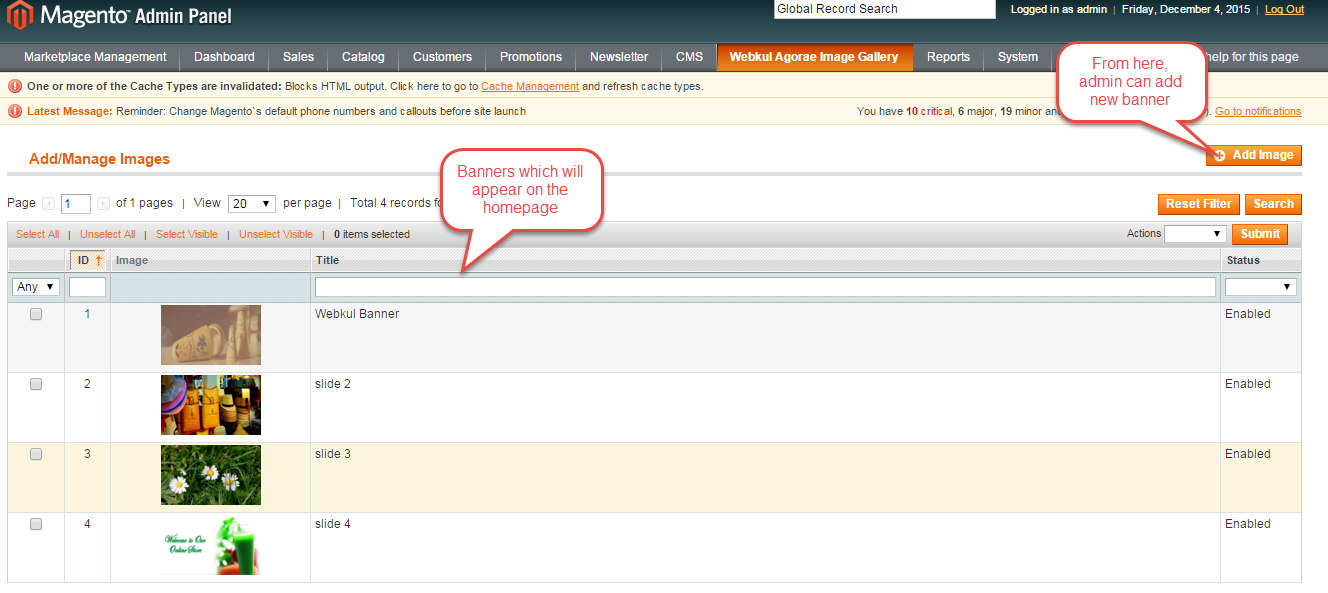
Admin can add the new banner on clicking on “Add Image” as per the below image.

Now let us explain how the admin can set images for various level of categories from the admin panel.

In the backend, admin can see top two first level category like the below image.

The second level of the category will be displayed on the homepage and the image which admin will set as thumbnail image will appear on the homepage.

The third level category will display on the homepage like the image below.

Top third level categories will display on the homepage. Admin will also choose thumbnail images for those categories which will appear on the homepage.

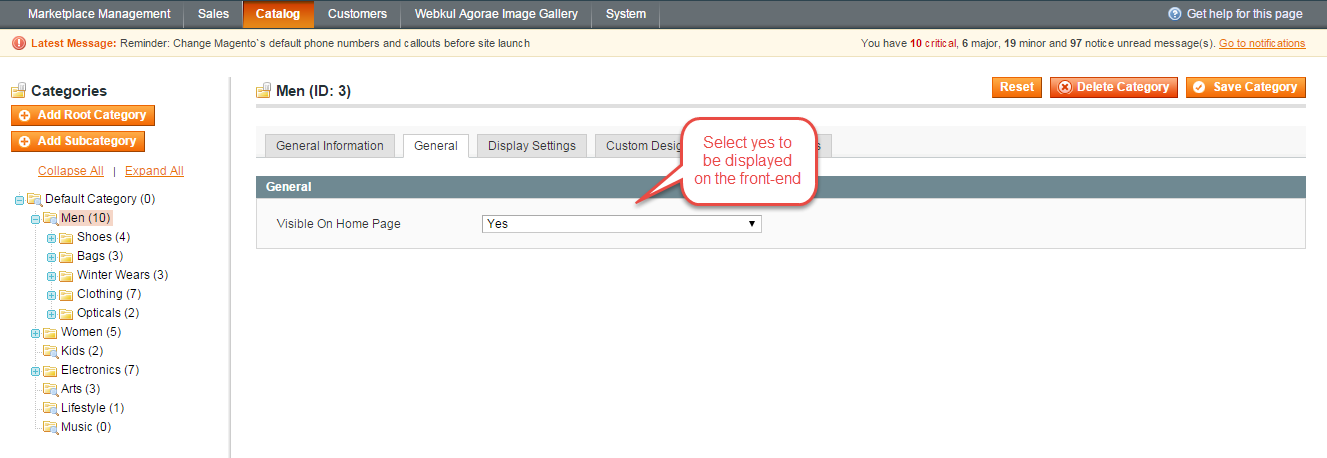
Note: You have to set this “Yes” for each category you want to show at the homepage.
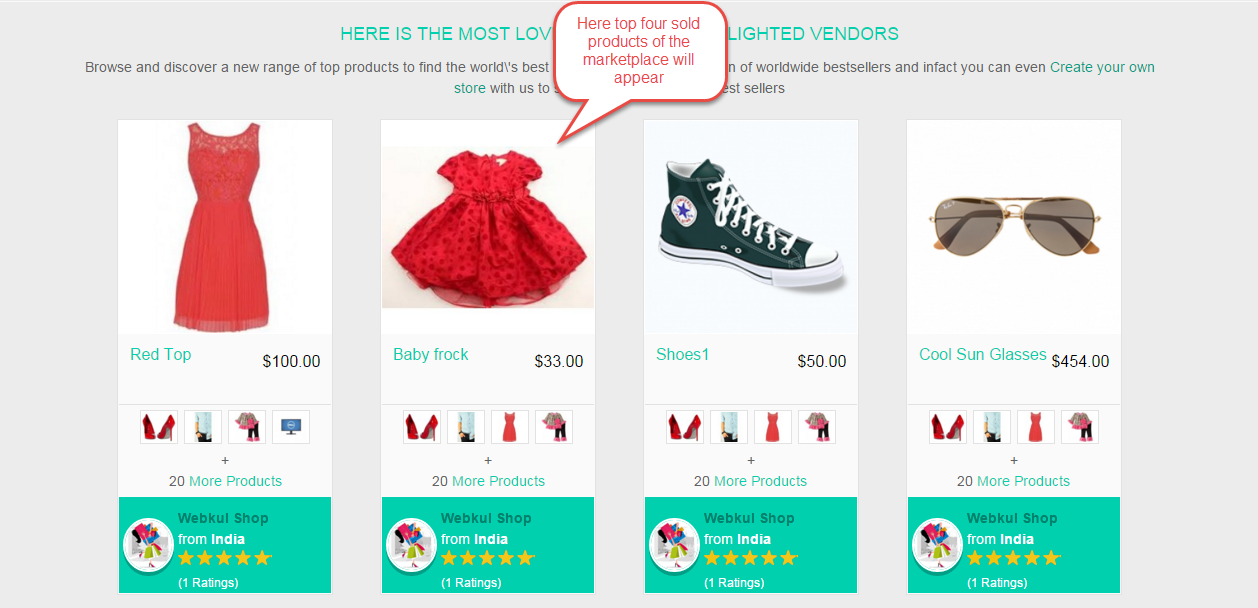
After the third level of categories, top four products of Marketplace will be displayed.
At the end, top seller’s logo and name will be displayed. The logo which seller sets at their profile, that logo will appear on the homepage and their name.

Agorae Home Page

In product page, you can see most popular products with Seller details. You can start your shopping from here. In above screenshot you can see the seller who has sold out their maximum product. Here you can see the different categories at the home page with seller information and most loved stuff from delighted sellers.
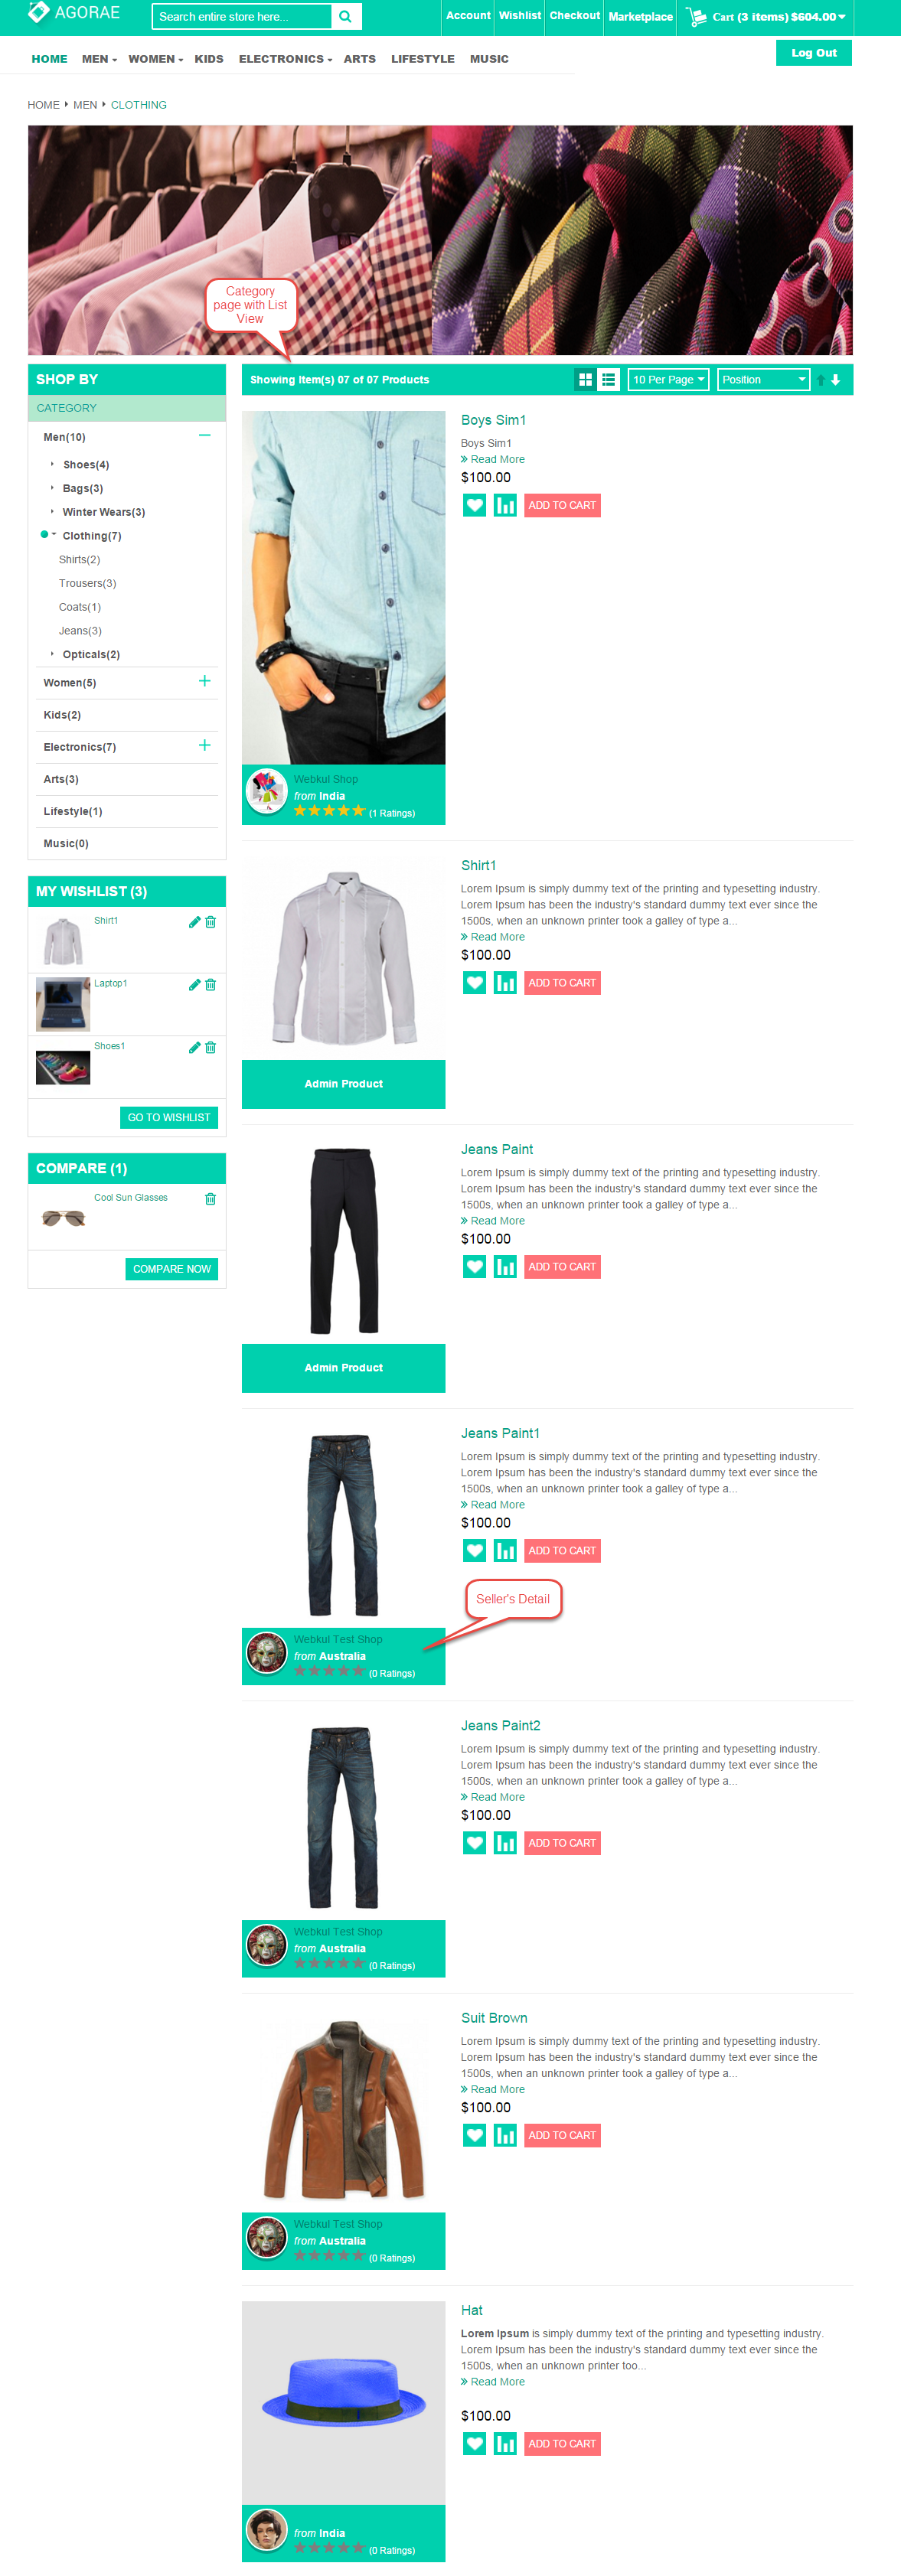
Here you can see the seller details on Product page.

Here you can see Grid view of category page with Seller Information, Wishlist, Comparable Products.

Admin can upload the banner from the admin panel, like the below image.

List view of category page with Seller Information looks like this screenshot.
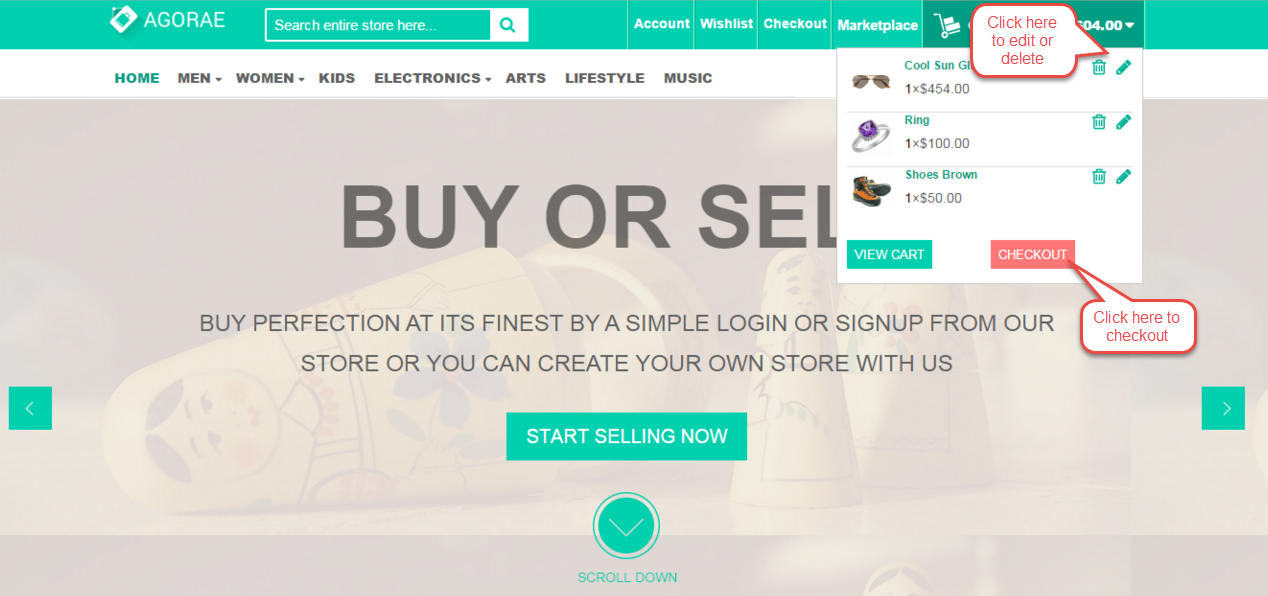
You can see attractive product cart basket at the home page like this screenshot. Here the customer can see their products to the cart basket and from here they can redirect to cart page and proceed to checkout.

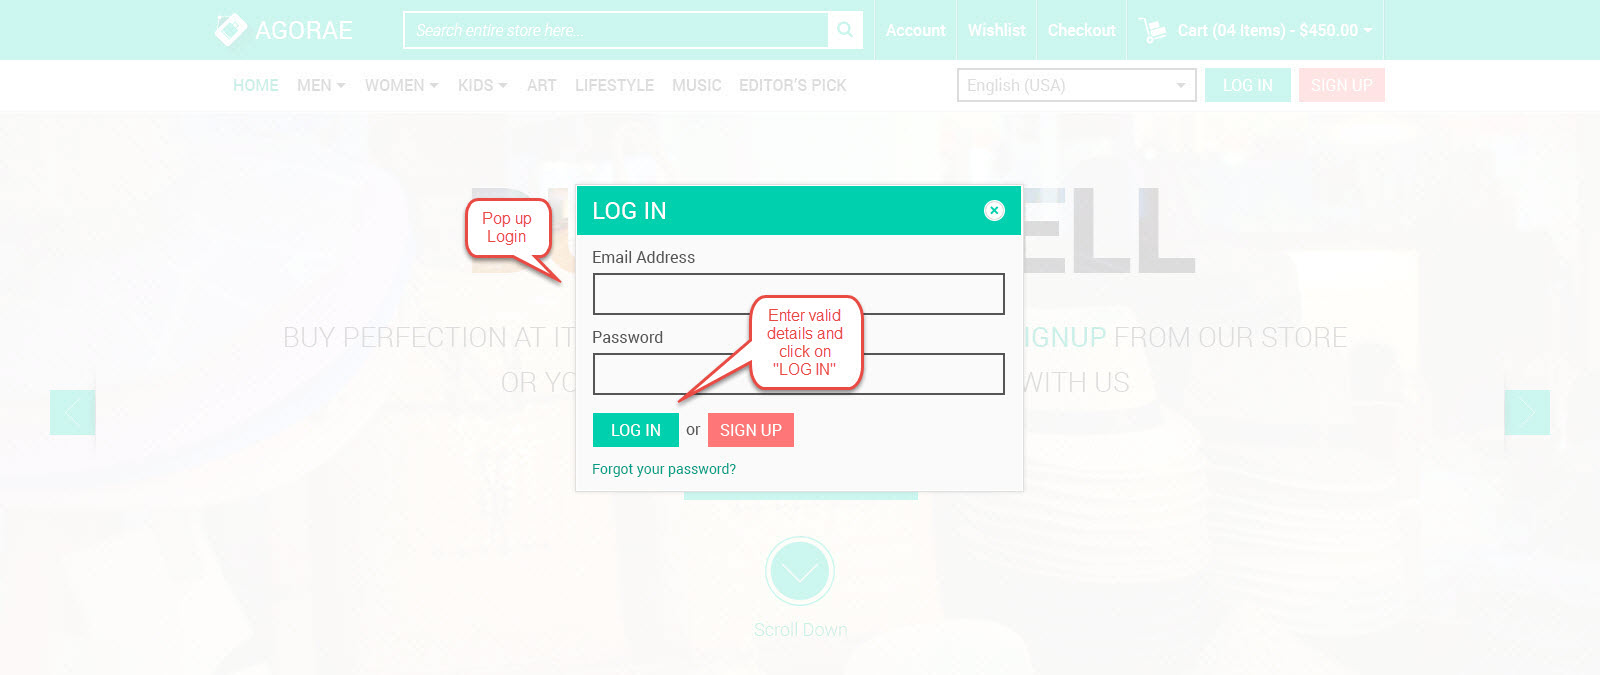
This theme provides Ajax based Login popup. Using this, you can log in your account very easily.
Here you can see Ajax based sign up box. Using this field you can create your account without any difficulties.

At the Seller’s Collection page, the user can see products, Seller’s Pick, Reviews, Make a Review and Contact Seller. On the banner, user can view seller’s logo, name, and location.

The seller can upload Company logo and Company banner from their Seller Profile, you can follow the path My Account -> Seller Profile and upload the logo and banner.
![]()
Here the customer can view products for which seller had enabled the Seller’s Pick while adding products.
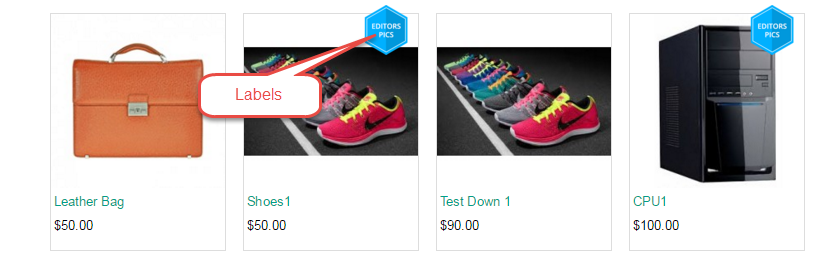
From the backend, the admin will select and upload various labels for products under System->Configuration as per the below image.

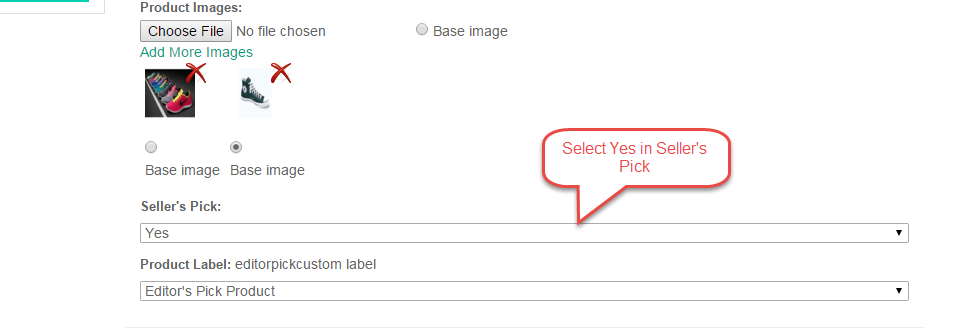
On the front-end, the seller can choose labels for their products while adding products.

On the front-end, a product with labels appears like the below image.
At the front-end, Seller’s Pick is displayed like this image.

The Customer can see reviews written by the other customers like this way.

The customer can put their reviews very easily. The customer can also rate the seller based on their Price, Value, and quality.

The Customer can contact the seller using contact seller field.
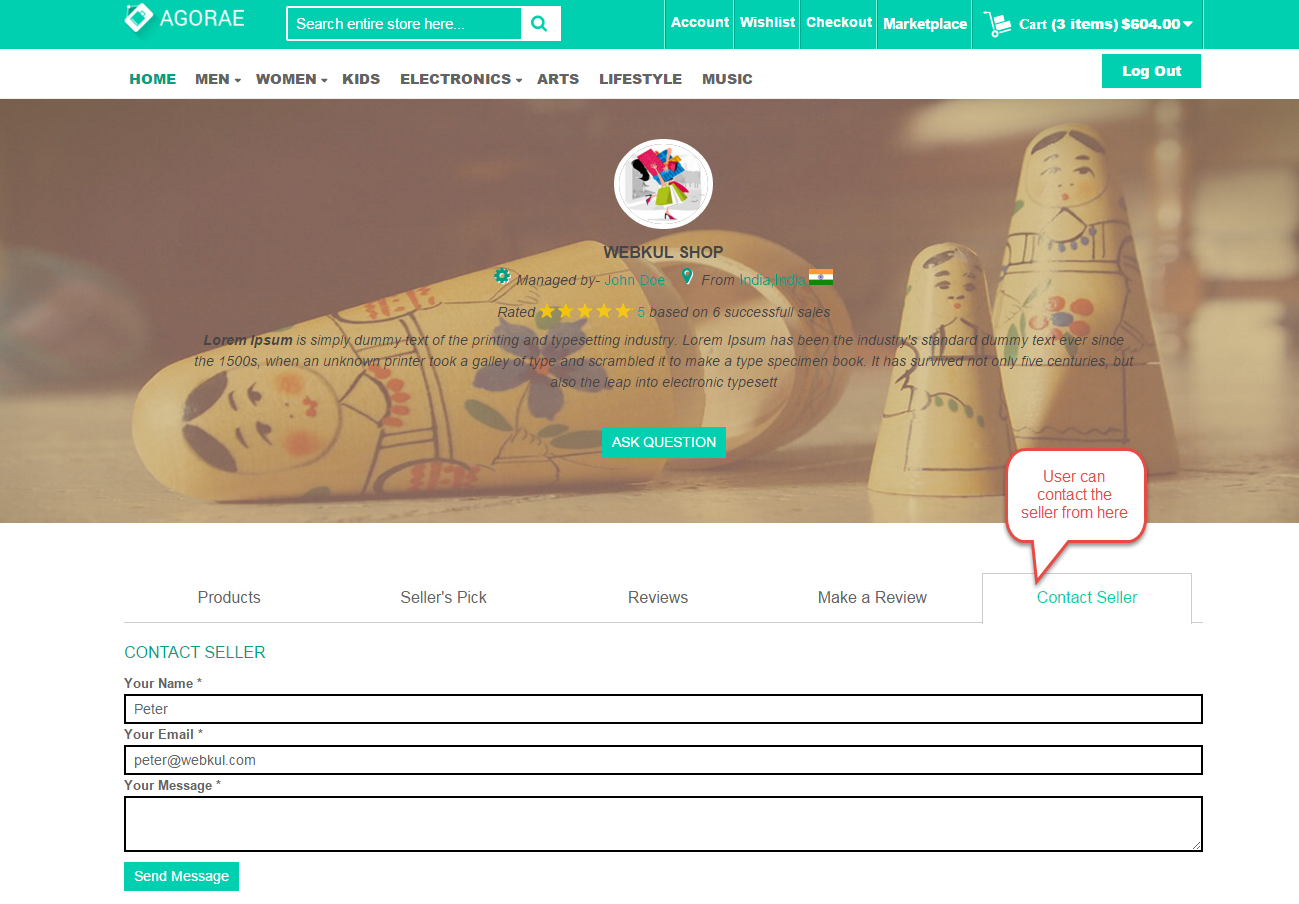
The customer can ask any question or doubt to the seller by clicking on “Ask a Question” button.

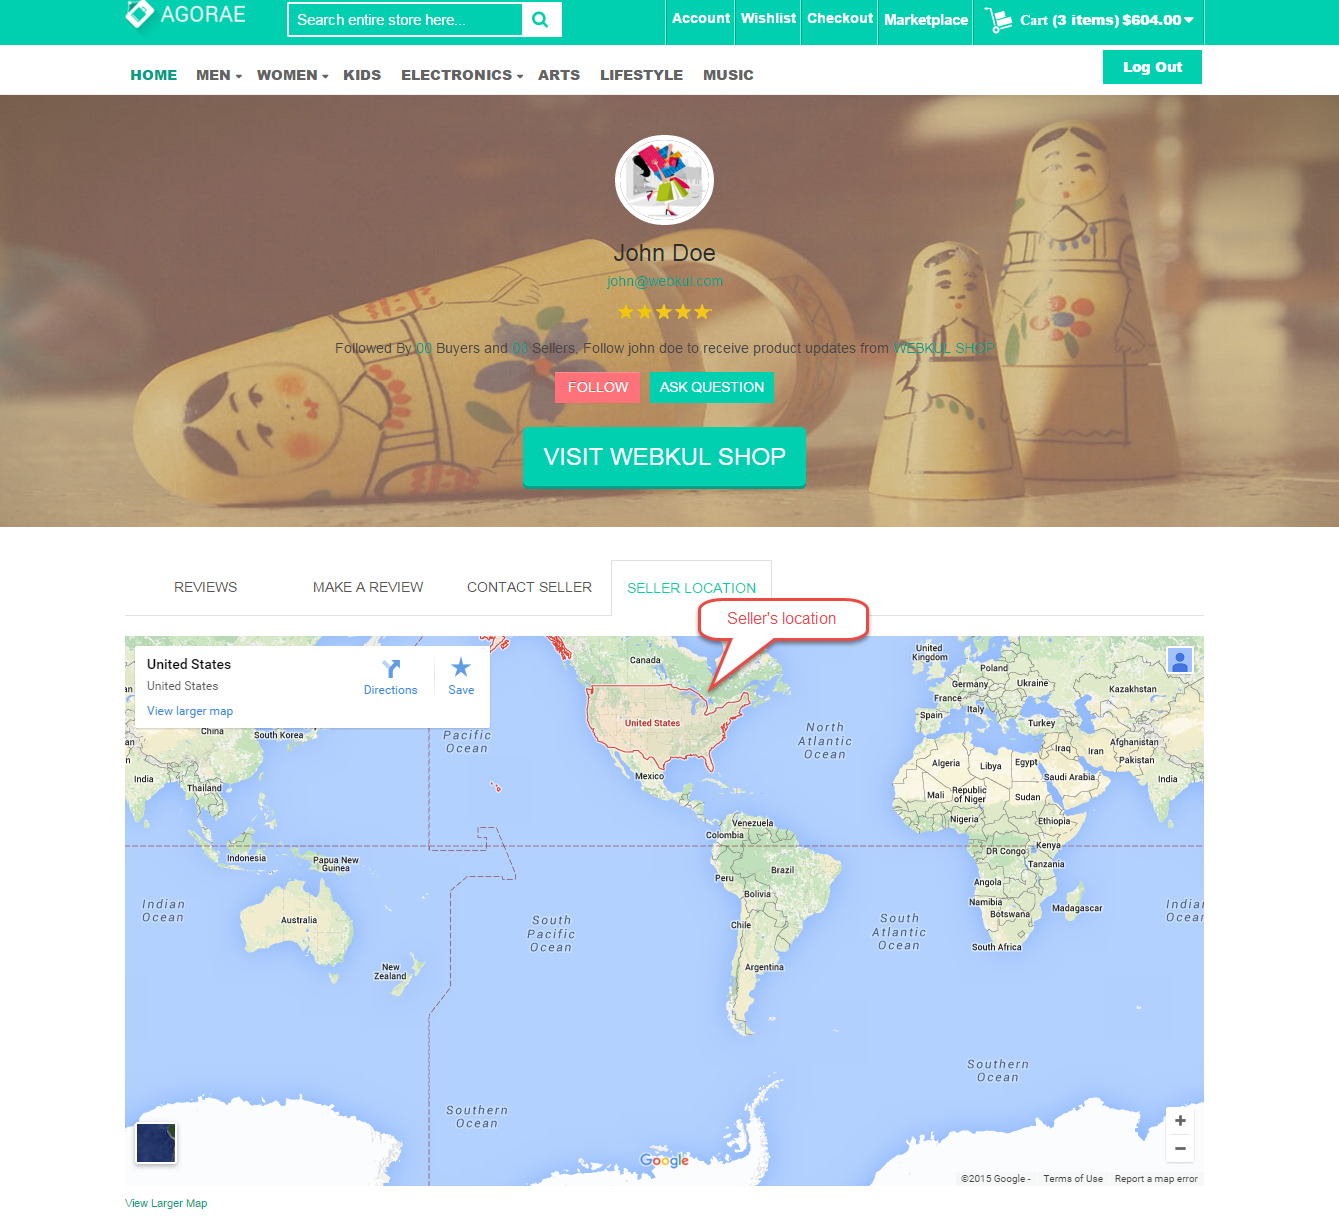
On the Seller Store page, a user can follow that seller, ask a question to that seller, visit their collection page, see reviews made by other customers, can make the new review for that seller, view seller’s location on Google map and contact seller.

When user will click on “Follow”, then that seller will be added as in their “Favourite Seller List”.

When the customer will click on “Seller Location” then it will show Seller’s location on the Google Map.
For any query or doubt, Please add a ticket at https://webkul.uvdesk.com/en/
Current Product Version - 1.0
Supported Framework Version - 1.9.x.x

Does this template support Arabic?
thank you