Magento 2 Shopware Connector allows the store admin functionality to synchronize the Magento 2 store with the Shopware store.
The admin can import the products and orders from the Shopware store to the Magento 2 store.
The store admin can easily manage the products and orders between the Magento 2 store and the Shopware store.
You can also integrate your Magento 2 store with the OpenCart store to import the products from the OpenCart store to your Magento 2 Store using the Magento 2 OpenCart Connector.
Note: Magento 2 Shopware Connector is for simple and configurable products only.
Video Tutorial of Magento 2 Shopware Connector
Check a brief overview of the connector –
Features
- The store admin can import all the products from the Shopware store to the Magento 2 store.
- The admin can import all the orders from Shopware to the Magento 2 store.
- Option to map the imported Shopware order’s status with the Magento 2 store order status.
- It can connect the Shopware admin with the Magento 2 admin.
- The store admin can import the products into different categories.
- The admin can also map the Magento 2 store category with the Shopware category.
Install Extension from Webkul Store
The installation is quite simple just like the standard Magento 2 extensions.
#1 Download Module
Firstly, you need to log in to Webkul Store, go to My Account>My Purchased Products section, verify and then download and extract the contents of this zip folder on the system.
#2 Upload Folder
Once the module zip is extracted, follow path src>app and then copy the app folder into the Adobe Commerce Cloud root directory on the server as shown below:

#3 Run Commands
After uploading the module folder, you need to run the following commands in the Magento 2 root directory:
php bin/magento setup:upgrade
php bin/magento setup:di:compile
php bin/magento setup:static-content:deploy
php bin/magento indexer:reindex
php bin/magento cache:flush
How to Get the Shopware Credentials
Furthermore, to get the Shopware access keys and API keys you need to have Shopware installed.
Now in your Shopware backend, you need to navigate through Settings> System>Integrations>edit in your profile.

By clicking on the Edit button the user will see a popup to generate the API keys.

The user can get the API keys by clicking on Create API Keys button.

Admin Configuration-Magento 2 Shopware Connector
The admin will navigate through Stores> Configuration> Shopware Connector to make some general configurations.

General Configuration:
Enable/Disable– To enable or disable the module status.
Allow Default Value- In the case of an empty value, the admin can allow the default value during product import.
Product Delete From Catalog- If the option is enabled, the product from the Magento catalog will also delete after deleting the mapped product.
Manage Shopware Stores – Magento 2 Shopware Connector
Now the admin will navigate through Shopware Magento Connect>Manage Shopware Stores to manage the Shopware stores.
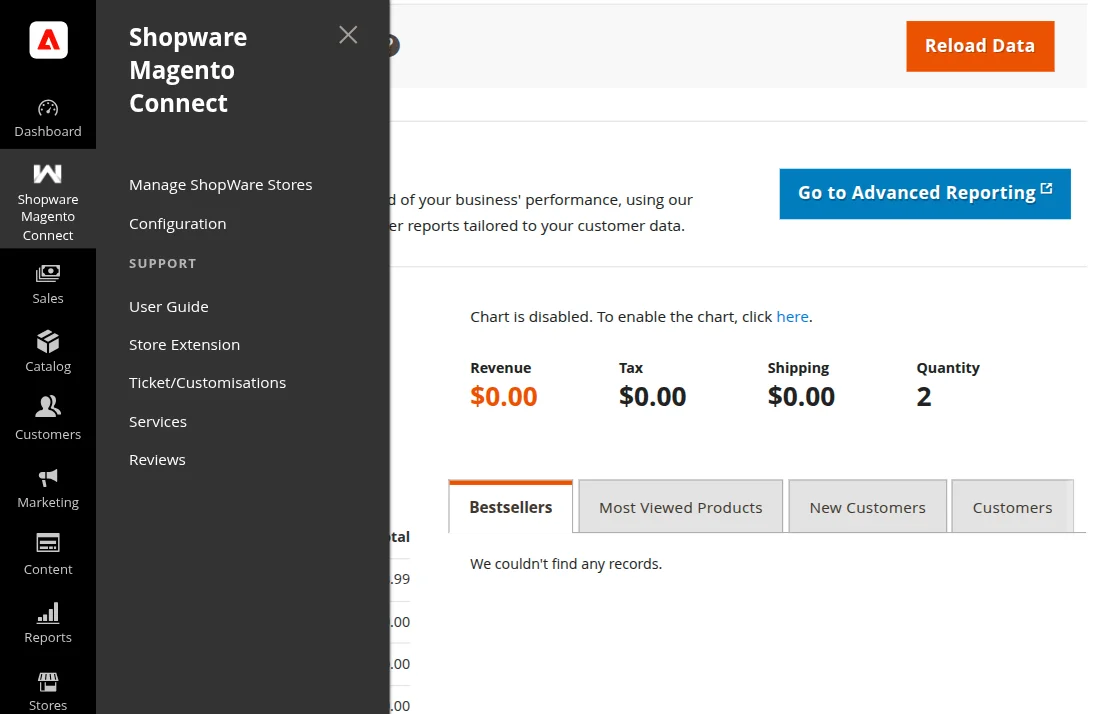
Here, the admin can make the following configuration to connect the Shopware store.
Shopware Store Information
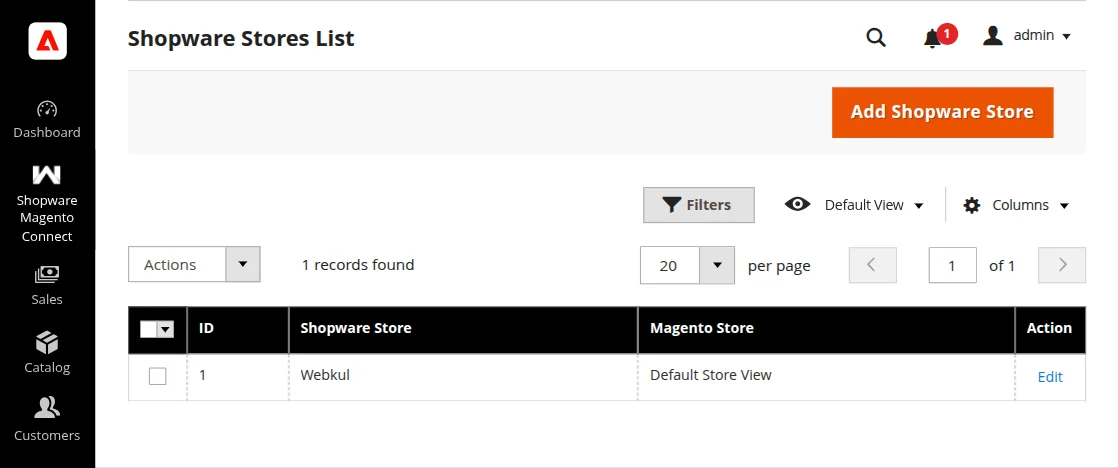
To add a Shopware store navigate through Shopware Magento Connect>Manage Shopware Stores and tap the Add Store button.
Here, you can also see if you have already added a Shopware store if any. If you are coming to this section for the first time then it will have no stores added.
This brings up the section where you have to add details regarding the Shopware store.
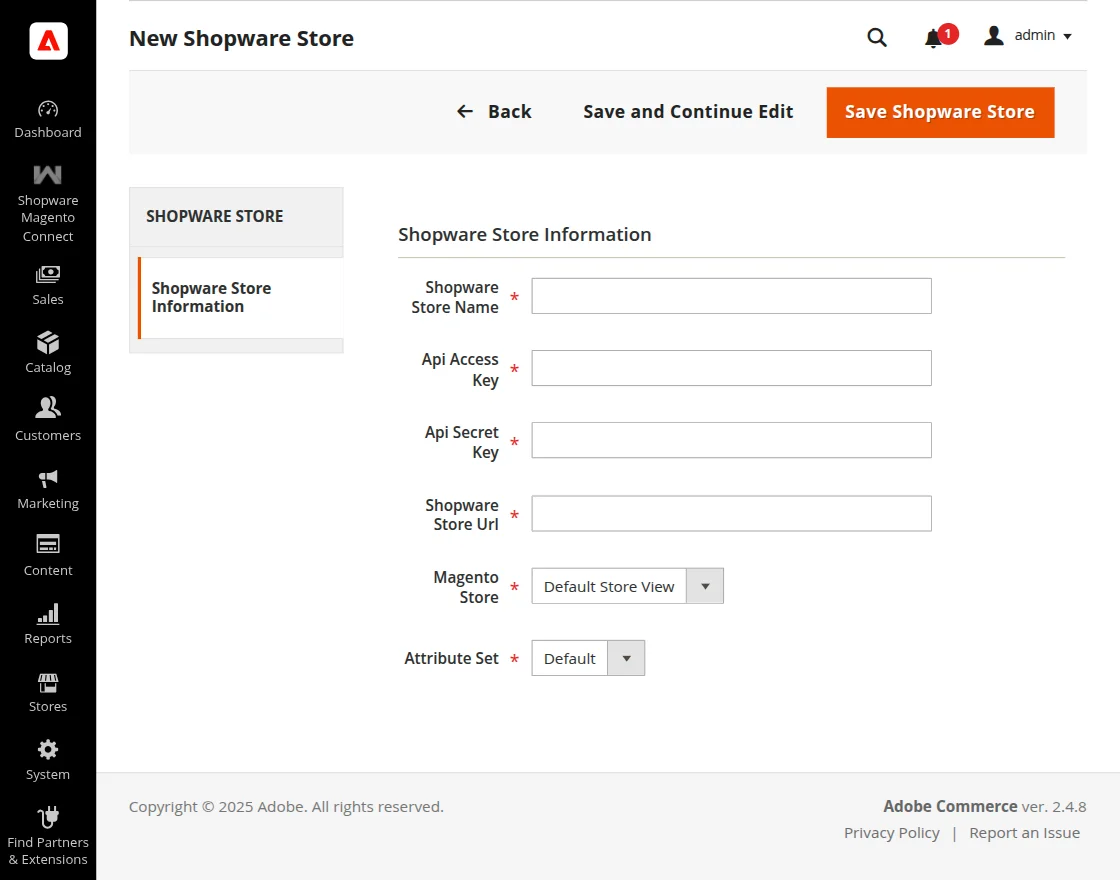
Shopware Store Name- Enter the Shopware store name here.
API Access Key-Enter the Shopware store API Access keys.
API Secret Key- Here, the admin will enter the Shopware store secret key.
Shopware Store URL- Enter the URL of the Shopware store.
Magento Store- Select the Magento store to which you want to connect.
Attribute Set- Select the attribute set from the dropdown.
After entering the required details save the Shopware store by tapping the Save Shopware Store button.
When you have saved the store you will now get additional tabs as well as shown below.
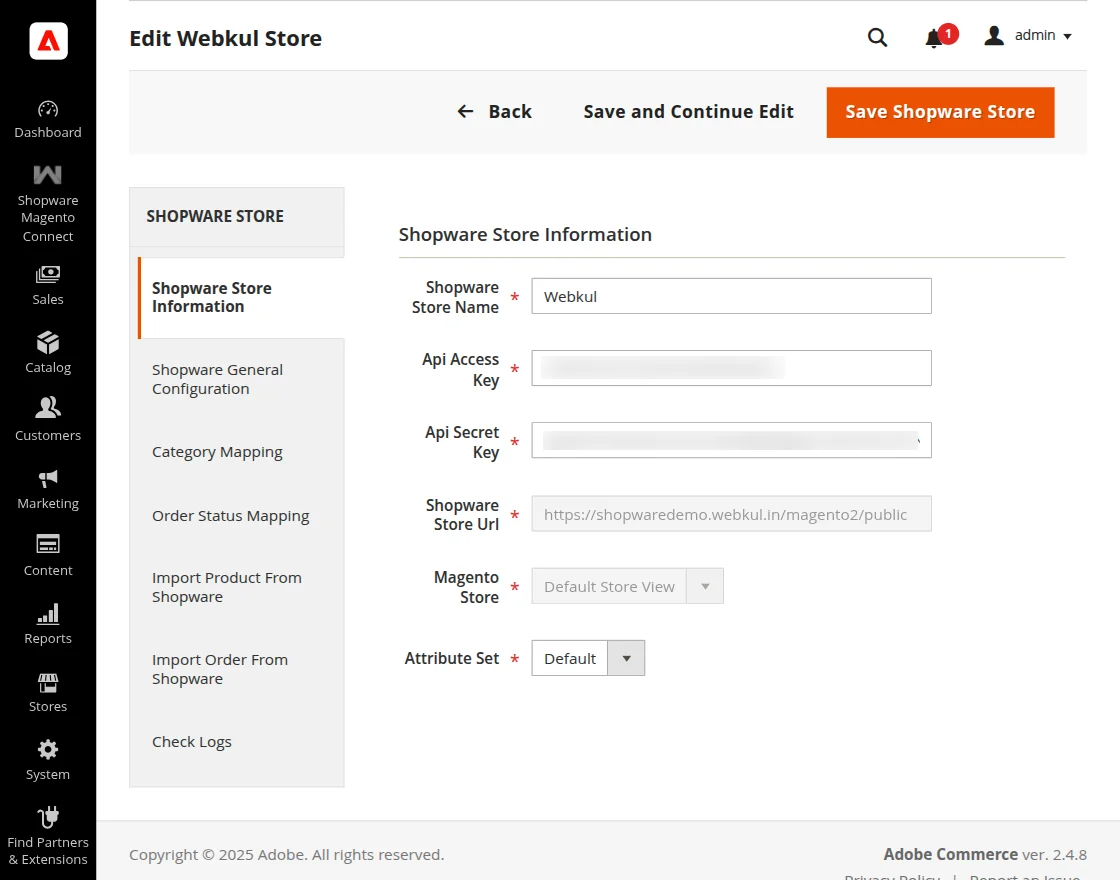
Shopware General Configuration
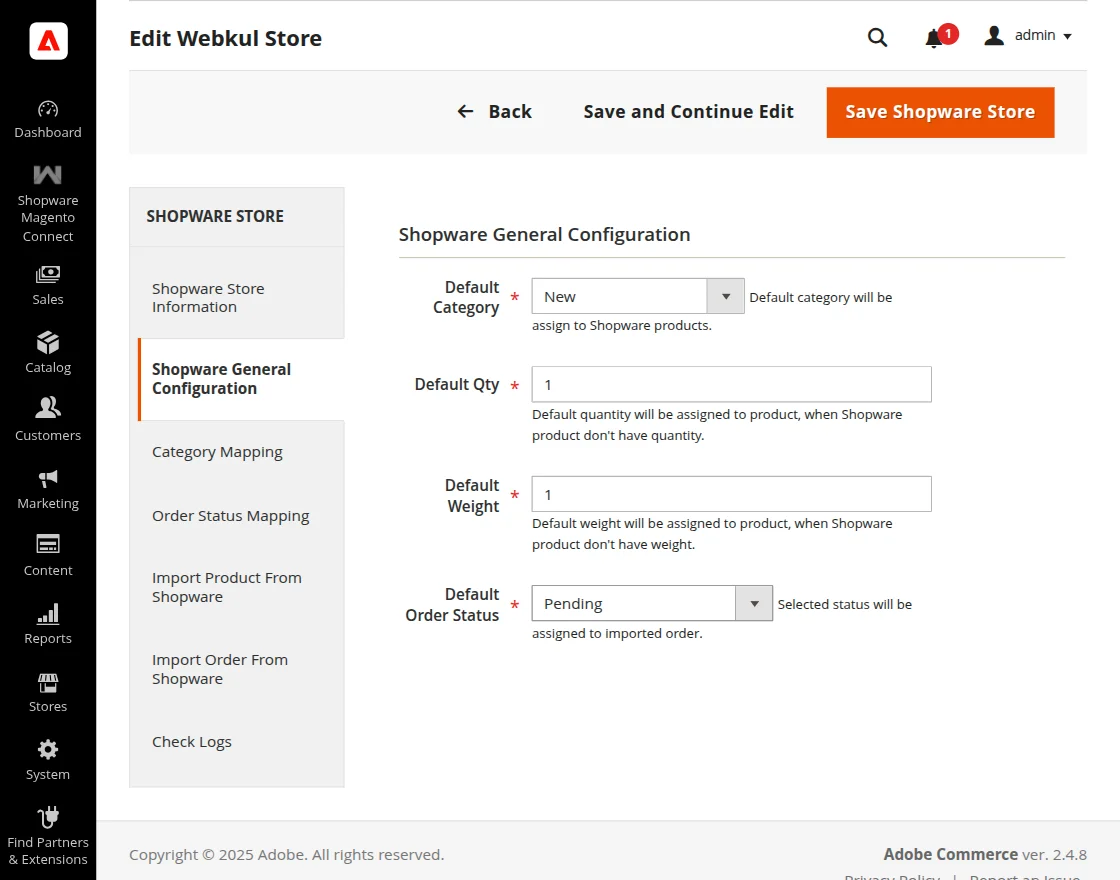
Default Category- Select the default category which will assign to the Shopware products.
Default Quantity- Now, enter the default quantity. It will assign to the products when Shopware products do not have any quantity.
Default Weight- Likewise, enter the default weight. It will assign to the products when Shopware products do not have any weight.
Default Order Status- The admin can select the default order status from here. This selected order status will assign to the imported order.
Category Mapping
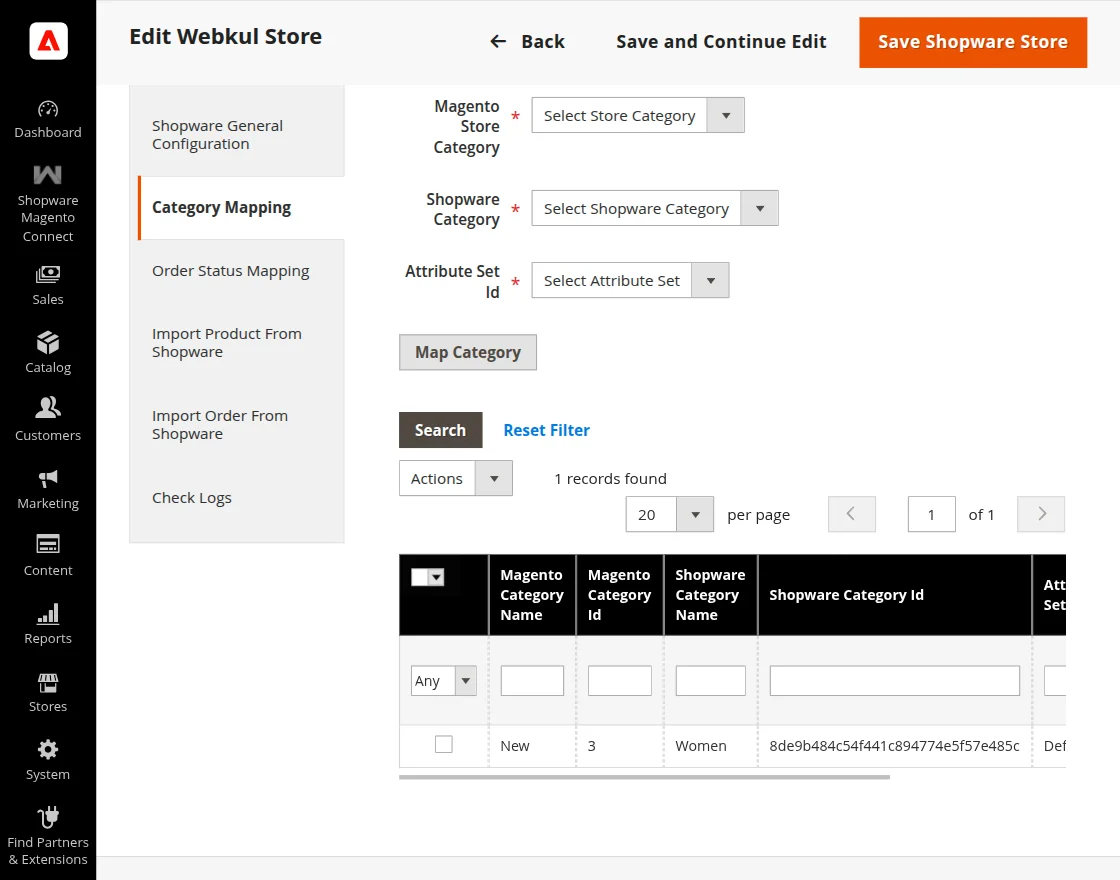
Magento Store Category- The store admin will select the Magento store category.
Shopware Category- Furthermore, select the Shopware category which you want to map with the Magento category.
Attribute Set ID- Select the attribute set id for the category mapping.
Moreover, the store admin will click on the Map Category button for category mapping.
The mapped category will display on the list.
Order Status Mapping
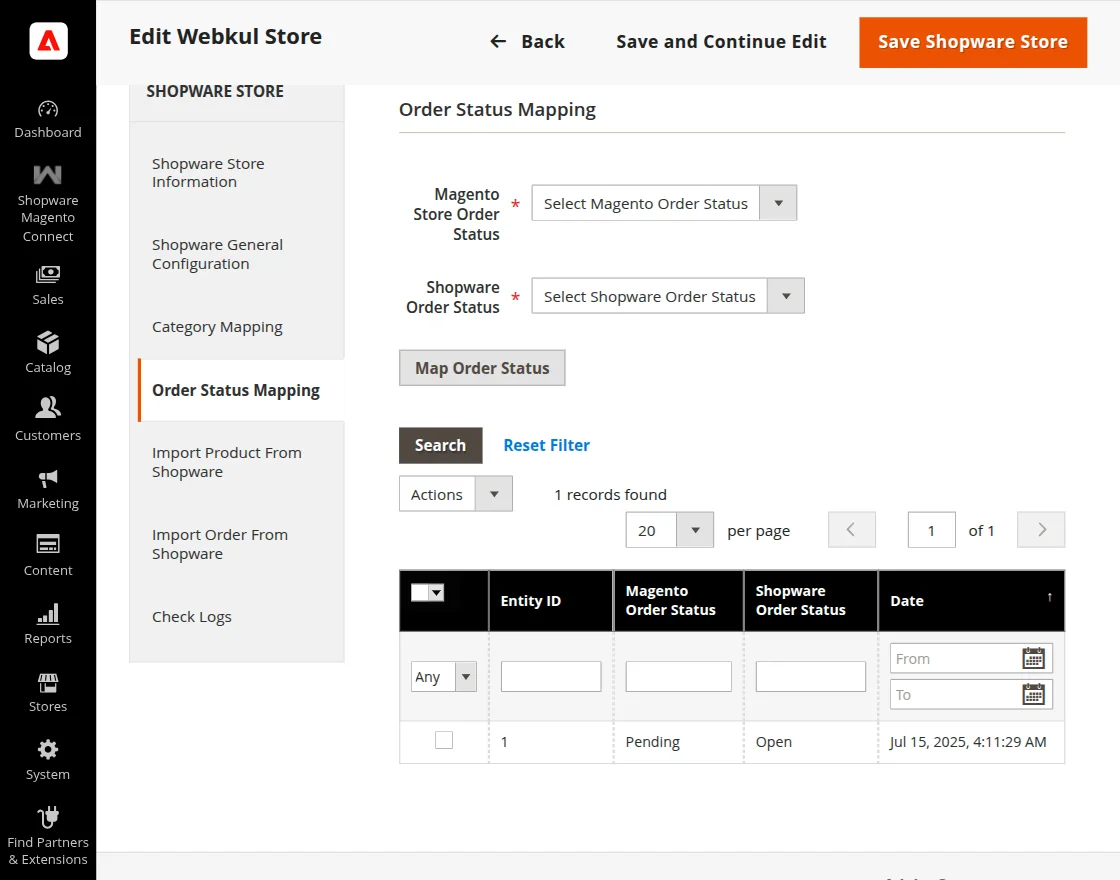
Here, the Magento 2 store admin for the imported orders can set the Order Status mapping of Shopware Orders with the Magento 2 Store orders.
The admin has to select the Magento Store Order Status and then the Shopware Store Order Status and then tap on the Map Order Status button to map the order status.
Import Product From Shopware
To import the products from the Shopware store the store admin will have to make the following configurations:
The admin will have to click on the Import Product button. After that, the corn job will perform to import the Shopware products.
Cron Command:
php bin/magento cron:run
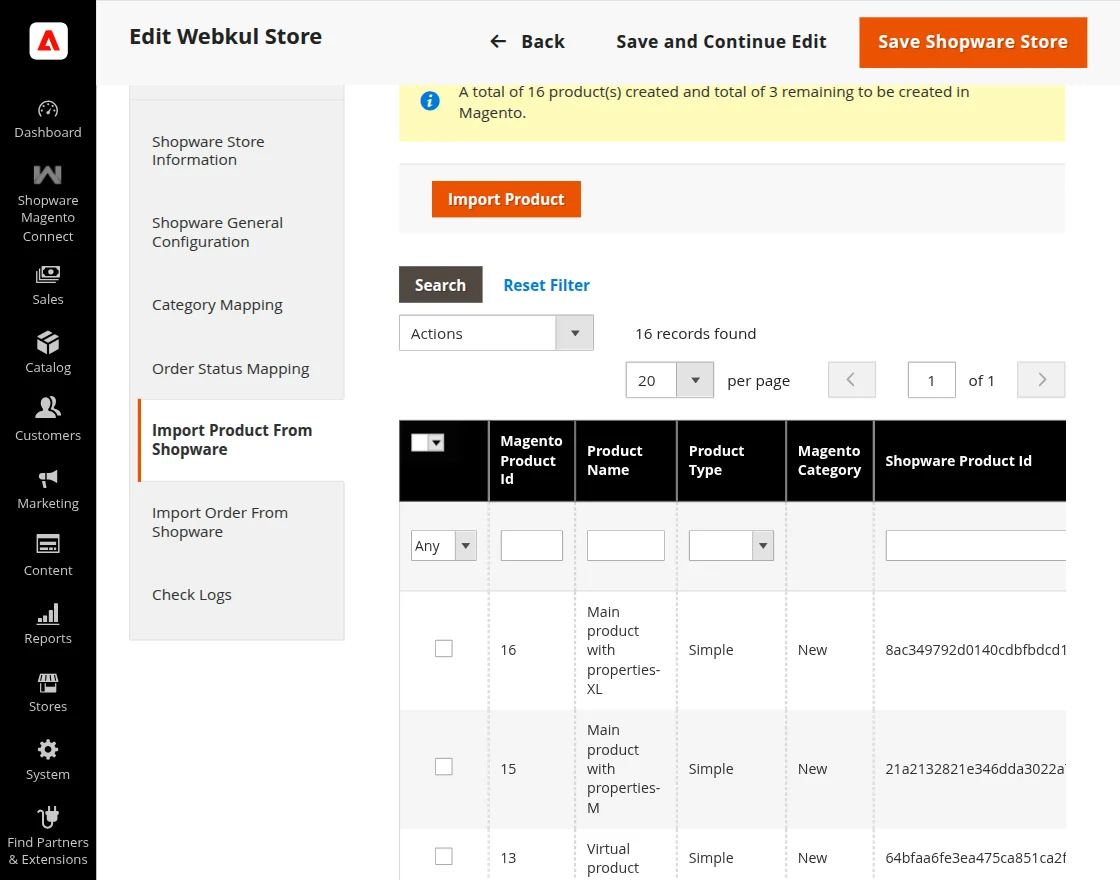
The imported products list will display after product import from Shopware.
Note: Product will get imported in the mapped category otherwise it will import to the default category if the configuration setting of default is enabled.
The imported products will display at the customer end as shown in the screenshot.

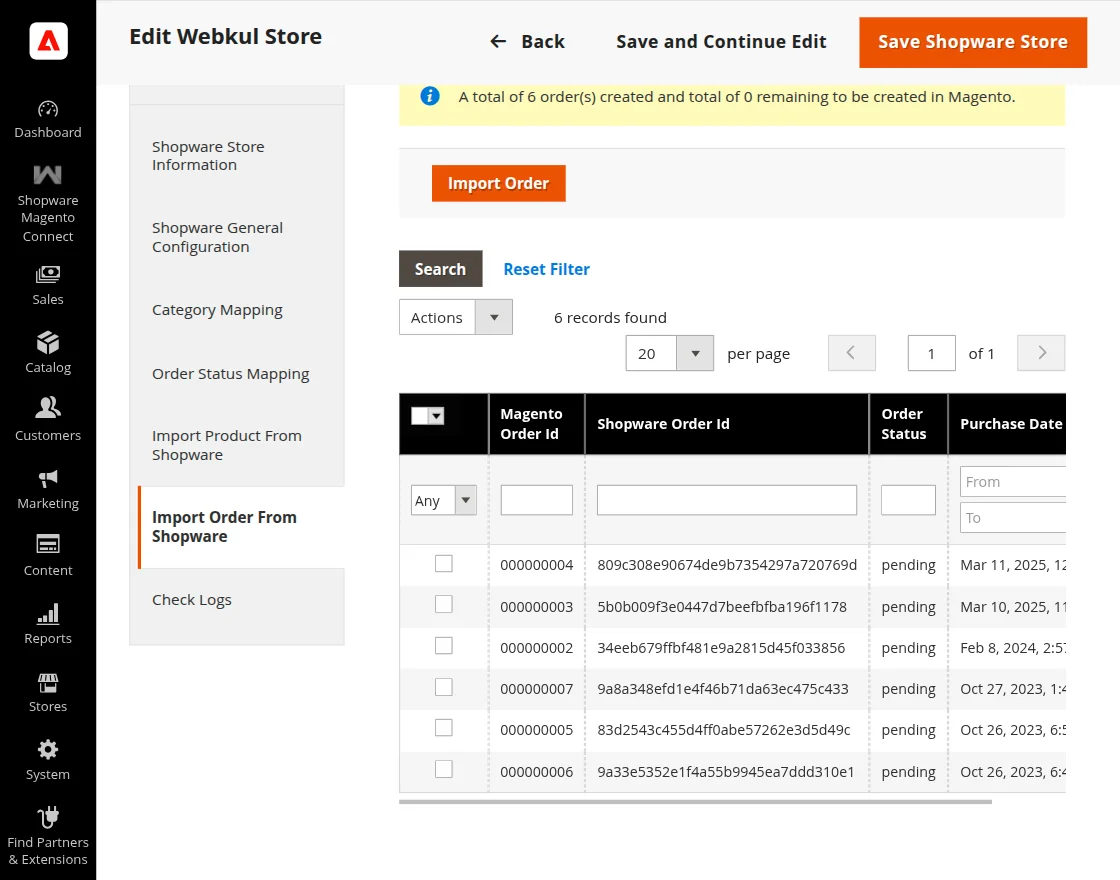
Import Order From Shopware

The admin has to click on the Import Order button to import the orders from Shopware to the Magento store.
Furthermore, the admin has to perform the corn job and the orders will display on the list after import.
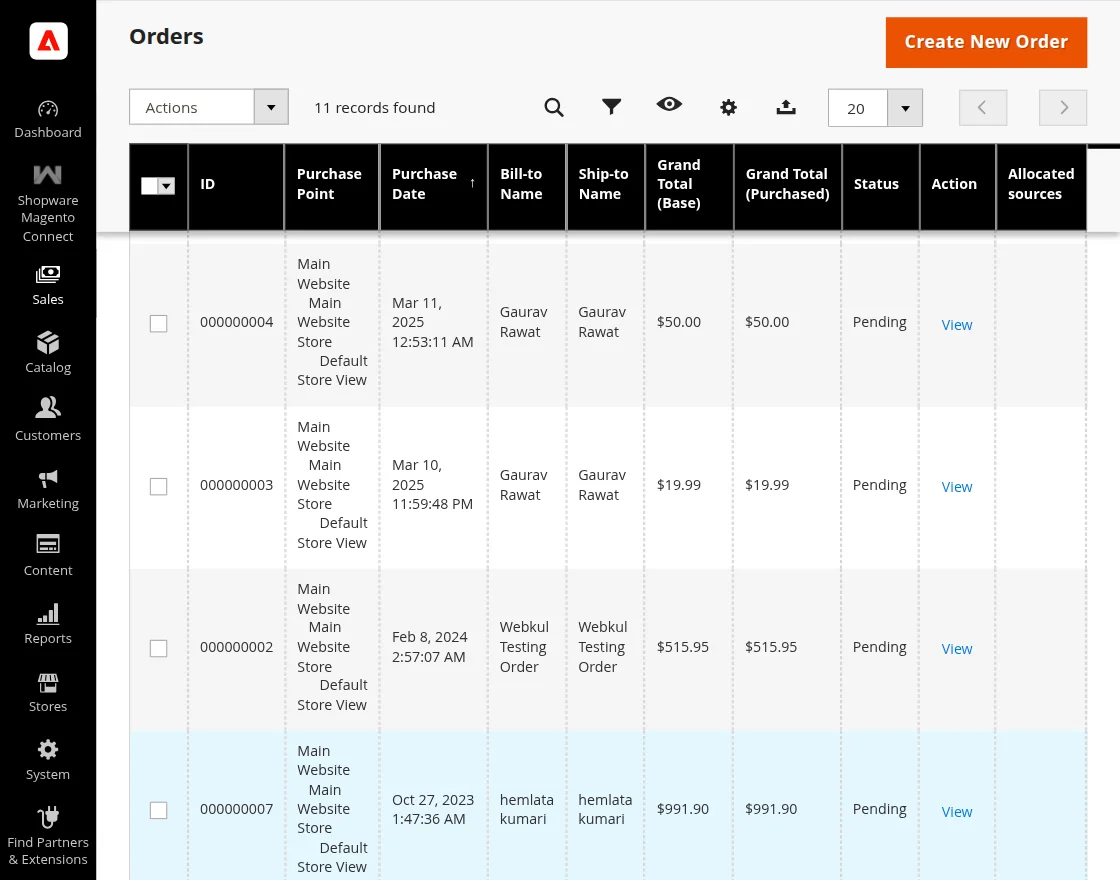
The store admin can check the imported orders by navigating through Sales> Orders.
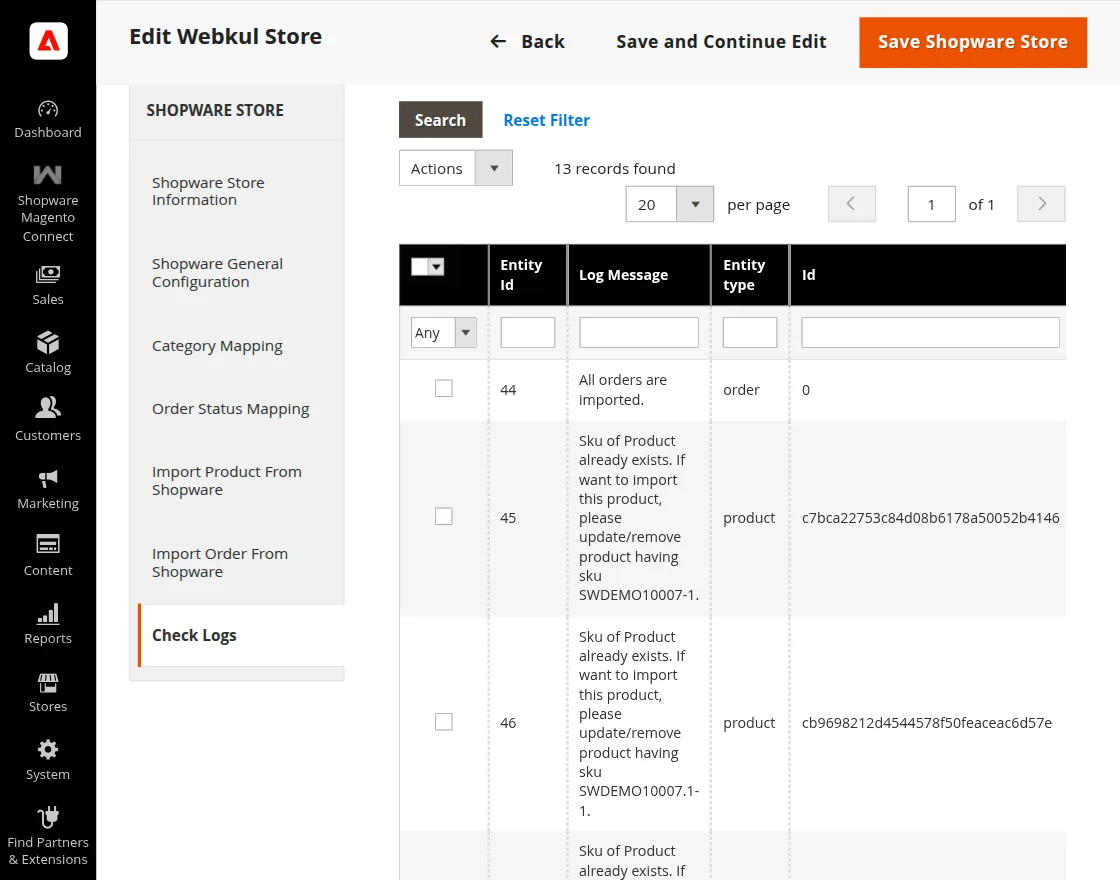
Check Log
The admin can also check the log messages for order import status updates and product import information from here as shown in the image.
That is all about the Magento 2 Shopware Connector. If you have any queries regarding the plugin, please contact us at Webkul Support System.
You can also check our complete Magento 2 extensions.
Current Product Version - 5.0.2
Supported Framework Version - Magento 2.0.x, 2.1.x, 2.2.x,2.3.x, 2.4.x

Be the first to comment.