Laravel eCommerce UPS Shipping module provides UPS Shipping methods for shipping the product. By using this, you can provide UPS (United Parcel Service) shipping to the customers.
UPS is widely acknowledged as a world-class company and now it is with the Bagisto.
This module works with the Bagisto core Package. To use this module you must have installed Bagisto.
Check a brief overview of the plugin –
Complete Feature List
- The admin can enable or disable the UPS Shipping method.
- The admin can set the UPS shipping method name that will be shown from the front side.
- Admin can define the allowed methods and weight units.
- The dynamic shipping method for freight calculation.
How to install the module Laravel Marketplace UPS Shipping?
Unzip the respective extension zip and then merge “packages” folders into project root directory.
Go to bootstrap/providers.php file and add following line:
use Webkul\UpsShipping\Providers\UpsShippingServiceProvider;<br><br>return [<br> UpsShippingServiceProvider::class,<br>]<br><br><br>
Go to composer.json file and add the following line under ‘psr-4’
"Webkul\\UpsShipping\\": "packages/Webkul/UpsShipping/src"
Run these commands below to complete the setup
composer dump-autoload
php artisan optimize:clear
Admin Configuration
Firstly the admin needs to set the origin address, for this the admin needs to navigate to Configure>>Sales>>Shipping.
In the above page the admin needs to fill all the details for origin address as shown above.
Now the next step is to configure the Laravel eCommerce UPS shipping module, to perform this the admin needs to navigate to Configure>>Sales>>Shipping Methods.
Under the Shipping methods, all the shipping methods are visible in the admin panel.
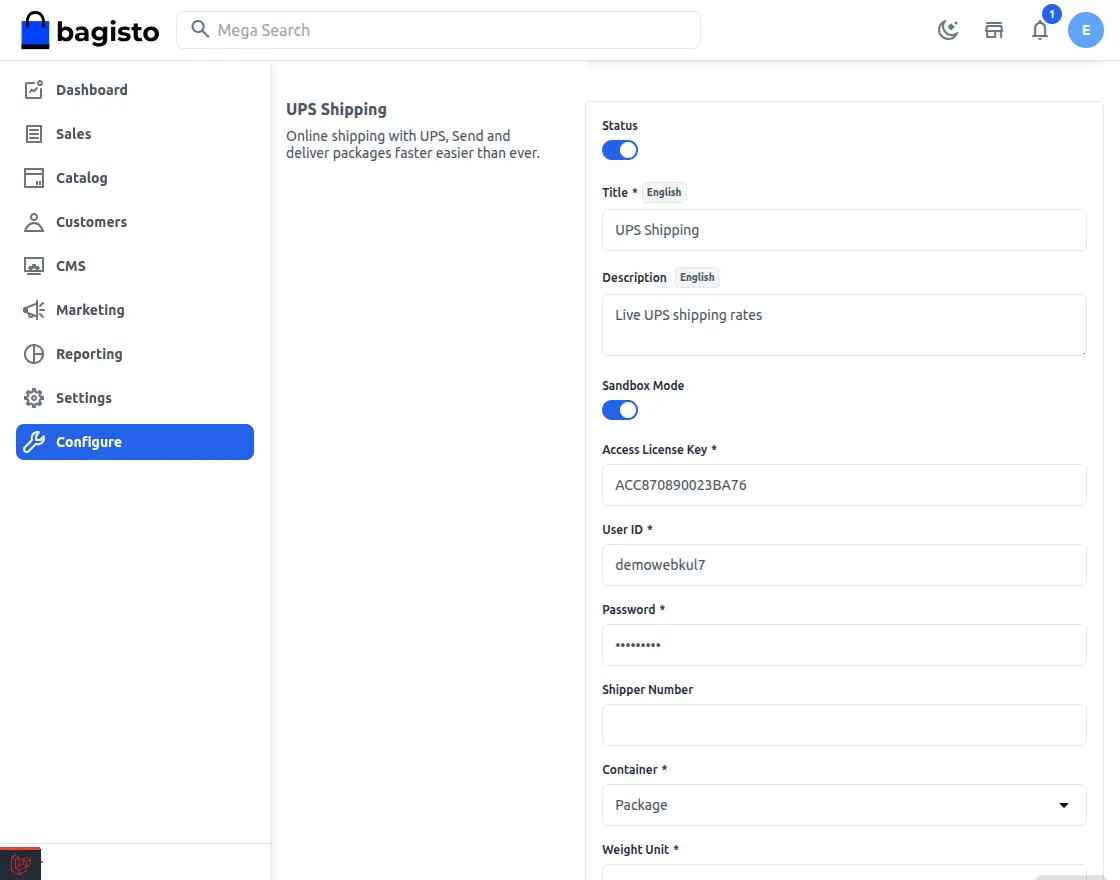
Under the UPS shipping there are several fields:-
Title:-The title which will appear on the front-end for the buyers on the website during the checkout process
Description:- The admin can also input the description regarding the shipping method.
Status:- The admin can active or inactive the module from this field.
Mode:- The admin sen select the mode between Development and Live.
Access License Key:- The admin need to enter the access key after the successful account creation at UPS.
User ID:- The admin need to enter the user ID in this field obtained by registring in UPS.
Password:- The admin need to input the password for the UPS account in this field.
Shipper Number:- The admin can input the shipper number in this field.
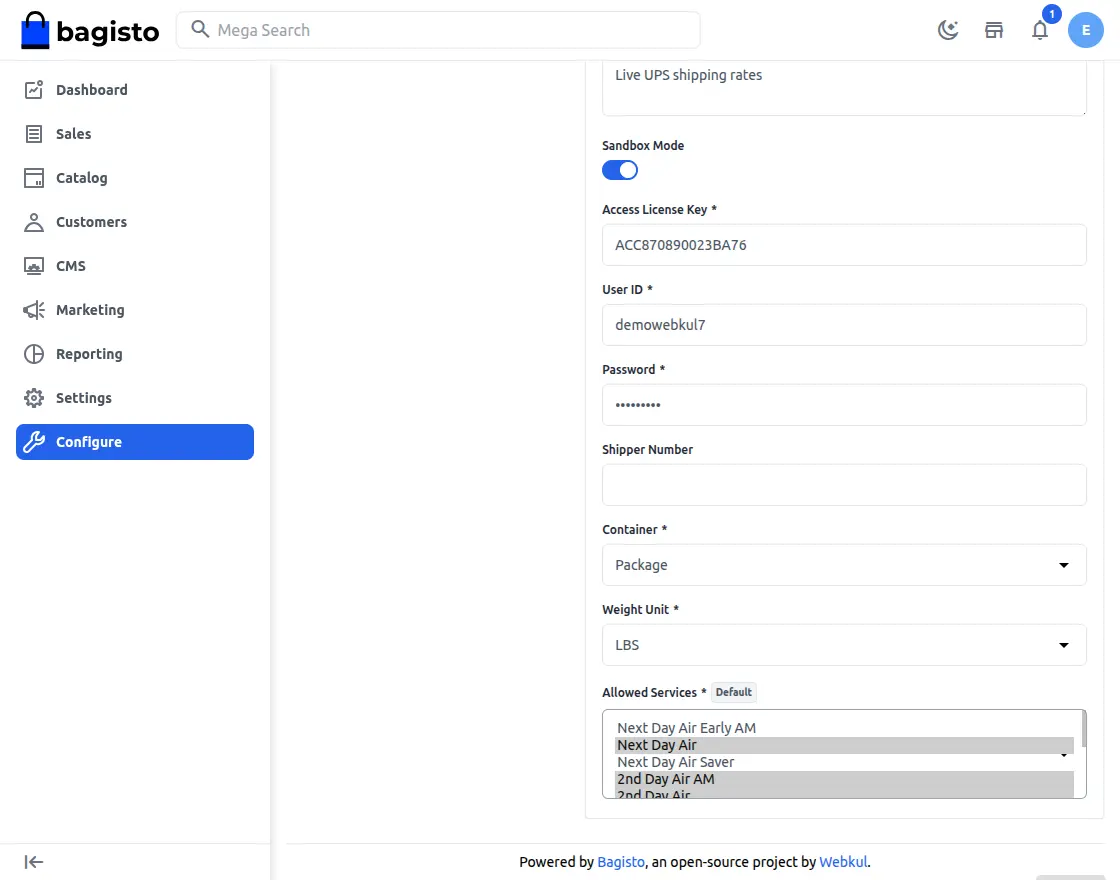
Container:- The admin can select the container in this field such as Package, UPS Letter, UPS Tube, UPS Pak, UPS Express Box.
Weight Unit:- The admin can select the weight for the package between LBS and KGS.
Allowed Services:-Choose UPS method offered to your customers from the Allowed Services list.
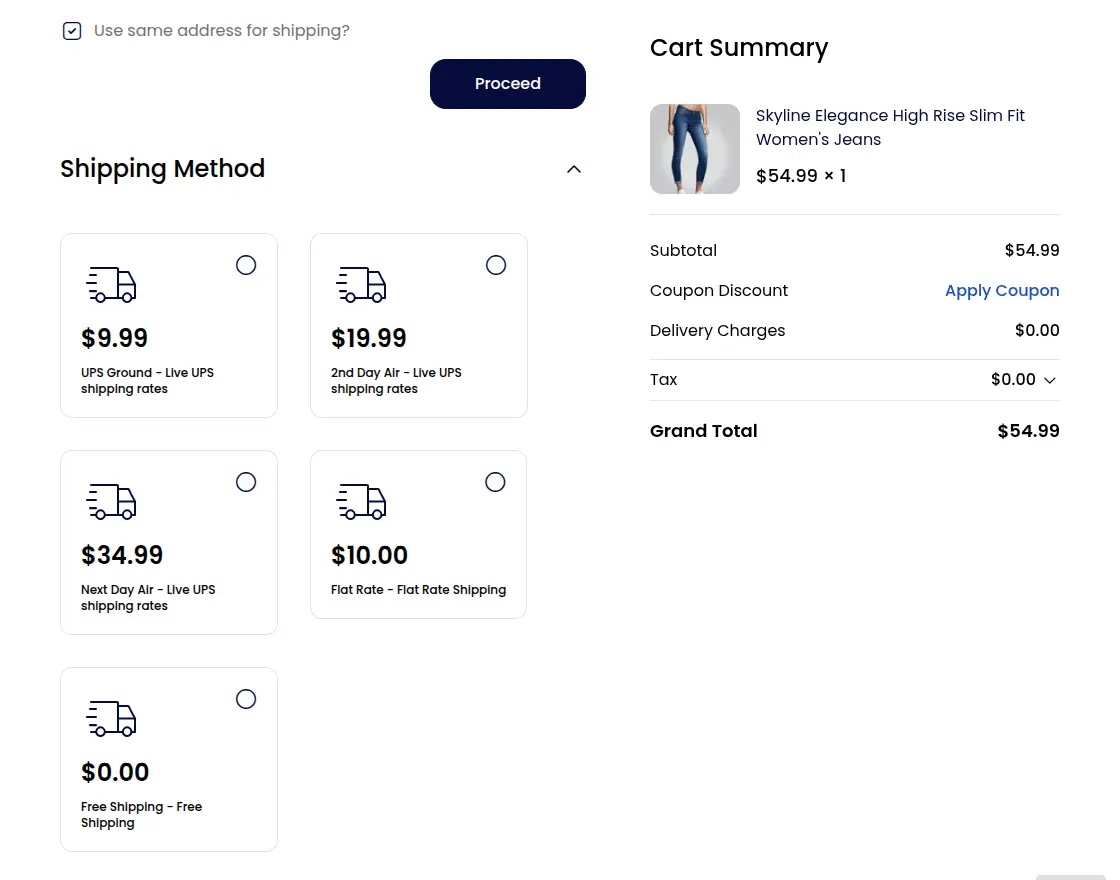
Customer Checkout Process
After successfully configuring the UPS shipping, the customers can use the UPS shipping method for the delivery of their products.
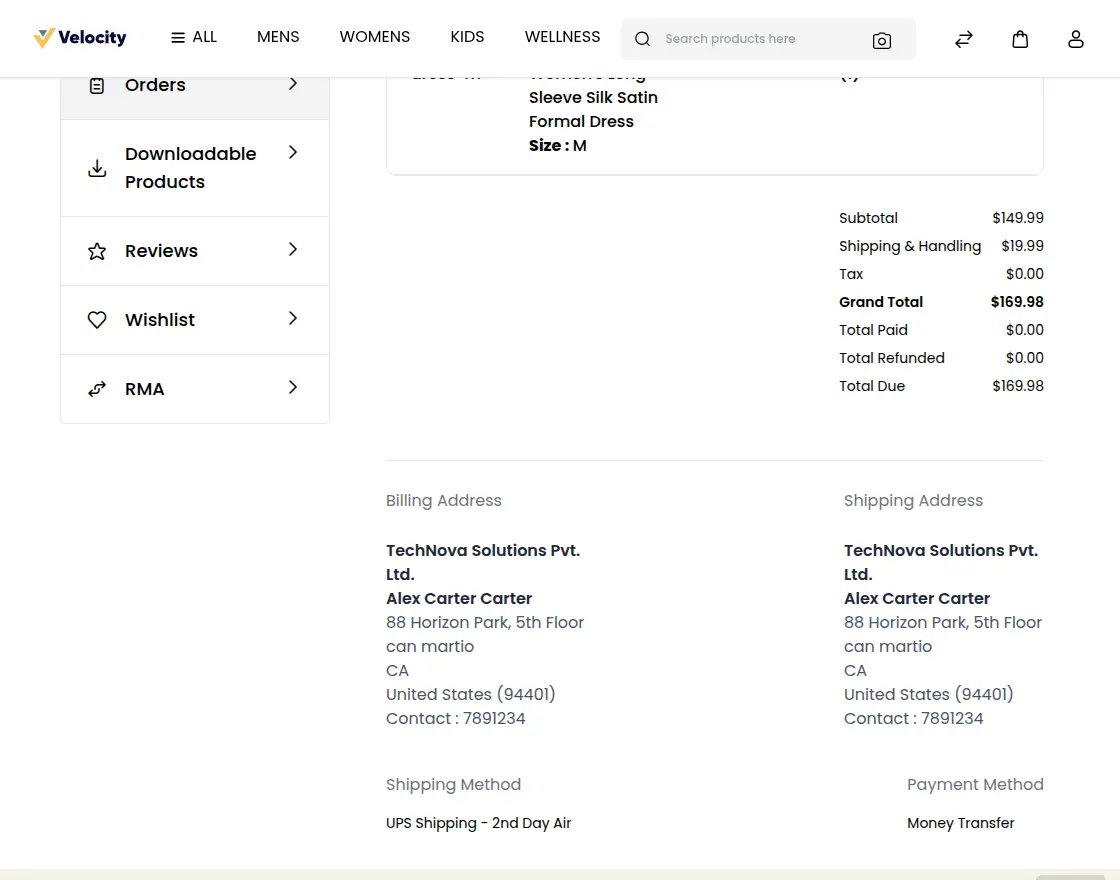
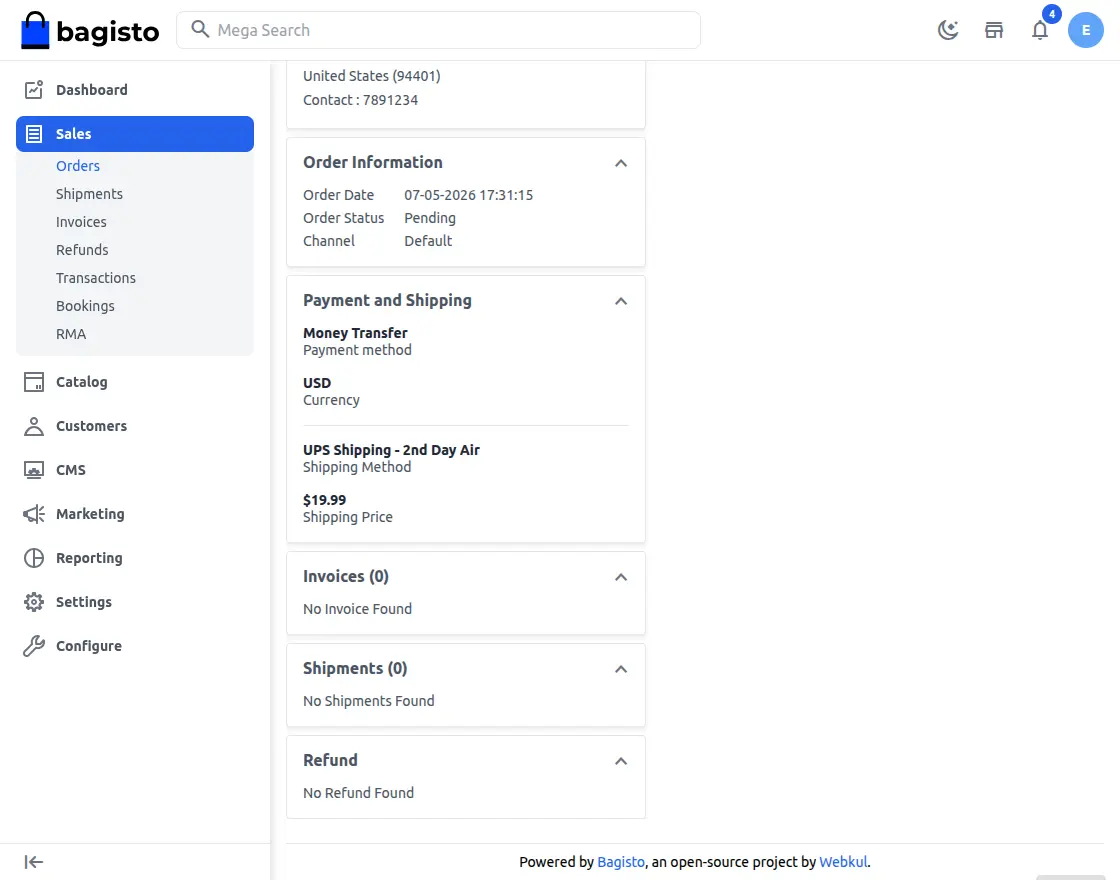
After placing the order, customers can view the order details along with the selected UPS shipping method on the order summary page.
Order Management
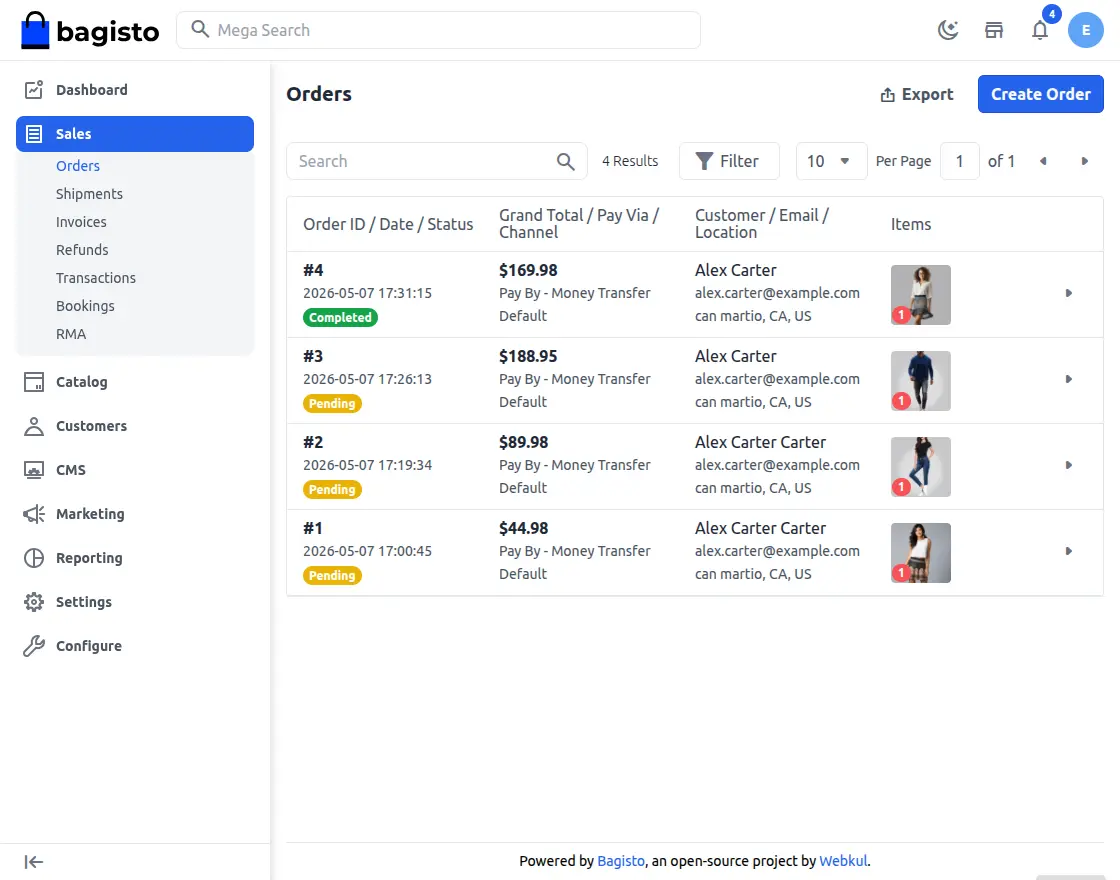
The admin can see all the orders that has been placed under the admin panel by navigating to Sales>>Orders as shown in the image below:-
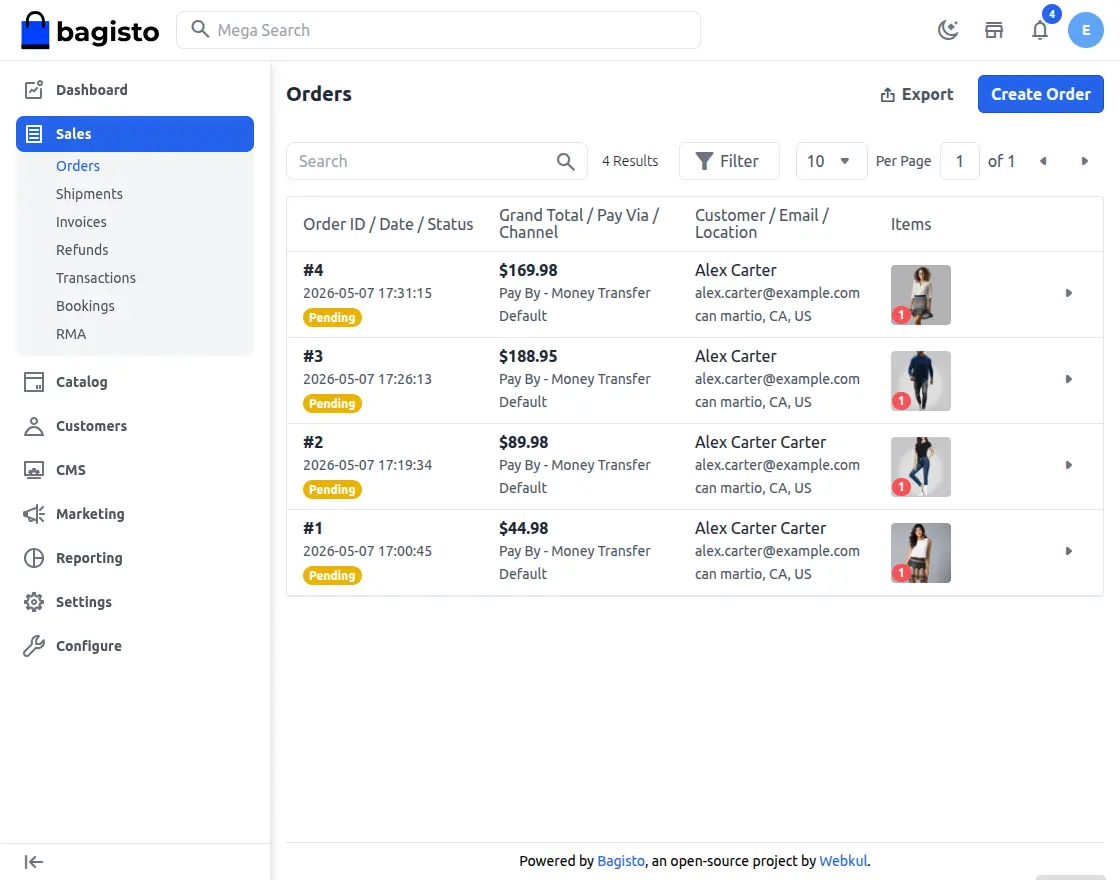
To view the details of any particular order the admin needs to click on the eye button.
After Clicking on the Invoice button the admin can create the invoice for that order as shown below:-
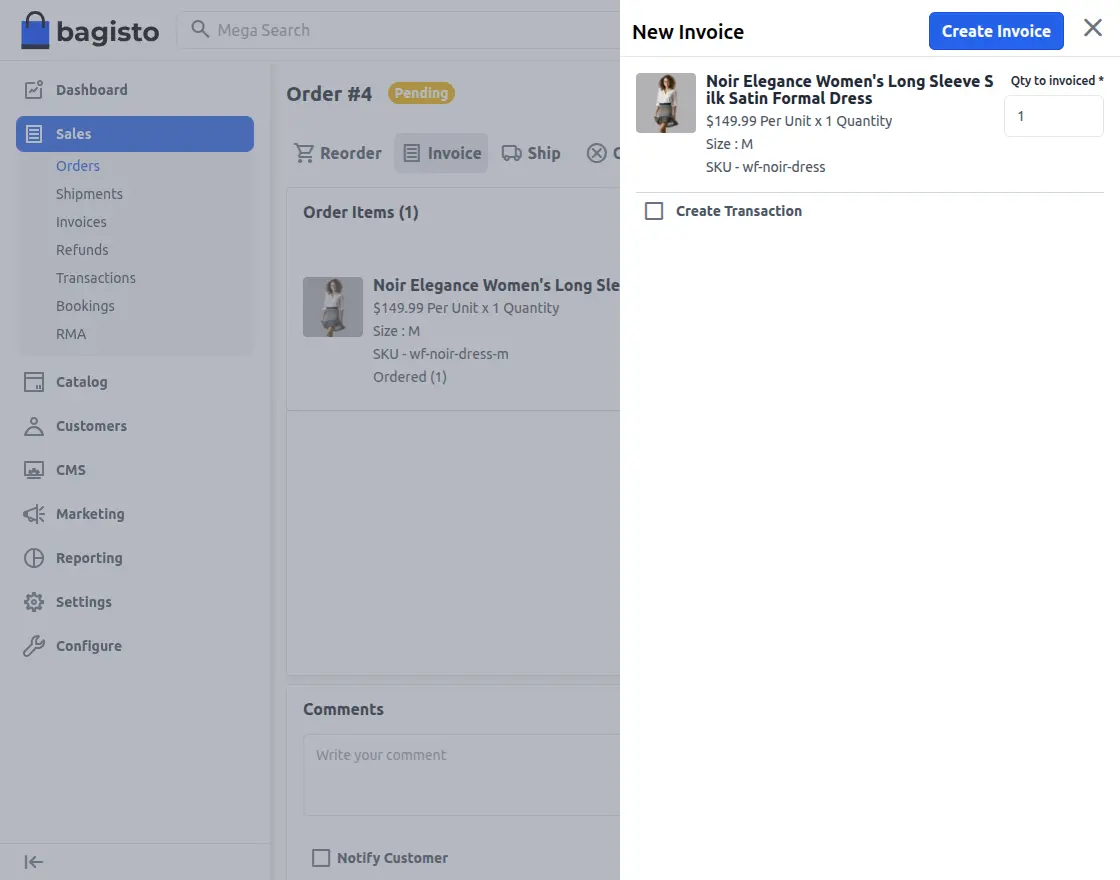
Here the admin also need to enter the quantity to invoice and click on the Save Invoice button.
To create a shipment click on the ship button in the order detail page
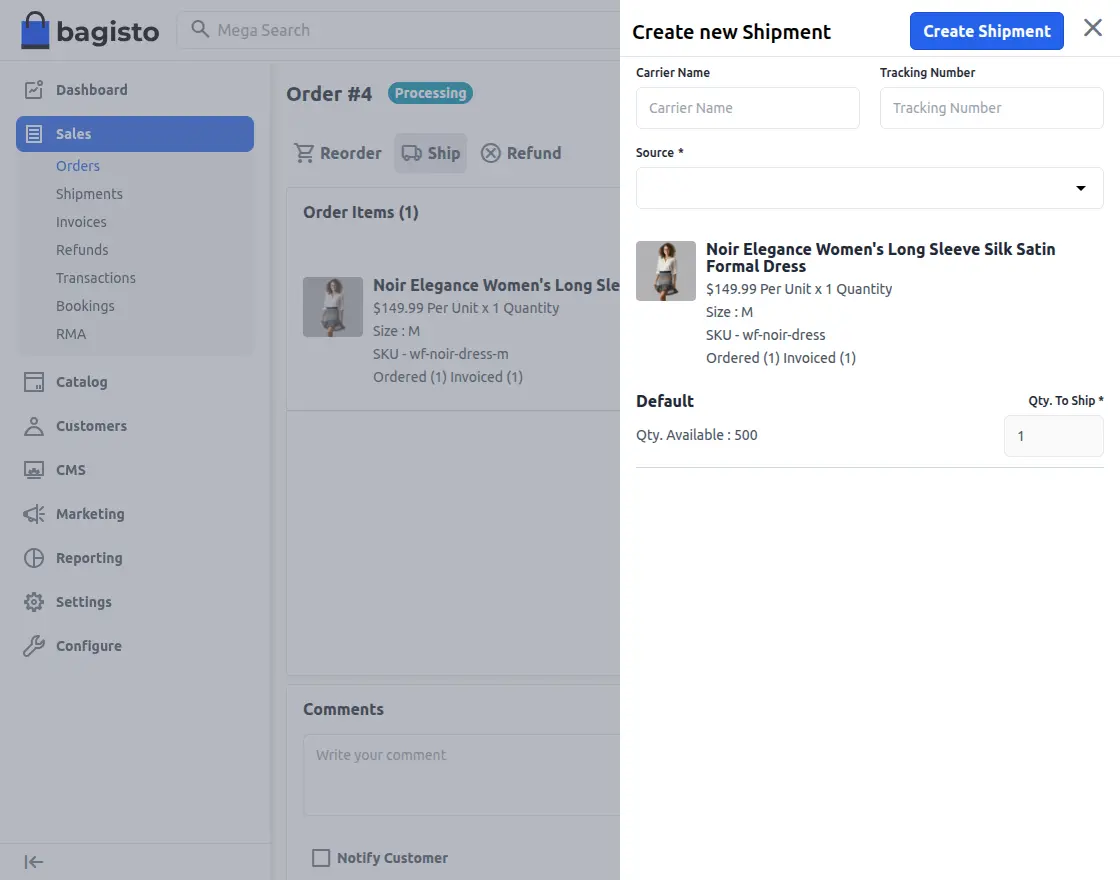
The admin needs to enter the Carrier Title, Tracking Number, Quantity to Ship and also needs to select the inventory source of the product.
Click on the Save shipment button.
The admin can view the invoice and the Shipment for the product by clicking on the edit icon of the order whose status is completed.
That’s all for the Laravel eCommerce UPS Shipping
Support
So, that was much about the User Guide of Laravel eCommerce UPS Shipping for any queries or doubts reach out to us at [email protected]. You can also raise a ticket at our HelpDesk System.
Please explore our Laravel Development Services and Quality Bagisto Extensions.
Current Product Version - 2.4.1
Supported Framework Version - Bagisto, 2.4.x

Be the first to comment.