CS-Cart Vendor Badges Addon allows the admin to automatically assign badges to various vendors based on their performance.
The assigned badges can be viewed at the front end so that buyers can know about the accomplishments of seller.
Moreover, Badges can be used to easily identify the vendors who’ve earned certain levels of trust amongst the store vendors.
CS-Cart Vendor Badges add-on comes with an additional feature of Banners Management at the vendor end, where vendors can easily add the desired banners to the store.
Note: Before installing the add-on, extract the downloaded package.
- Install the License Manager add-on first.
- Then install the required add-on.
- Follow the license activation steps to generate your license key.
Check a brief overview of the add-on –
Features
- Indeed, well integrated with CS-Cart Multi-Vendor.
- Provides a feature of setting banners with a target URL at the vendor end.
- Also, a separate tab has been provided to manage banners at the vendor end.
- Functionality to add numerous badges at the admin end.
- In addition, functionality to auto-assign badges to vendors for their accomplishments as per certain conditions set at the admin end.
- Option to allocate multiple badges to a single vendor.
- Moreover Option to allocate the same badge to different vendors.
- Functionality to remove, assign, or delete the assigned badges manually at the admin end has been provided.
- Display all admin-created badges horizontally, along with their respective colors, descriptions, and conditions.
- Clearly highlight the badges that can be assigned to vendors, excluding those awarded only upon completion of specific conditions.
- Displays upcoming badges in dull style, along with their descriptions and conditions.
- Provides an eye-catching view of badges on different pages at the front end.
- Moreover Easy to configure and manage at the admin end.
How To Upload and Install
After downloading the CS-Cart Vendor Badges, you get a zip file and install.txt. Read the install.txt carefully and configure it accordingly.
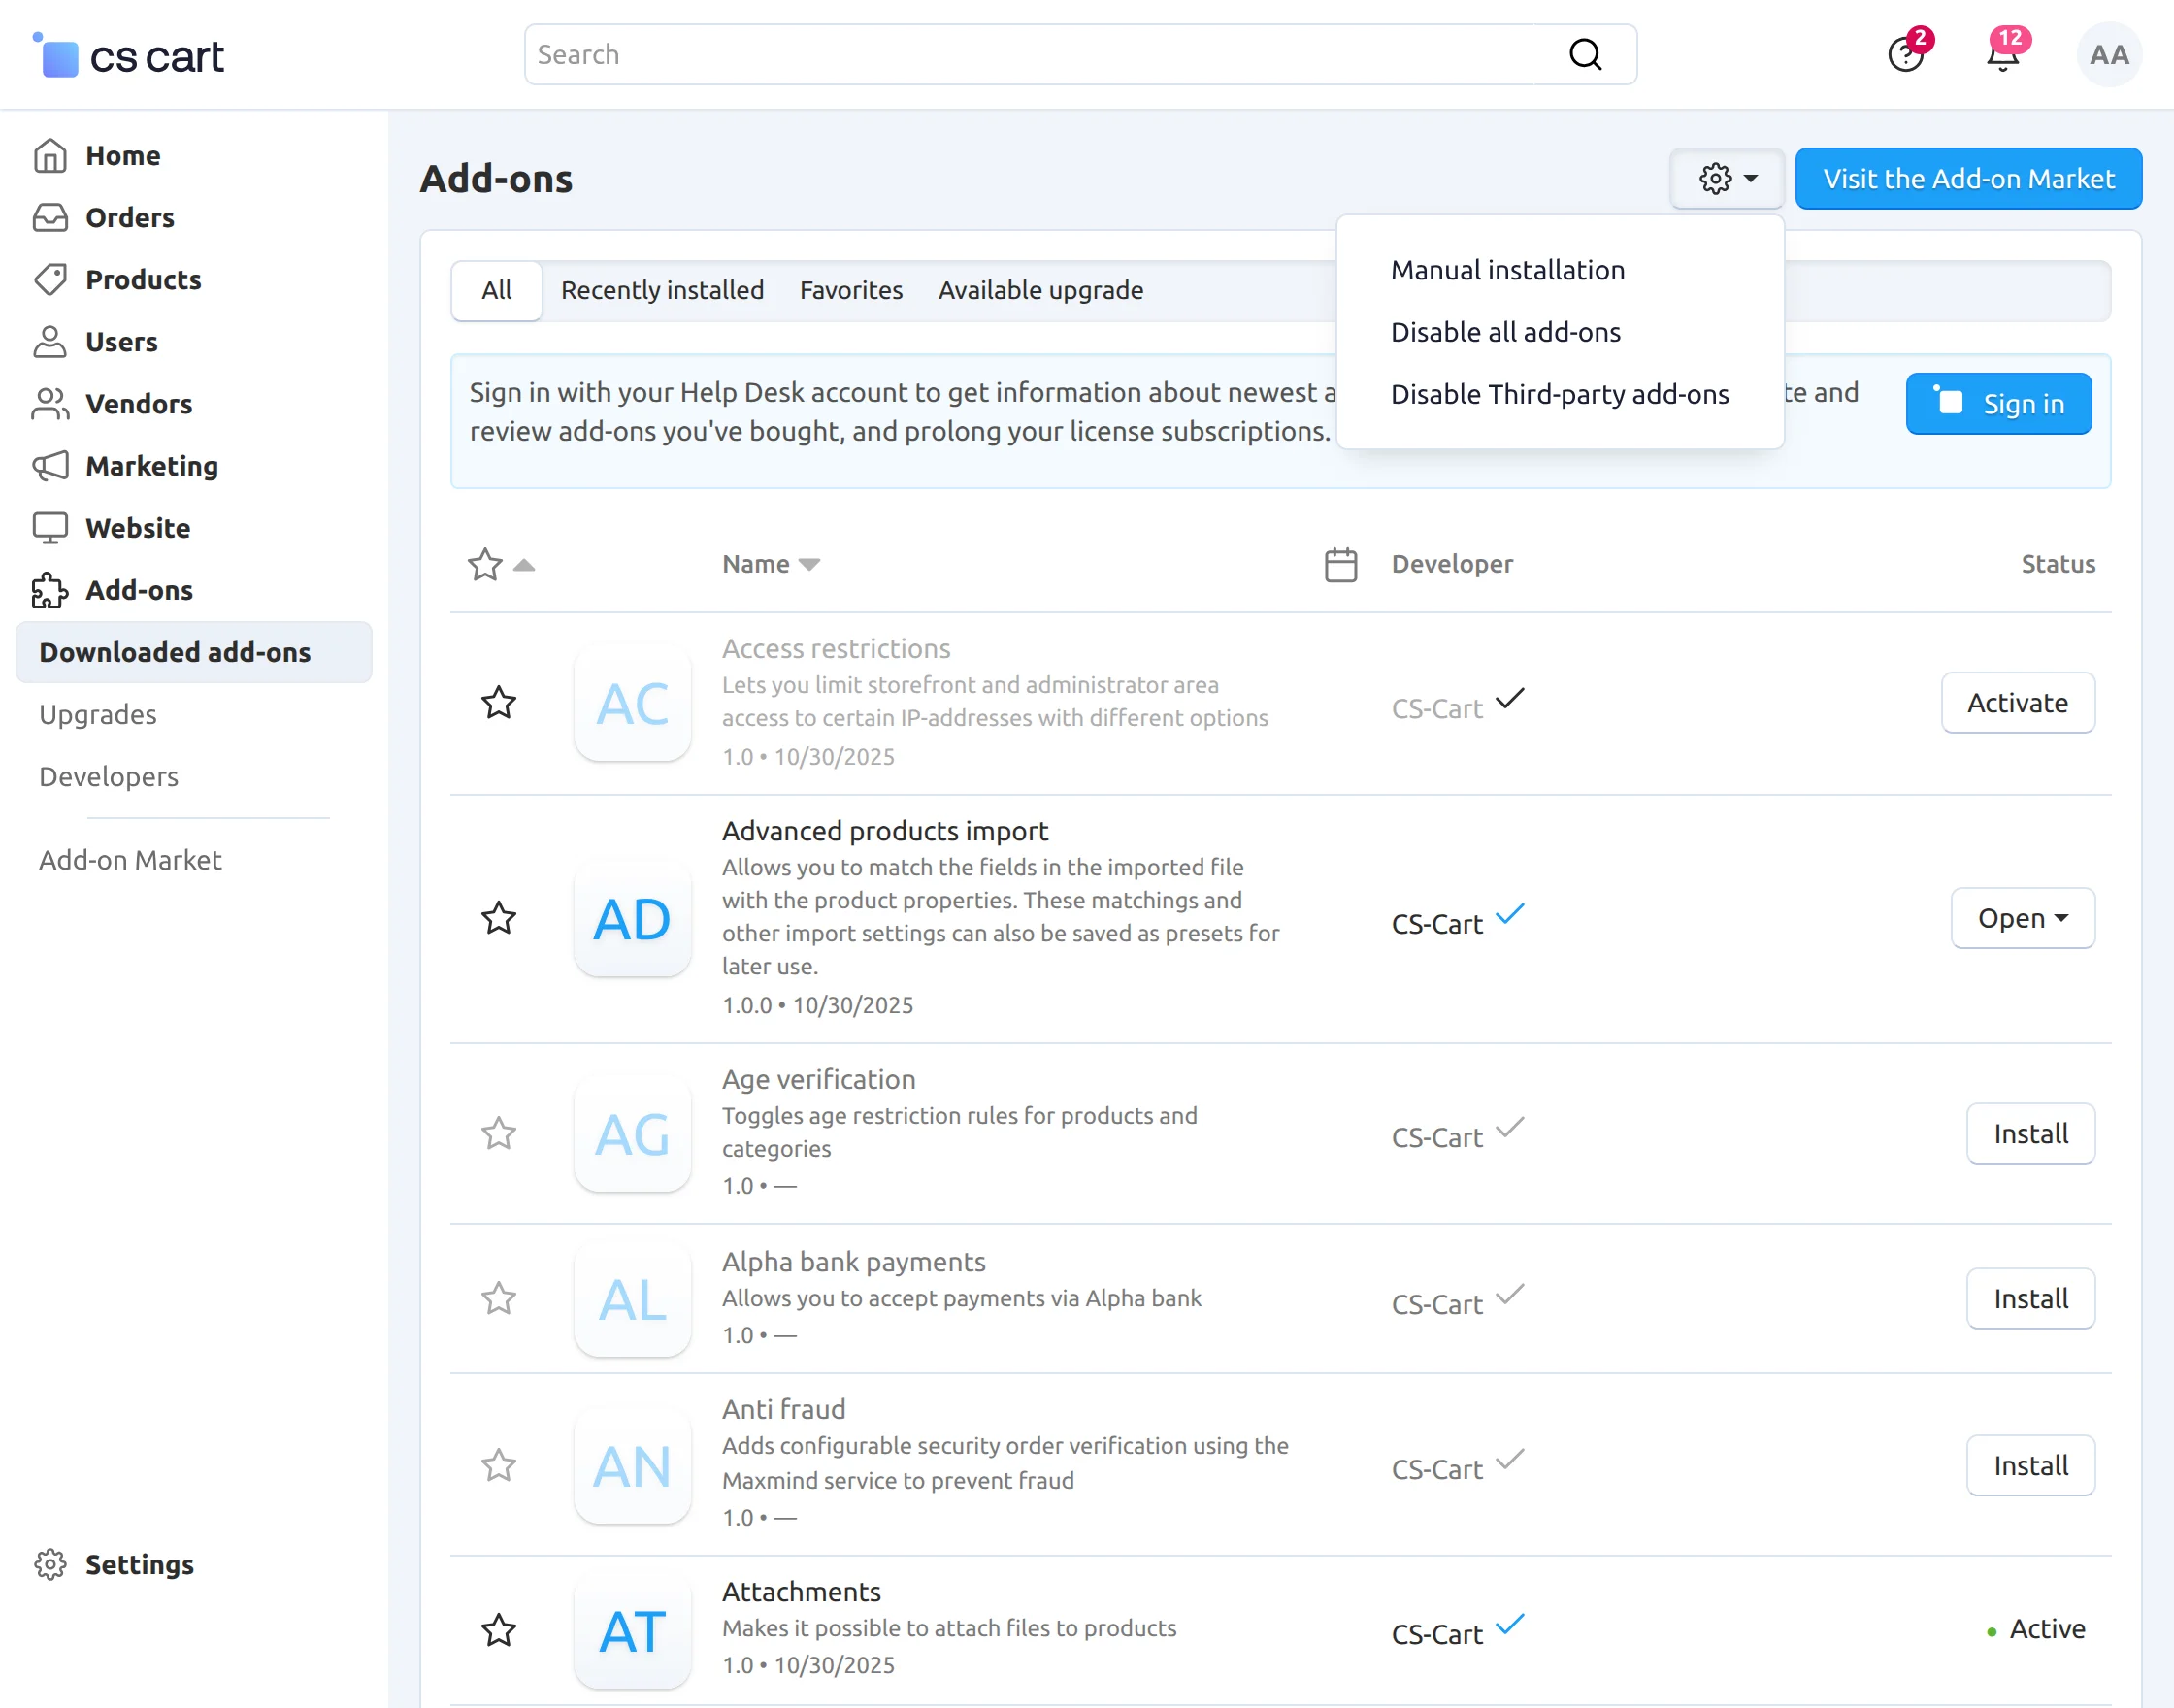
Firstly, go to “Add-ons”, click on “Manual installation” to upload and install the zip file as shown below.
Click on “Local” to browse the zip file and then click on “Upload & Install” as shown below in the snapshot.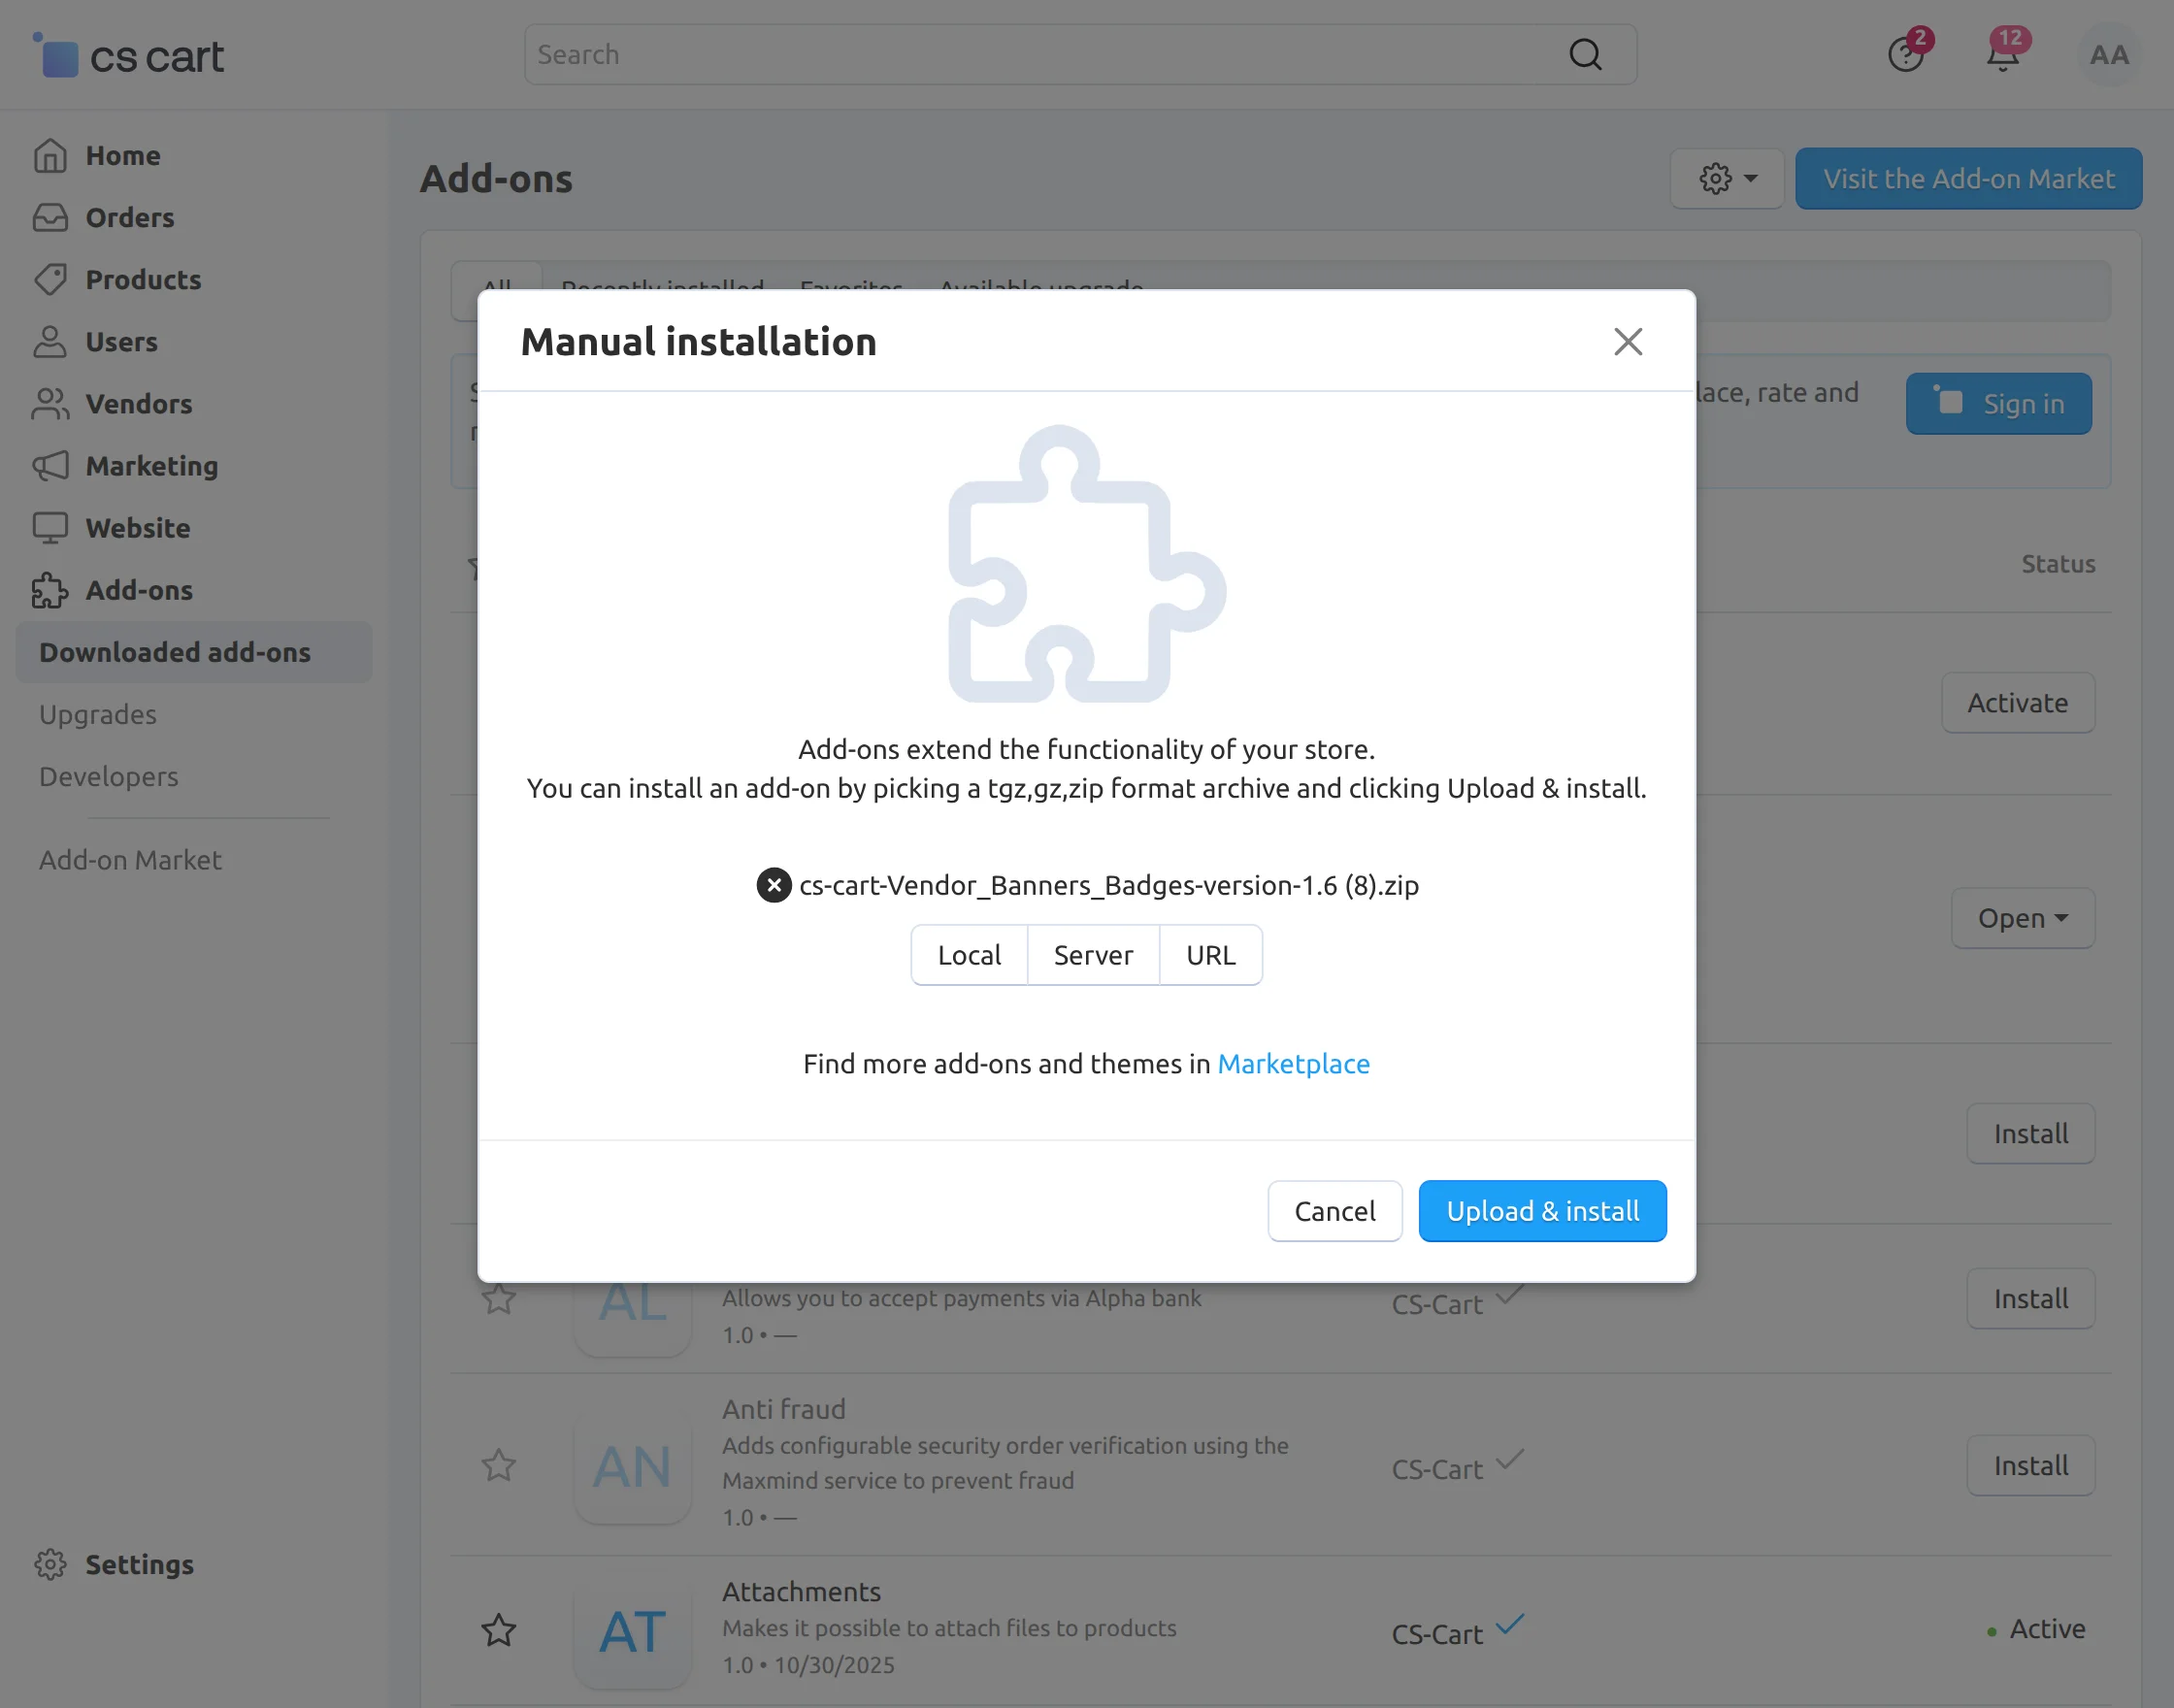
Configuration
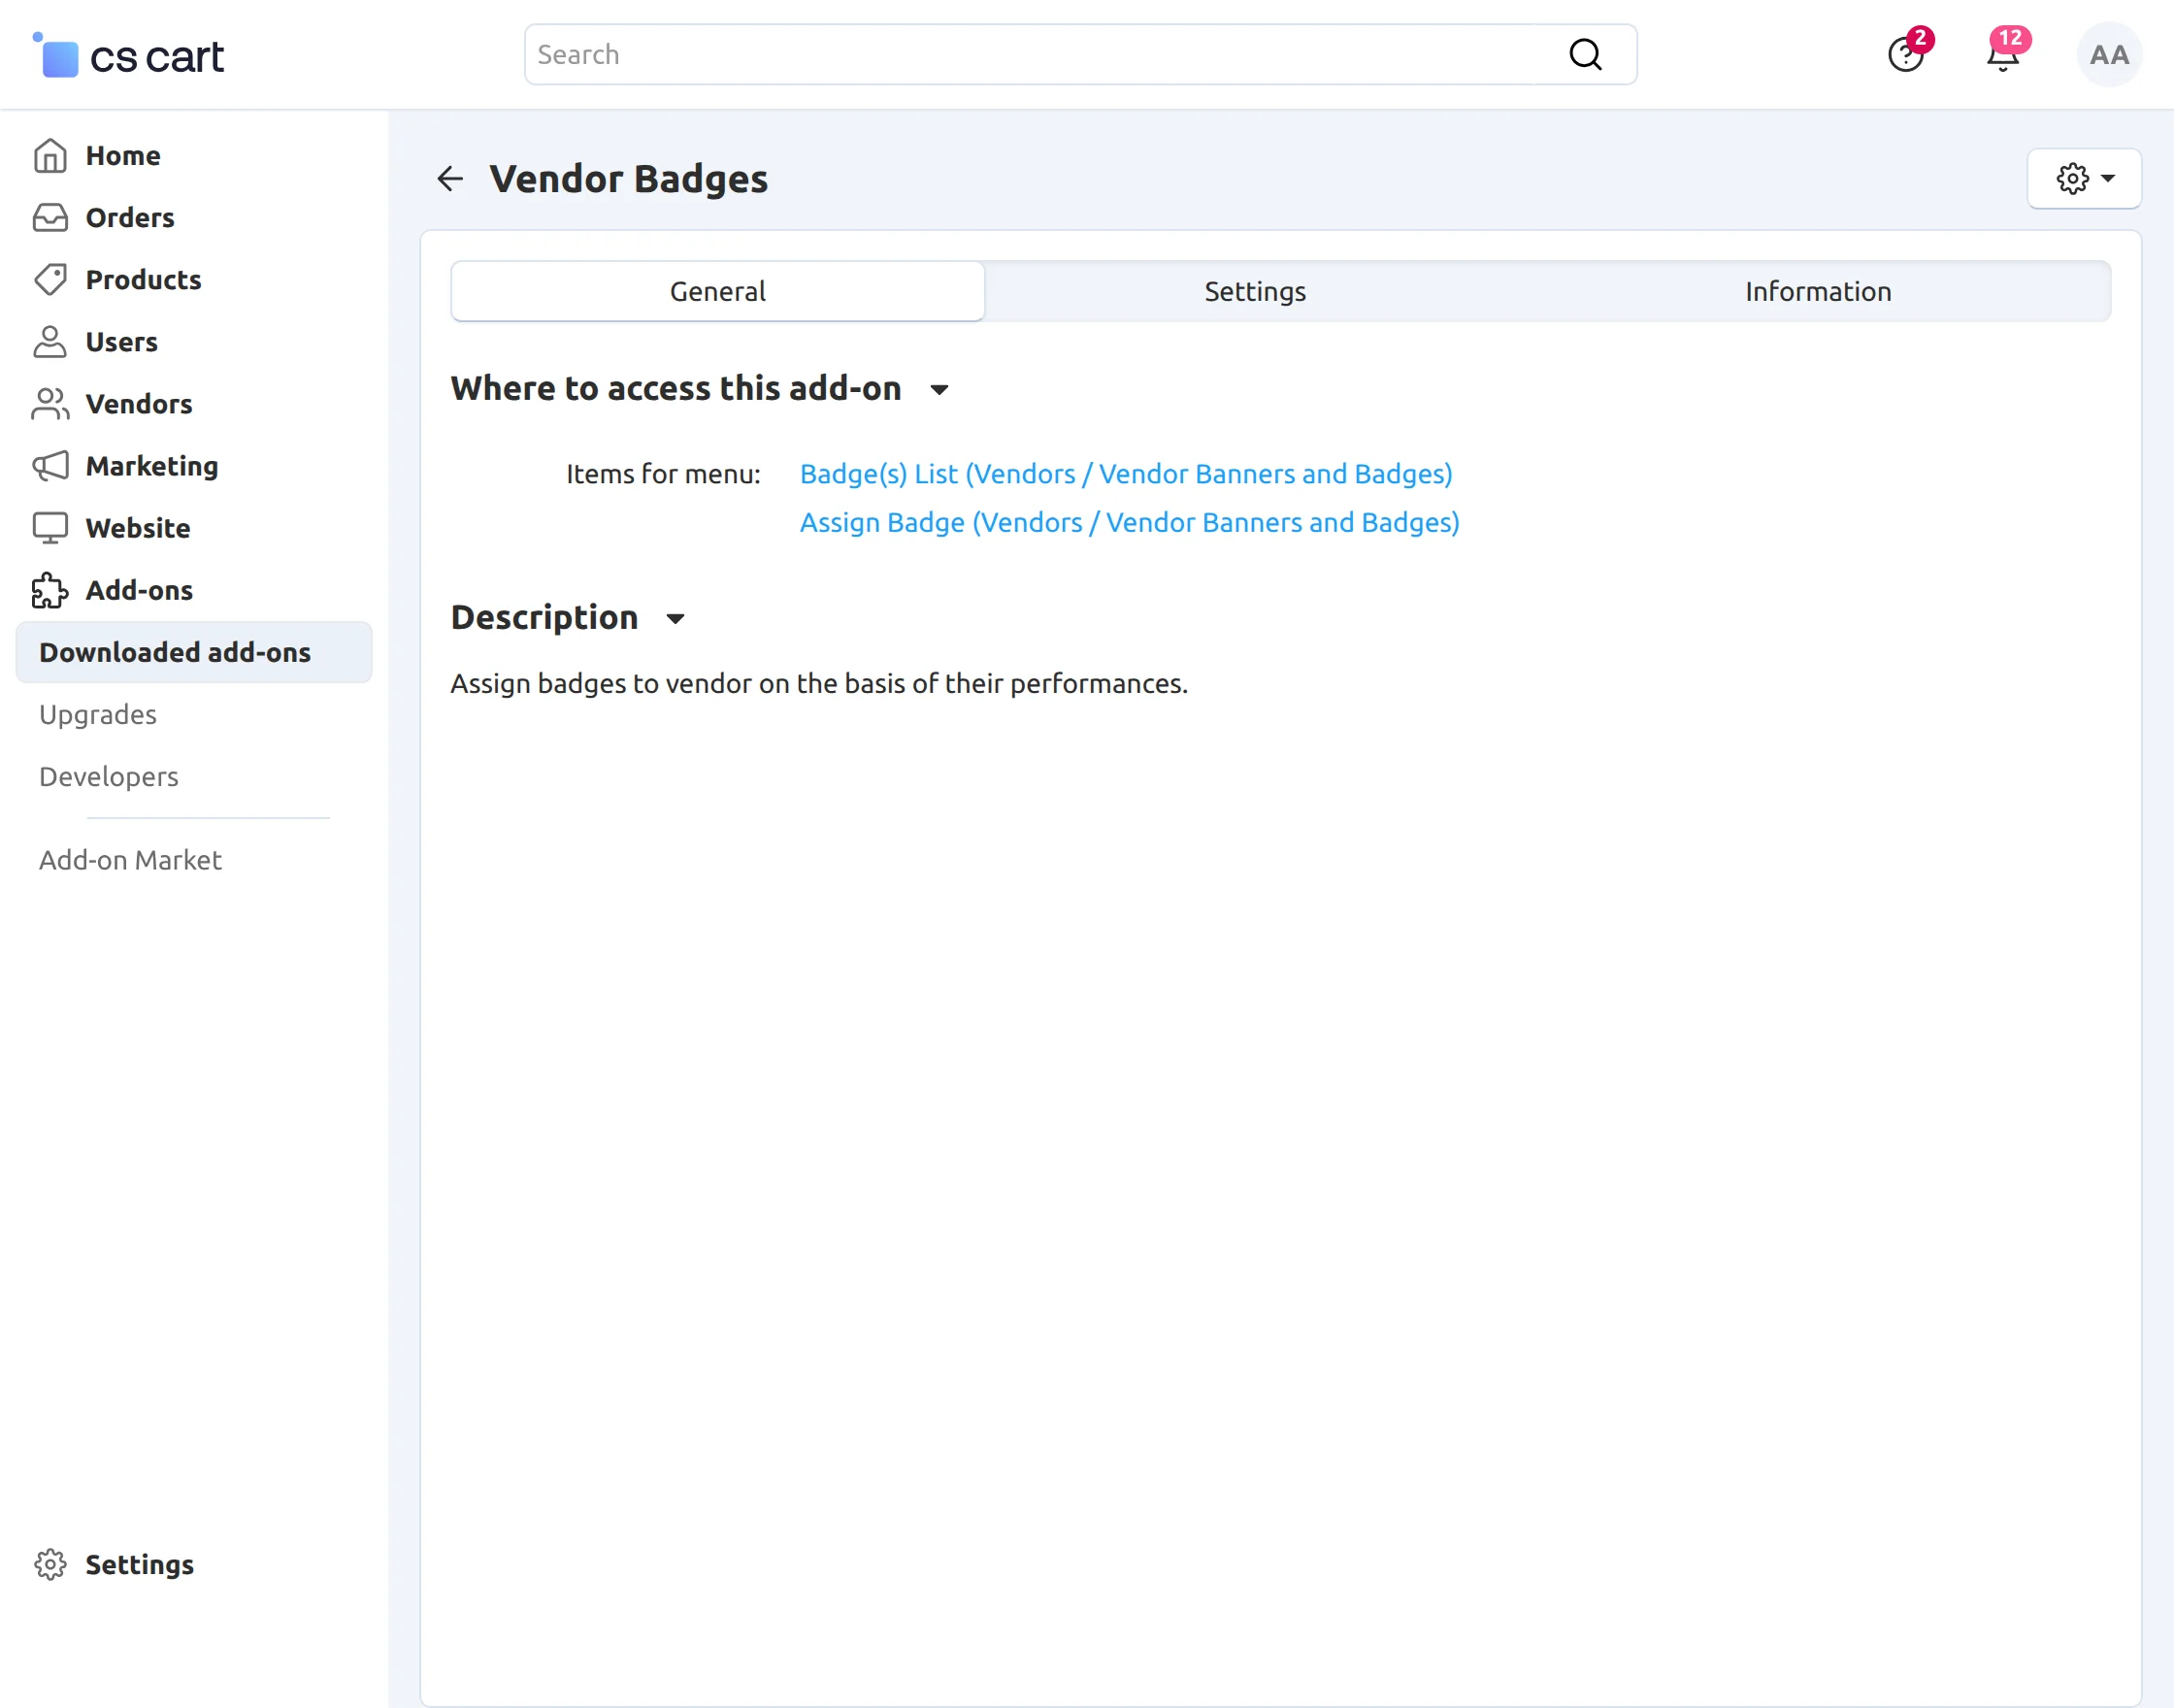
Finally add-on is installed successfully, click on the “Vendor Badges ” add-on as shown below in the snapshot. 
Then click on the “Settings” as shown below in the snapshot.
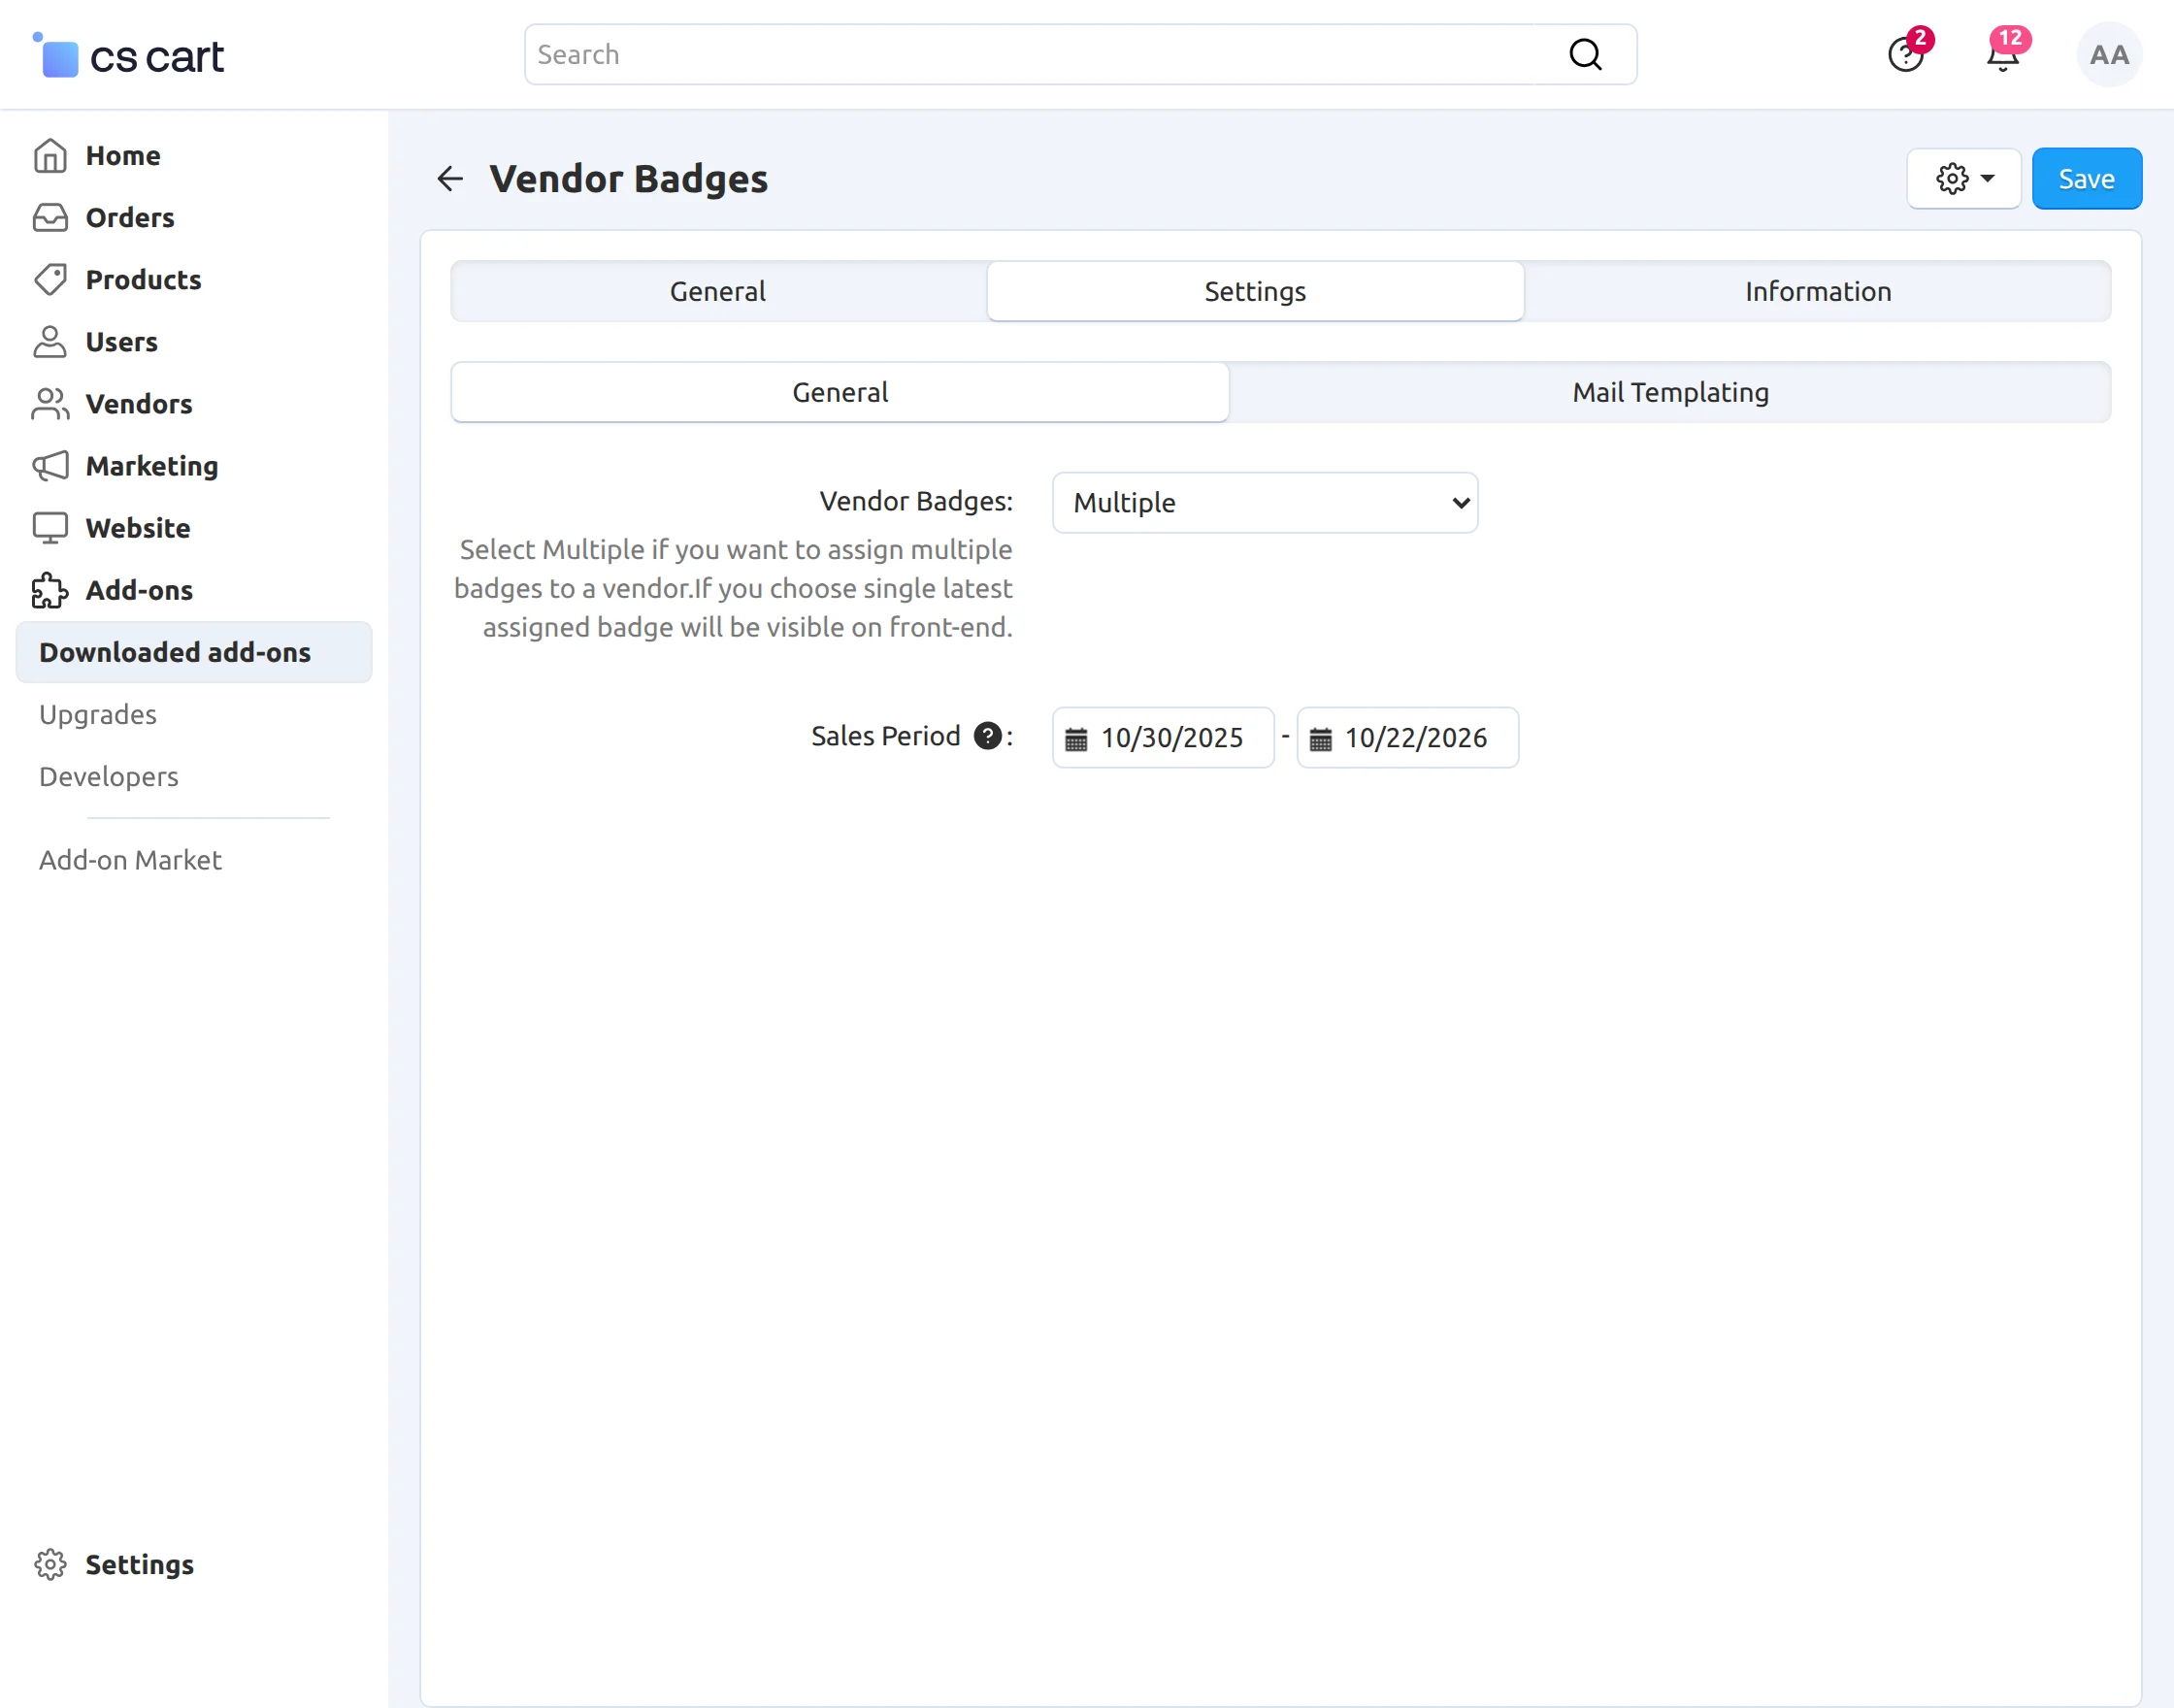
Set the parameters as per the screenshot below.
- Vendor Badges: Select Multiple to assign multiple badges to a single vendor. Select Single to allocate only a single badge to a single vendor. Clearly, in this case, the latest assigned badge is visible at the front end.
- Sales Period: Select the sales period for which the performance of the vendor is calculated for the auto-assignment of badges.
- Finally, click on the Save button to save the settings.
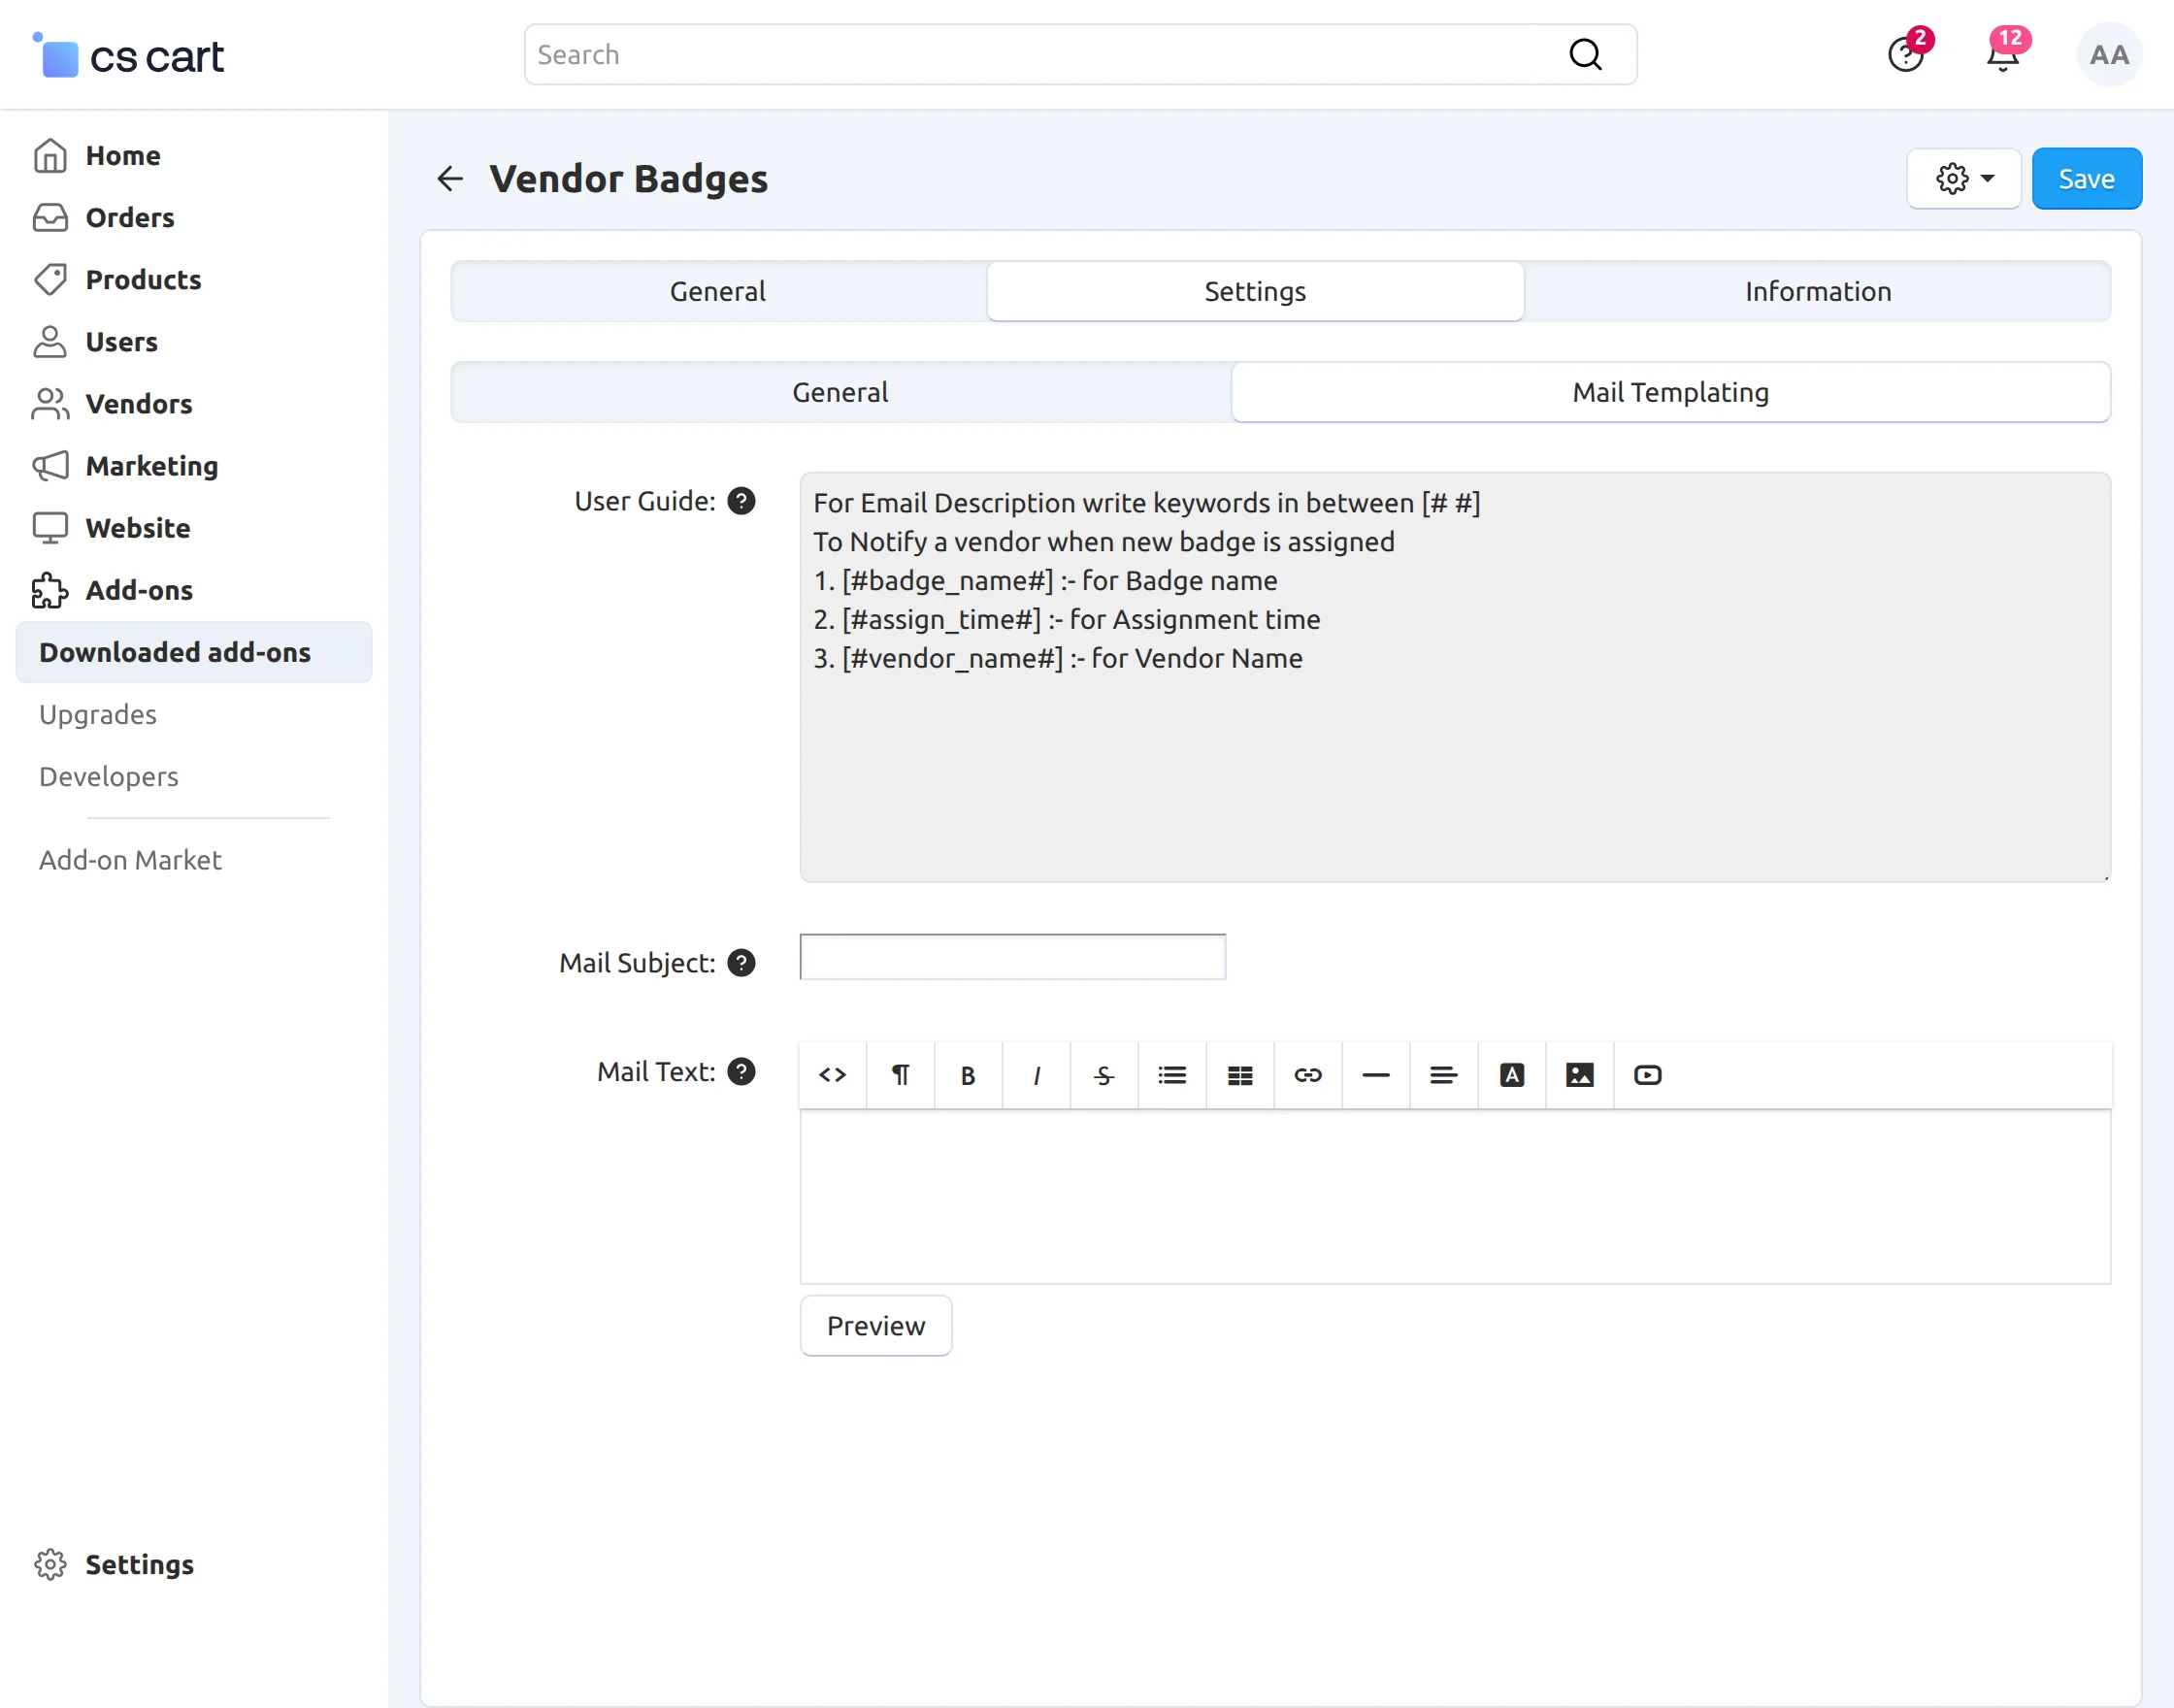
Click on the Mail Templating tab and set the mail template for sending an automatic email to vendors to notify them of badge assignment.
Moreover, a User Guide with necessary placeholders is provided
- Set the subject for the email.
- Enter the mail text in the box provided, as shown below in the snapshot.
- Finally, click on the Save button to save the settings.
Badges Management At the Back End
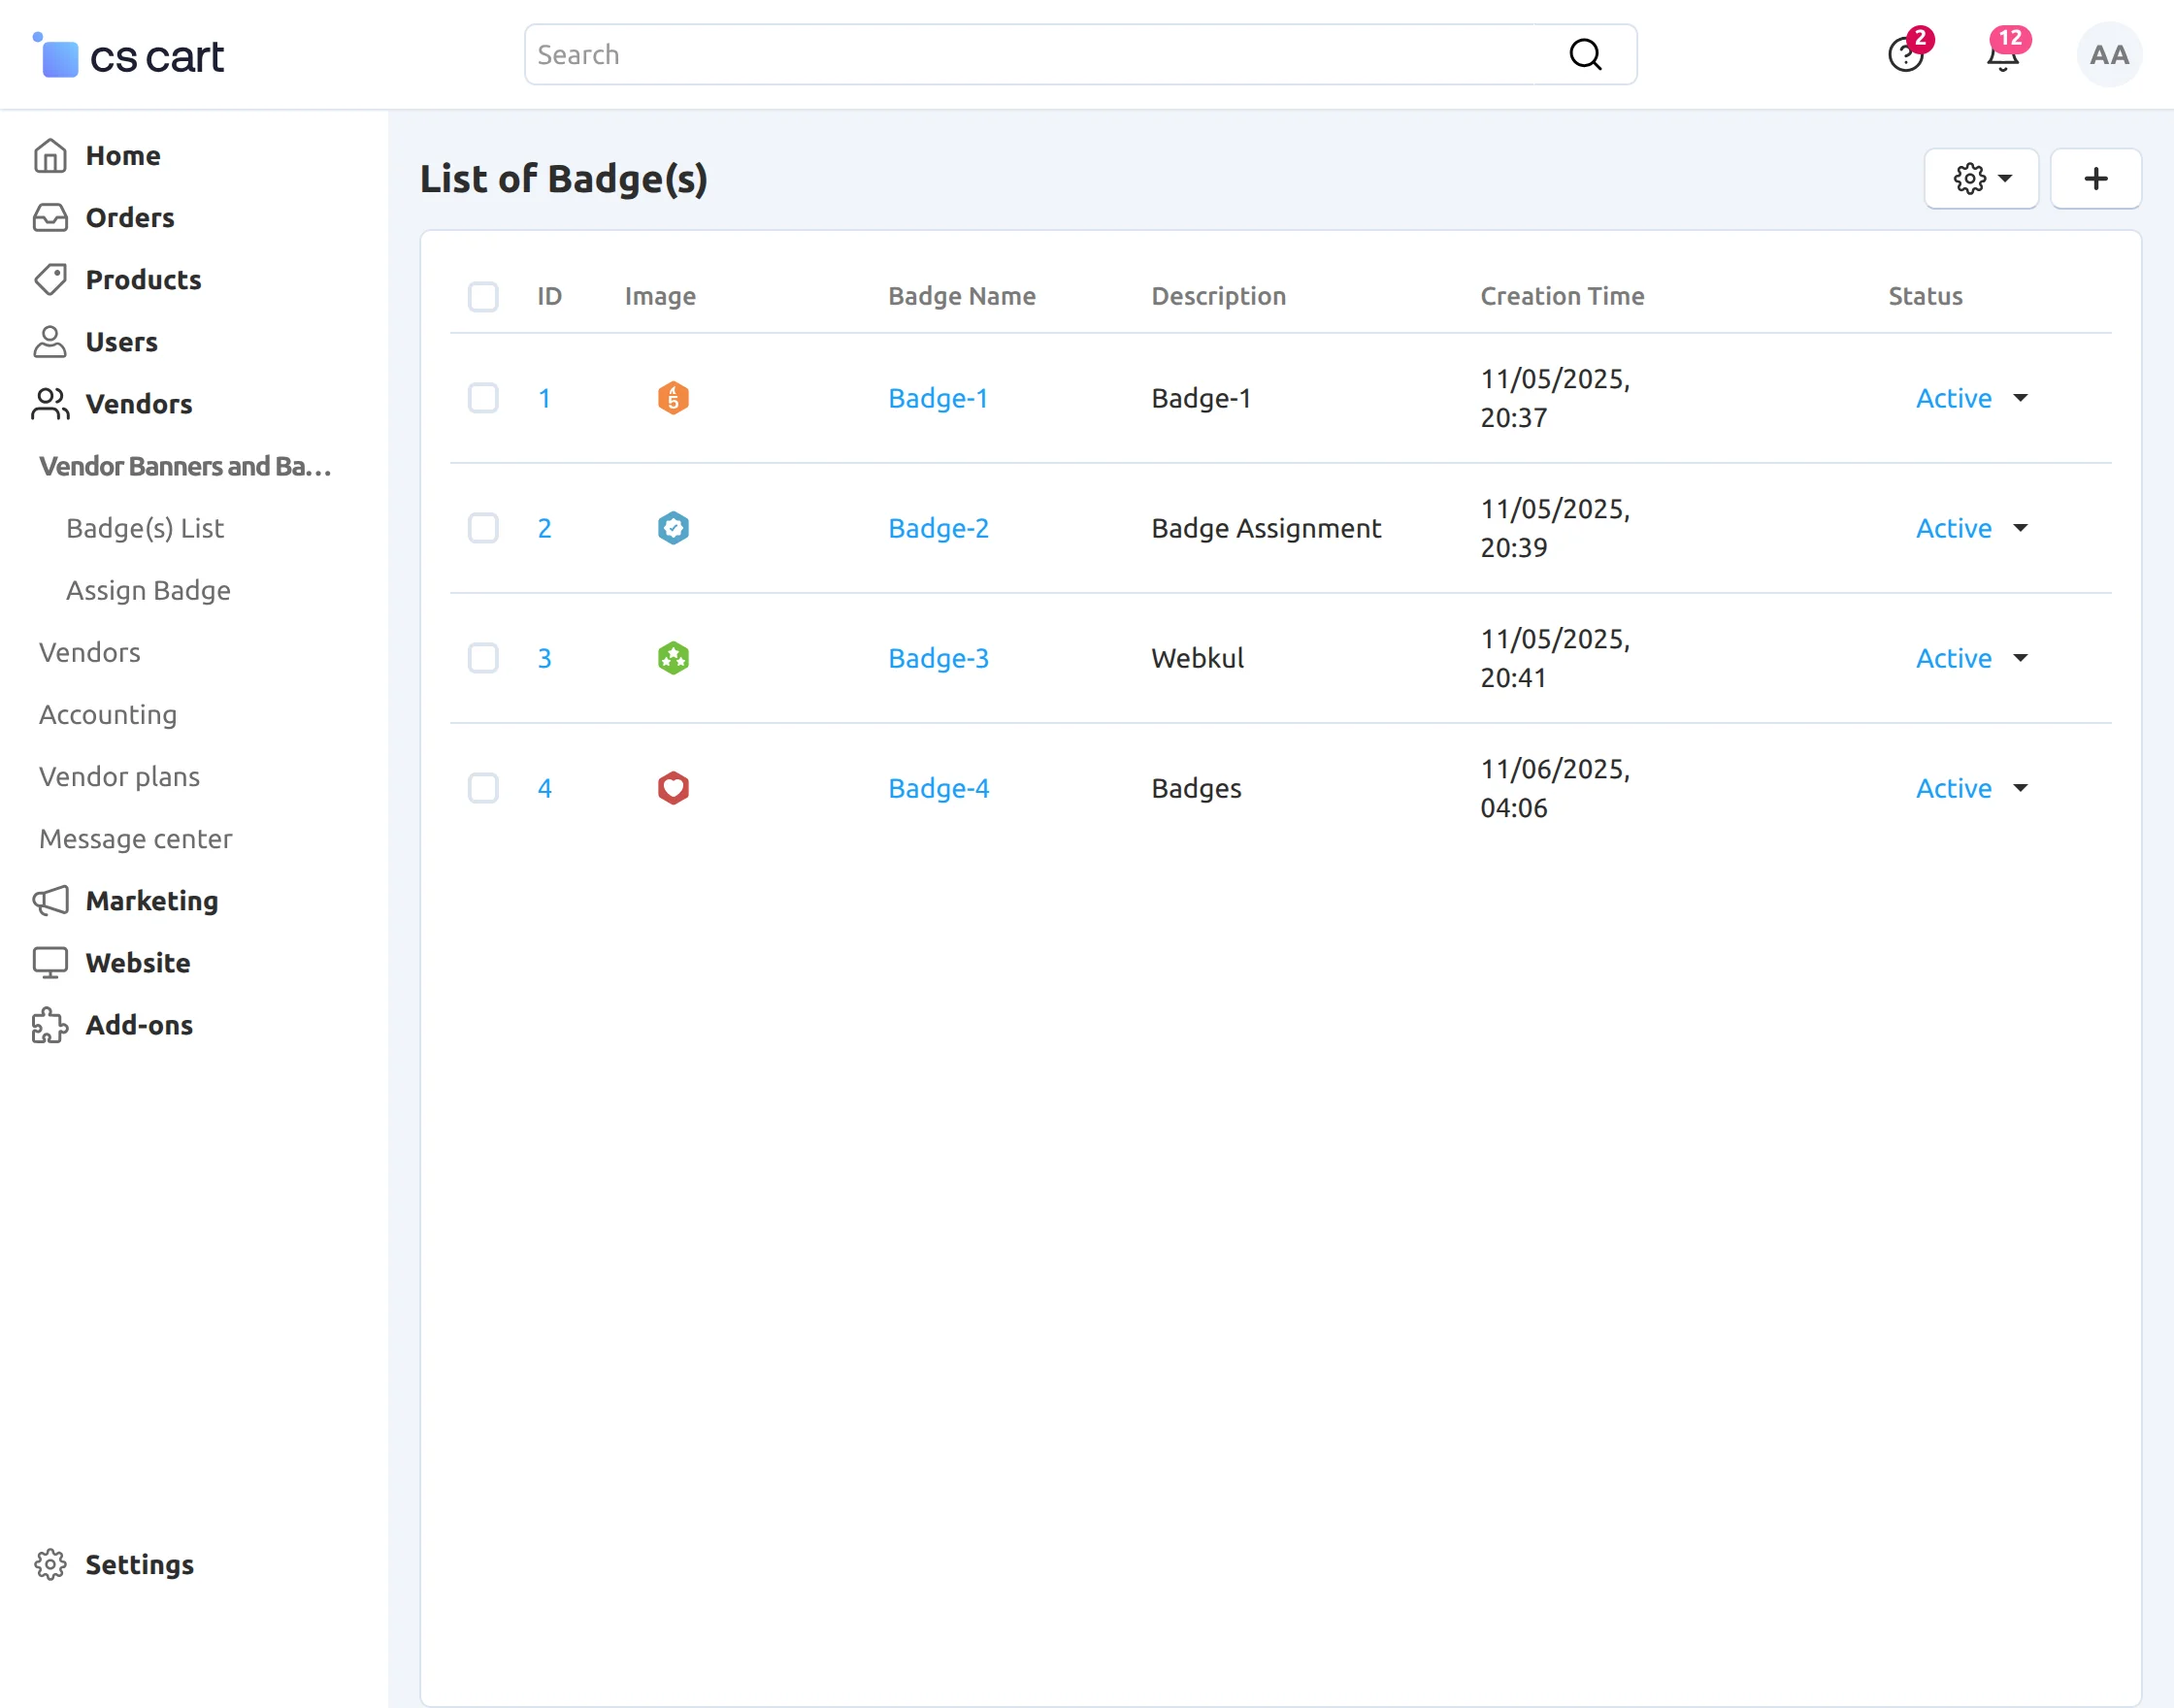
Firstly, go to Vendors -> Vendor Banners and Badges -> Badge(s) List to add and view the badges as shown below.
Moreover, the List of badges can be viewed here. Click on “+” to add a new badge as shown below.
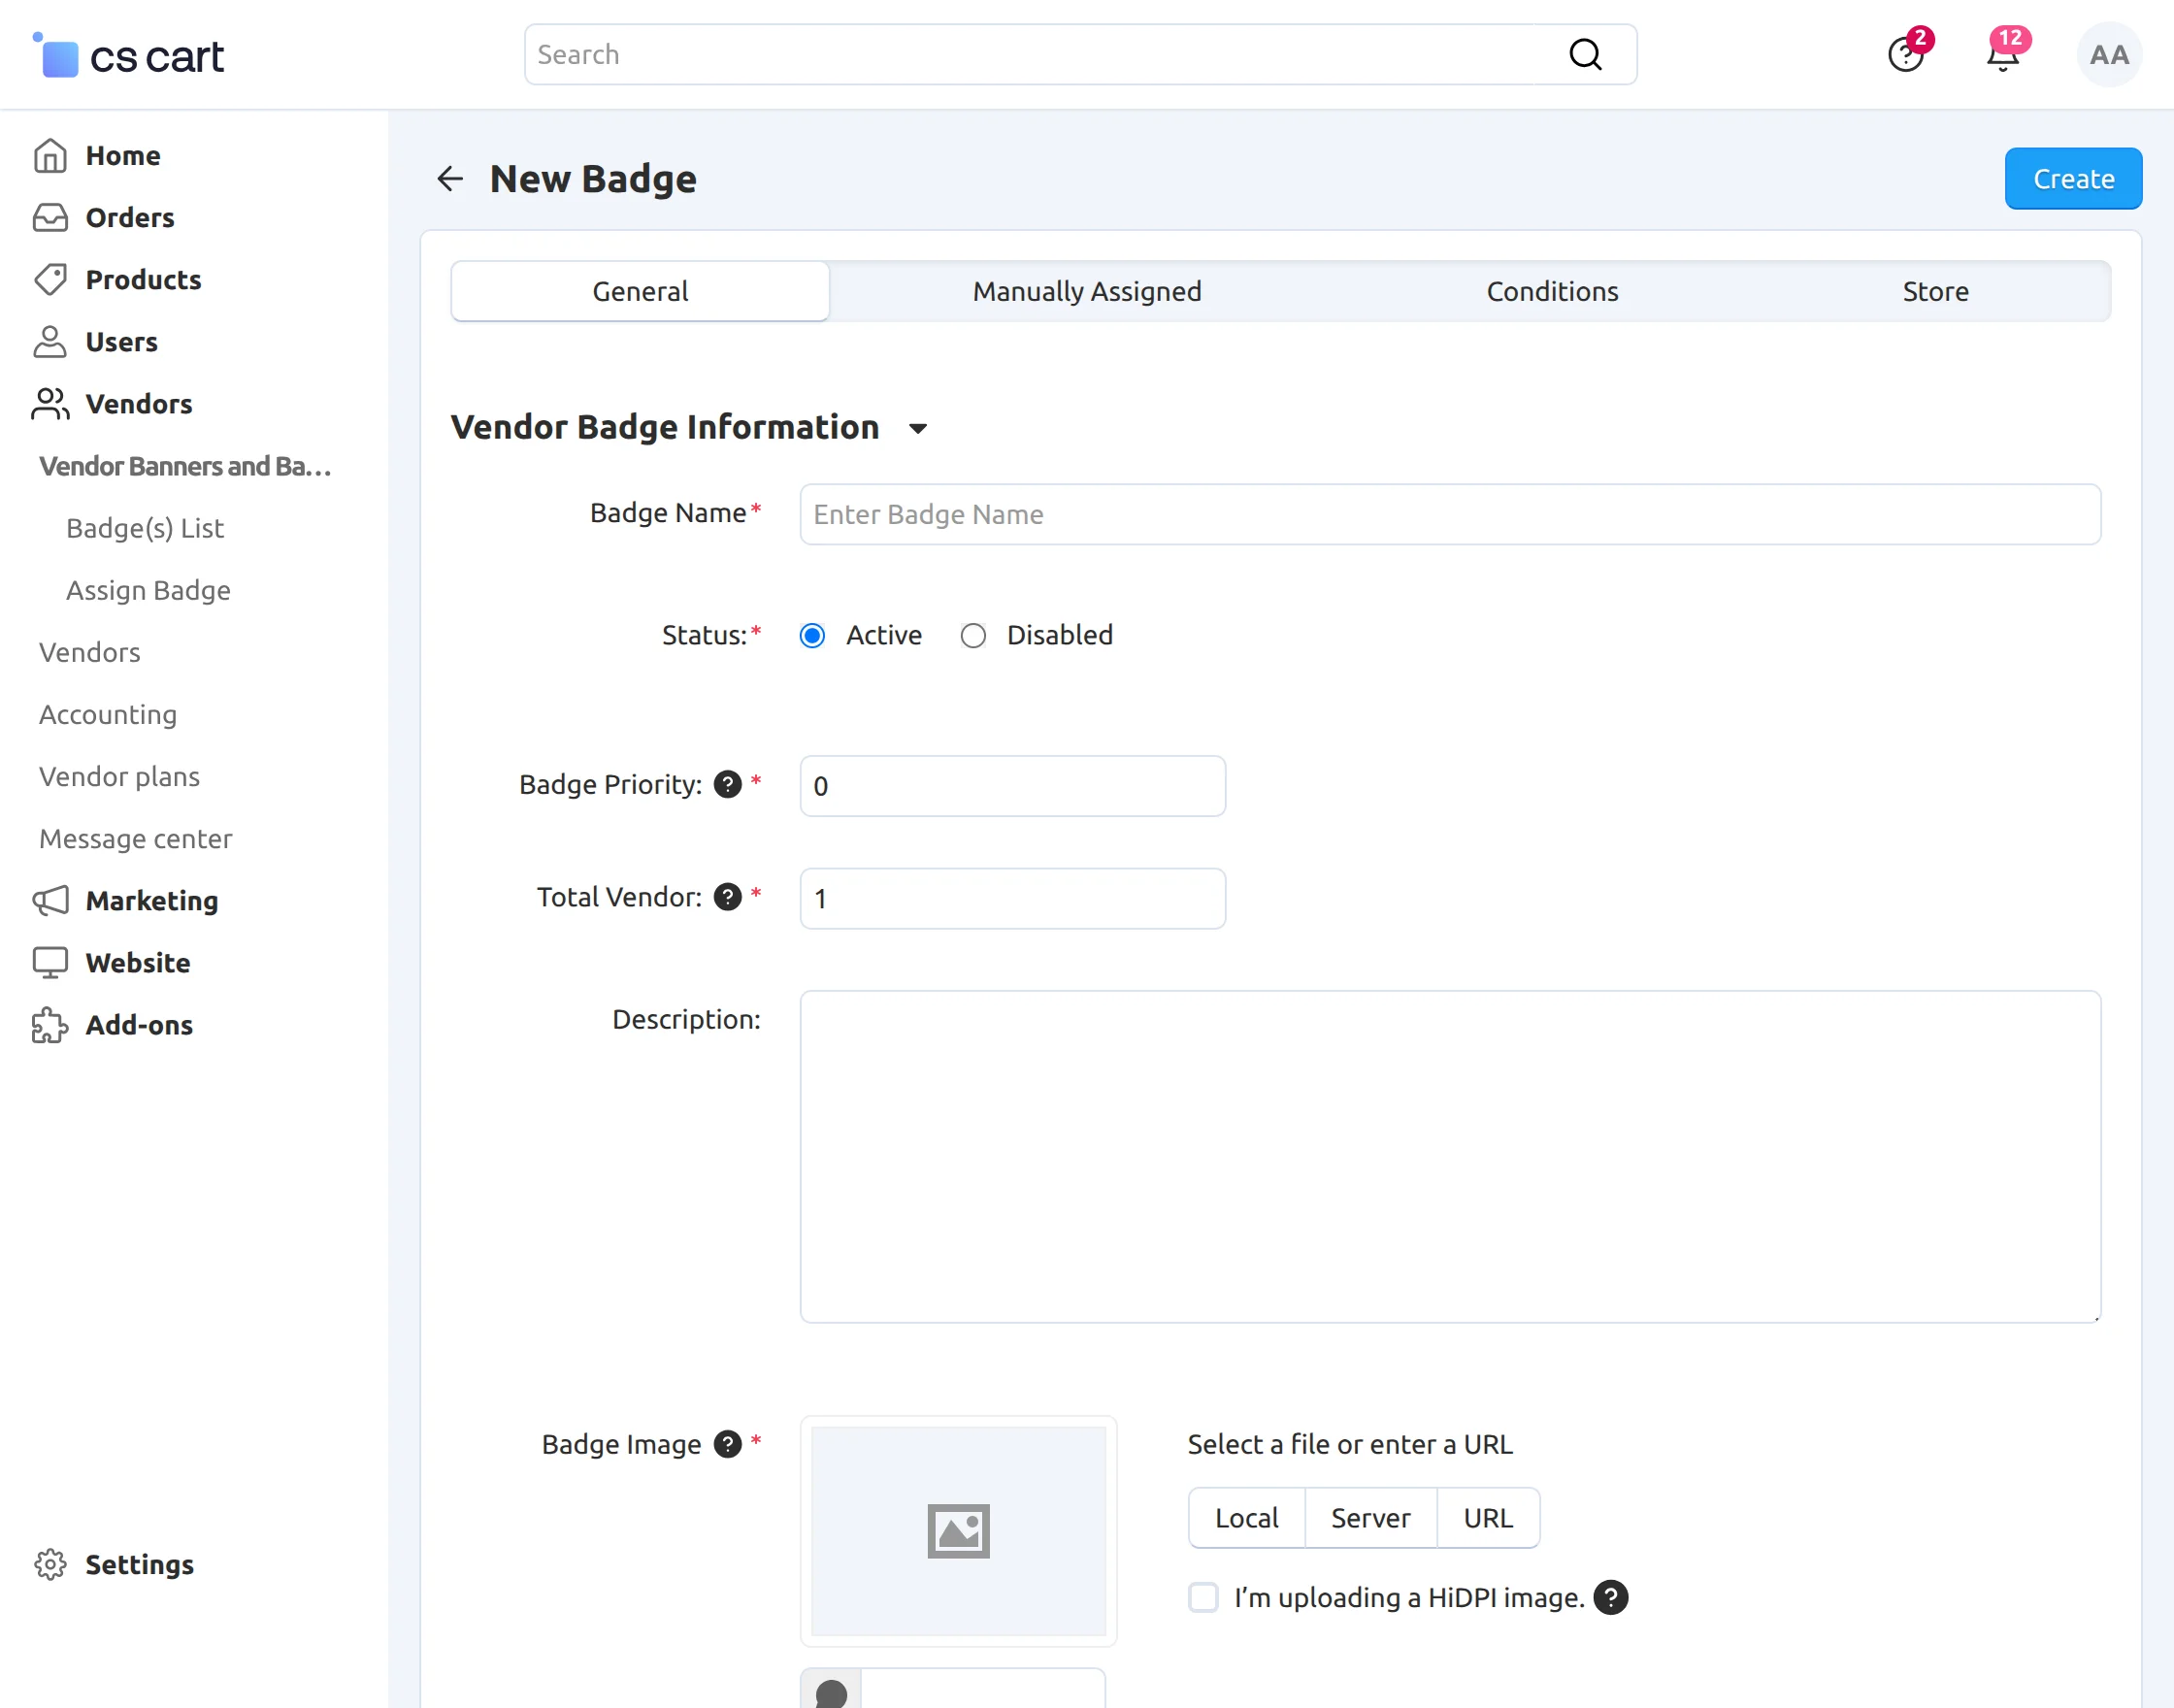
Set the parameters below to add a badge.
- Firstly, enter the name of the badge and set the status.
- Set the priority of the badge. The badge with the lowest number will get the highest priority.
- Enter the number of vendors up to which this badge can be assigned.
- Besides this, enter the description of the badge.
- Upload the image for the Badge.
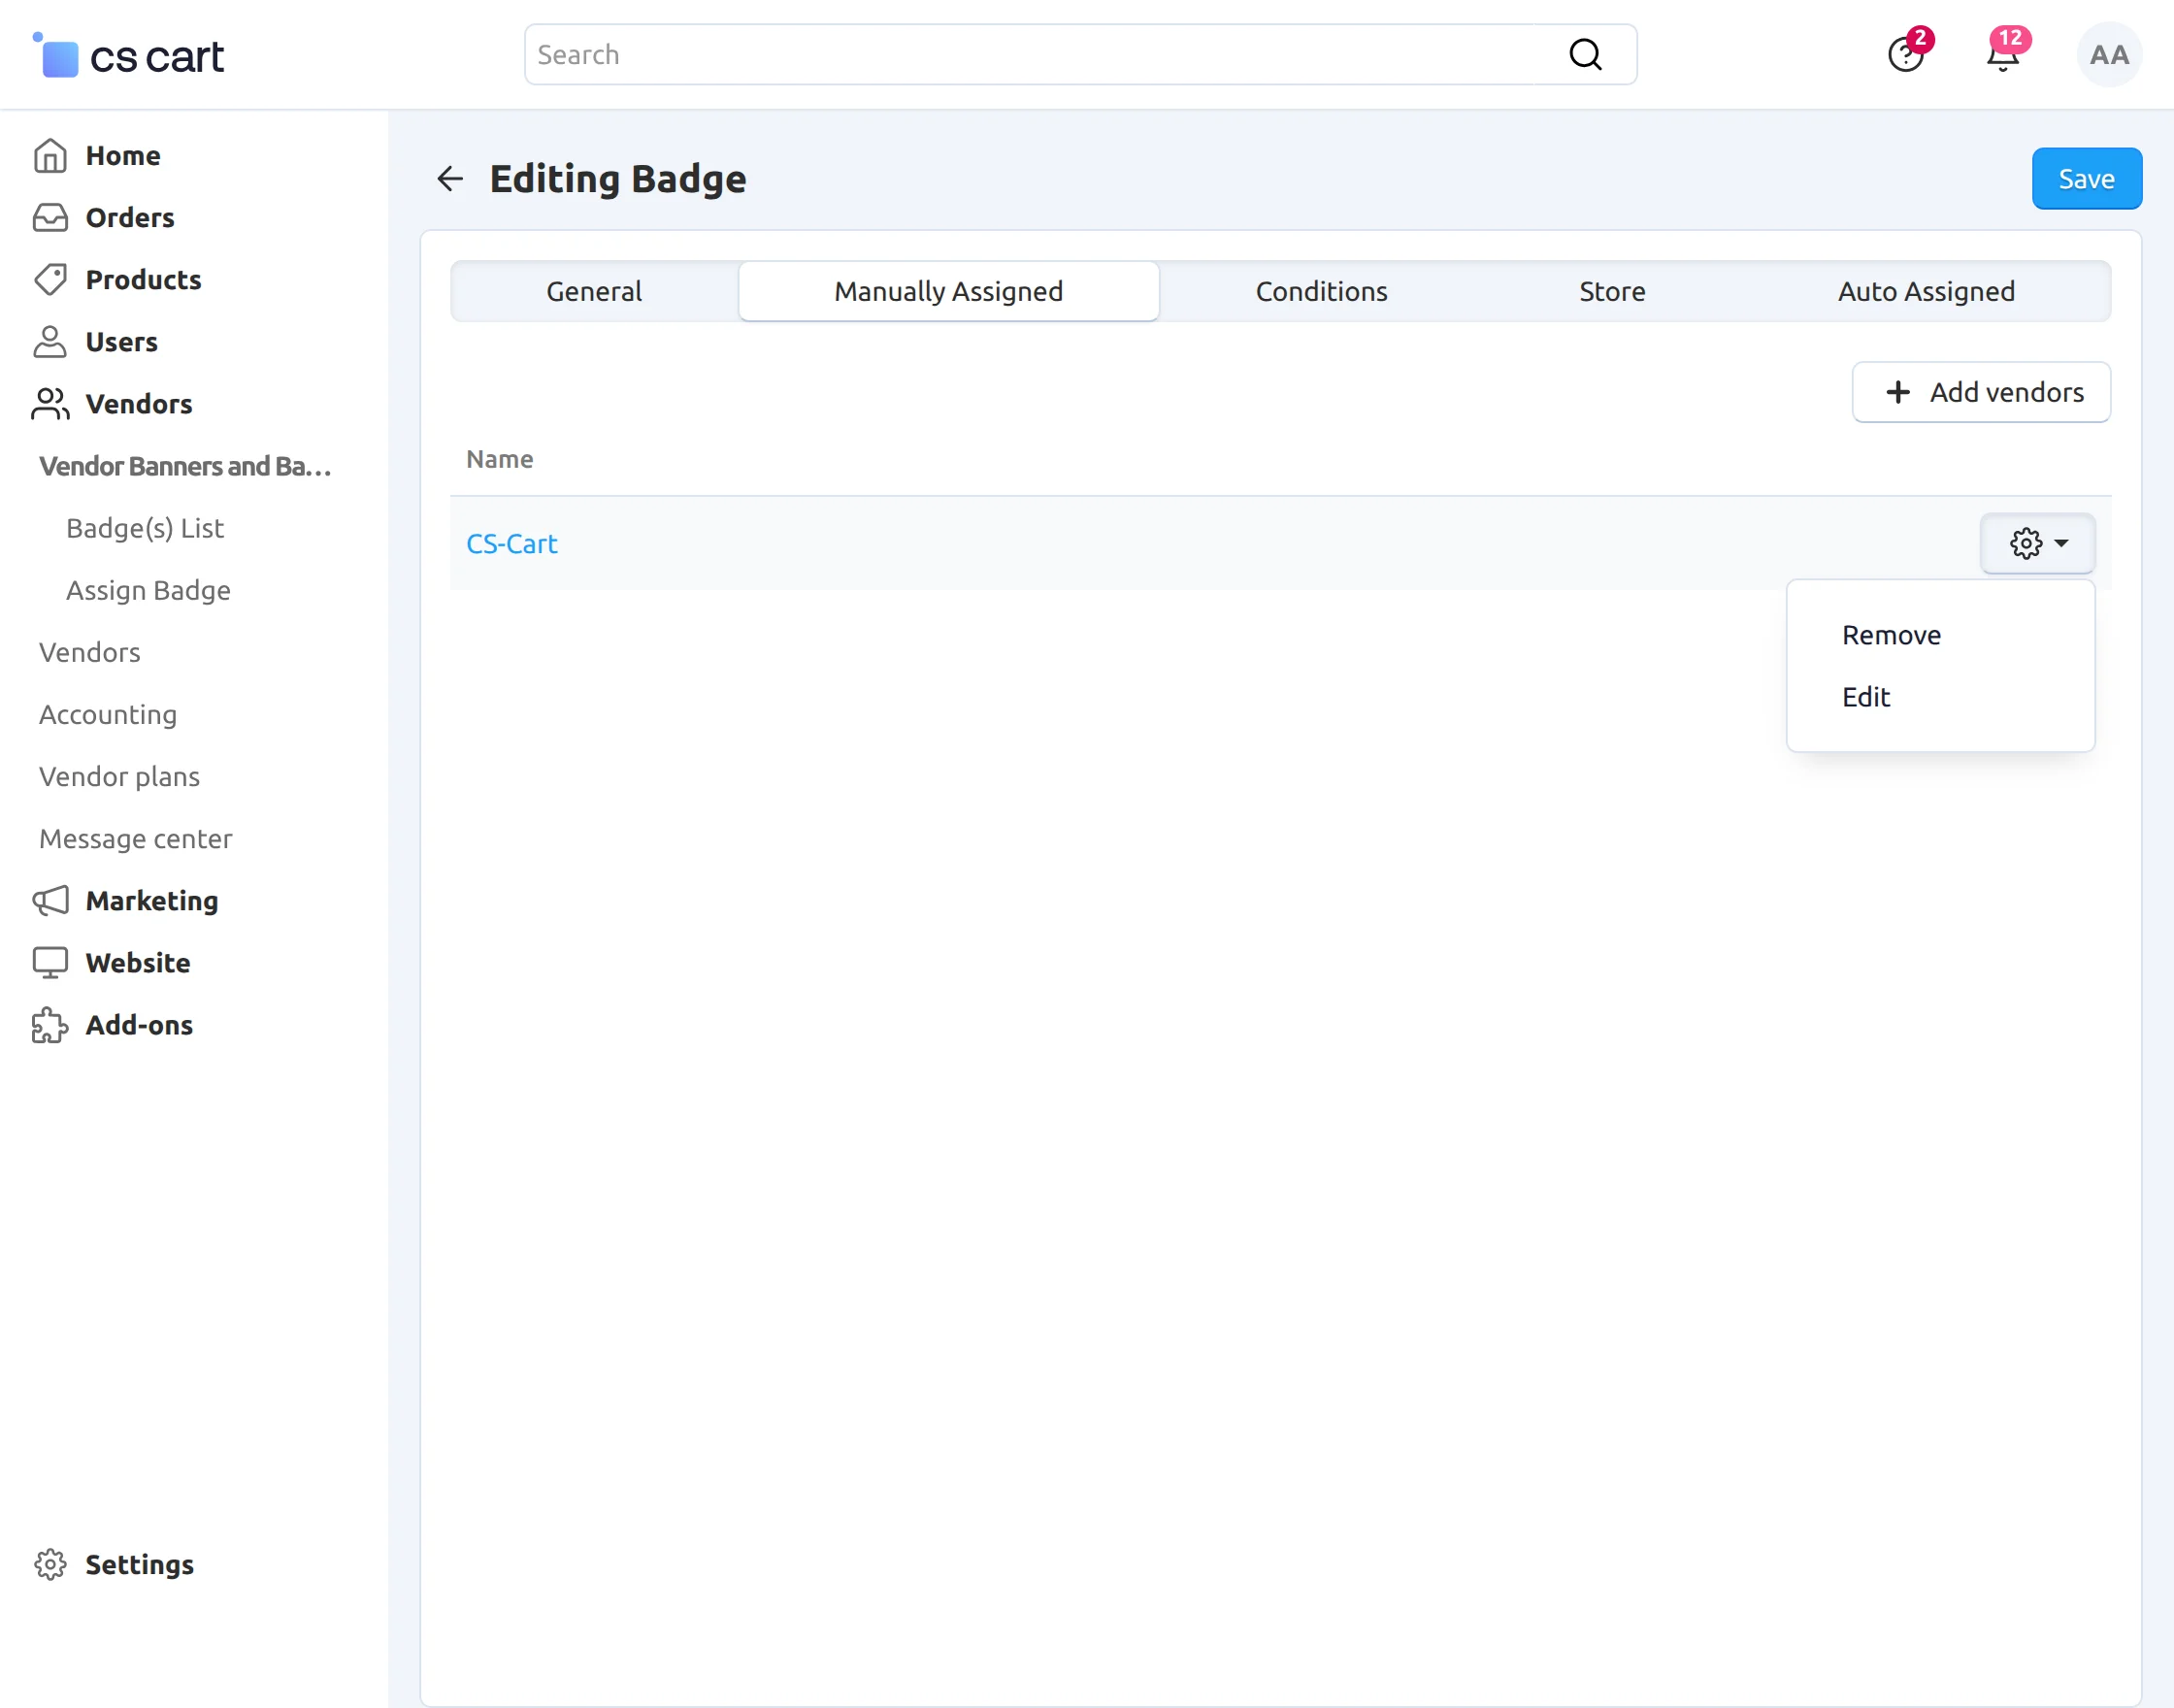
Click on the Manually assigned tab and select the vendors for this badge assignment, as shown below in the snapshot.
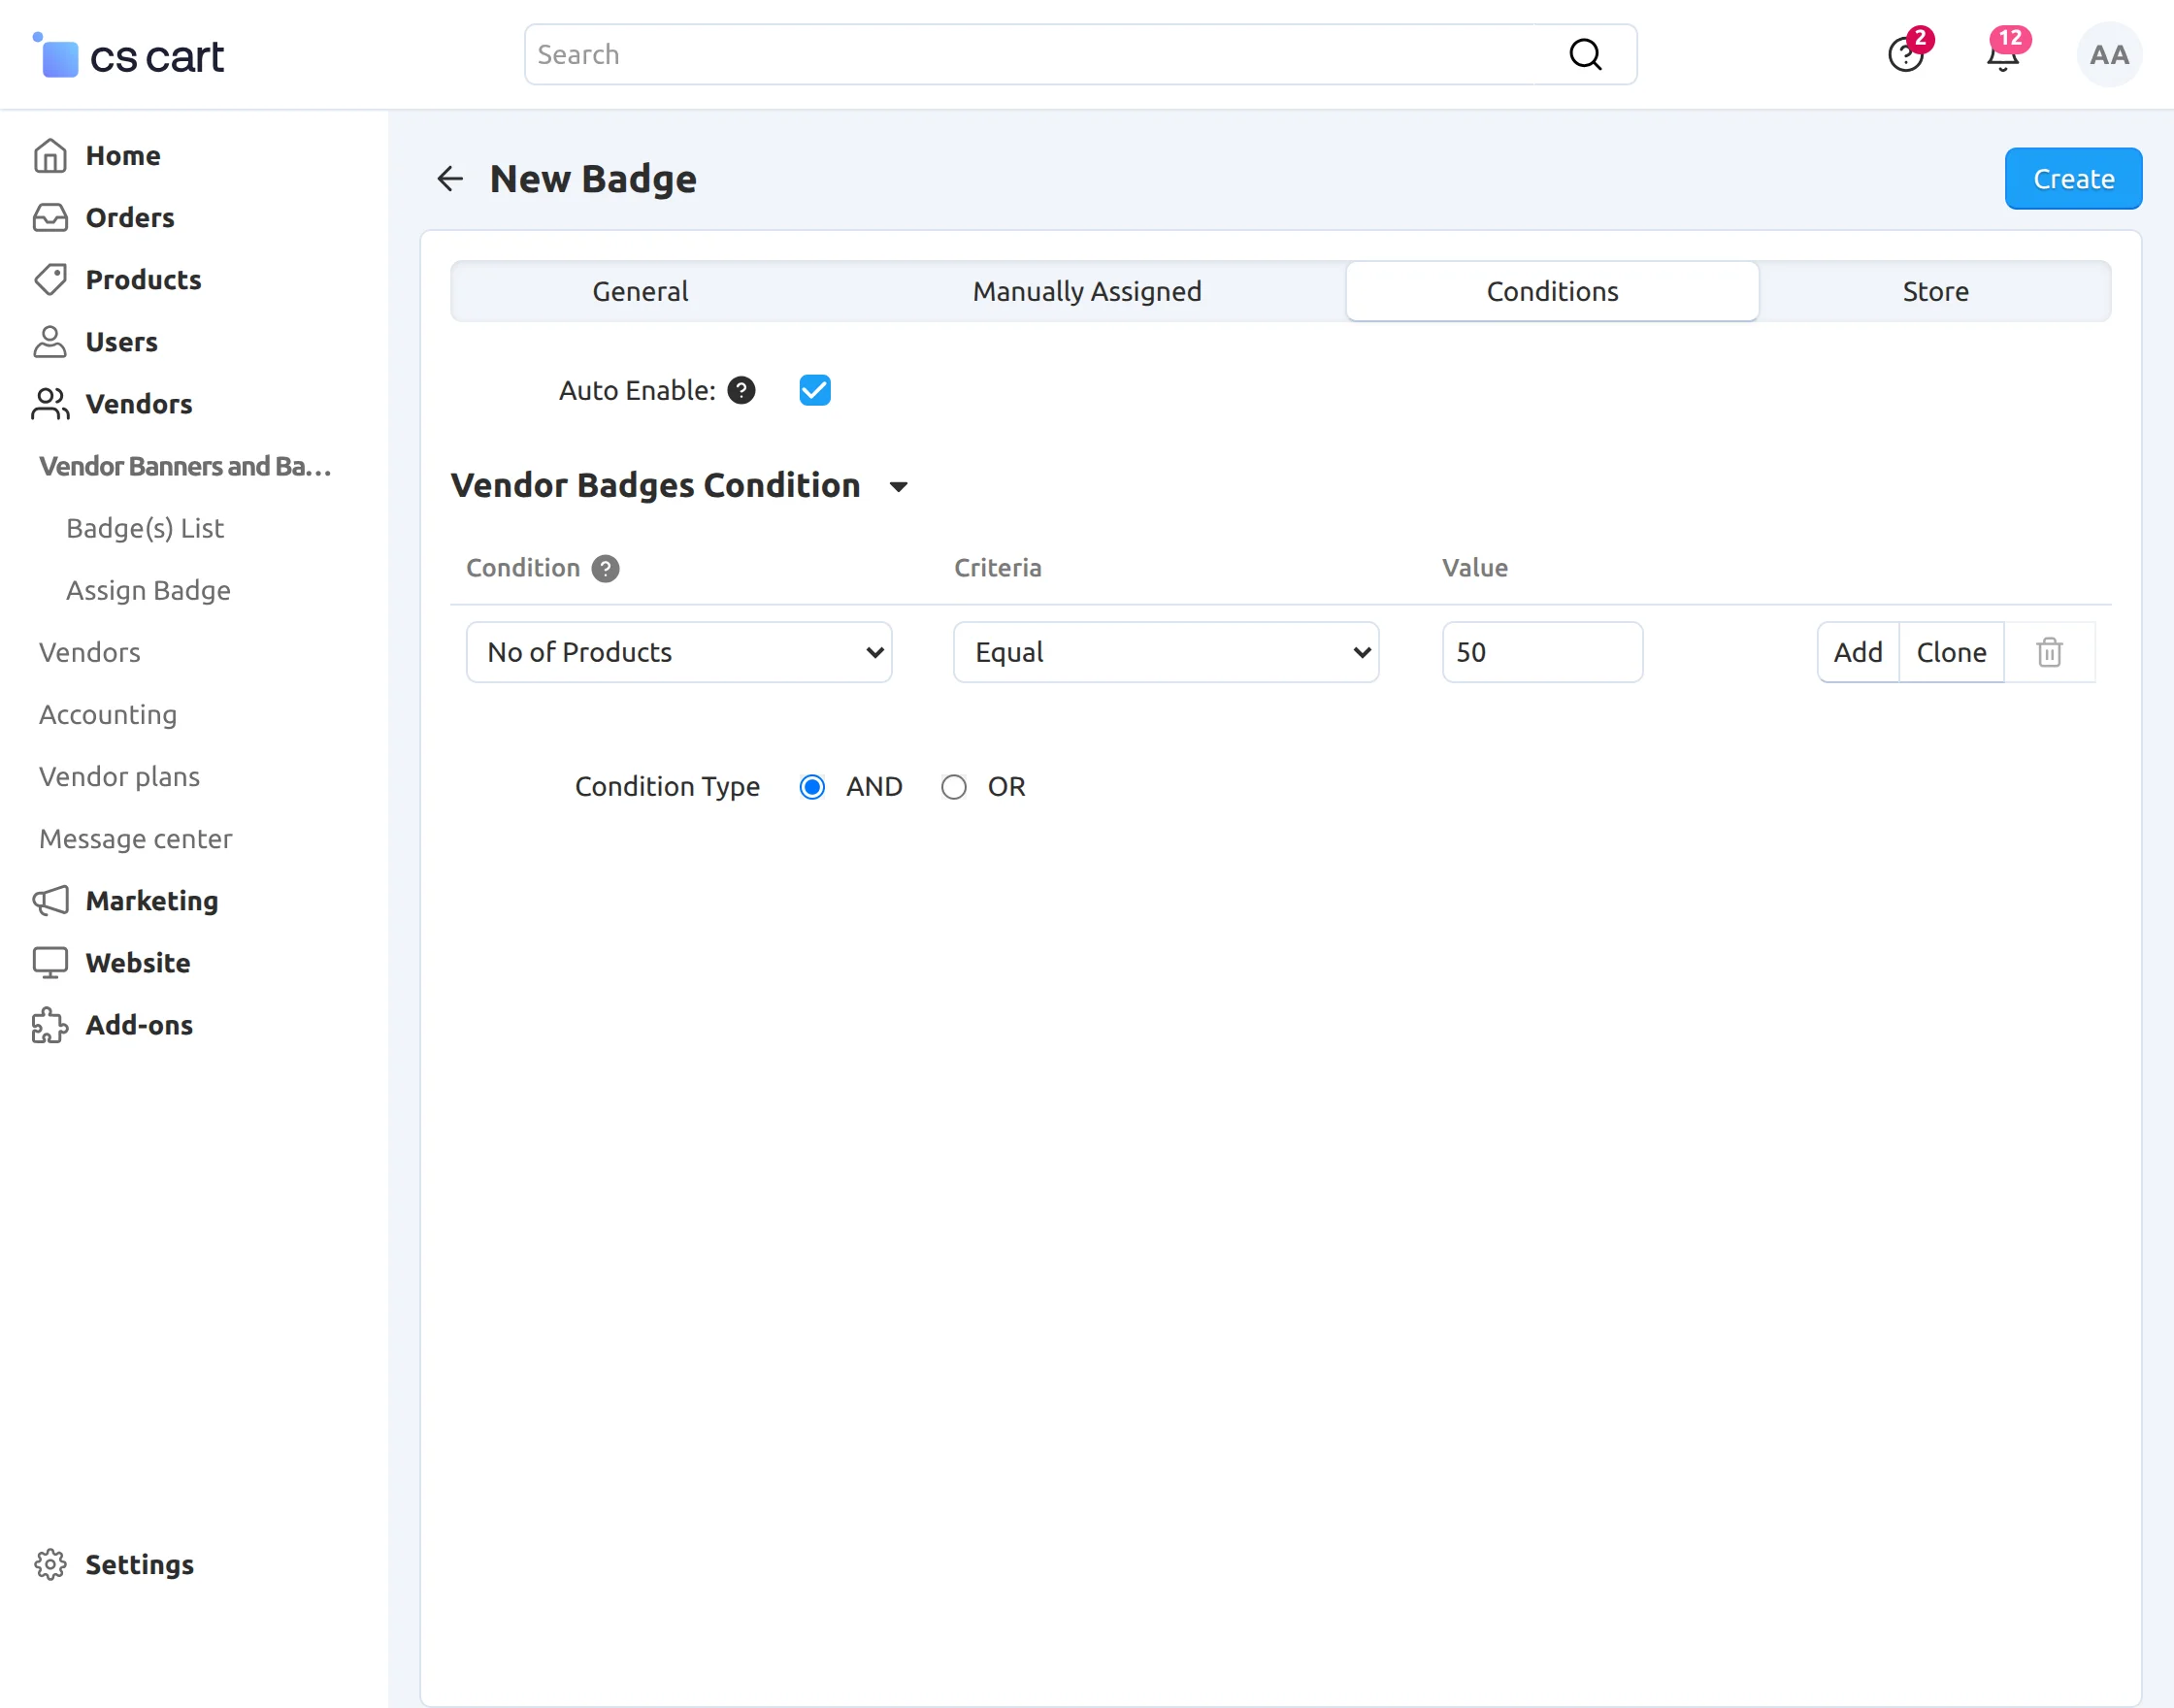
Click on the Conditions tab to set the conditions for auto-assignment of the badge, as shown below.
- Enable the auto-assignment of the badge by clicking the checkbox.
- Select the desired condition on the basis of which the badge will get auto-assigned.
- Set the criteria and value according to the condition chosen.
- Click on the ‘Add‘ button to add more conditions.
- Finally, click on the “Create” button to create the badge.
How to assign a badge manually?
Firstly, go to Vendors -> Vendor Banners and Badges -> Assign Badge as shown below.
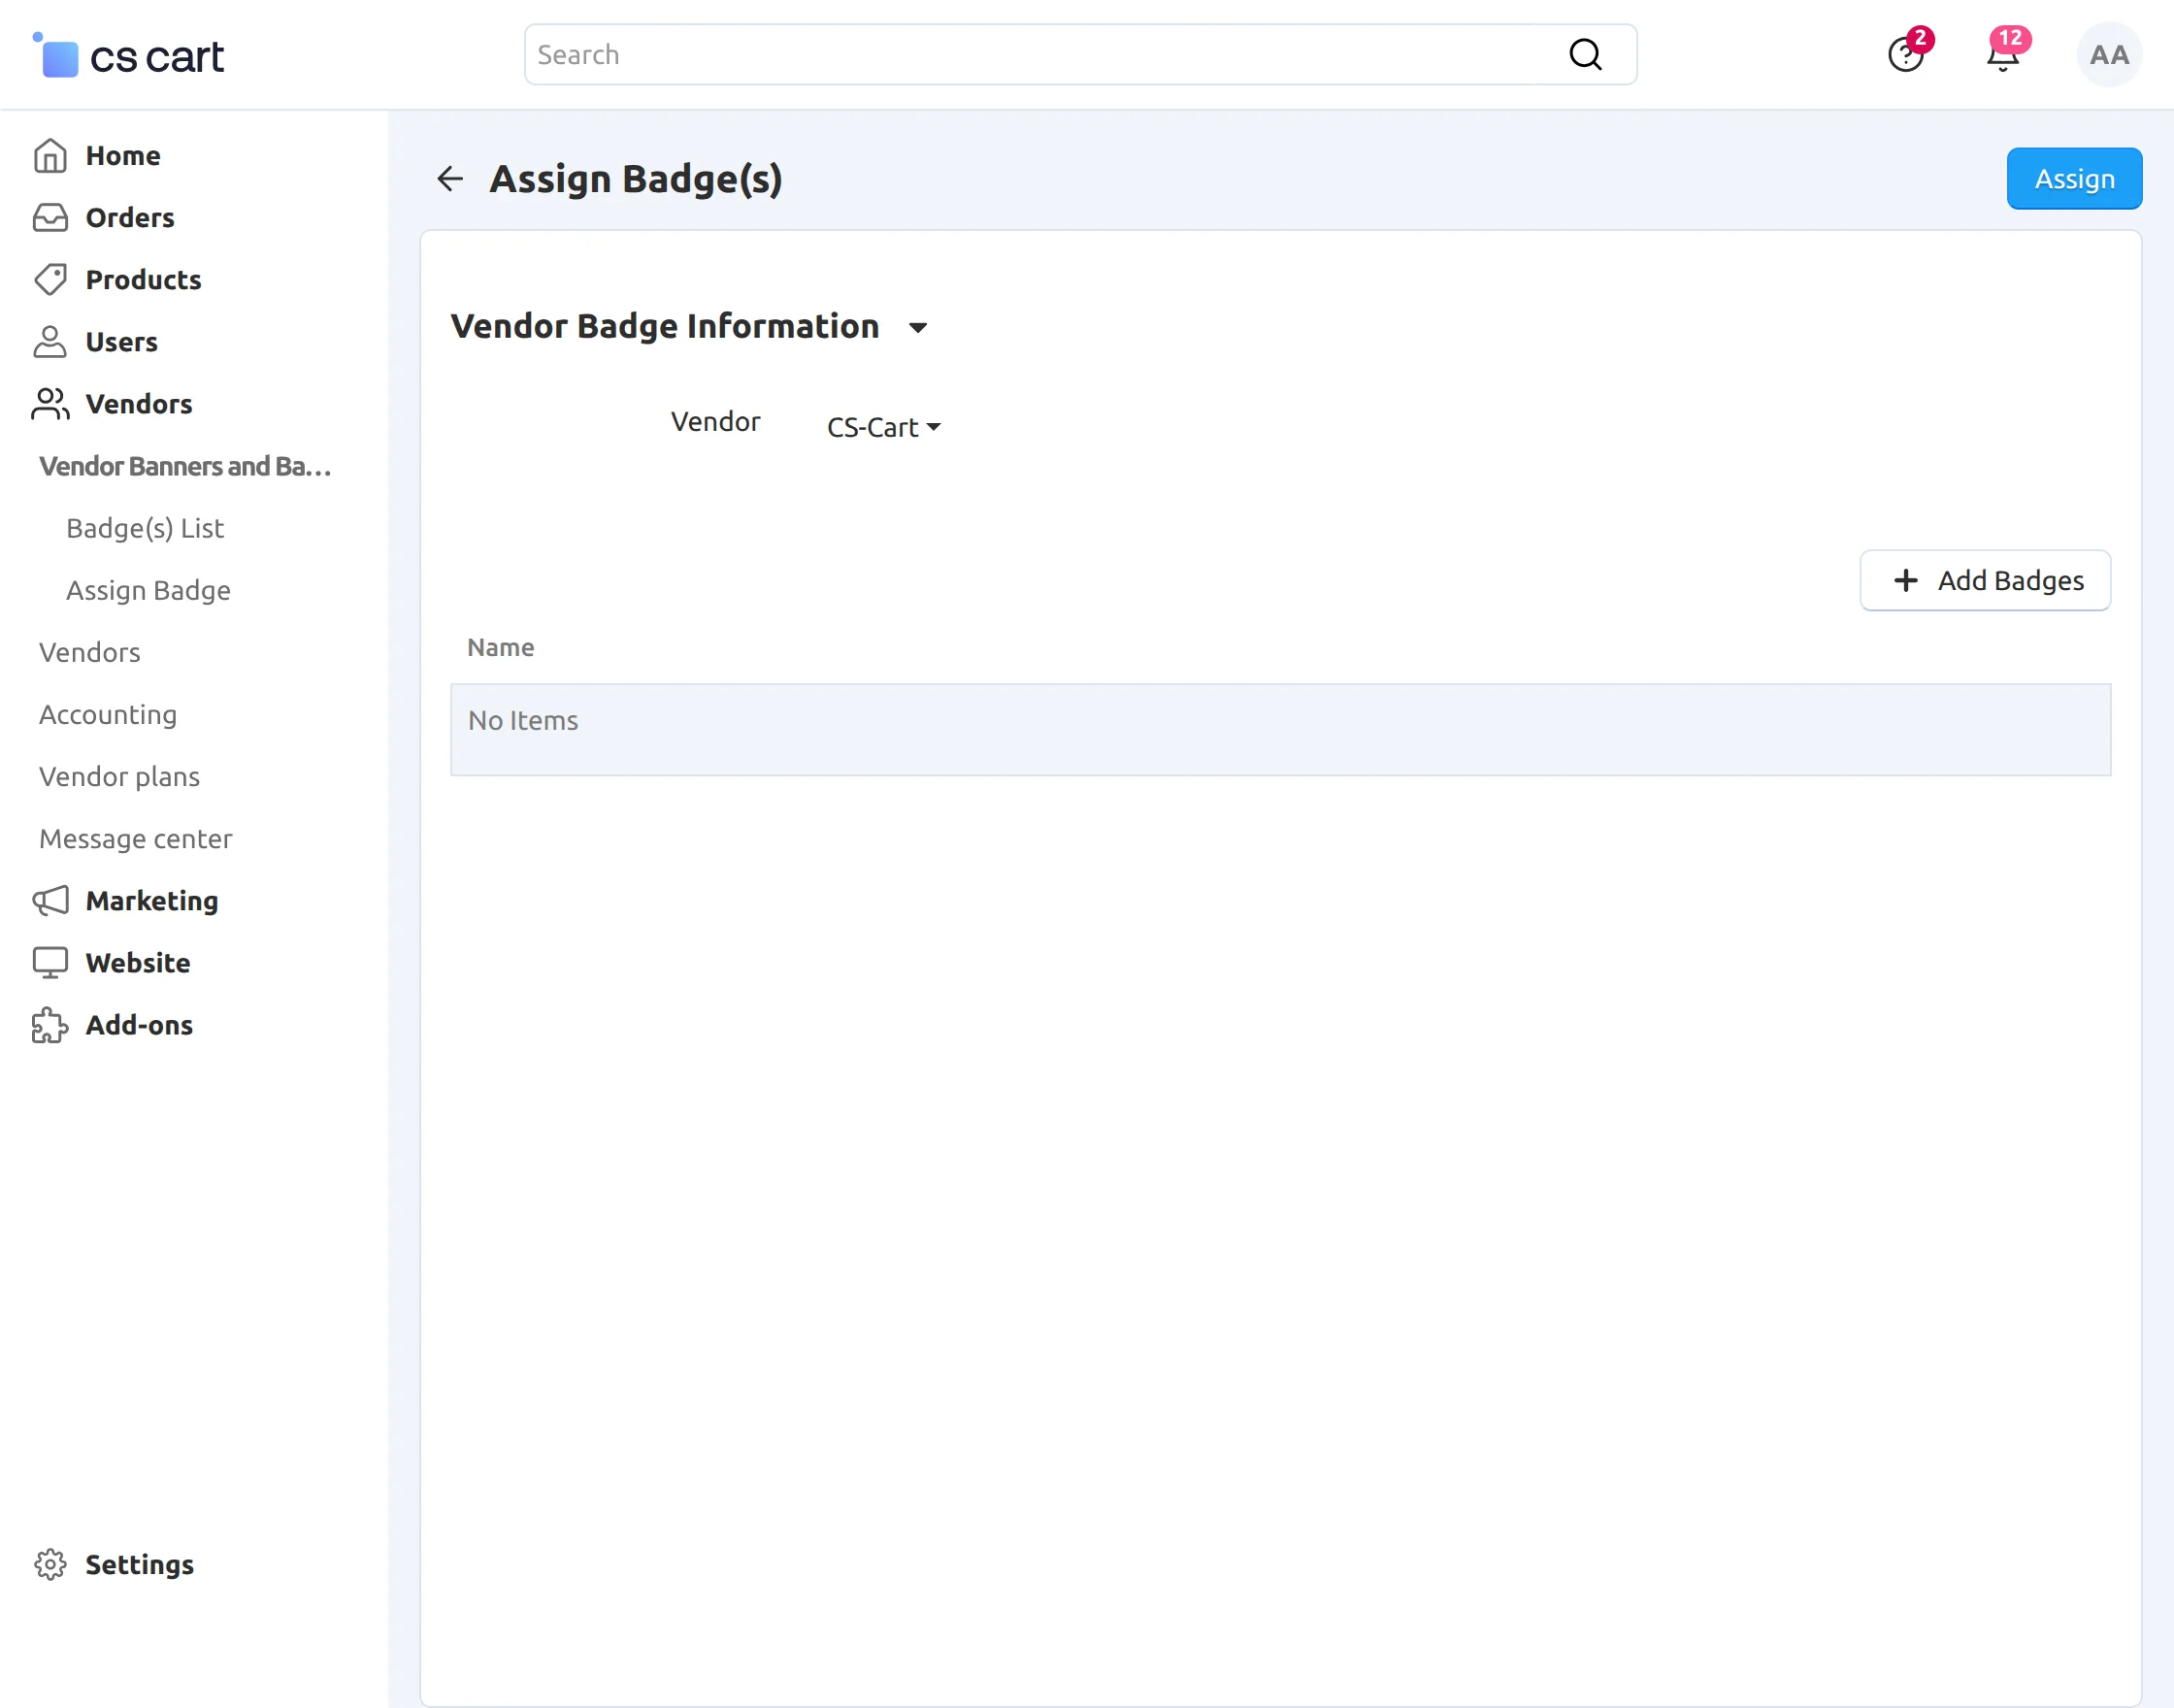
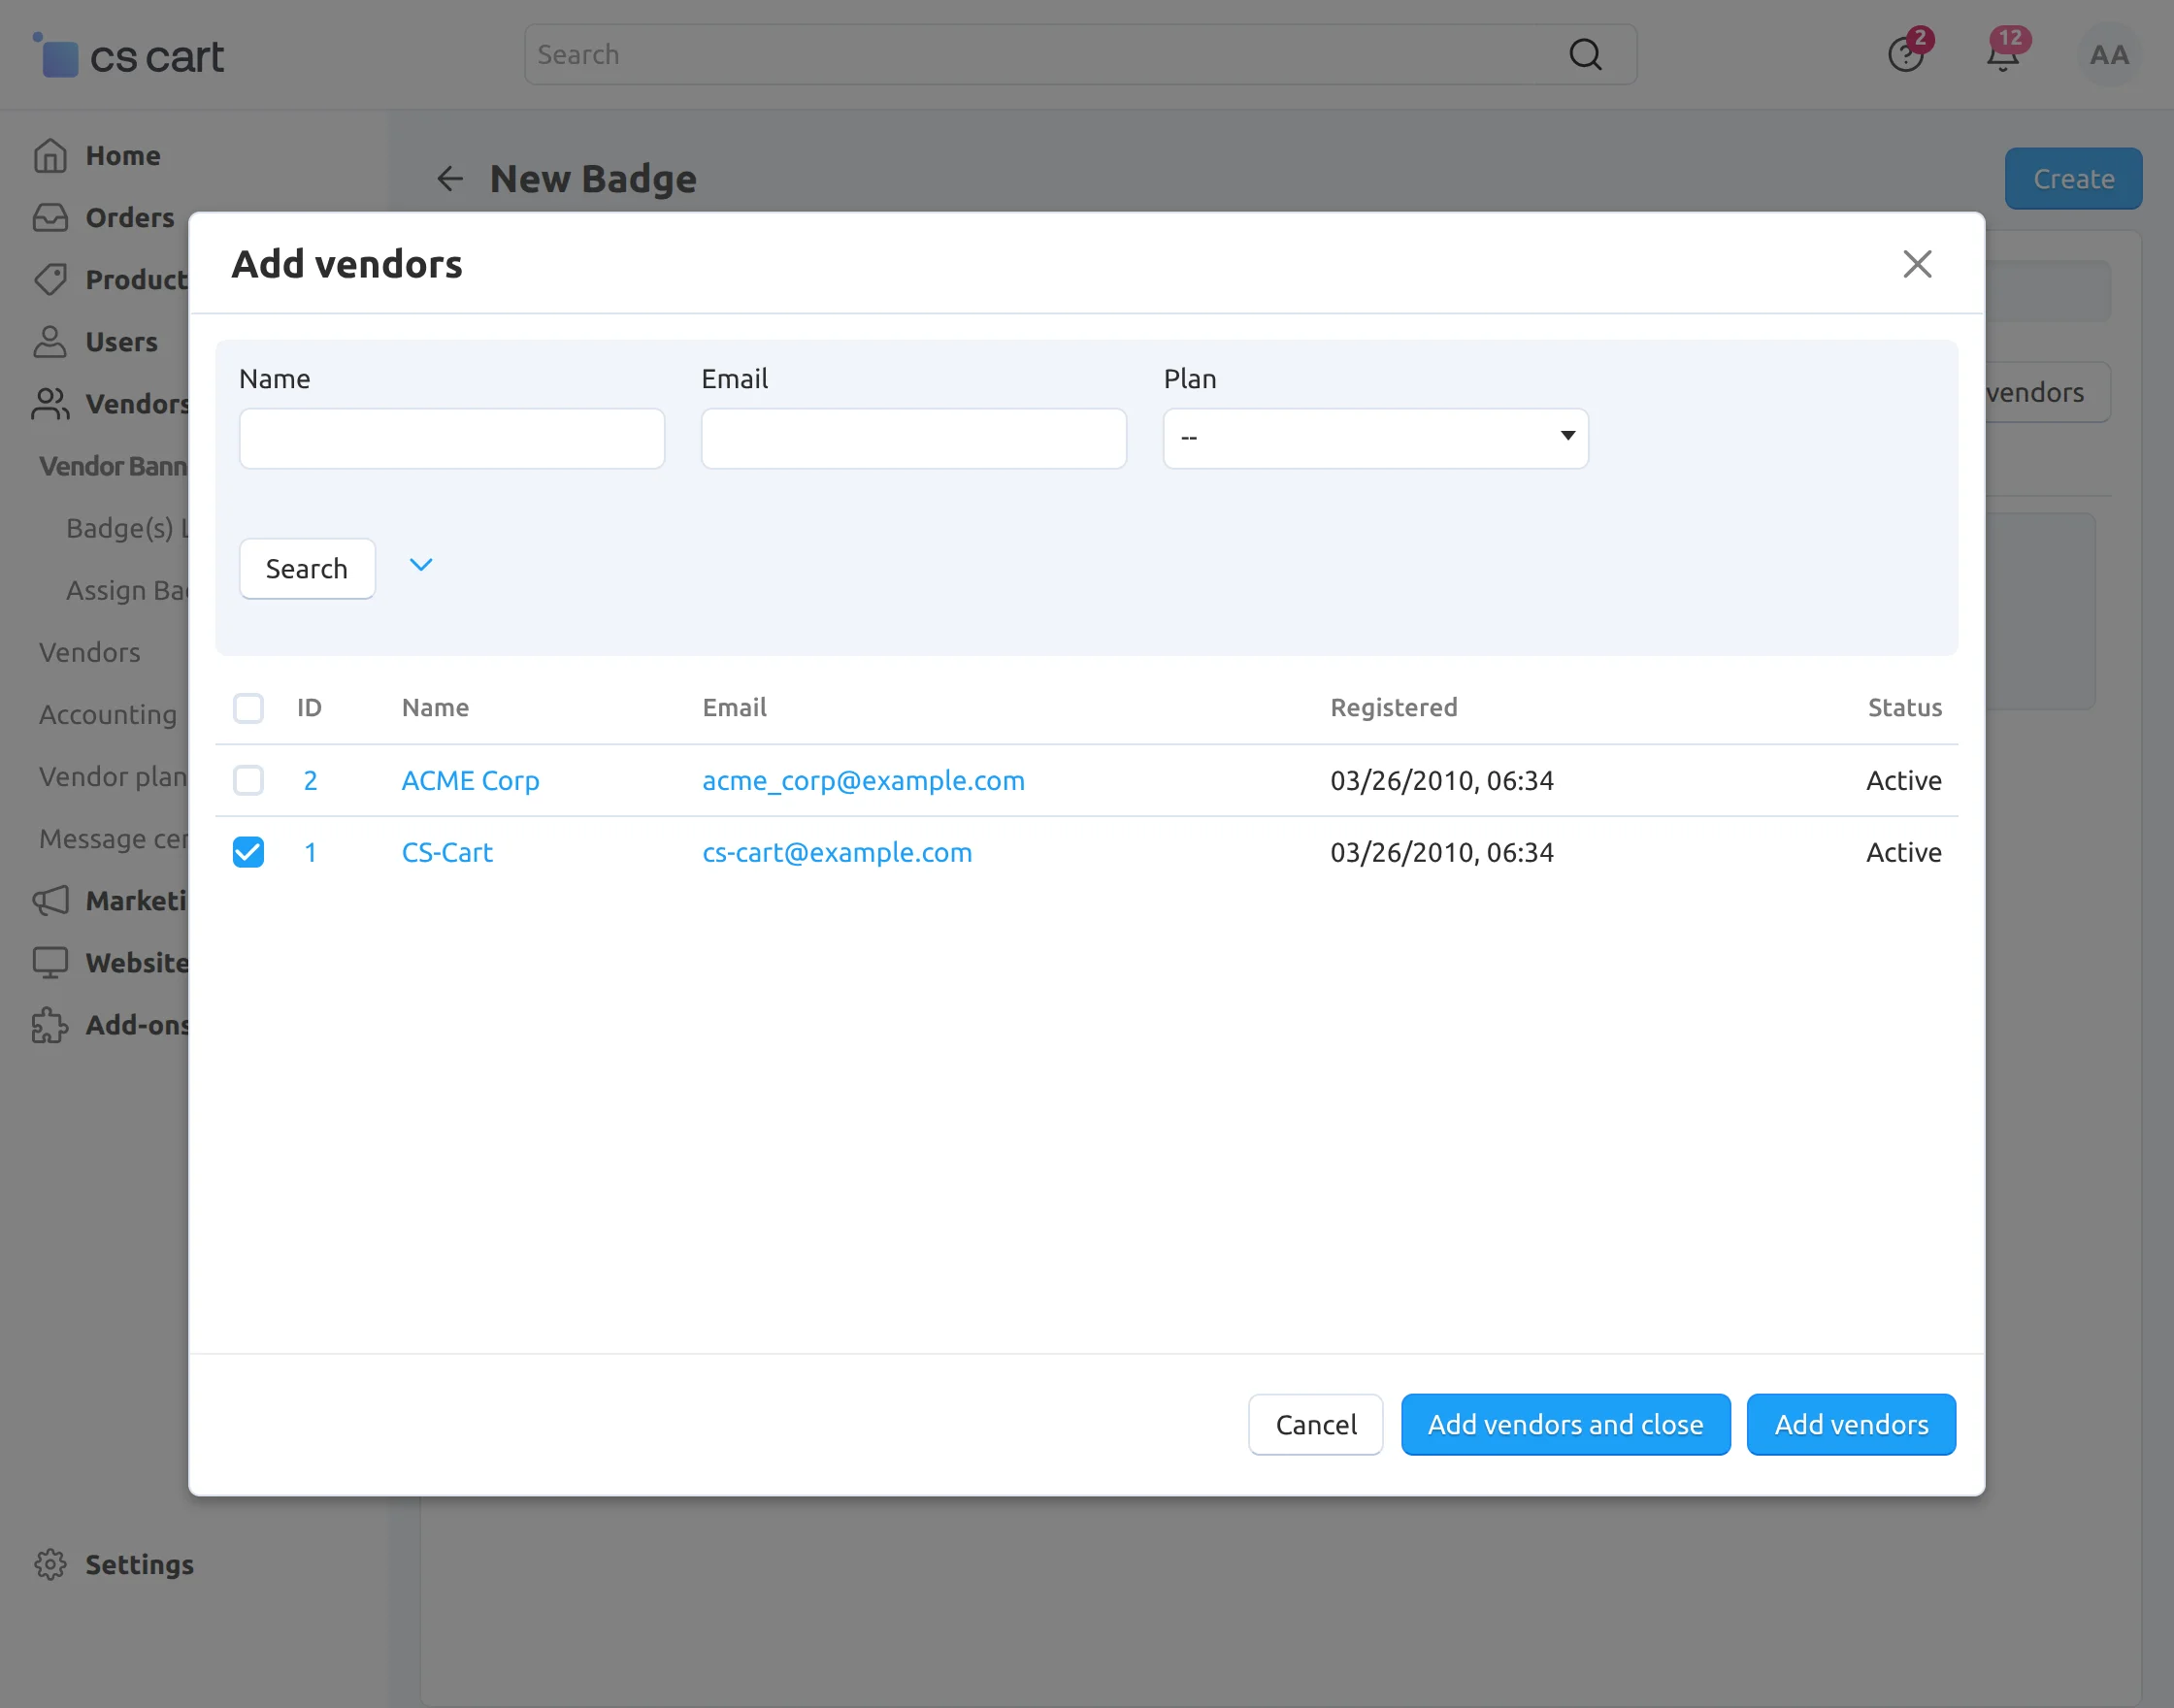
Set the parameters below to assign badges to the vendor manually, as shown in the snapshot
- Select the vendor to allocate the badge.
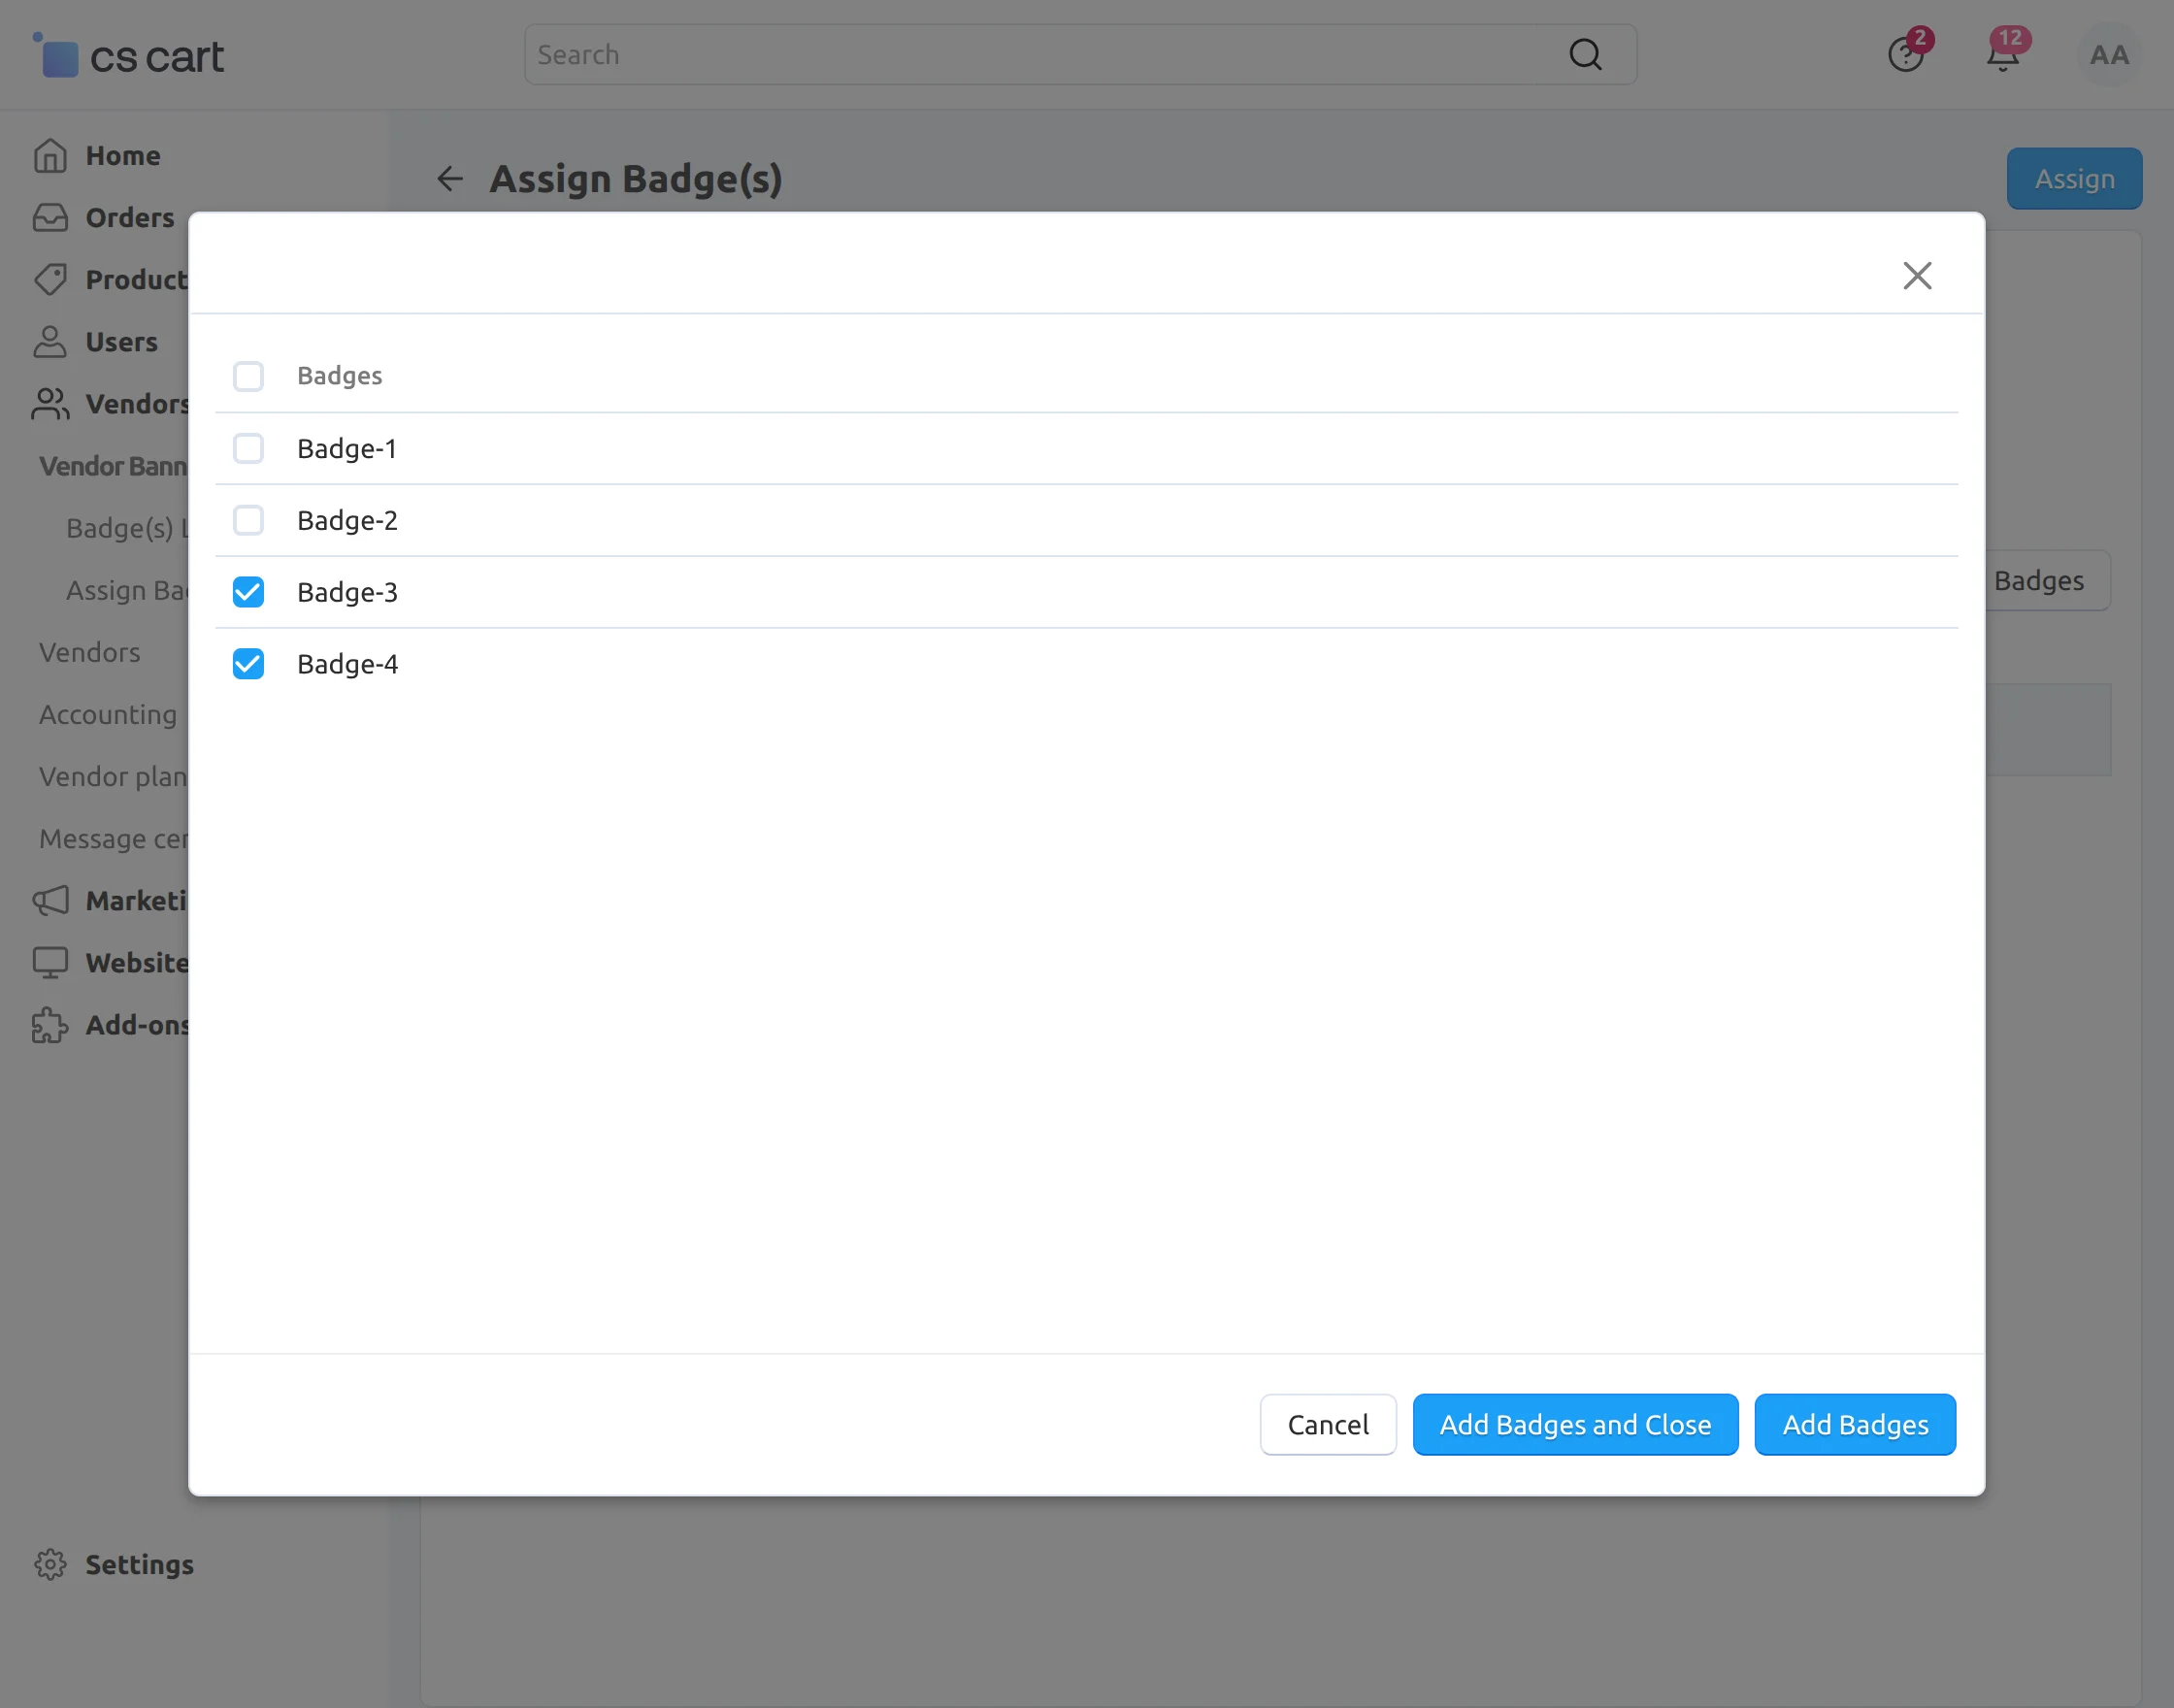
- Click on + Add Badges to add a new badge.
- Select badges and click on Add Badges and close button
- Click on the Assign button as per the screenshot below.
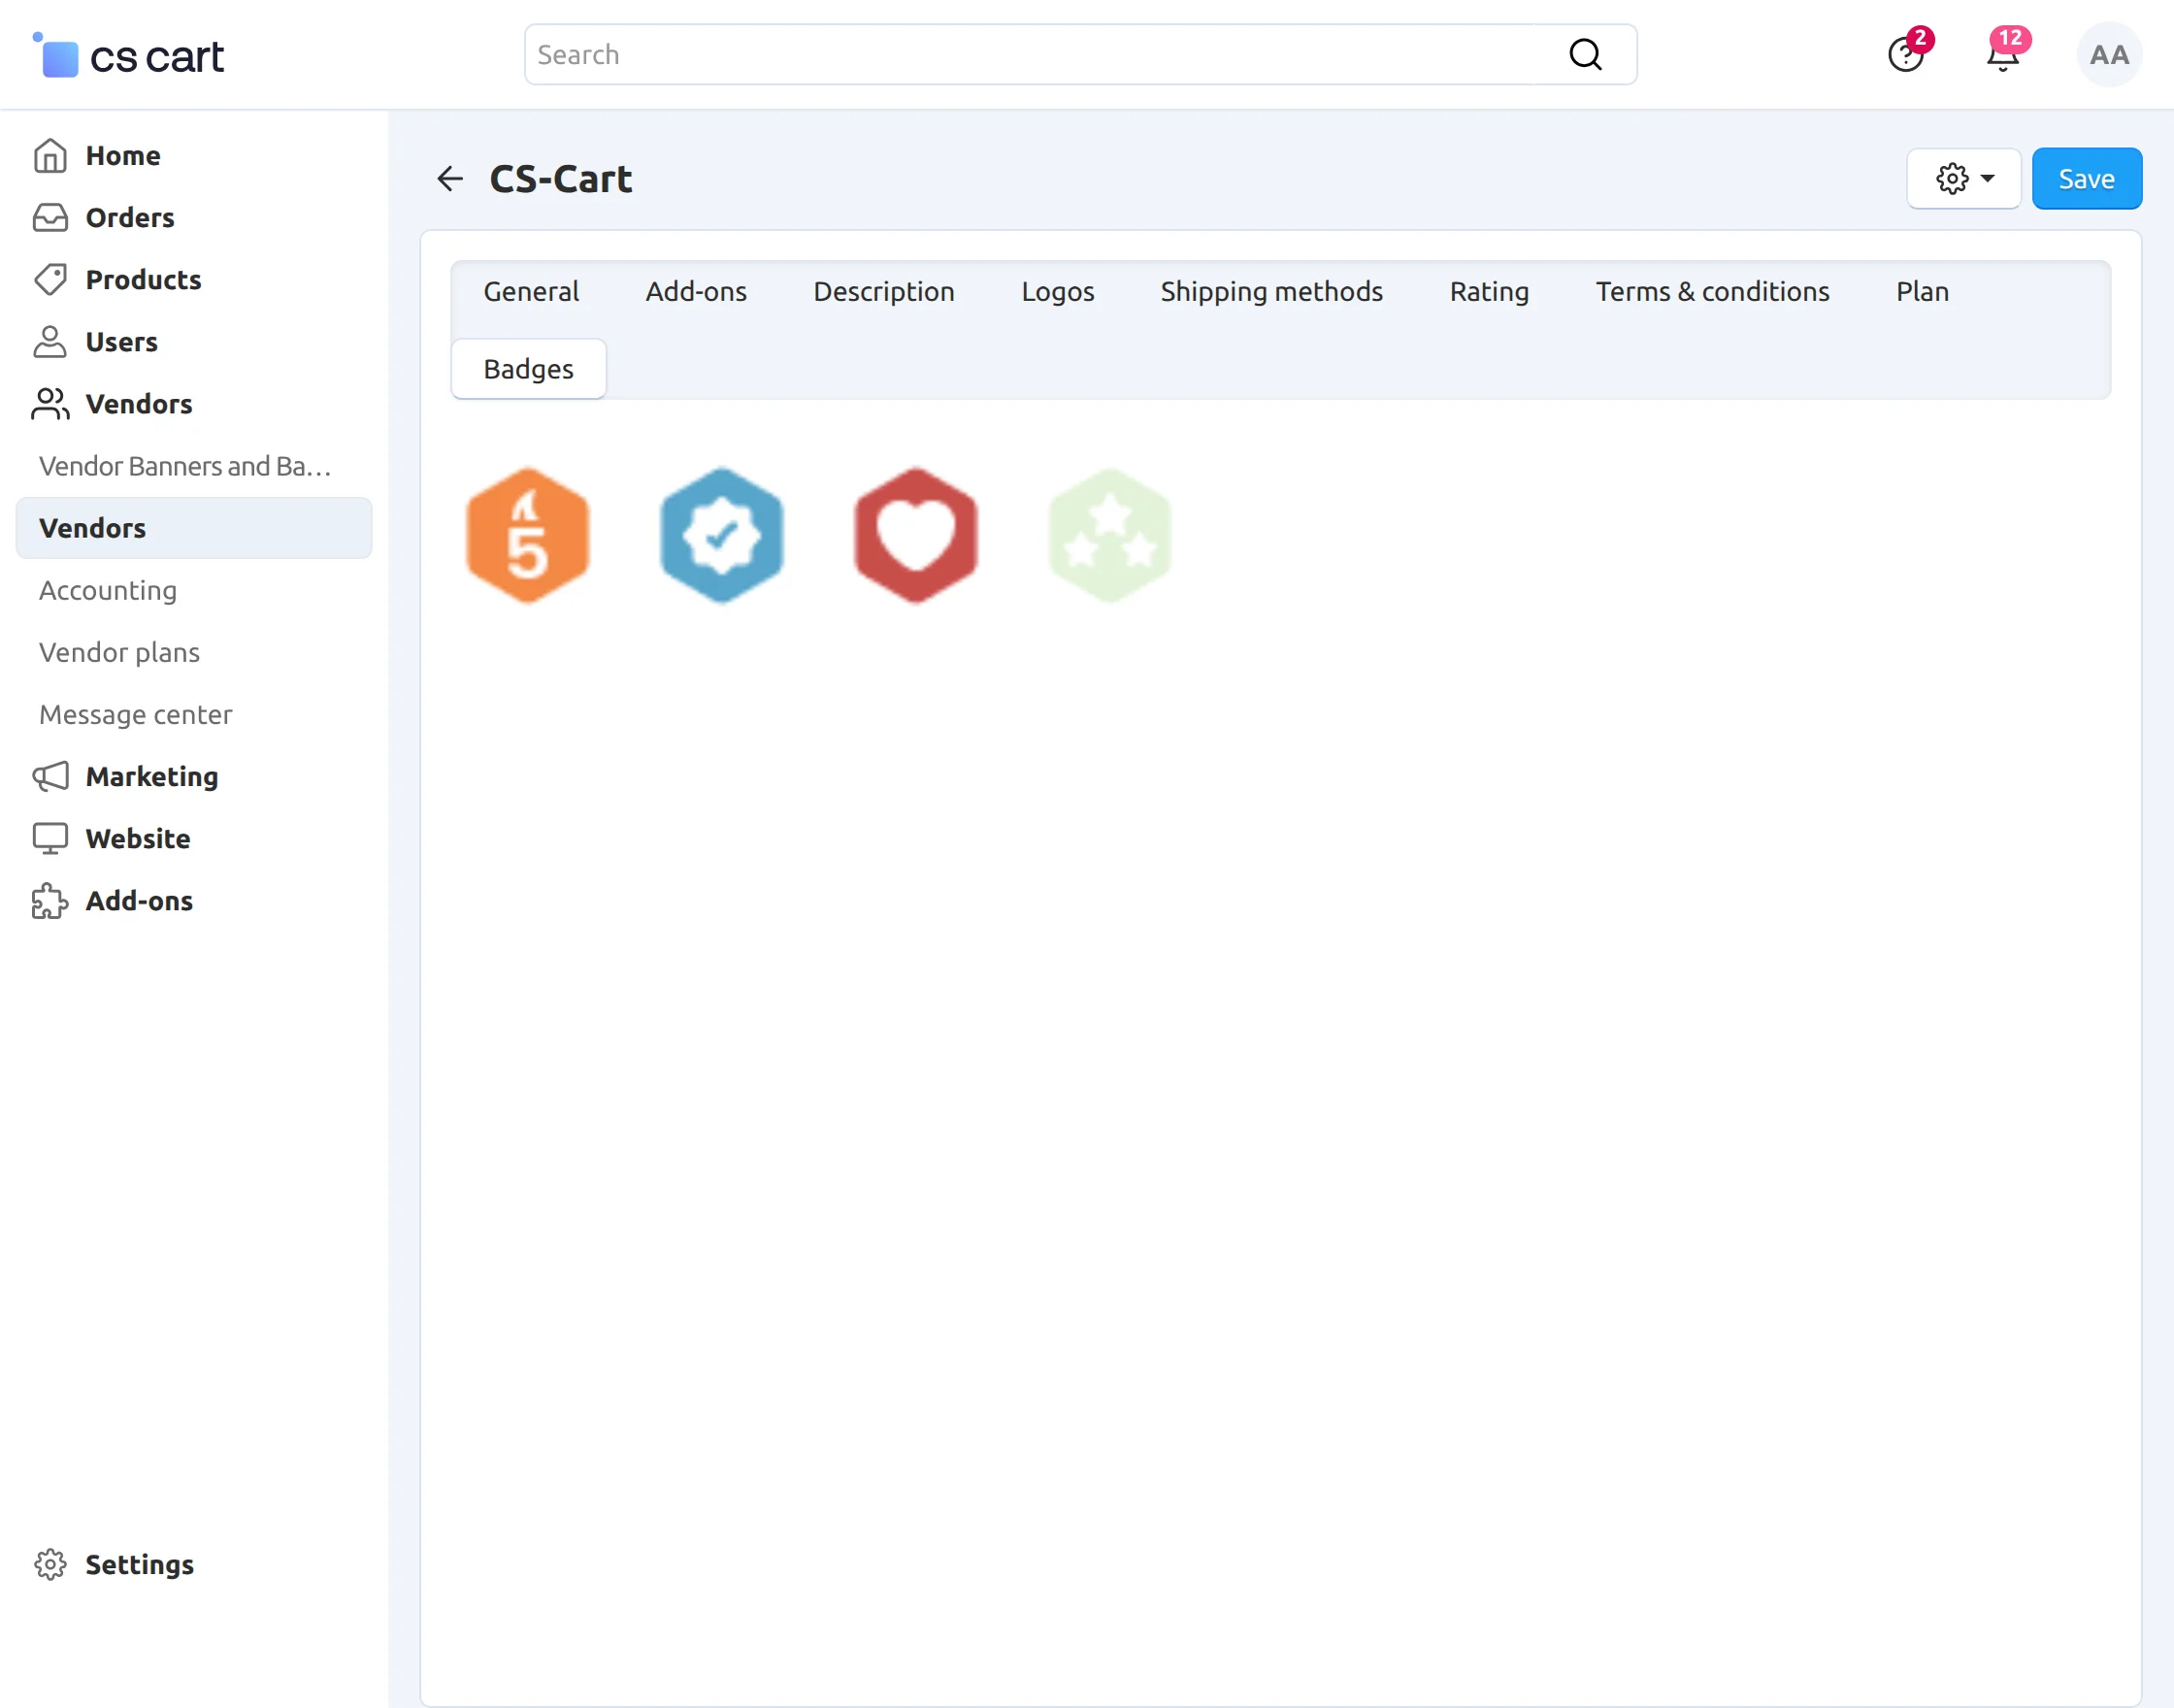
Moreover, Admin can view the Vendor Badge under the Badges tab at the vendor profile editing page at the back end.
-
Go to Vendors > Vendors in the admin panel.
-
Select the desired vendor from the list.
-
Click on the gear icon next to the vendor’s name.
-
Choose the Edit option.
-
Navigate to the Badges tab as shown below.
Admin can remove the assigned vendors by clicking on the drop-down, as shown below in the snapshot.
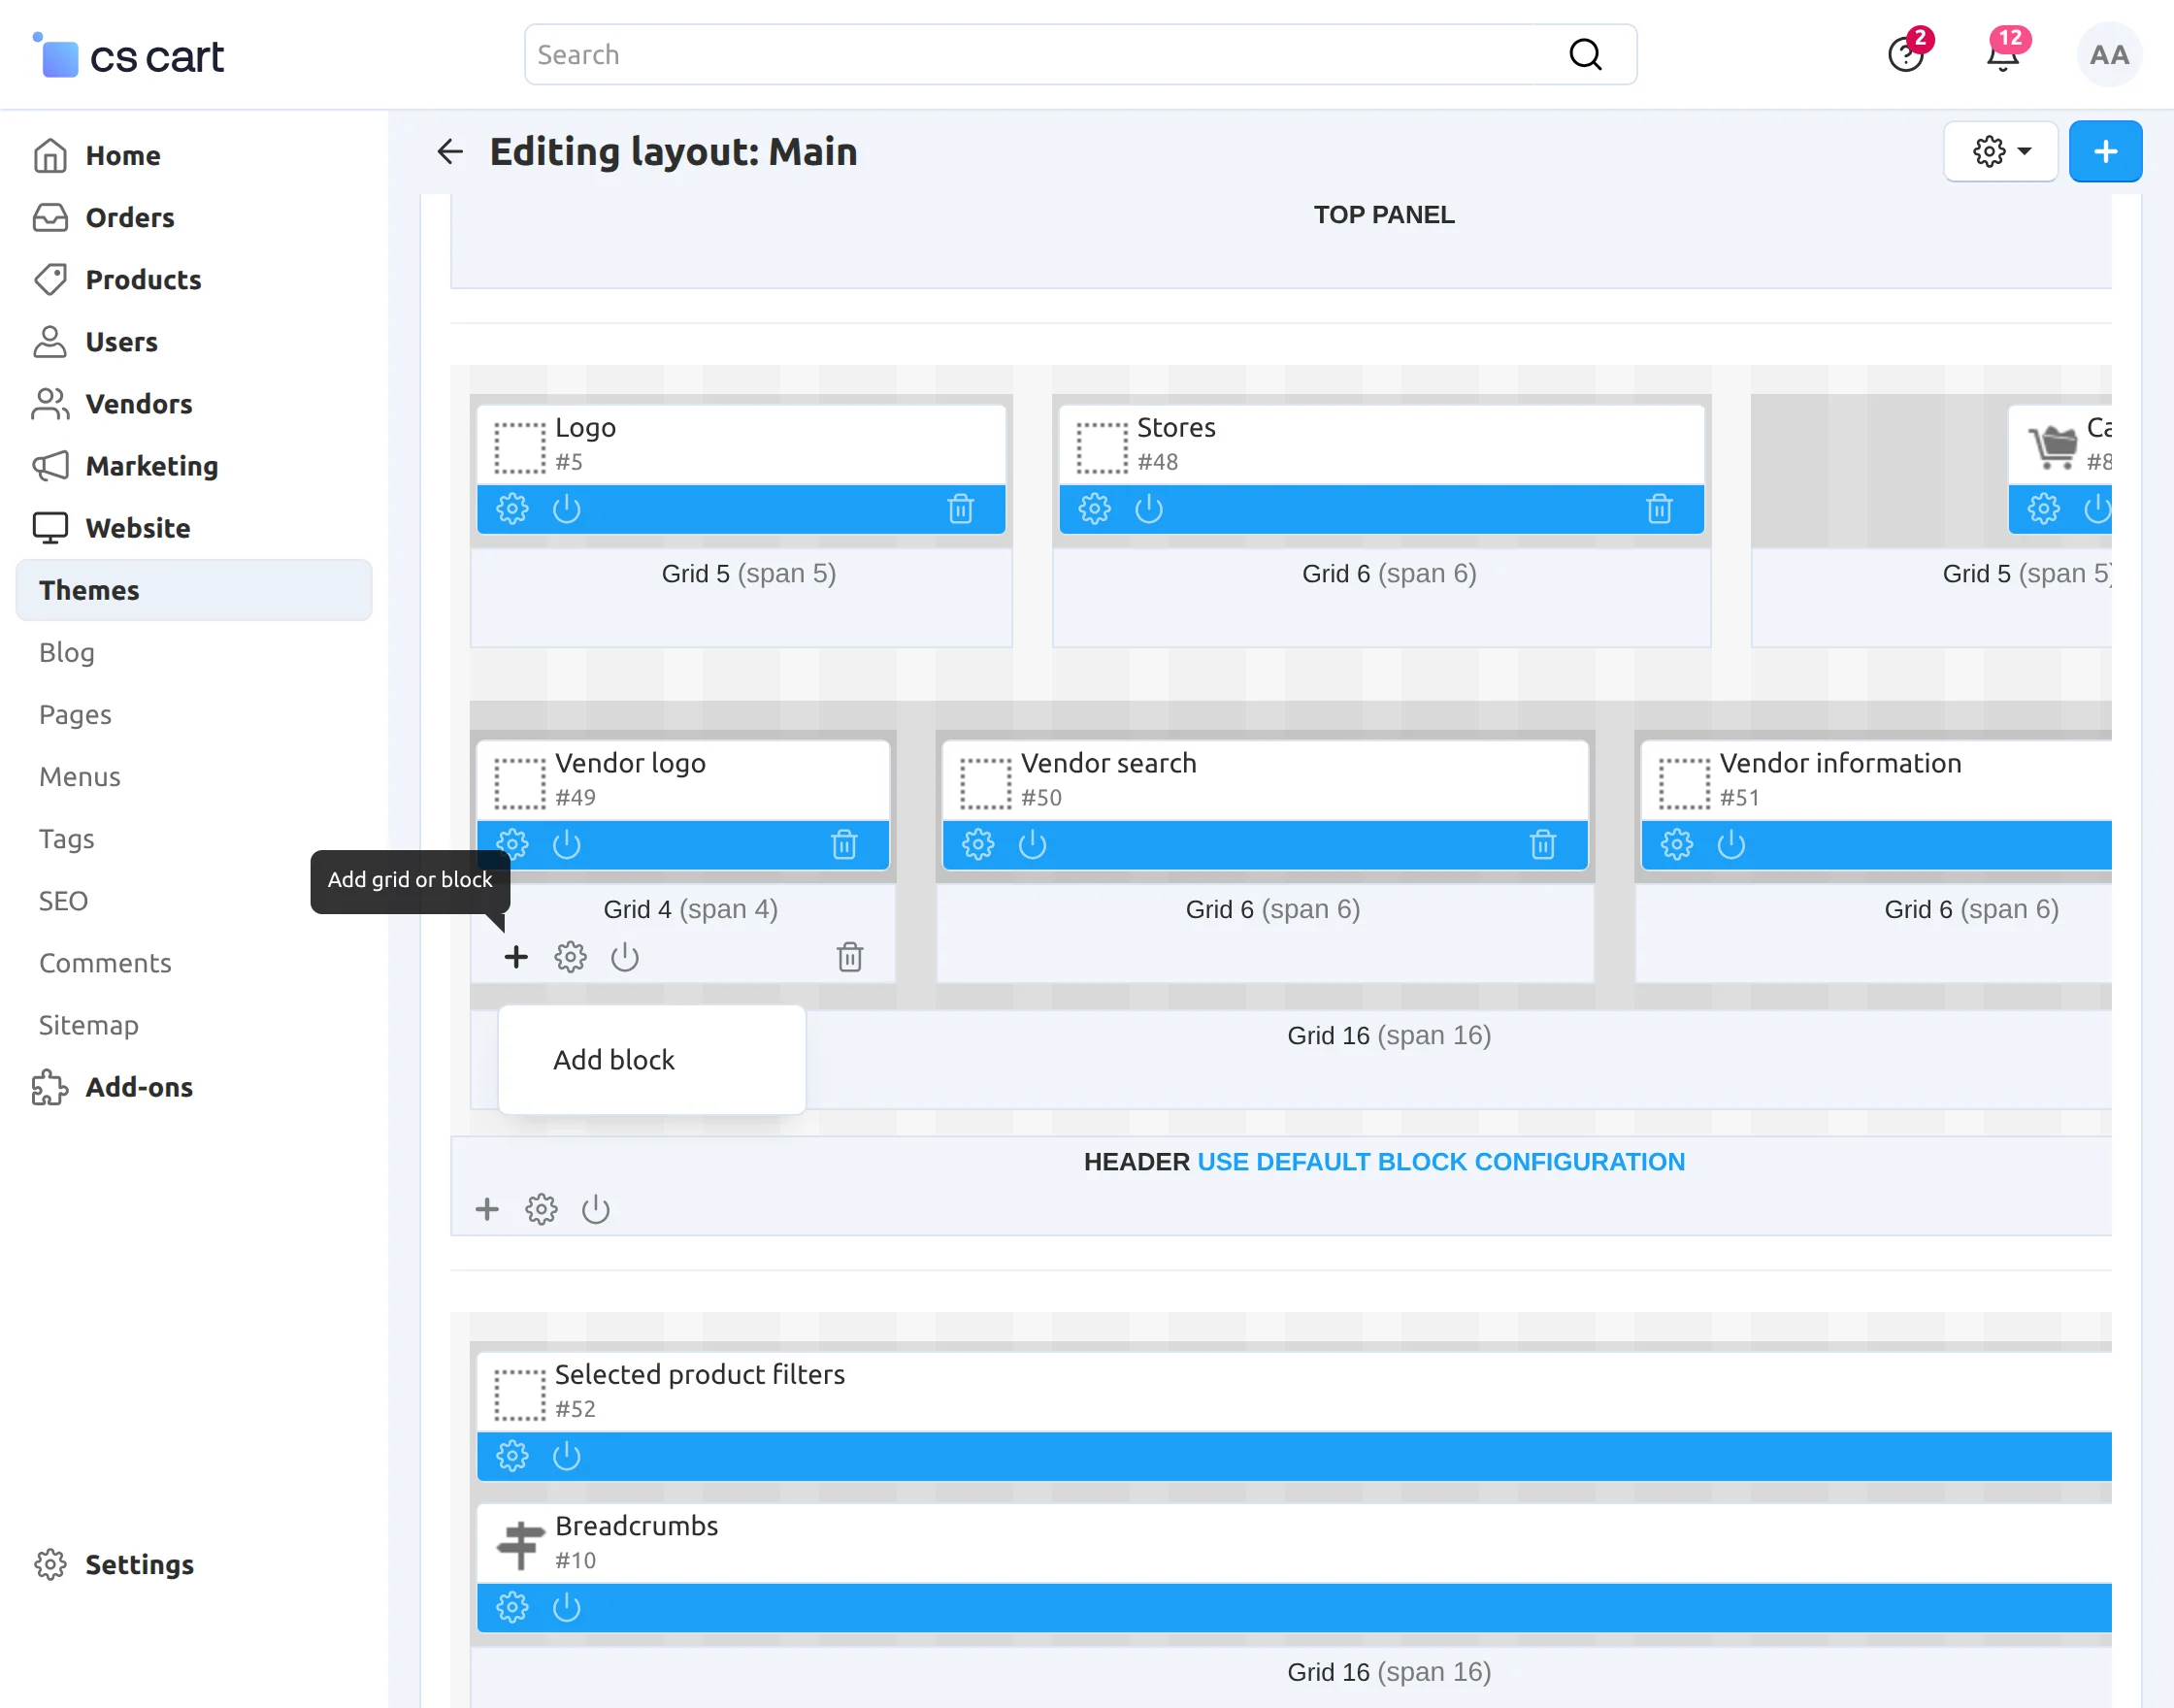
 Now, a block for badges needs to be added in order to show the badge on the vendor store at the front end.
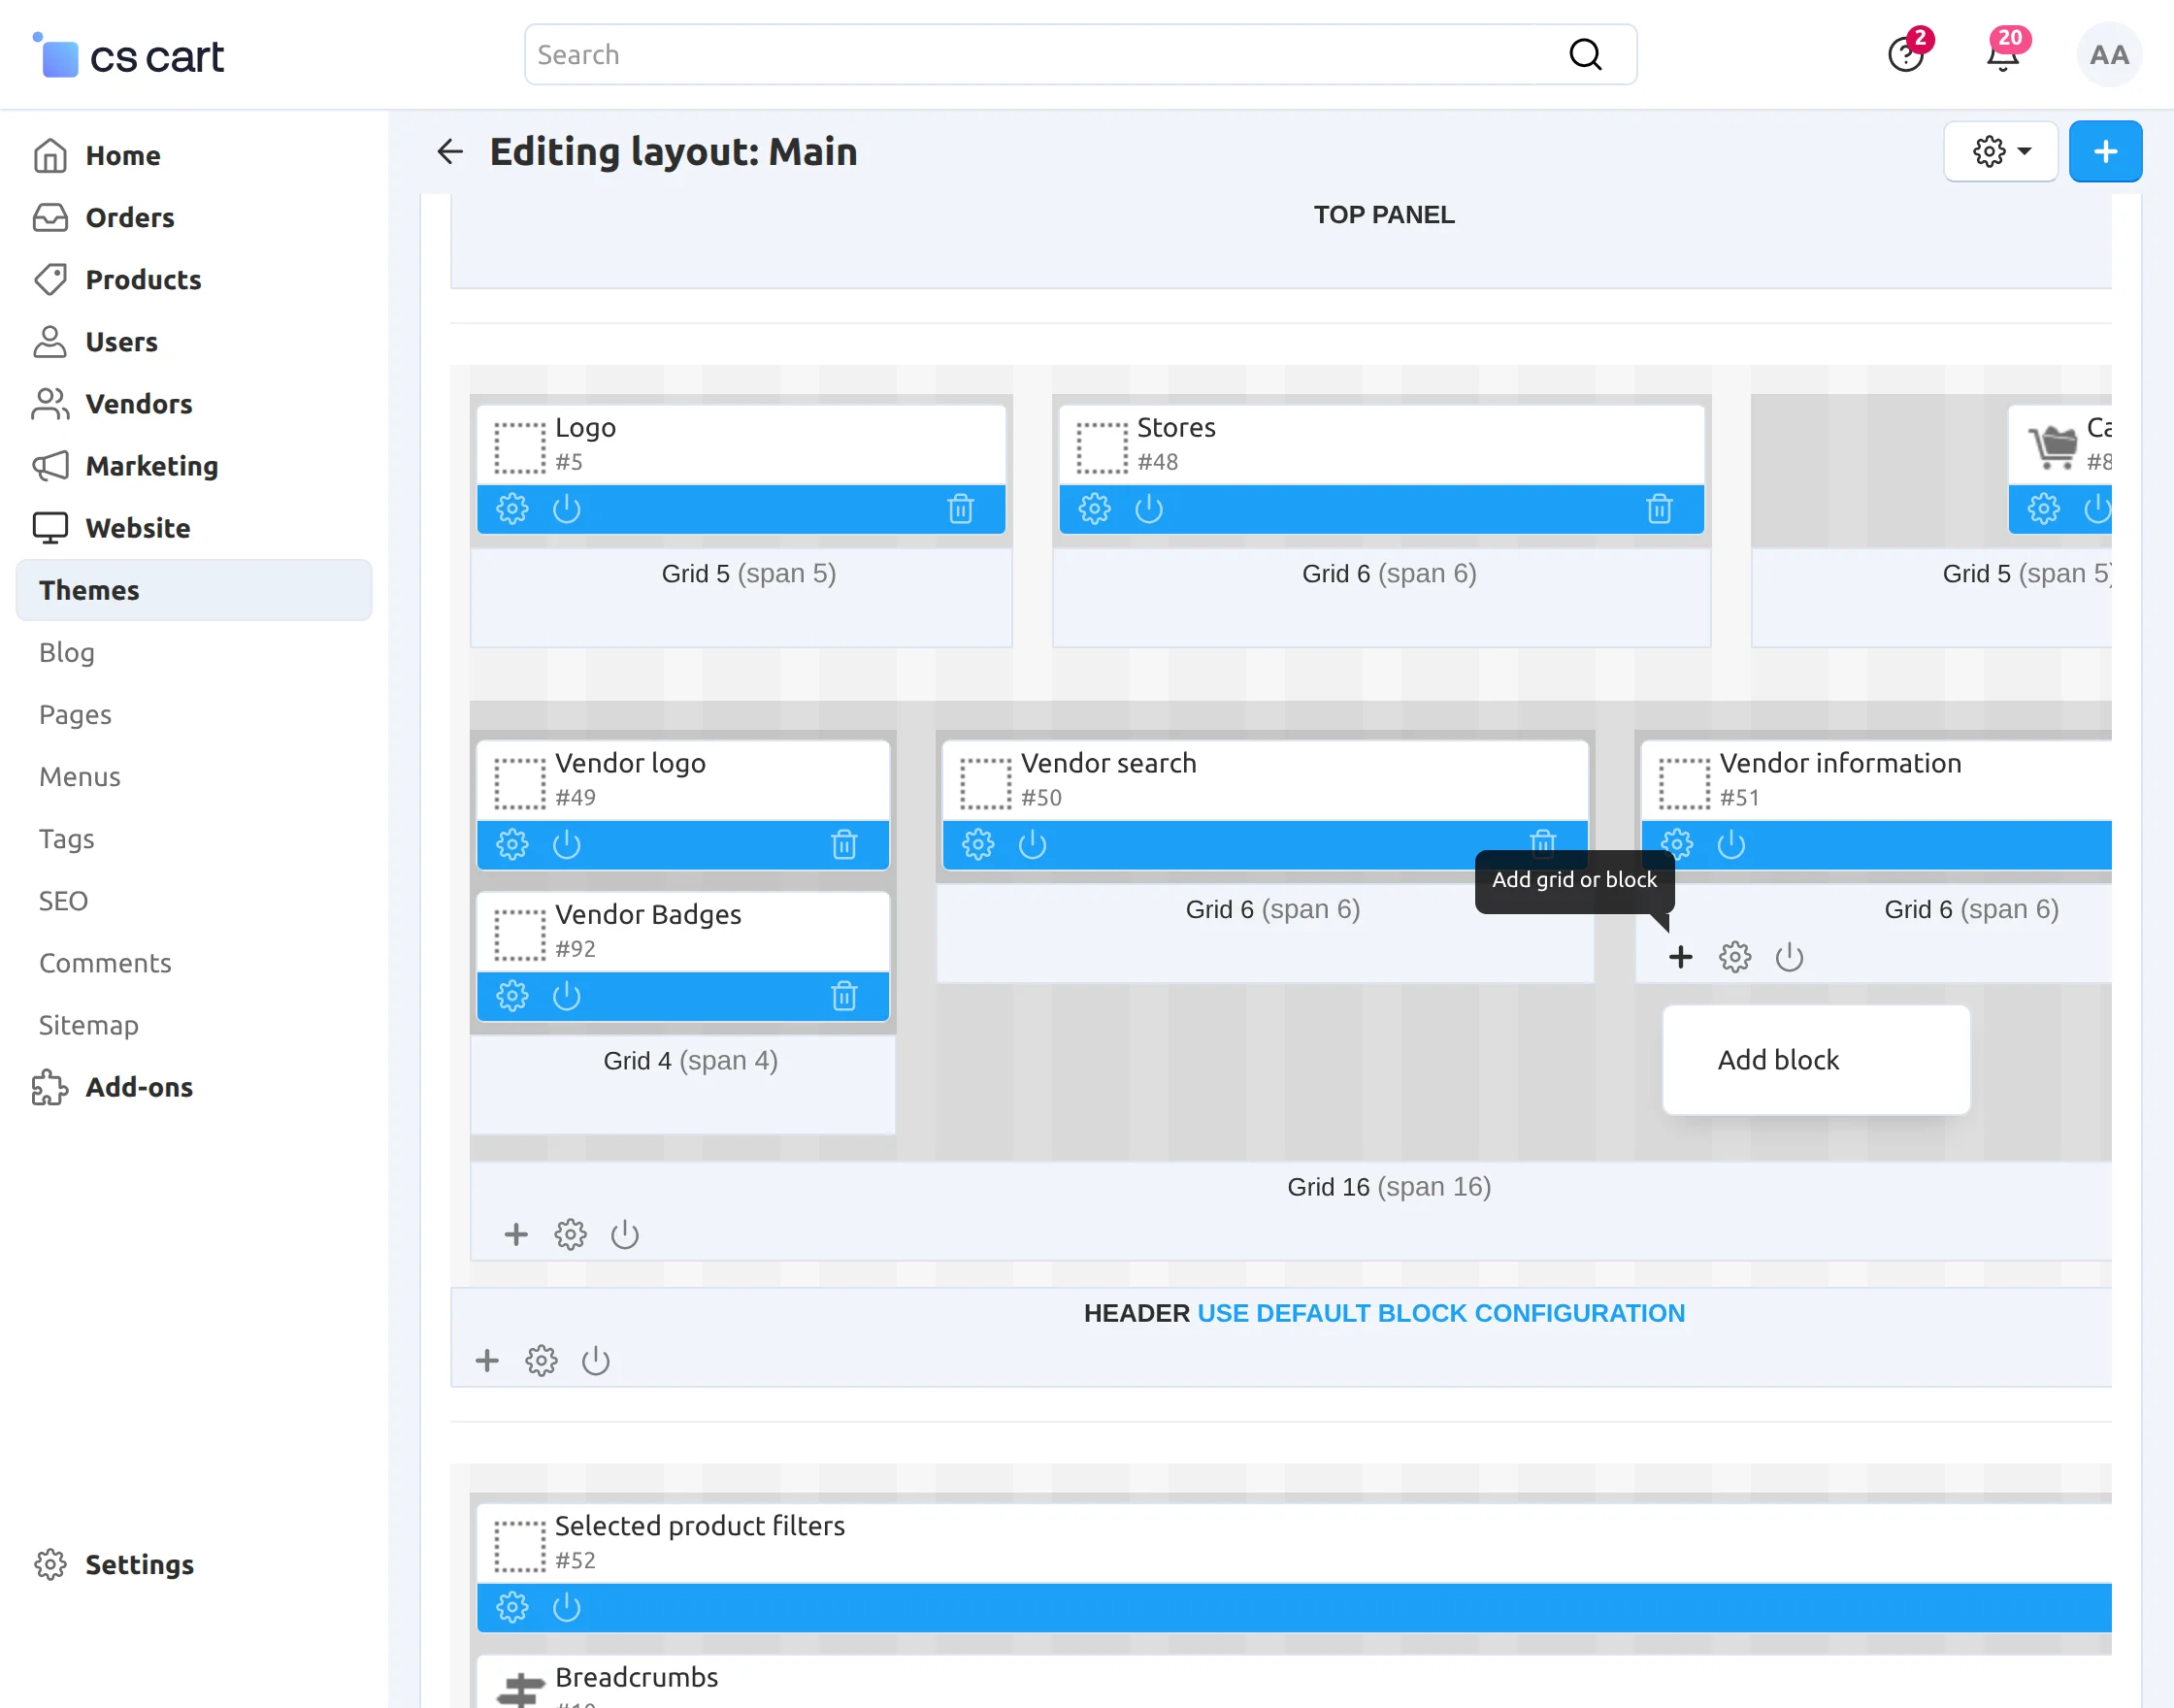
Also, go to the Website -> Themes and click on the Layouts tab as shown below.
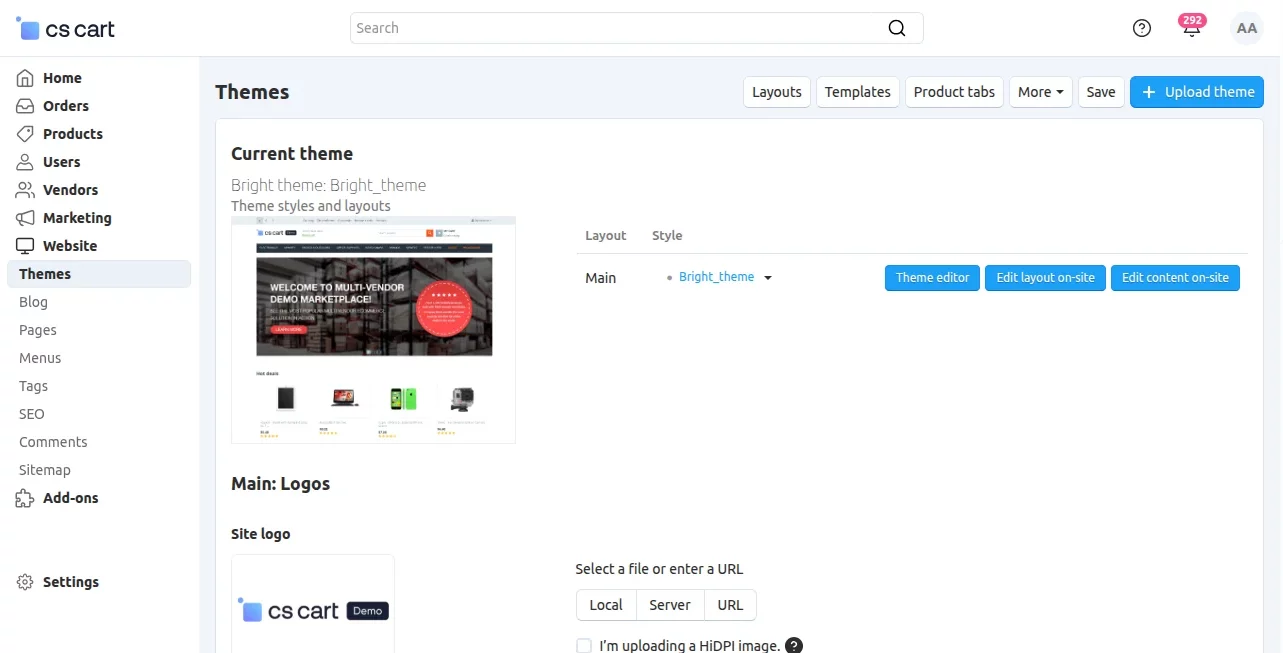
Click on the Vendor Store tab to add a block as shown below.
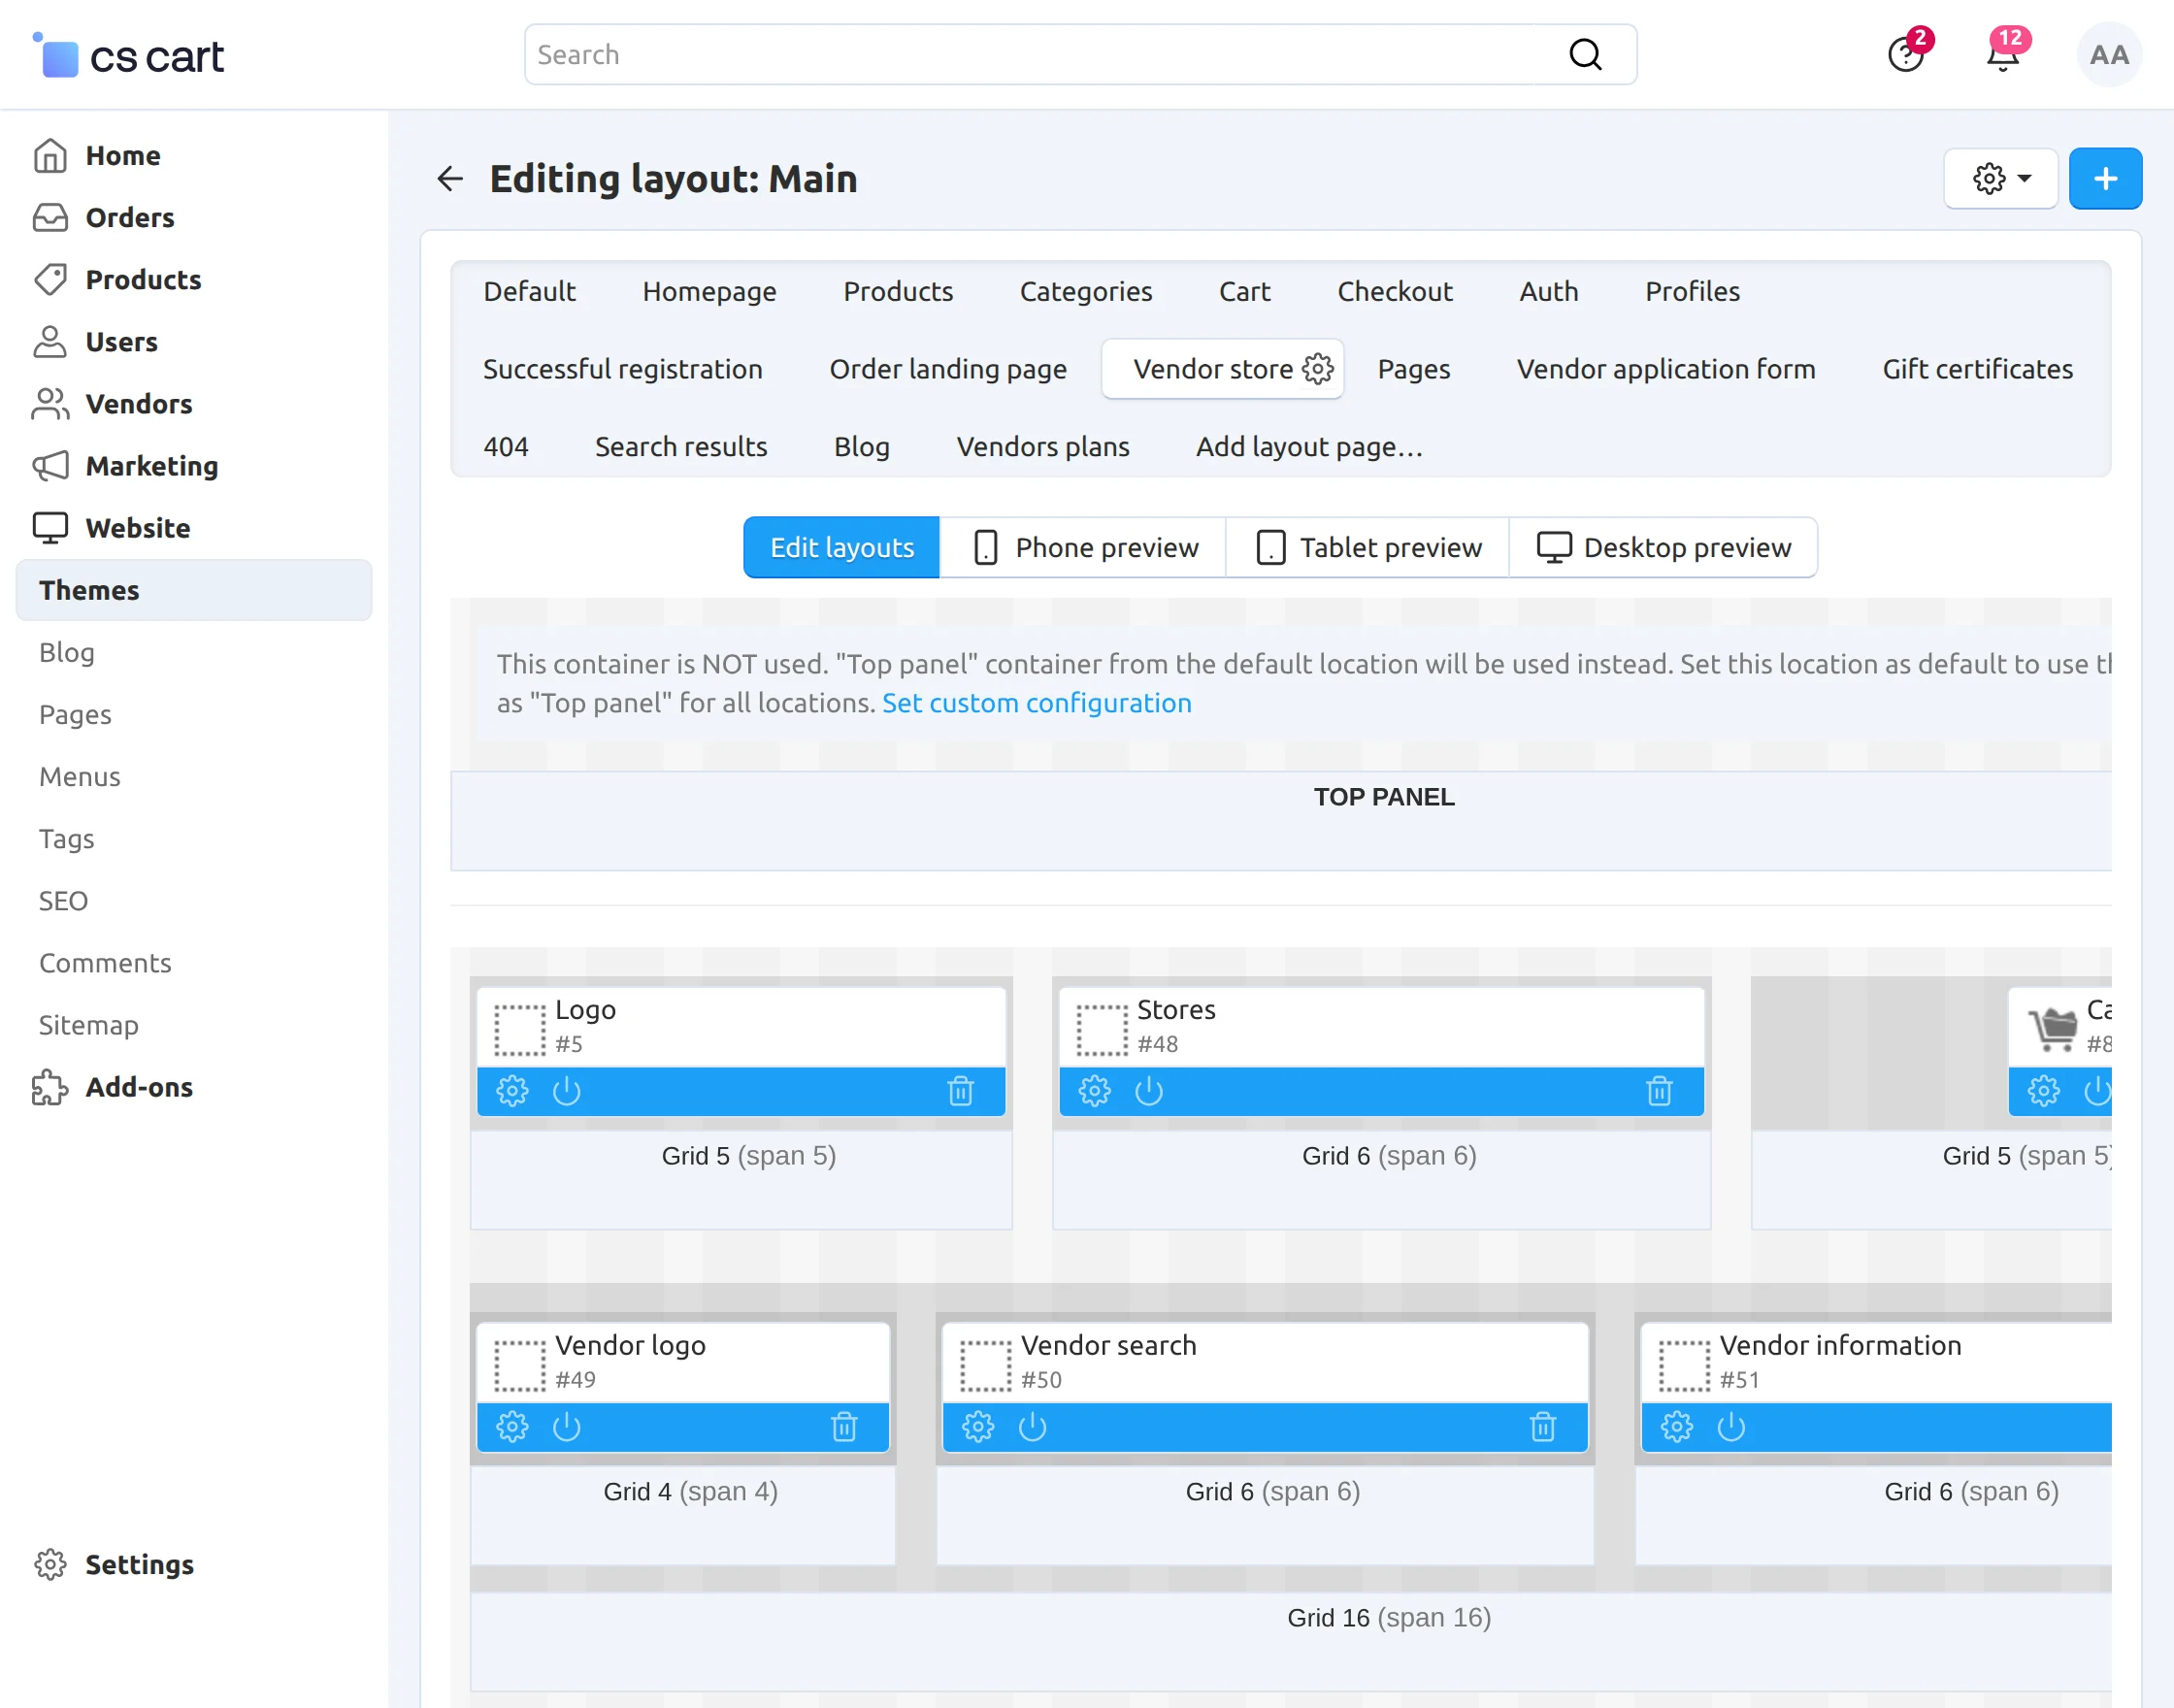
Finally, click on the + button to add a Block for the badge, as shown below.
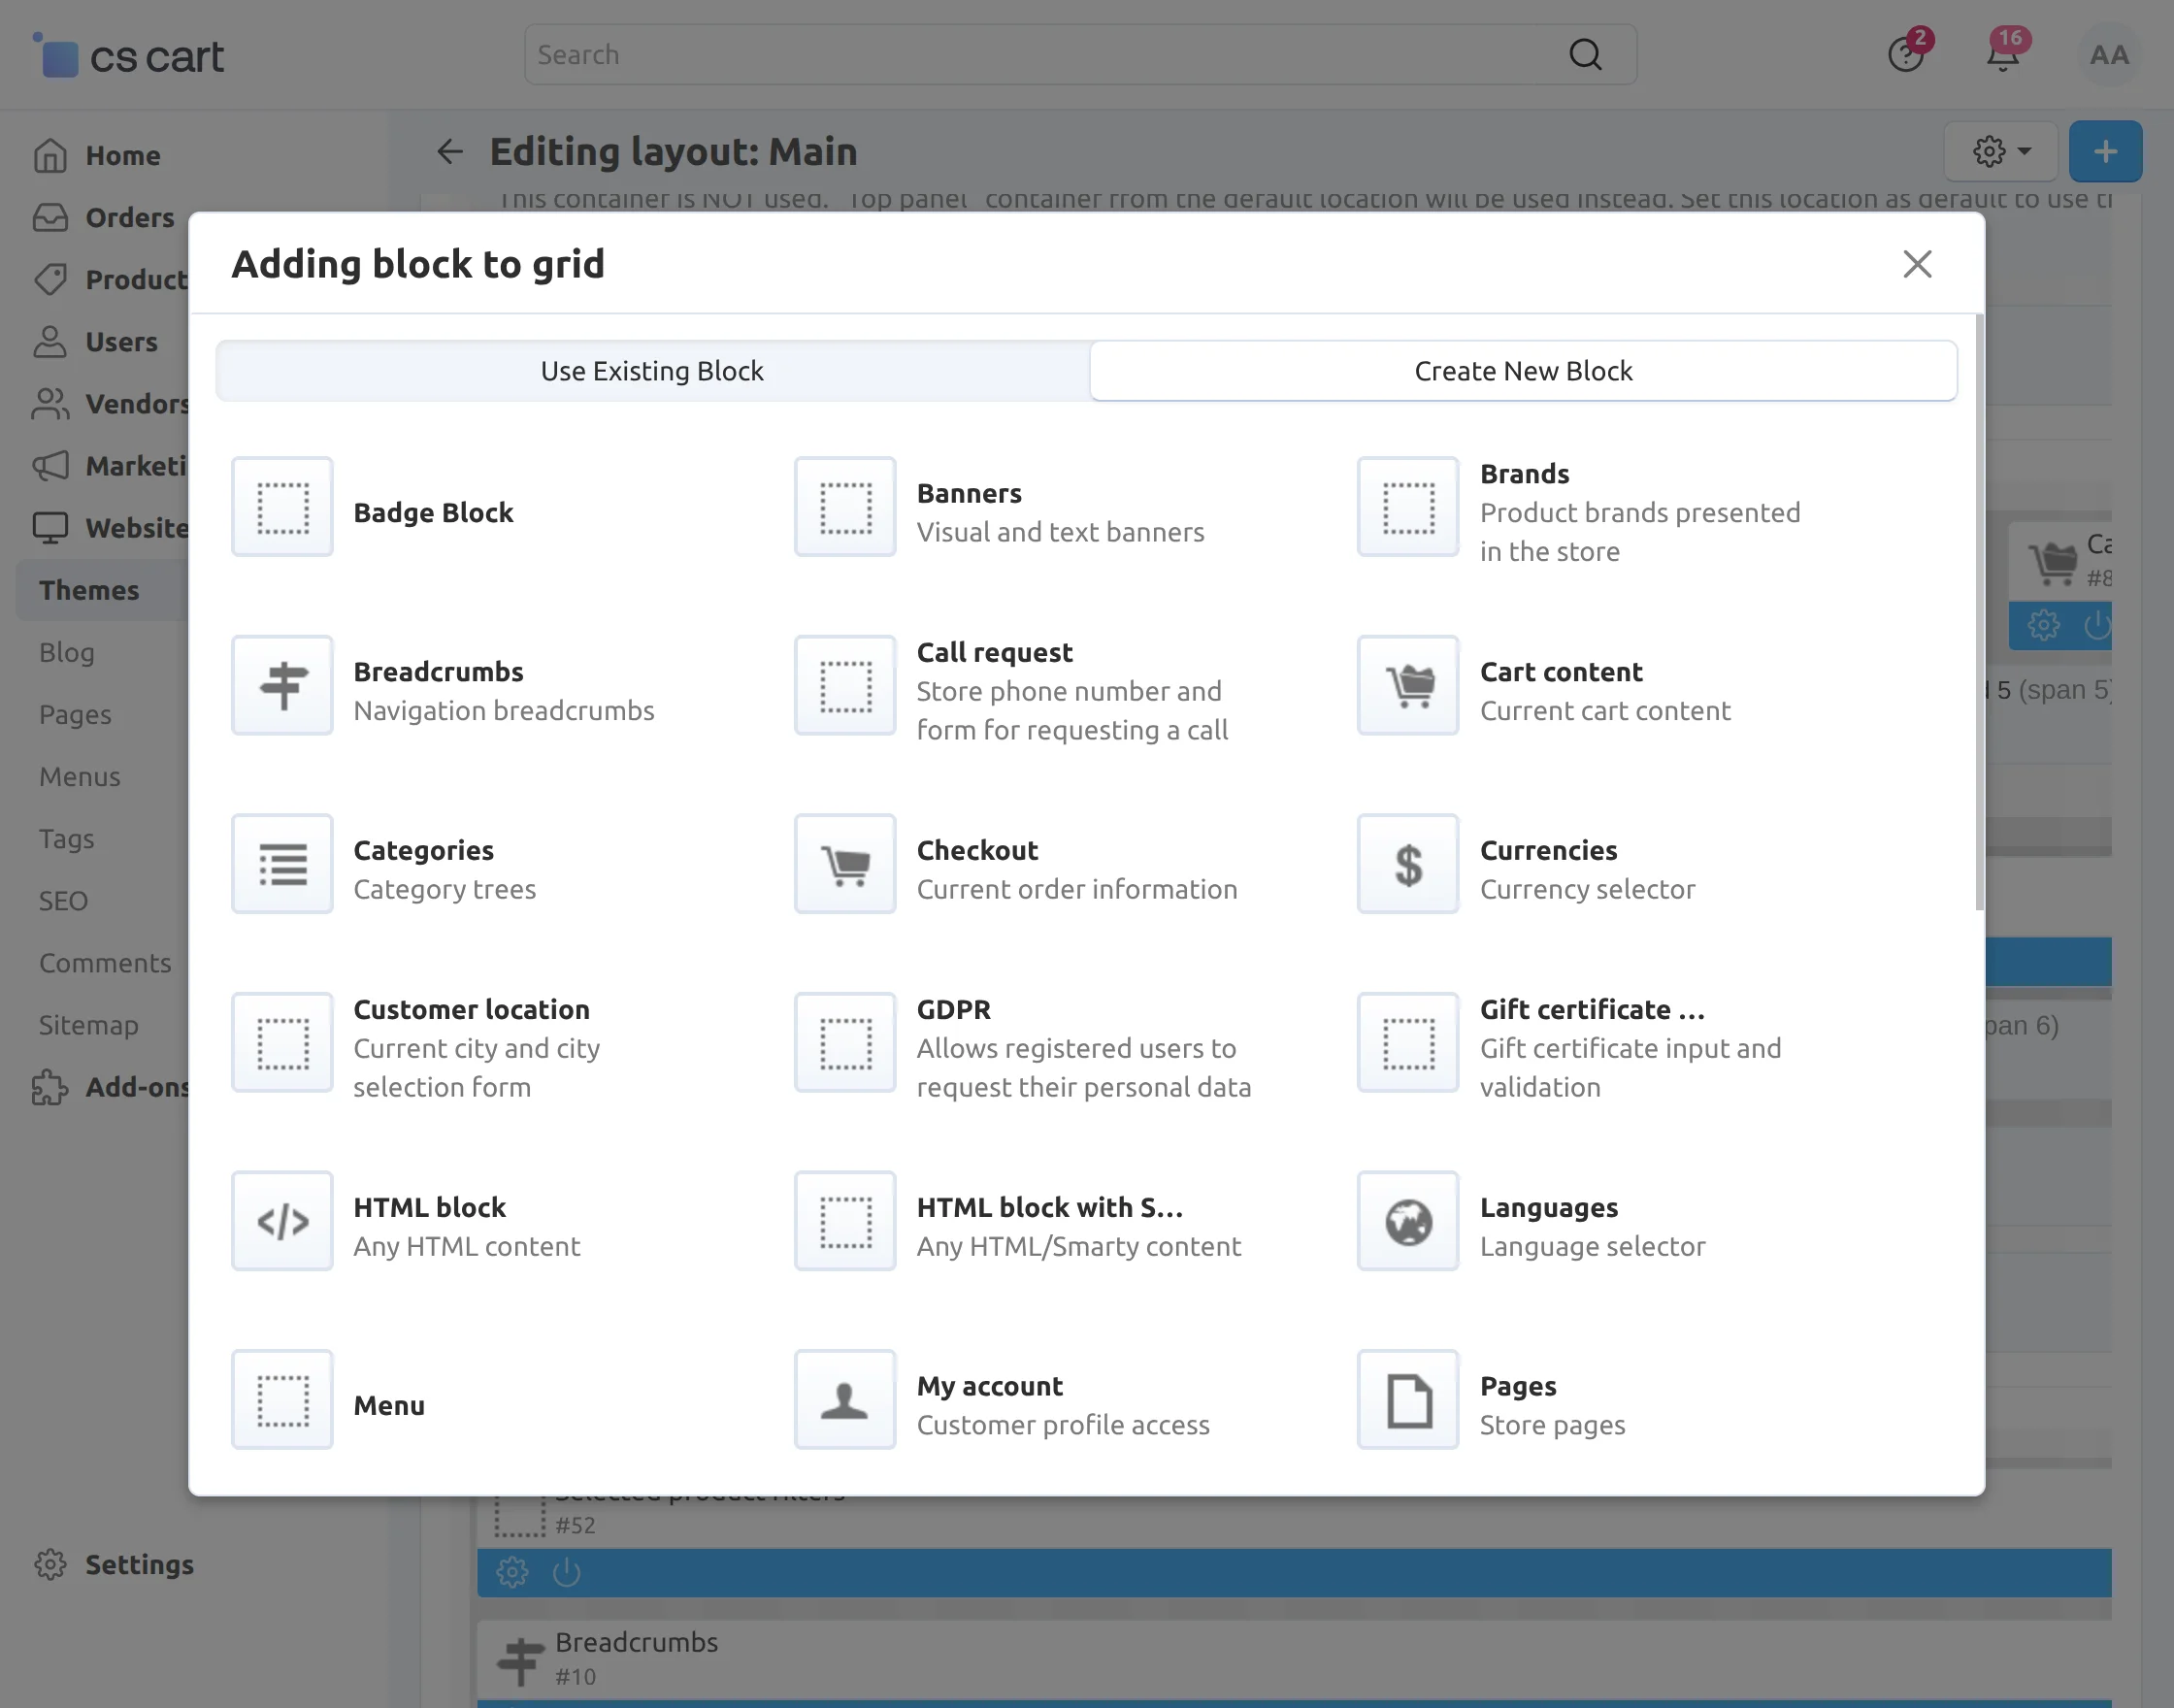
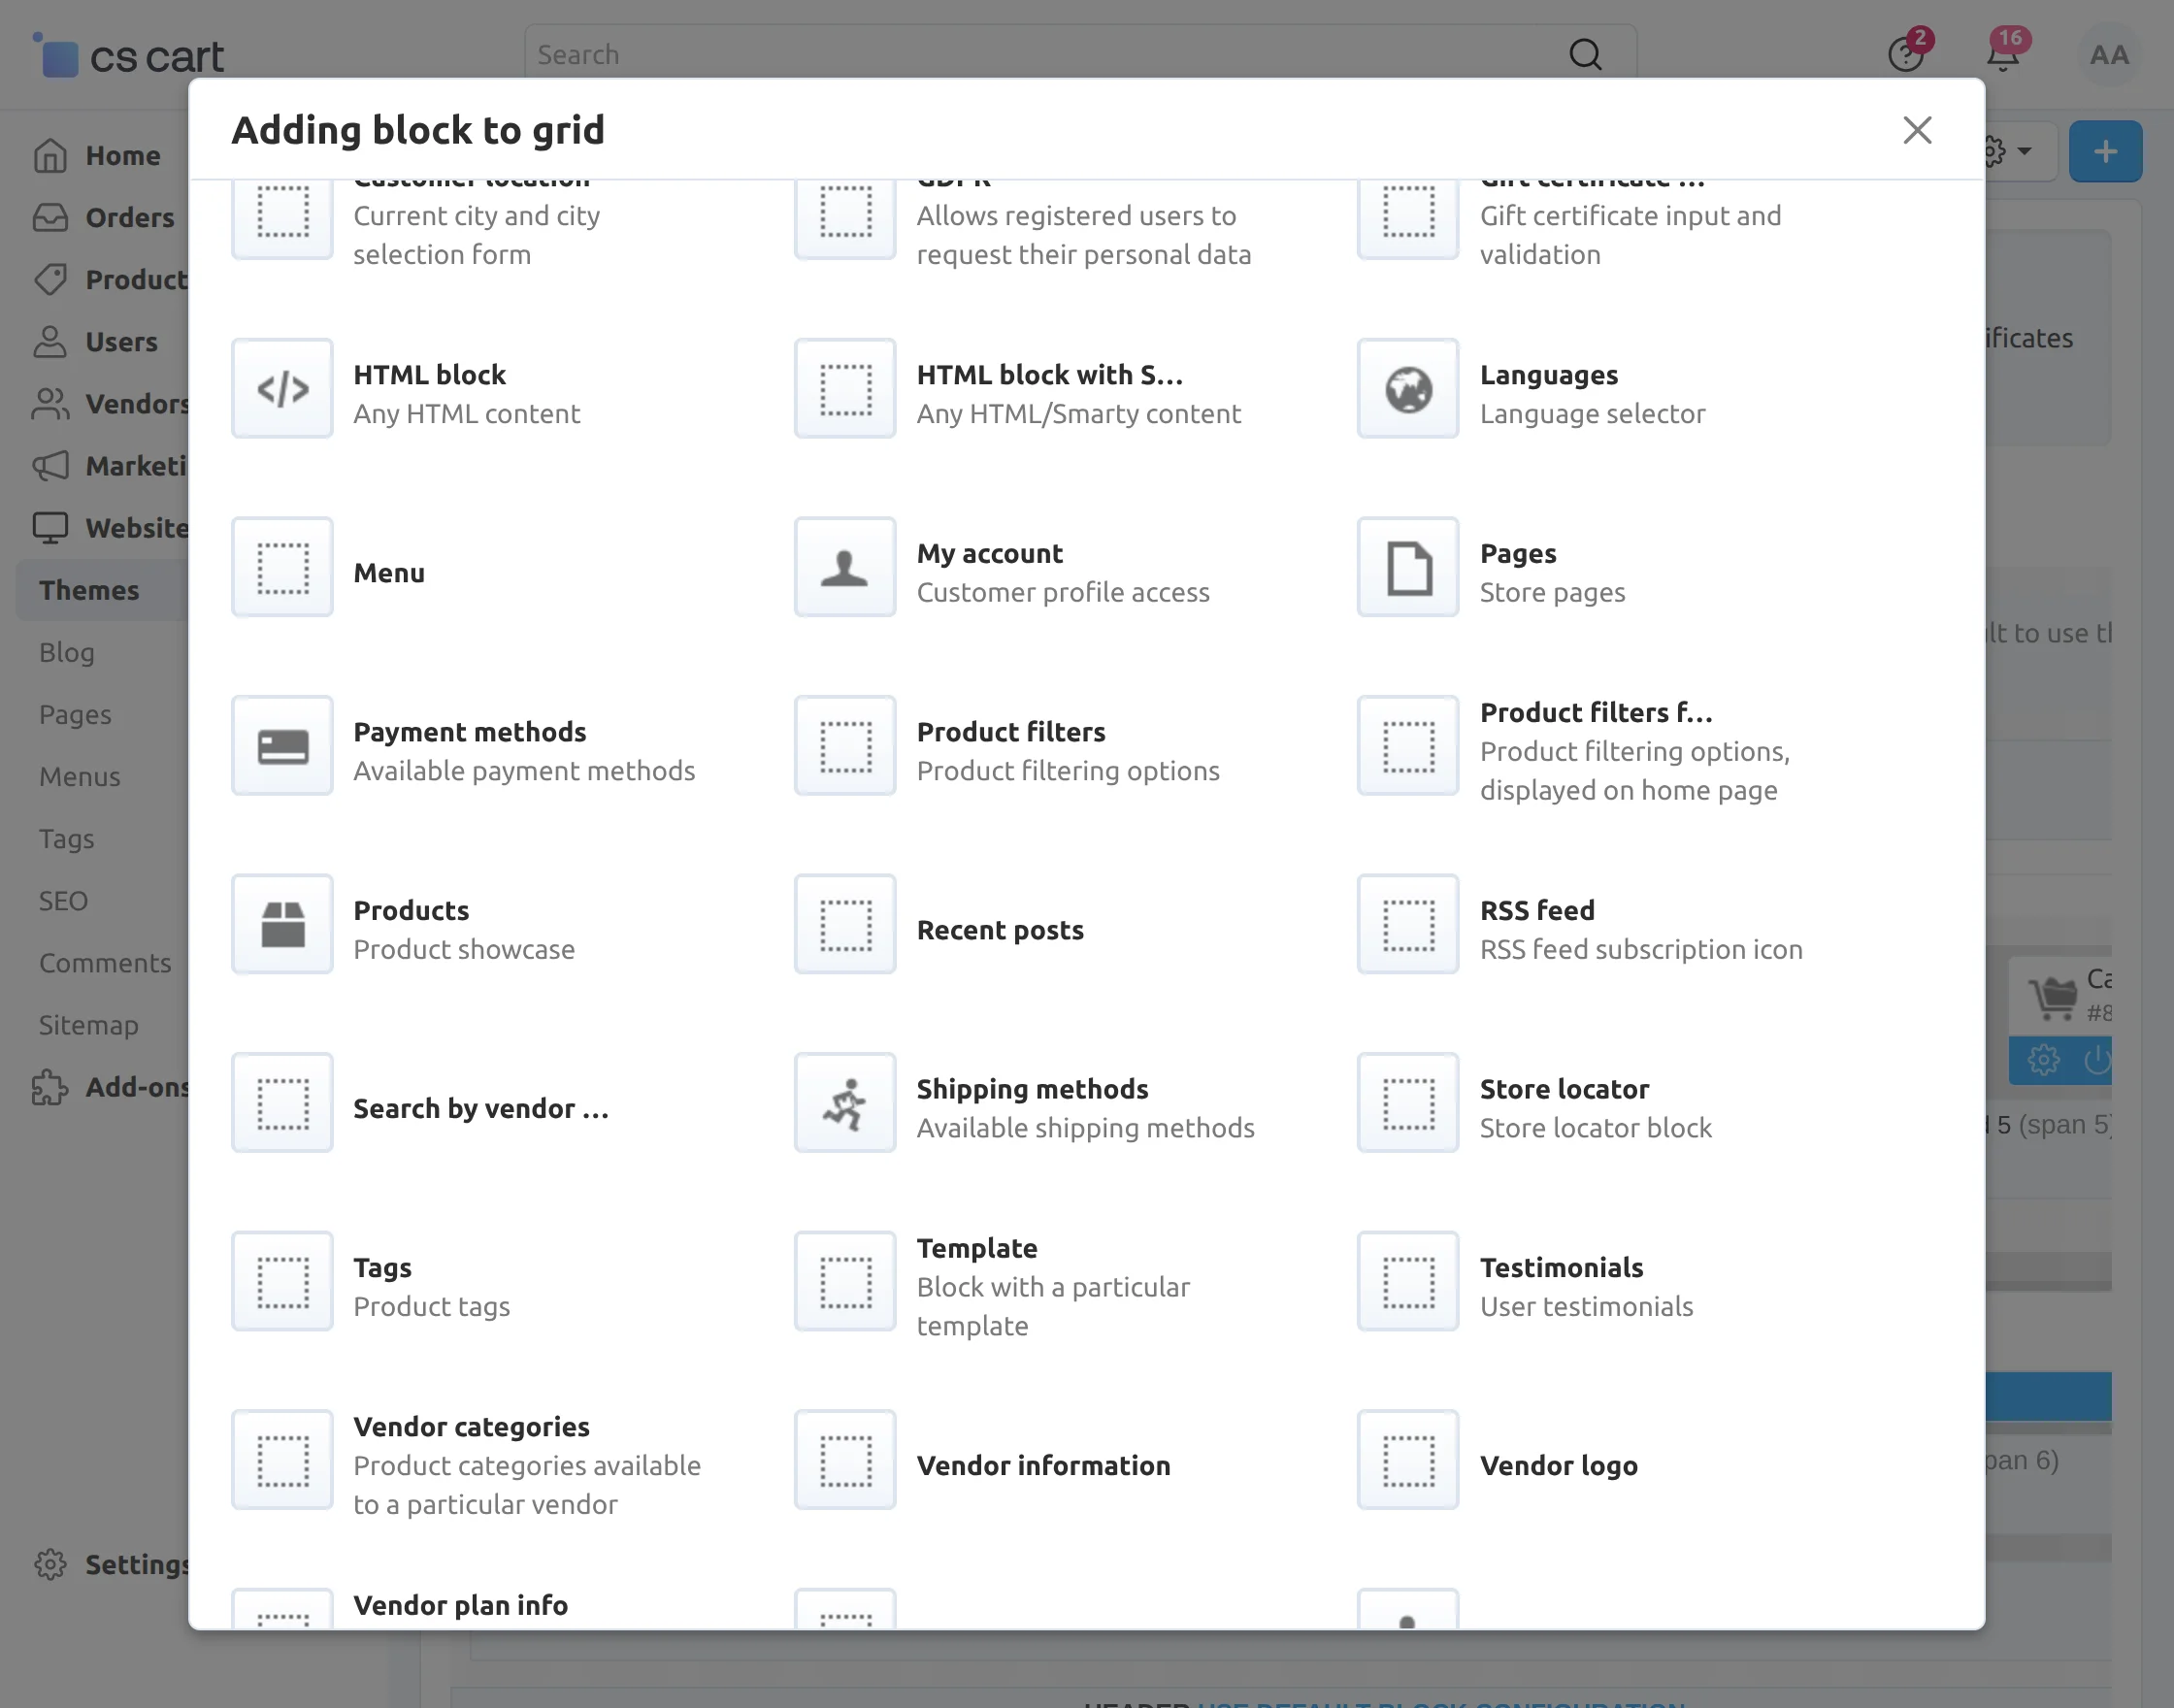
Click on Create New Block and then select Badge Block as per the snapshot below.
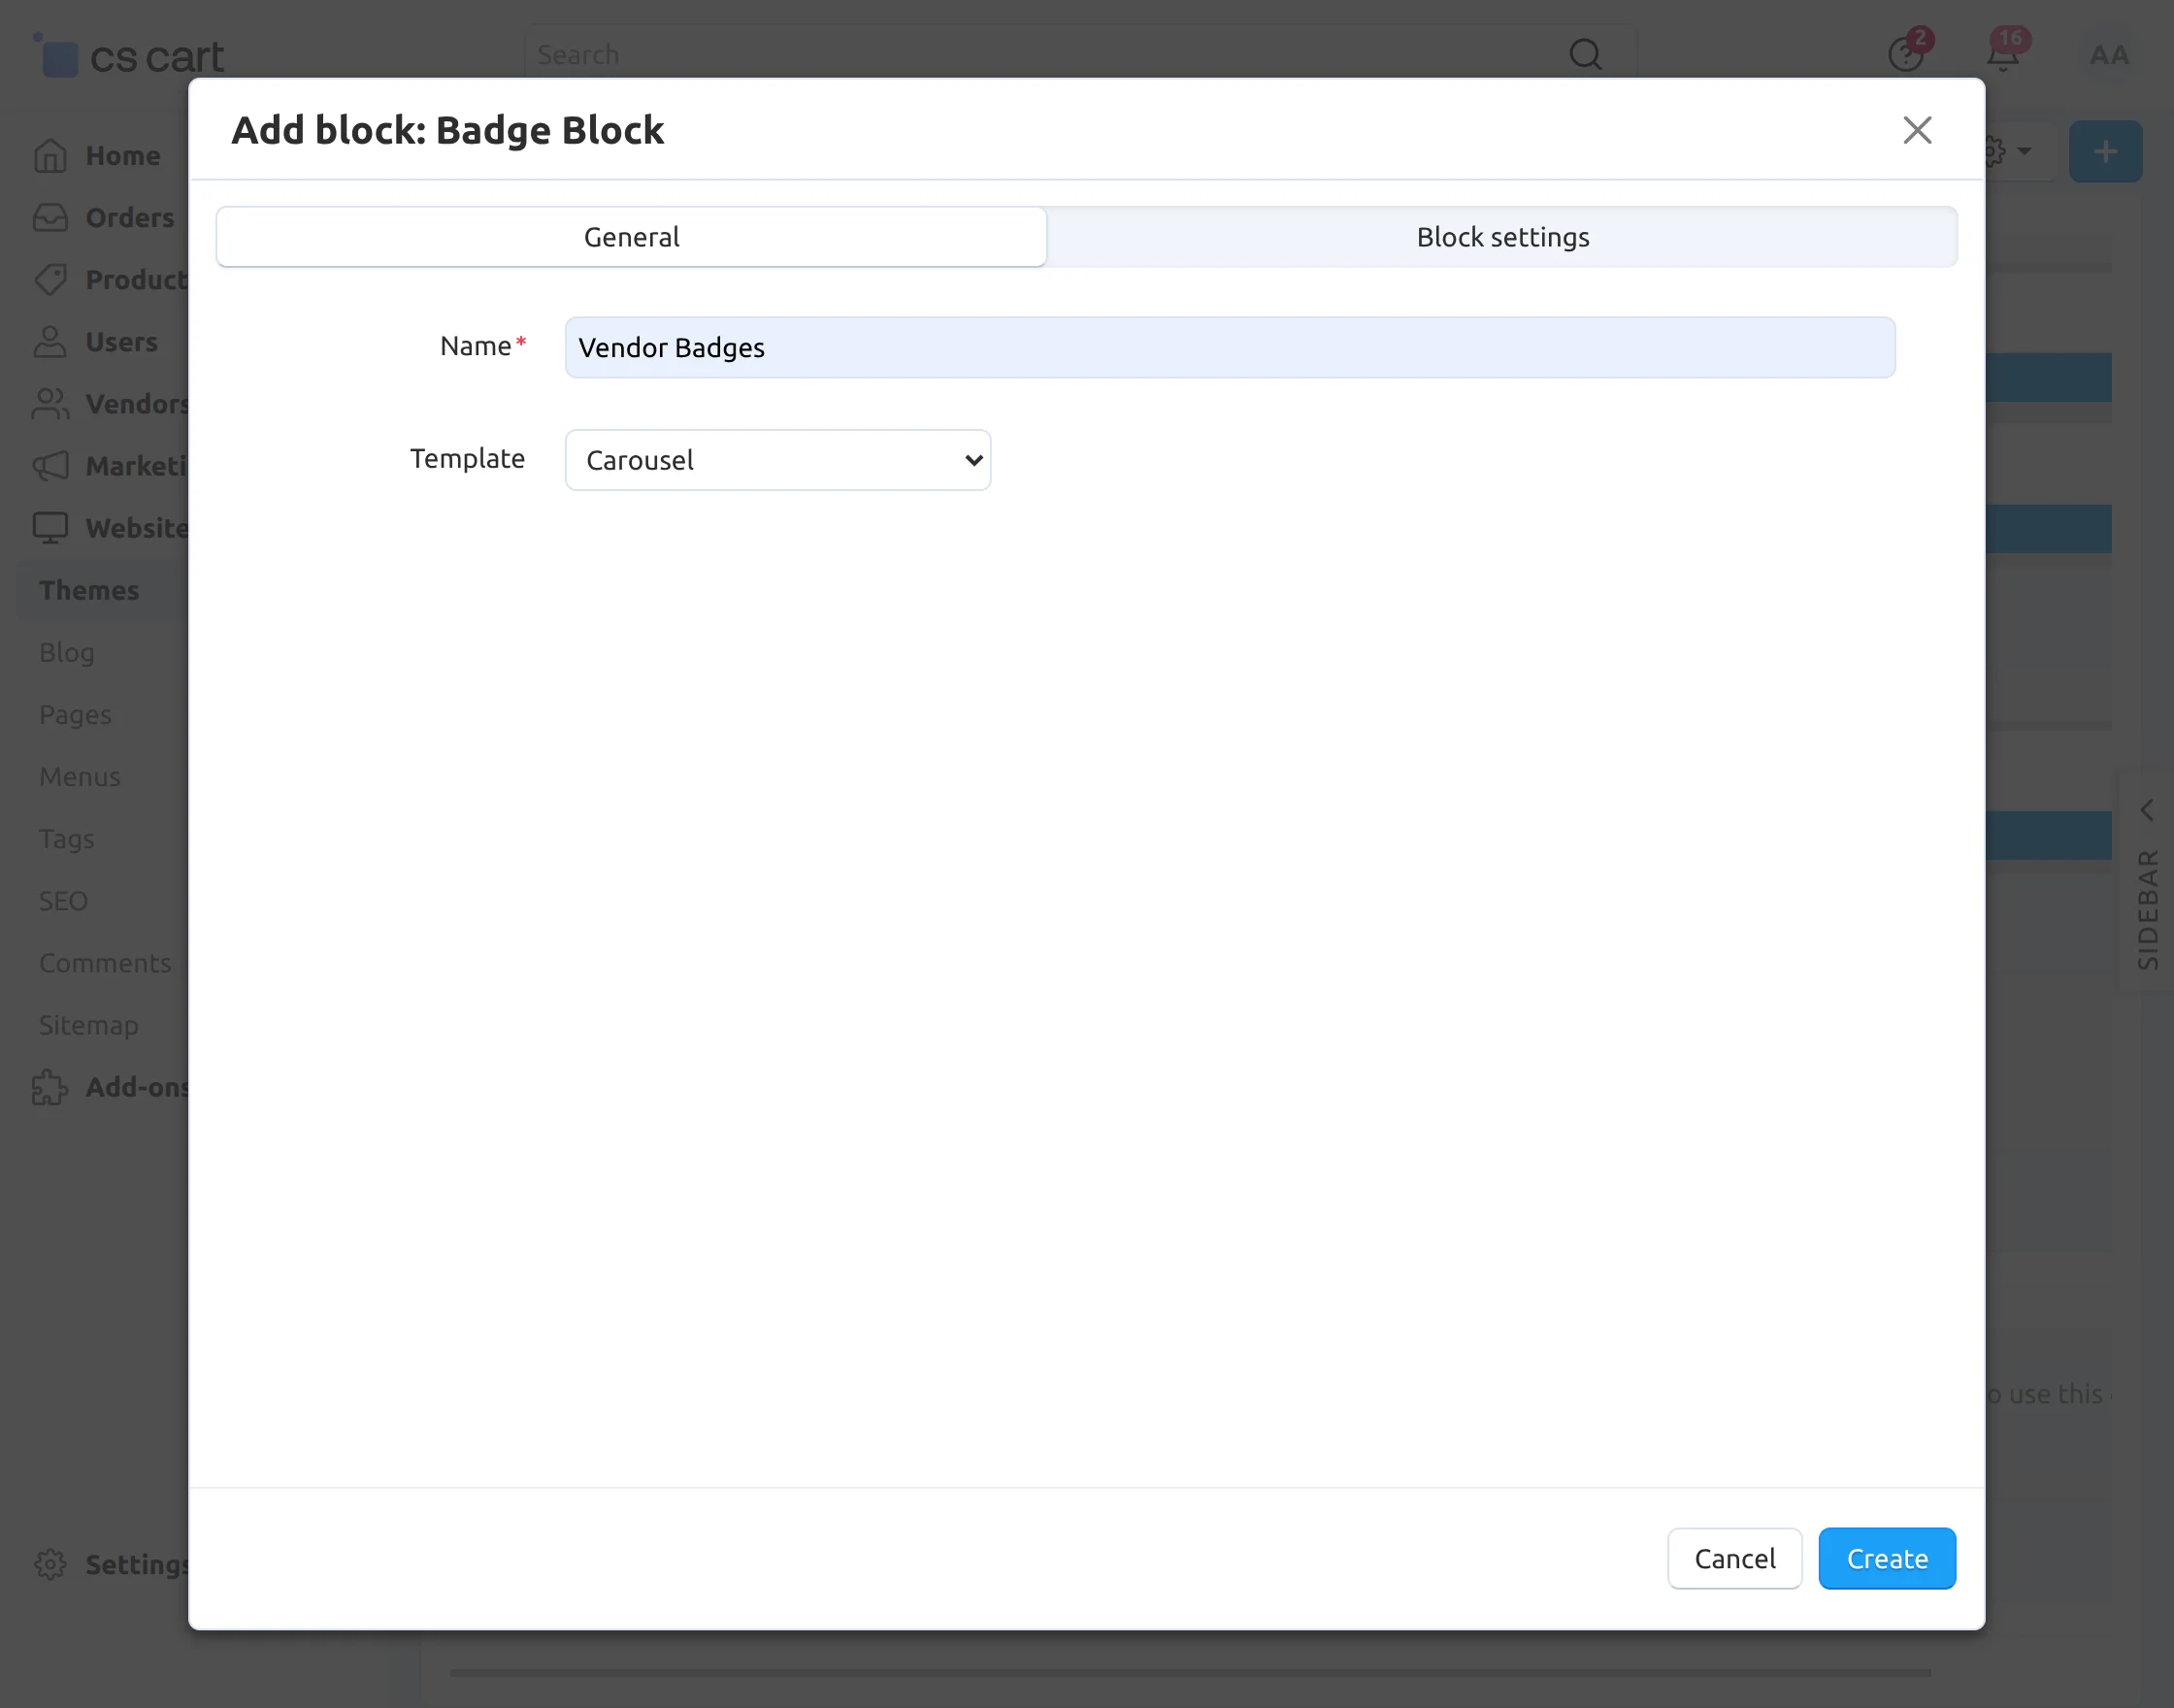
Add the details of the block as per the screenshot below.
- Set the name of the block for the badge.
- Select Badge Carousel as a block template.
- Click on the Create button to create the block.
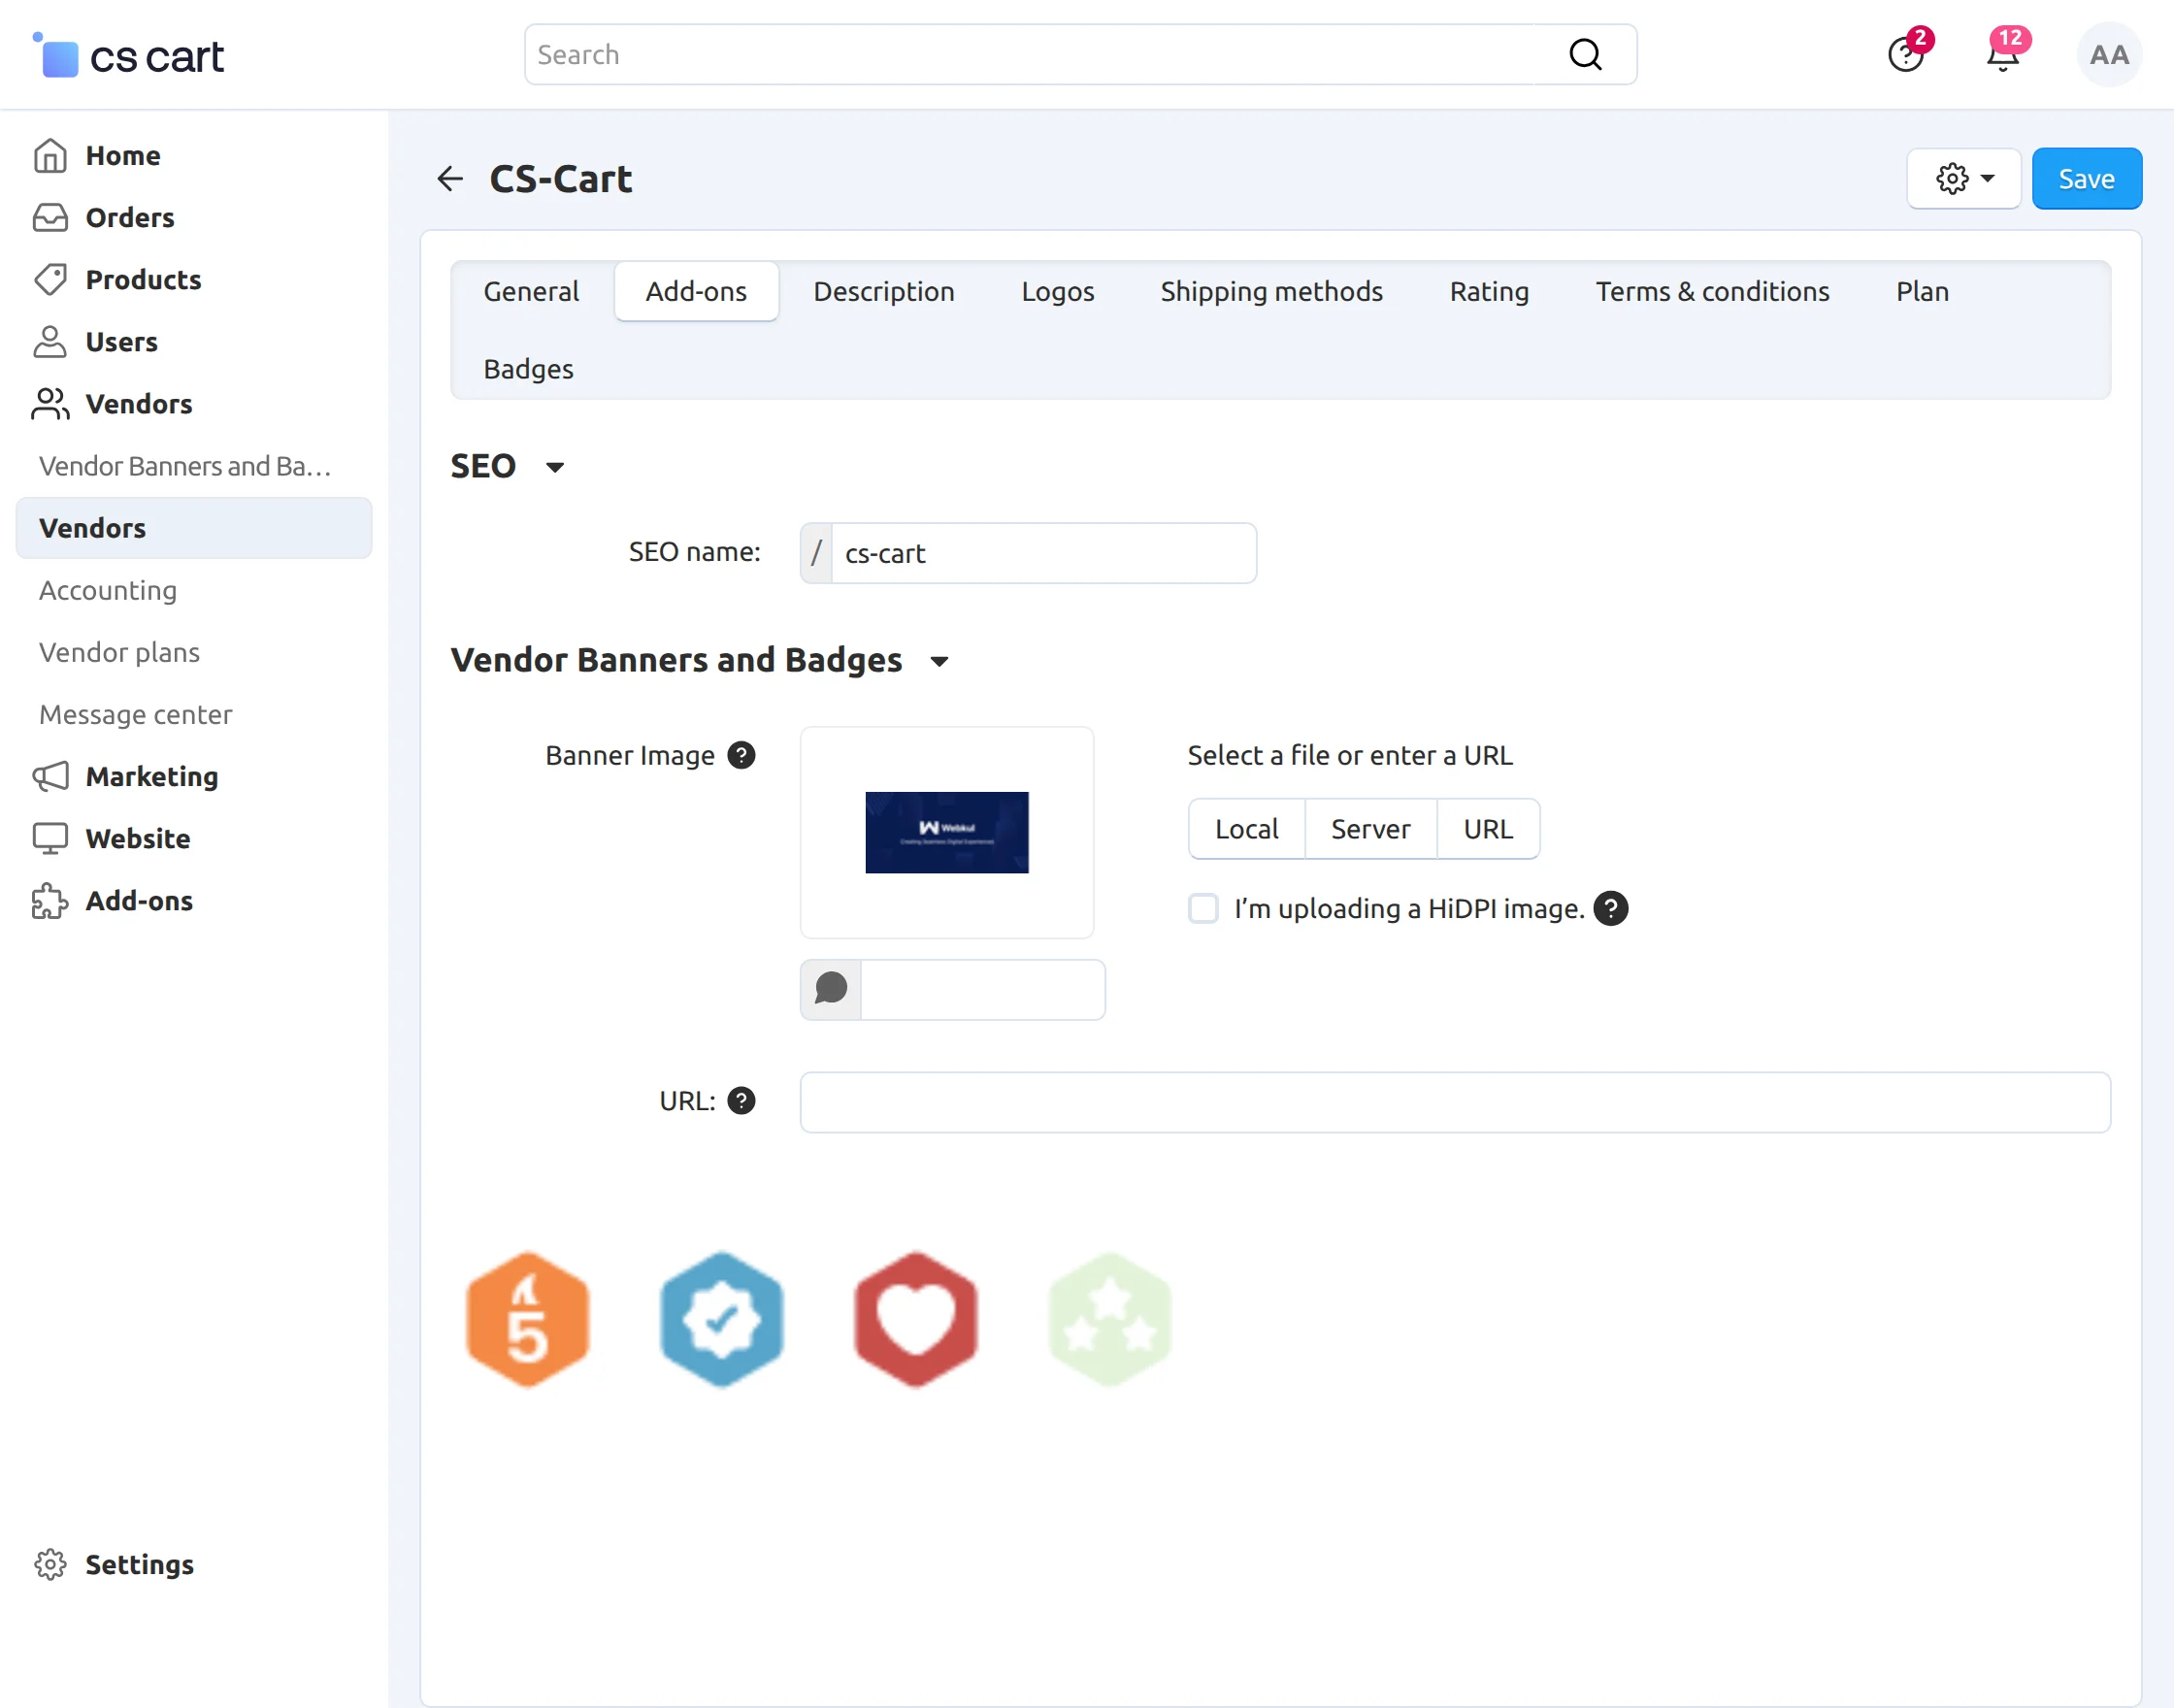
Banner Management At the Admin End
To add banners to a vendor’s store from the admin panel, follow these steps:
-
Go to Vendors > Vendors.
-
Select the desired vendor.
-
Click the gear icon, then choose Edit.
-
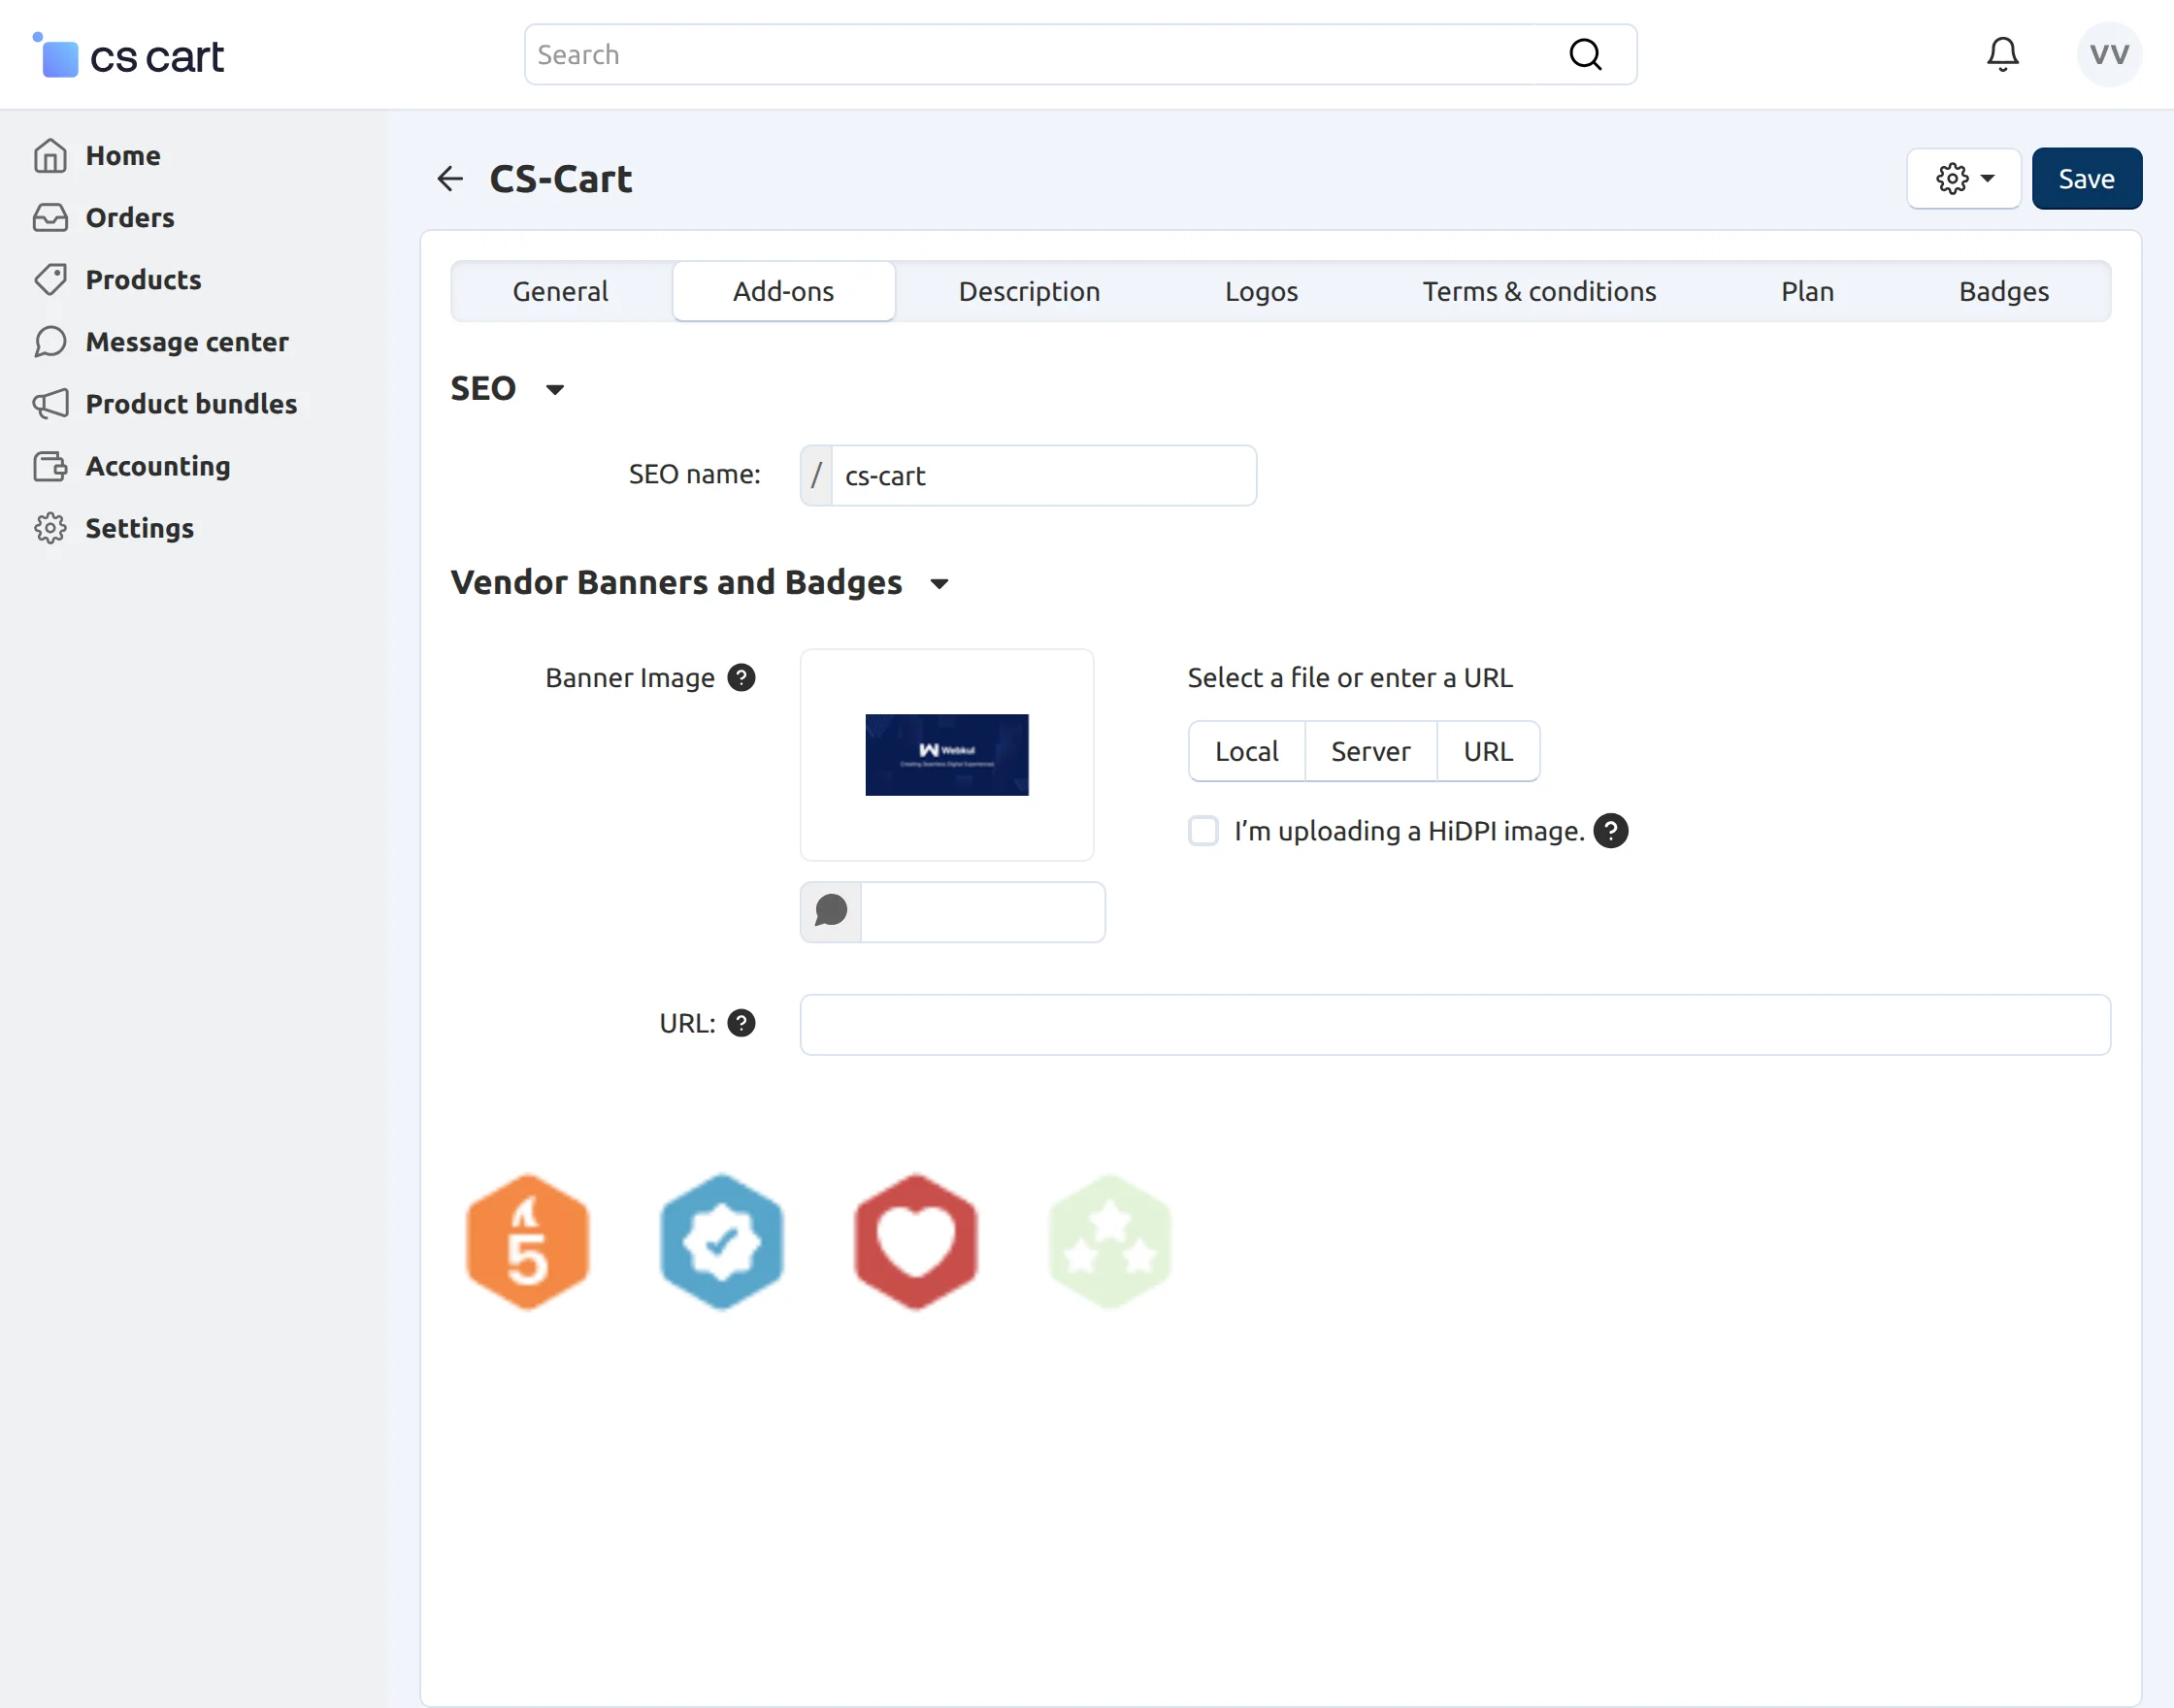
Open the Add-ons tab.
-
Upload the banner image and enter the banner URL.
- Click the Save button to apply and save the settings, as shown below.
Banner Management At Vendor End
To add banners to the vendor store, follow the below mentioned steps.
- Go to the vendor’s detail editing page and click on Add-ons.
- Upload the Banner image and enter the target URL for the banner.
- Click on the Save button to save the settings as per the screenshot below.
To add the Banner Block at the admin end in order to display the banner added by the vendor at the storefront.
Go to Designs -> Layout -> Vendor Store and click on the + button to add the block.
Finally, select the Template for the banner block as shown below in the snapshot.
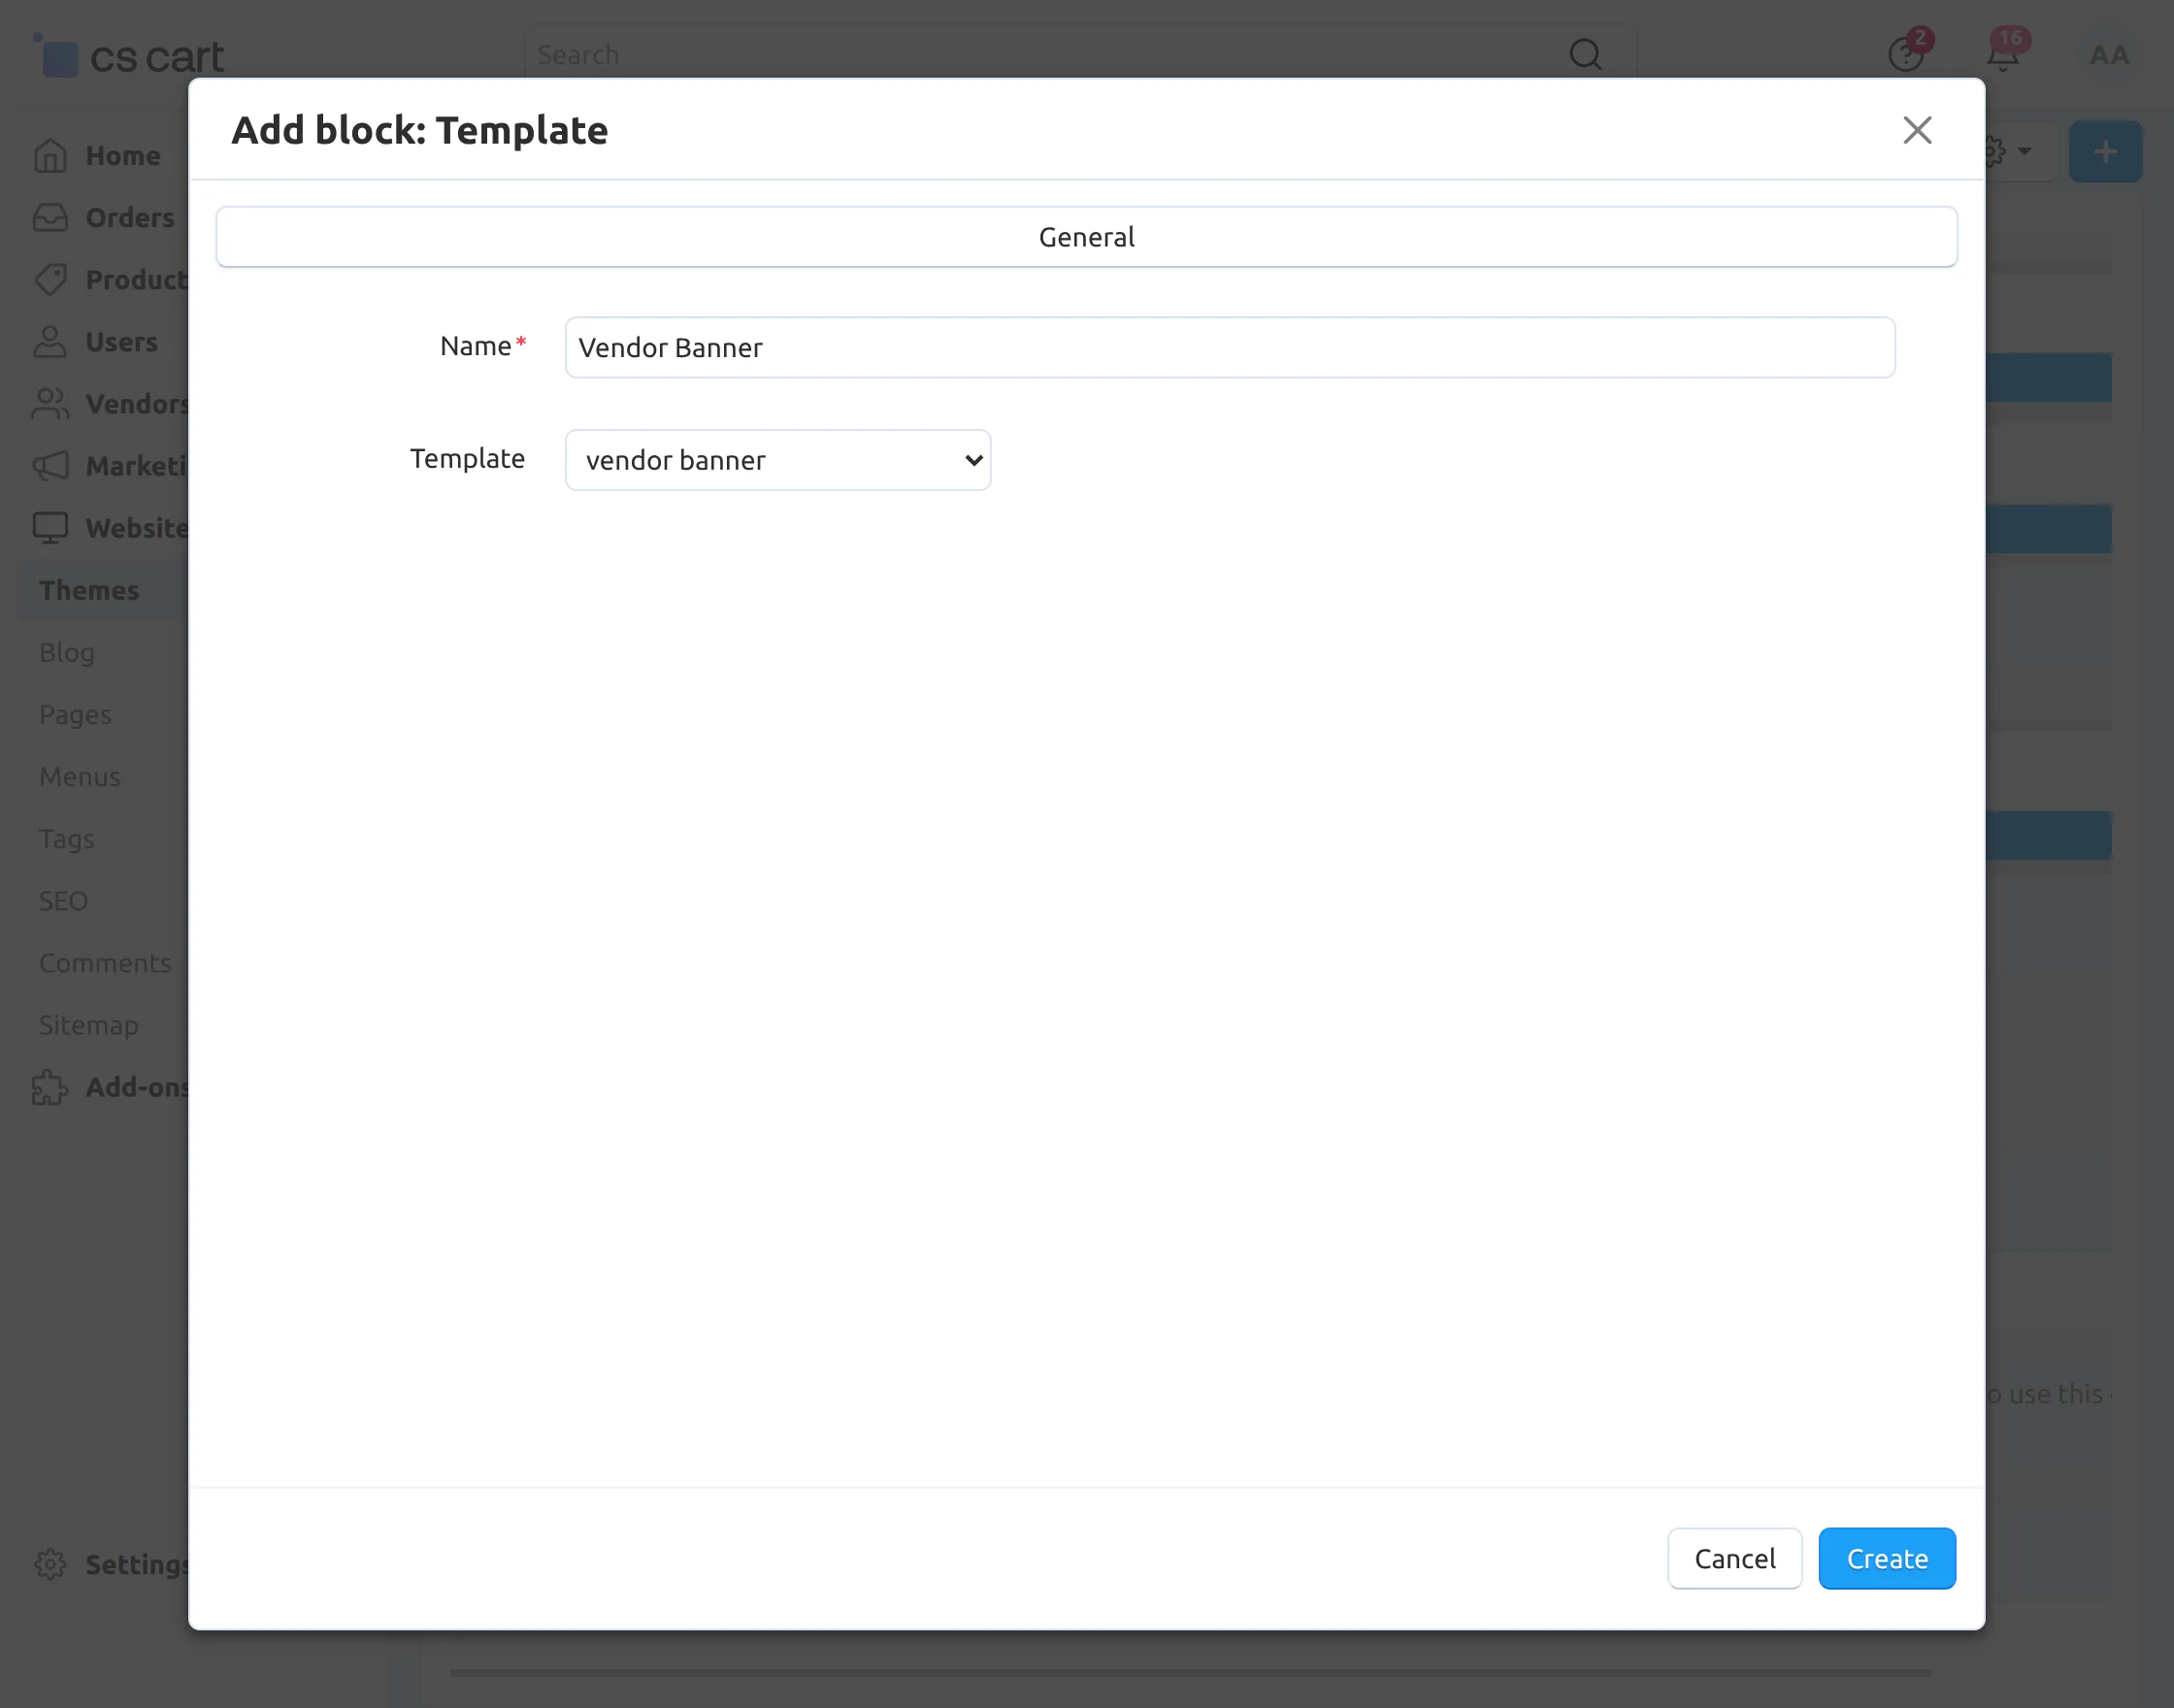
Set the parameters as per the screenshot below.
- Enter the name of the banner block for the vendor.
- Select Vendor Banner as a template for the banner block.
- Click on the Create button to create the block.
Front End View
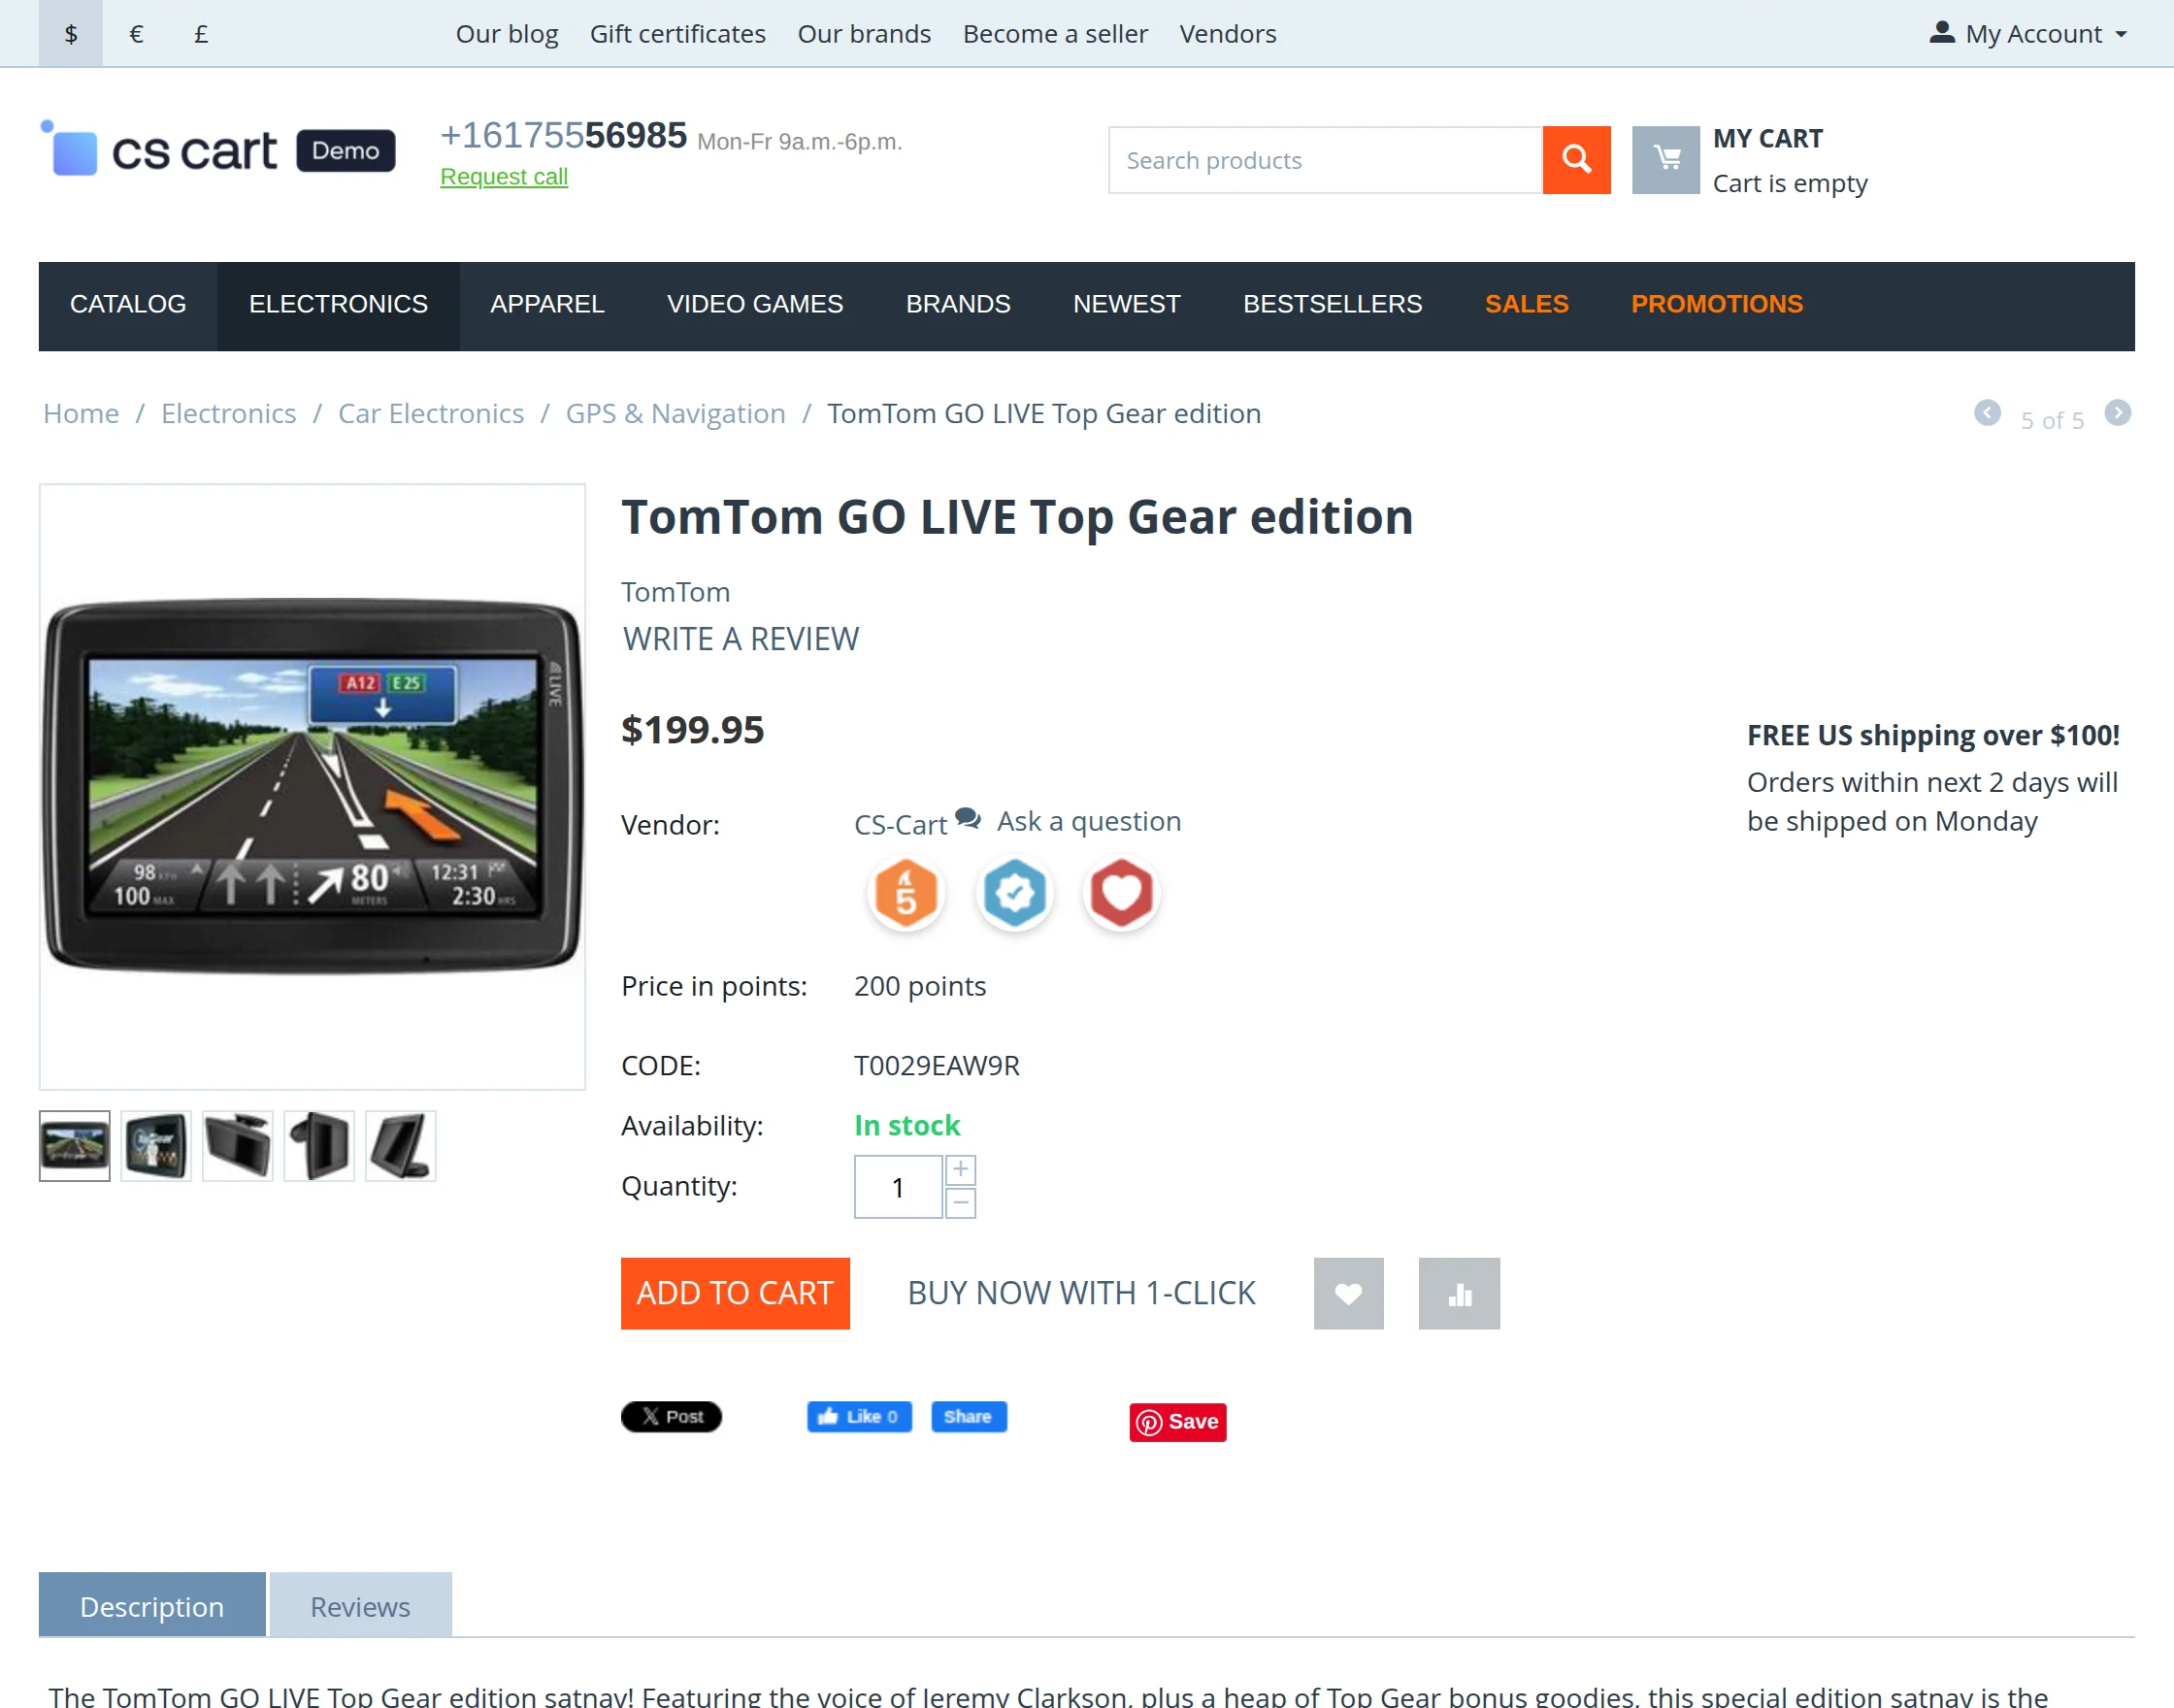
Assigned Badges Display on Product Details Page :
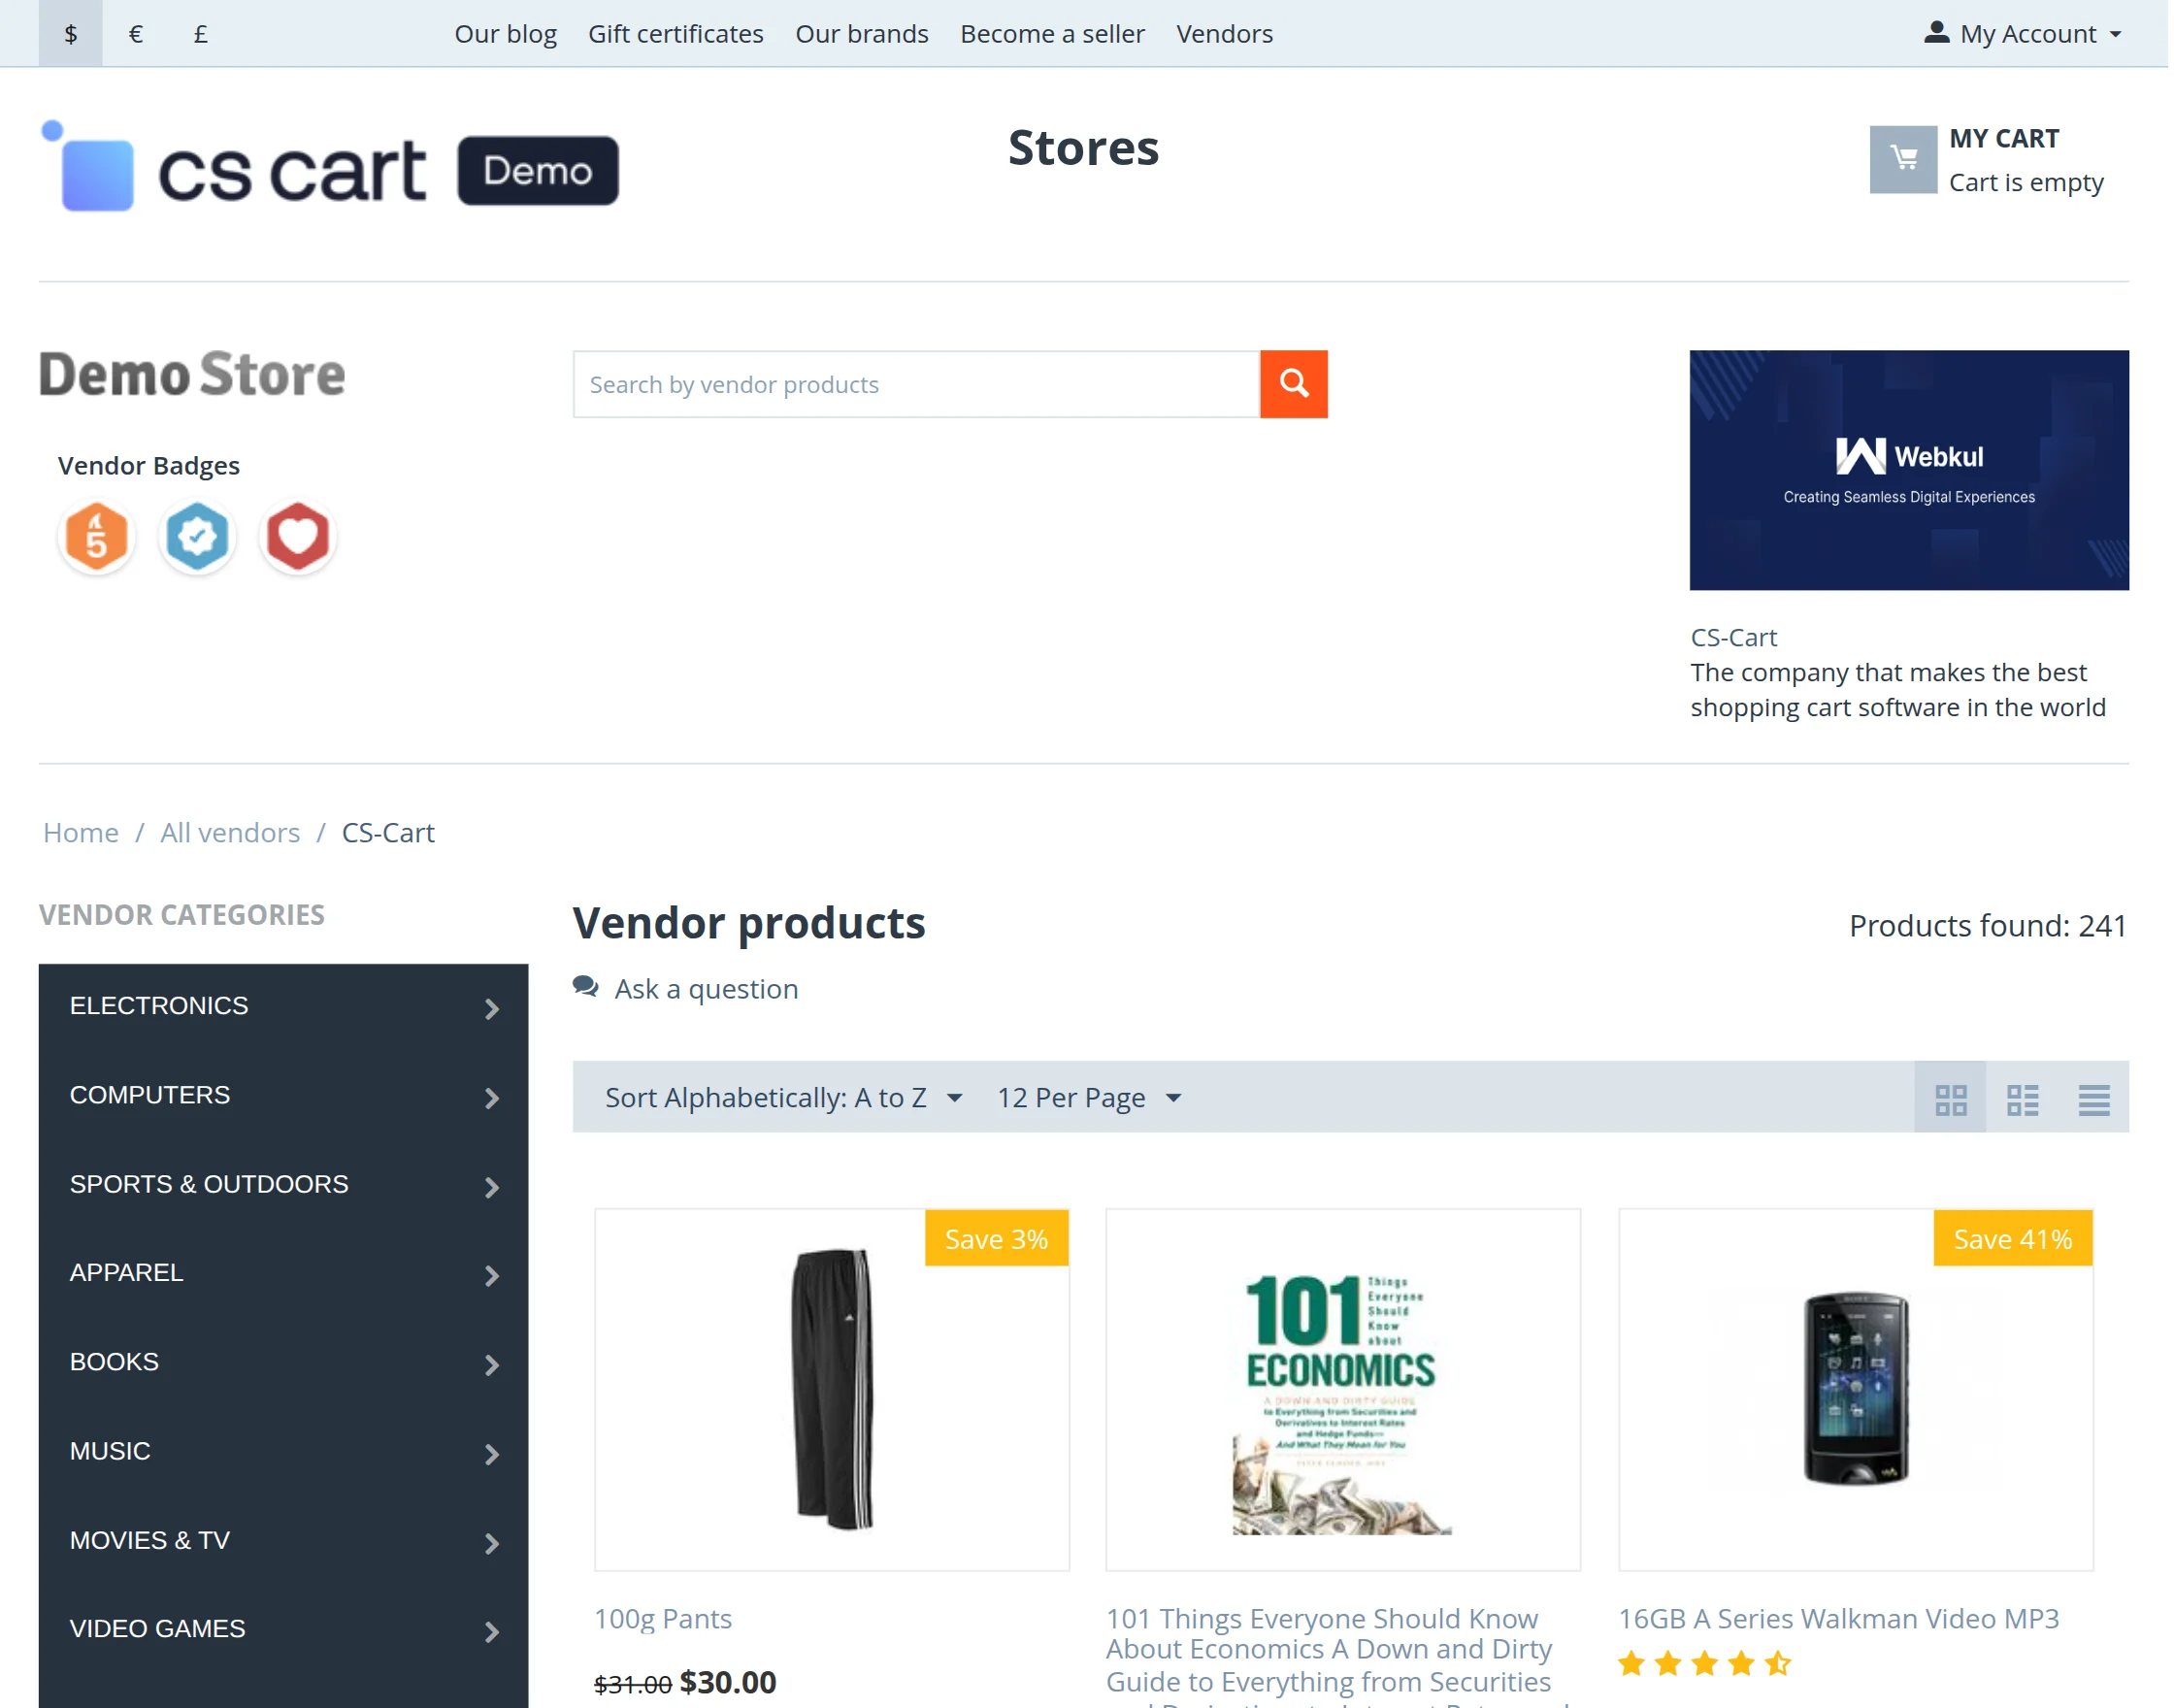
Display of Badges and Banner on the Vendor Store Page :
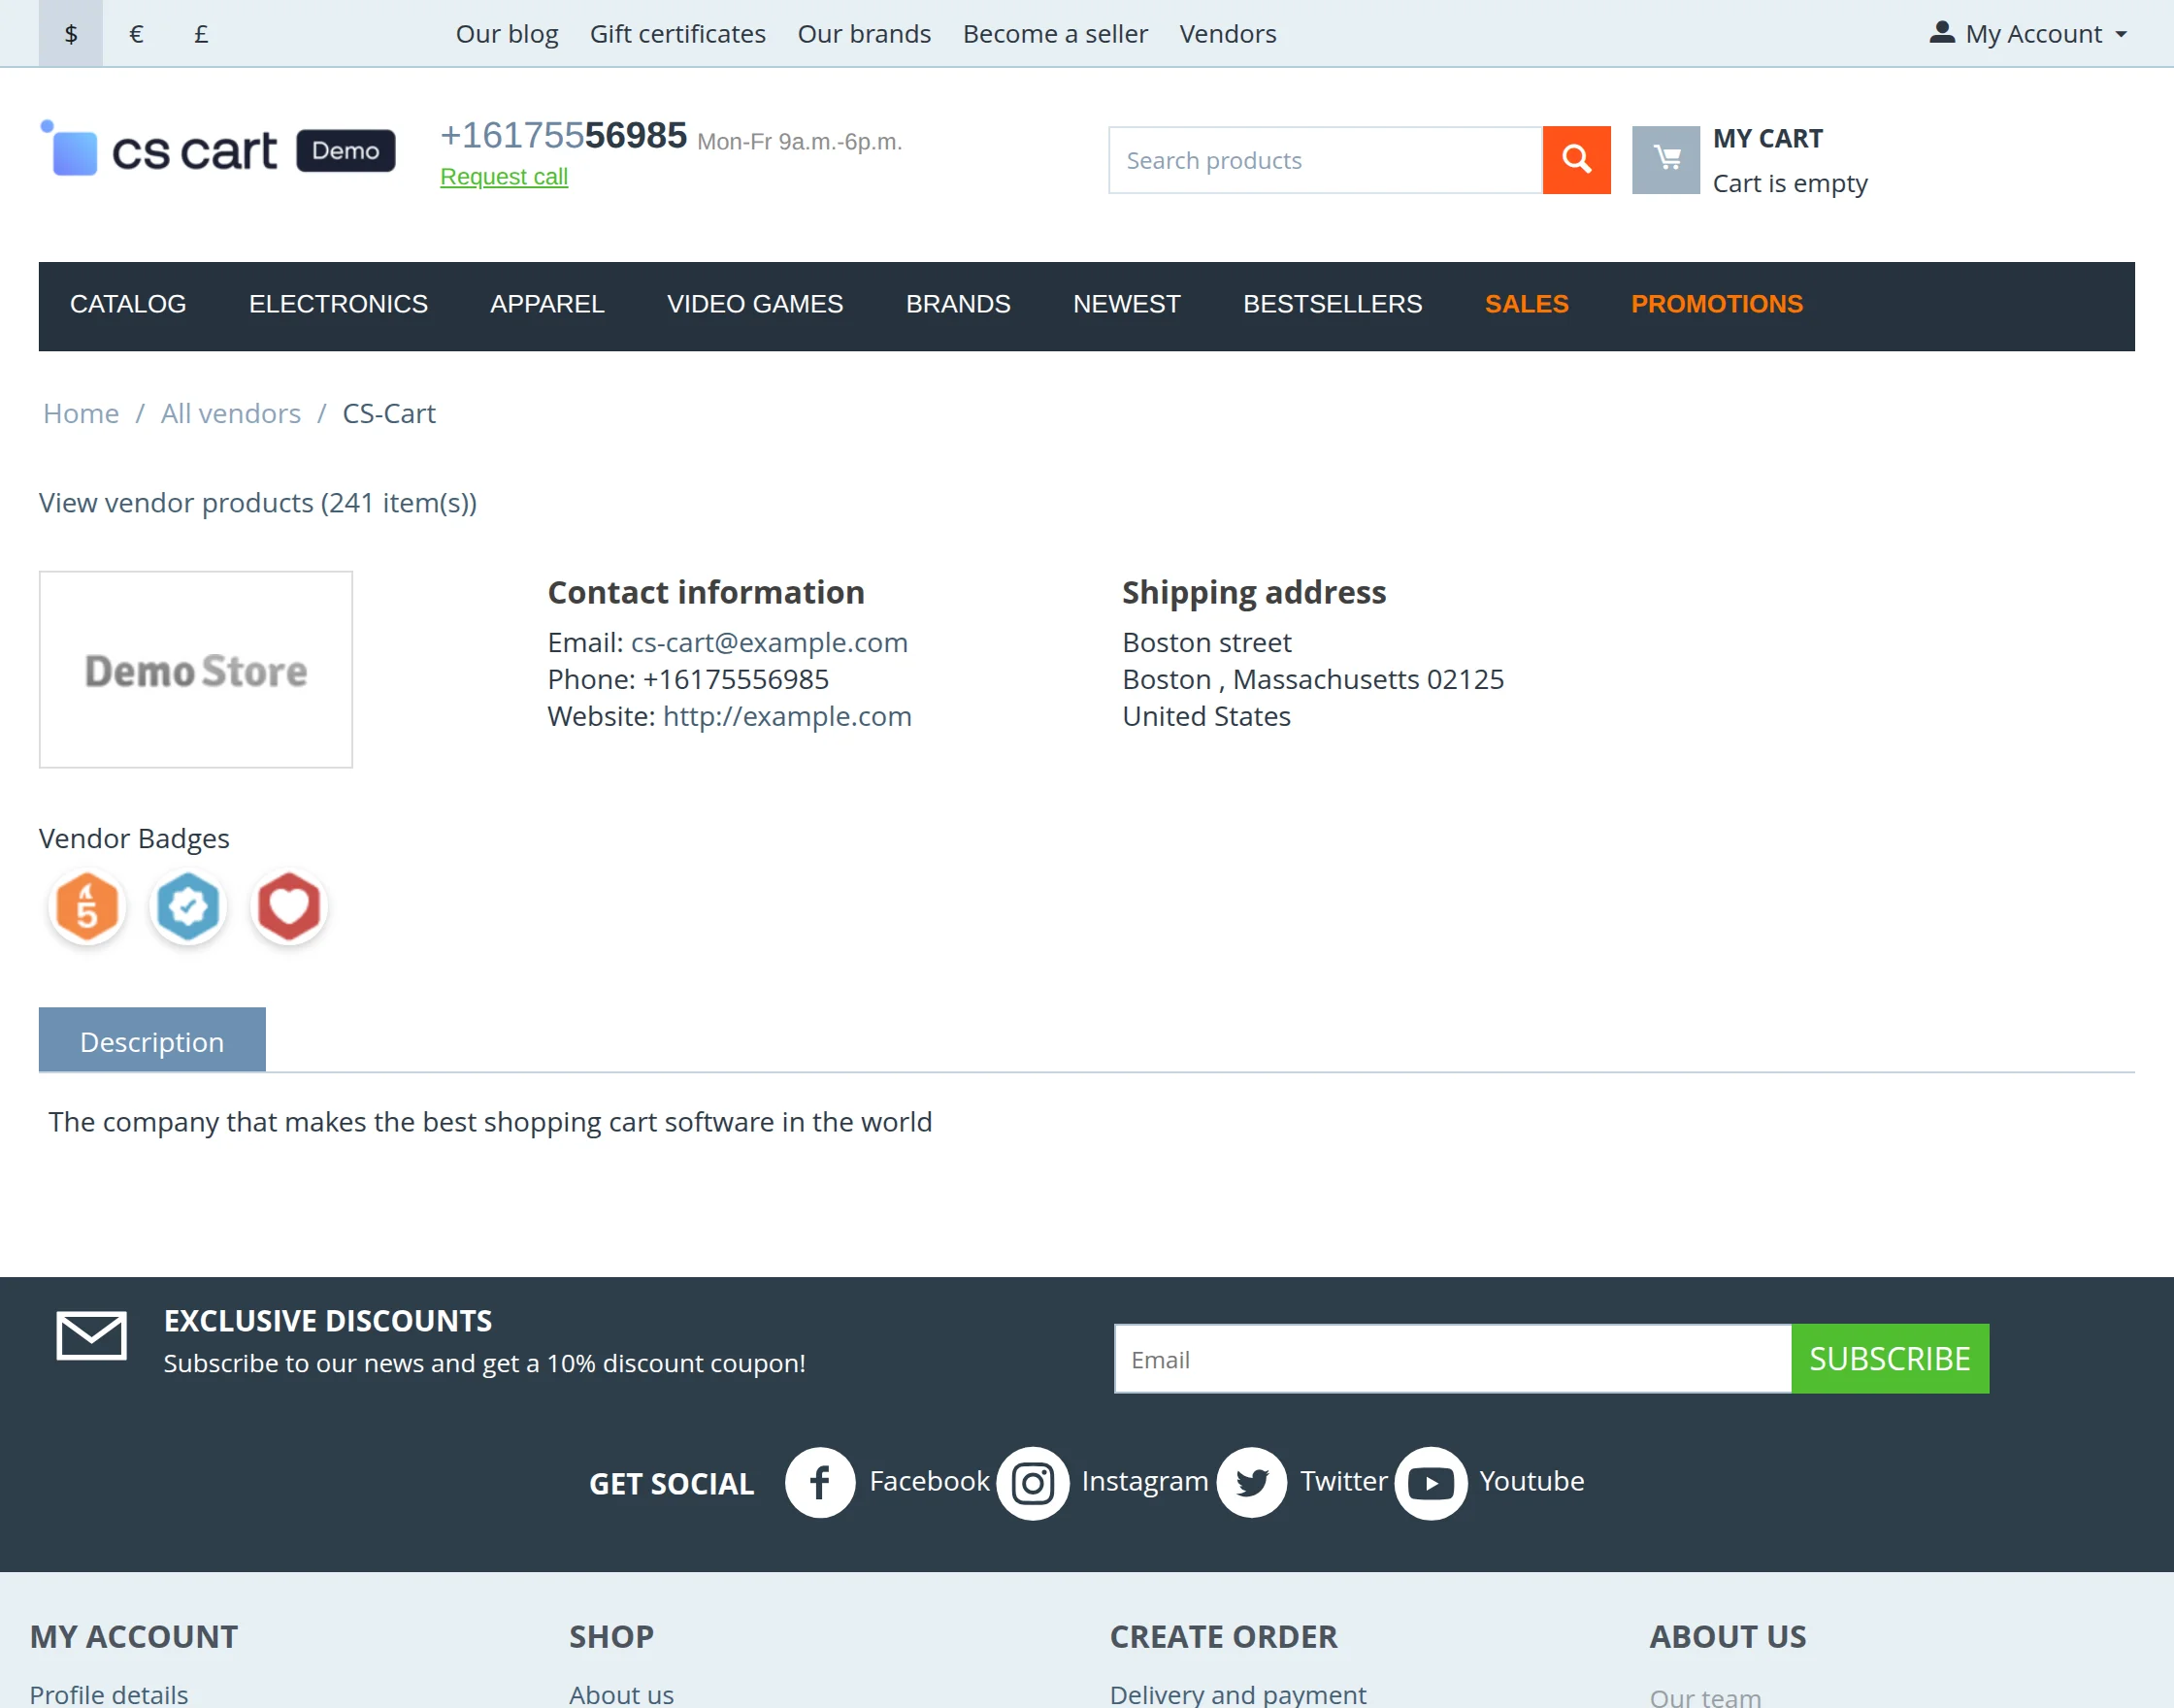
View Of Badges on Vendor Profile Page
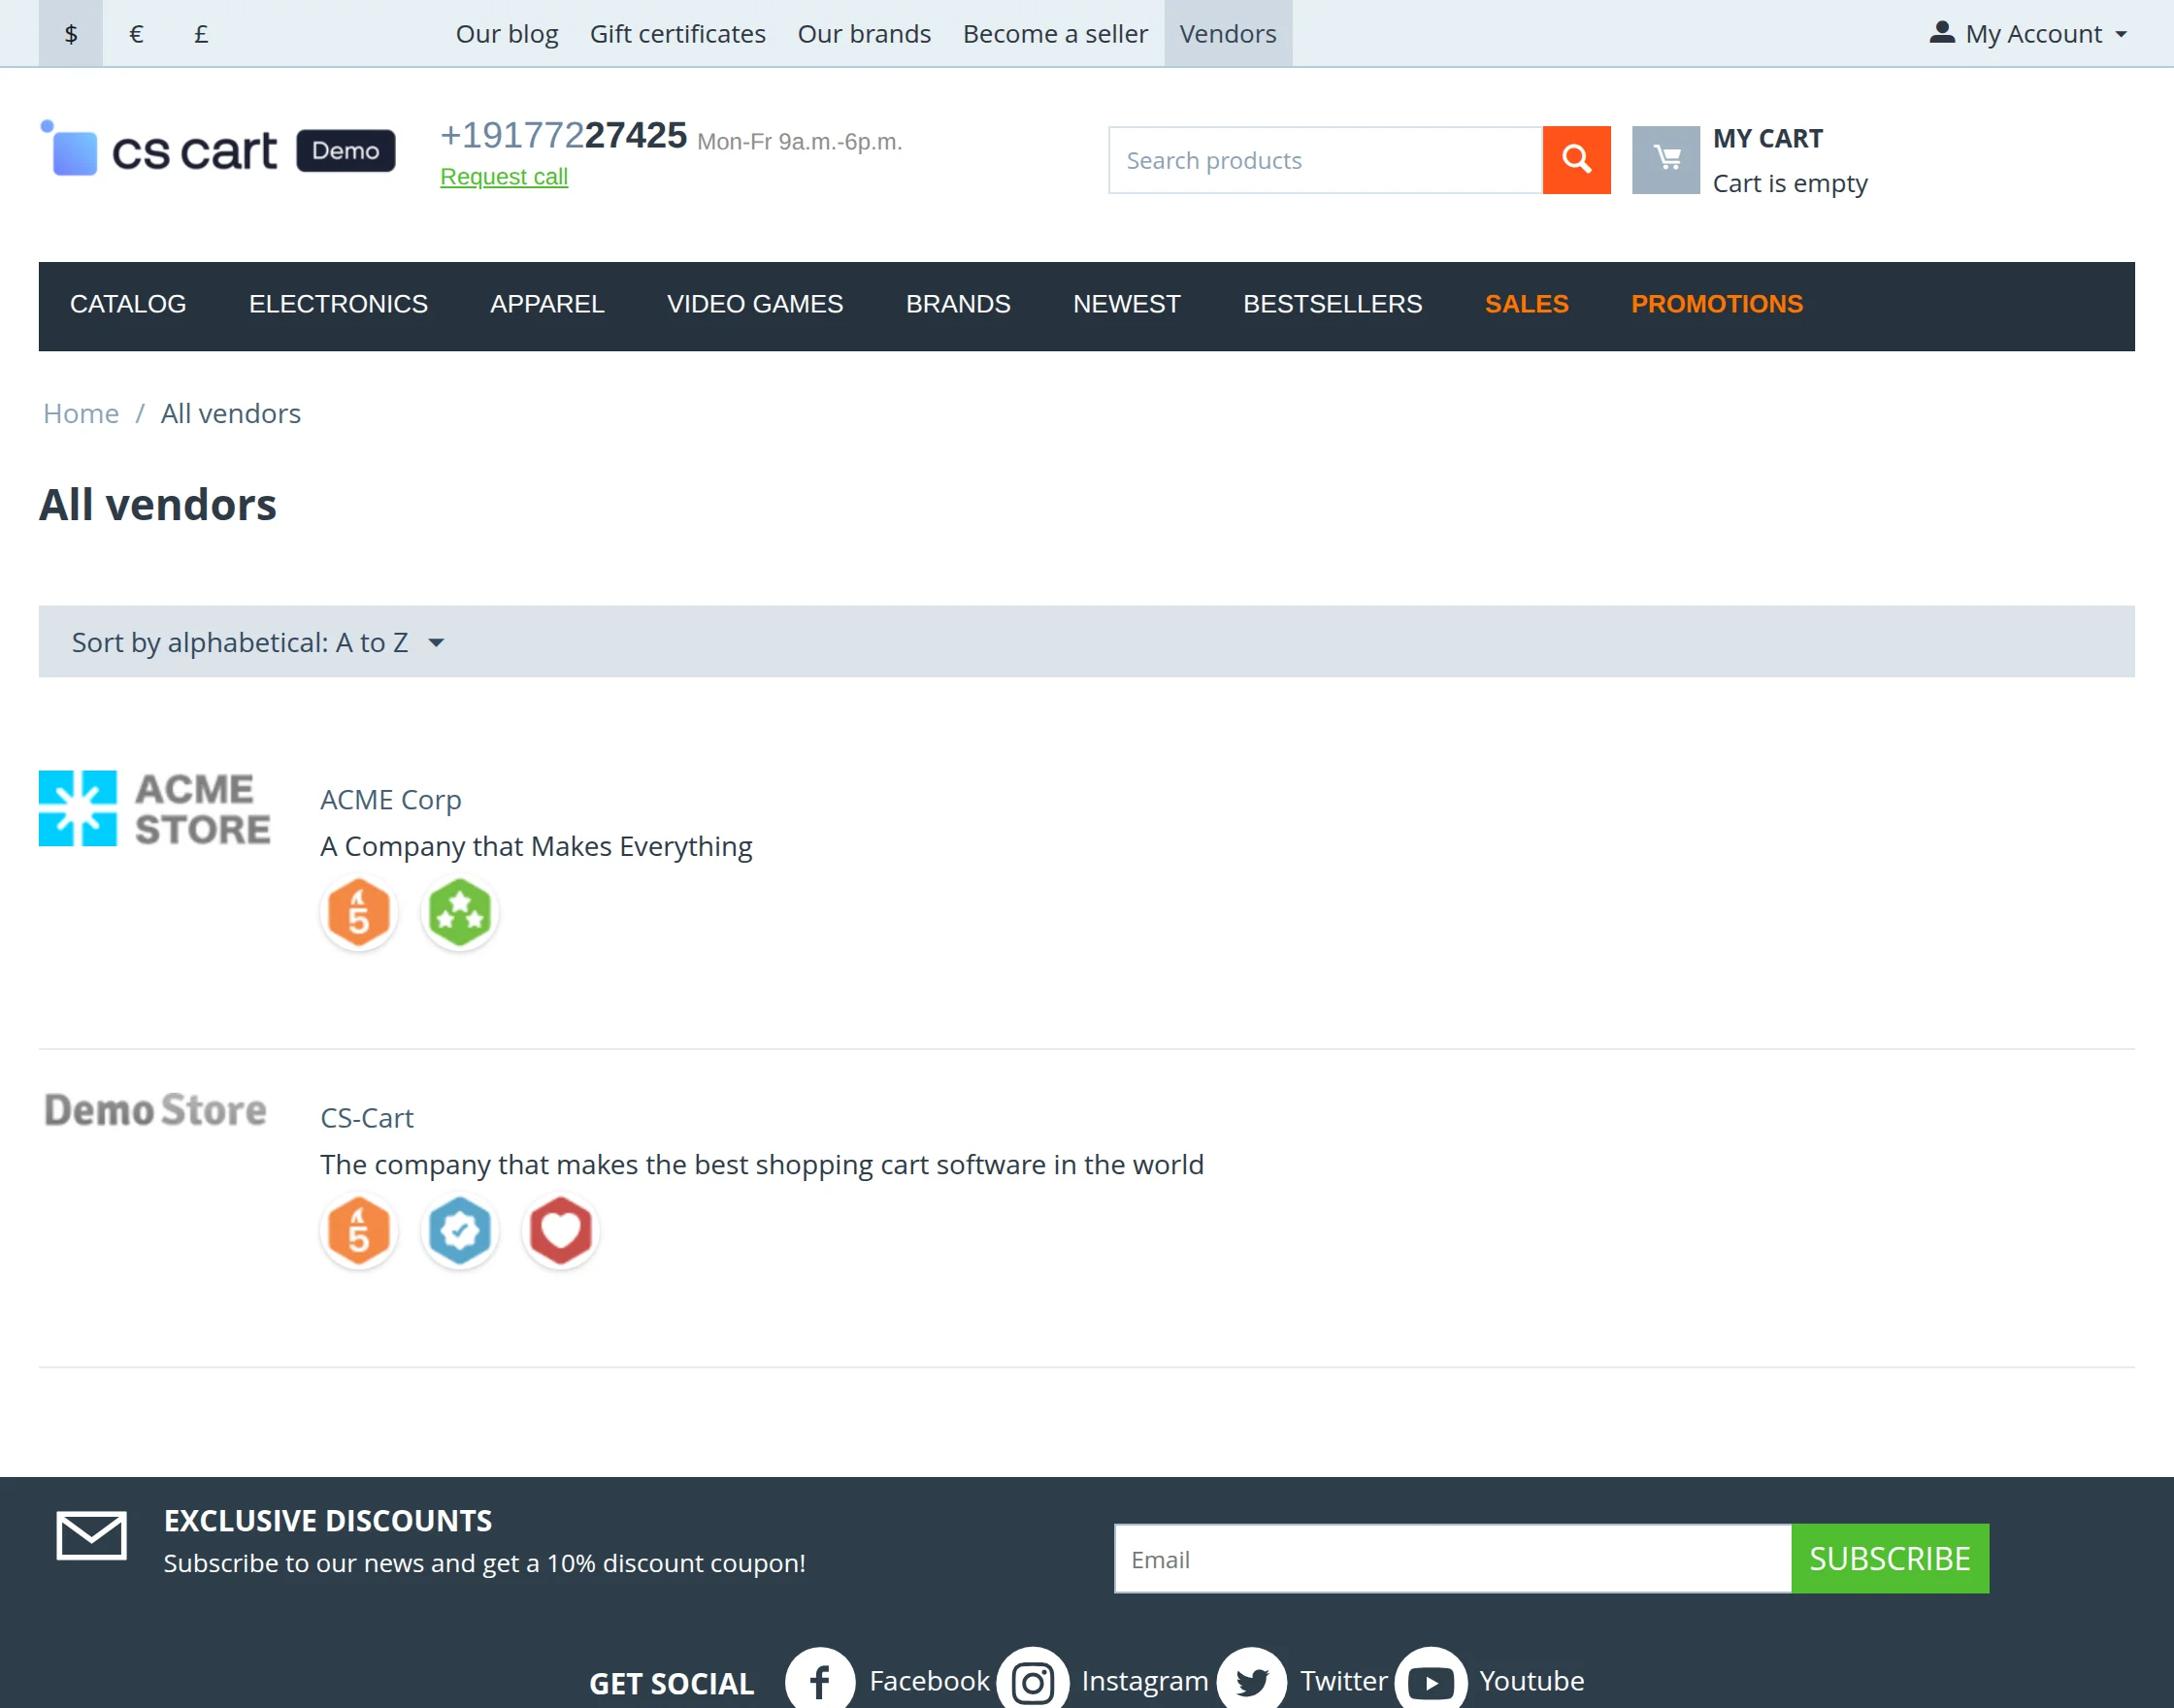
View of Badges on the Vendor List page :
Support
If you have any questions, suggestions, or customization requests, feel free to contact us at [email protected] or submit a ticket at webkul.uvdesk.com.
Explore our premium-quality CS Cart Extensions to enhance your store functionality.
You can also explore our CS-Cart Development Services and Quality CS-Cart add-ons.
Current Product Version - 1.6
Supported Framework Version - 4.16.x to 4.18.x

Be the first to comment.