CS-Cart PrestaShop Connector allows you to synchronize Prestashop products and orders to the CS-Cart store.
Using this add-on, the admin/seller will no longer be required to configure the product data and information on both stores separately.
The admin/seller can sync the products, and orders from the PrestaShop store to the CS-Cart store.
And can also manage multiple accounts to exchange and synchronize the data between CS-Cart and PrestaShop.
Complete Features List of CS-Cart Prestashop Connector
- Well integrated with CS-Cart and CS-Cart Multivendor.
- Admin/Seller can import products from the PrestaShop store to the CS-Cart store with variations (Product Variation Add-on Required).
- The product information like name, price, quantity, and other attributes can update to the CS-Cart end in real-time.
- Admin/Seller import products by single ID or multiple IDs separated by commas
- Admin/Seller can map PrestaShop categories with CS-cart categories.
- Synchronization of orders from CS-Cart to PrestaShop in real-time.
- Admin can add and handle multiple PrestaShop merchant accounts from CS-Cart Panel.
- Added a new order status mapping tab and also added an option to select the default order status.
- Domain has been added to the store manage page.
Option to export products from the product detail page.
- On the product manage page, a delete button to delete the product and a link to the Prestashop product are provided.
- Queue Handler to process bulk product import.
Installation and Configuration of CS-Cart Prestashop Connector
After downloading the CS-Cart Prestashop Connector add-on, you’ll get one zip file, one install.txt file, and a relevant User Guide manual doc.
Read it carefully for proper configuration.
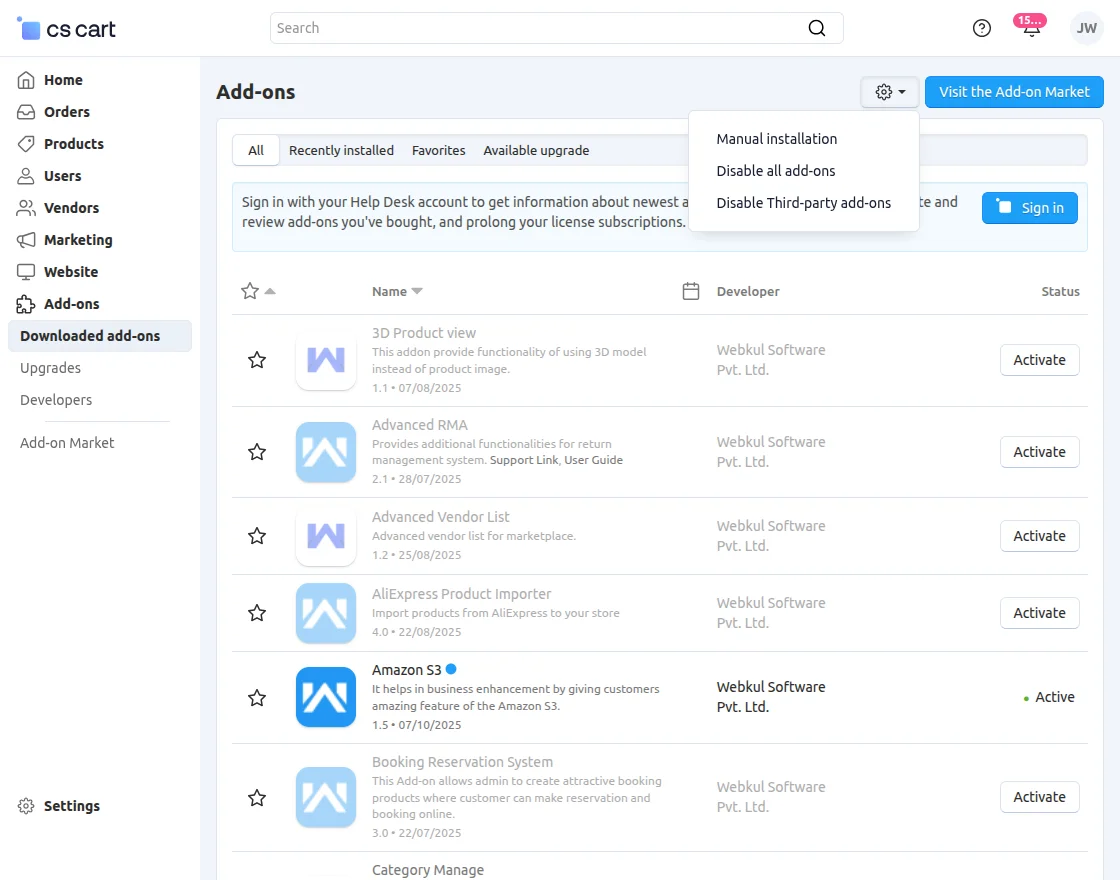
Go to Manage Add-ons, and click on “Manual Installation” as shown below in the snapshot.
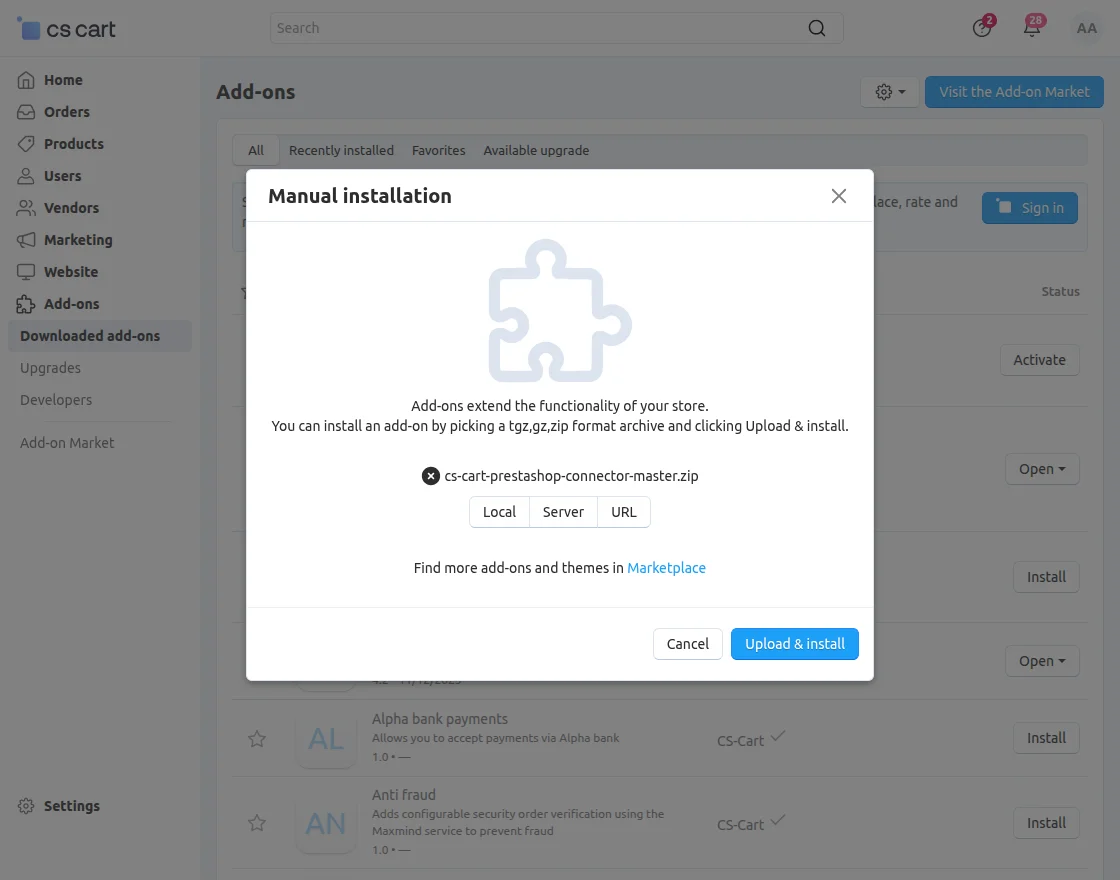
Now, click on “Local” to browse the zip file and then click on “Upload & Install”
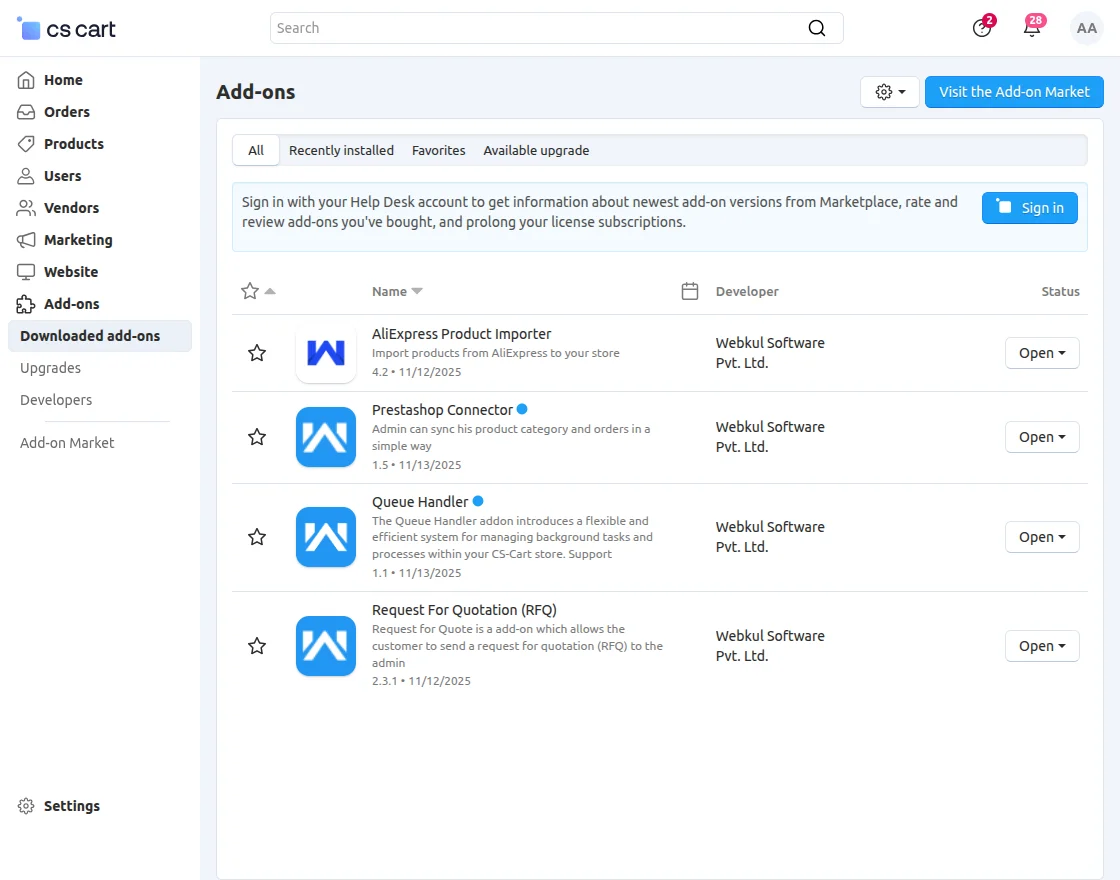
After installation of the add-on, you will find the “PrestaShop Connector” add-on in the list of available add-ons. Make sure you activate the add-on as shown in the snapshot below.
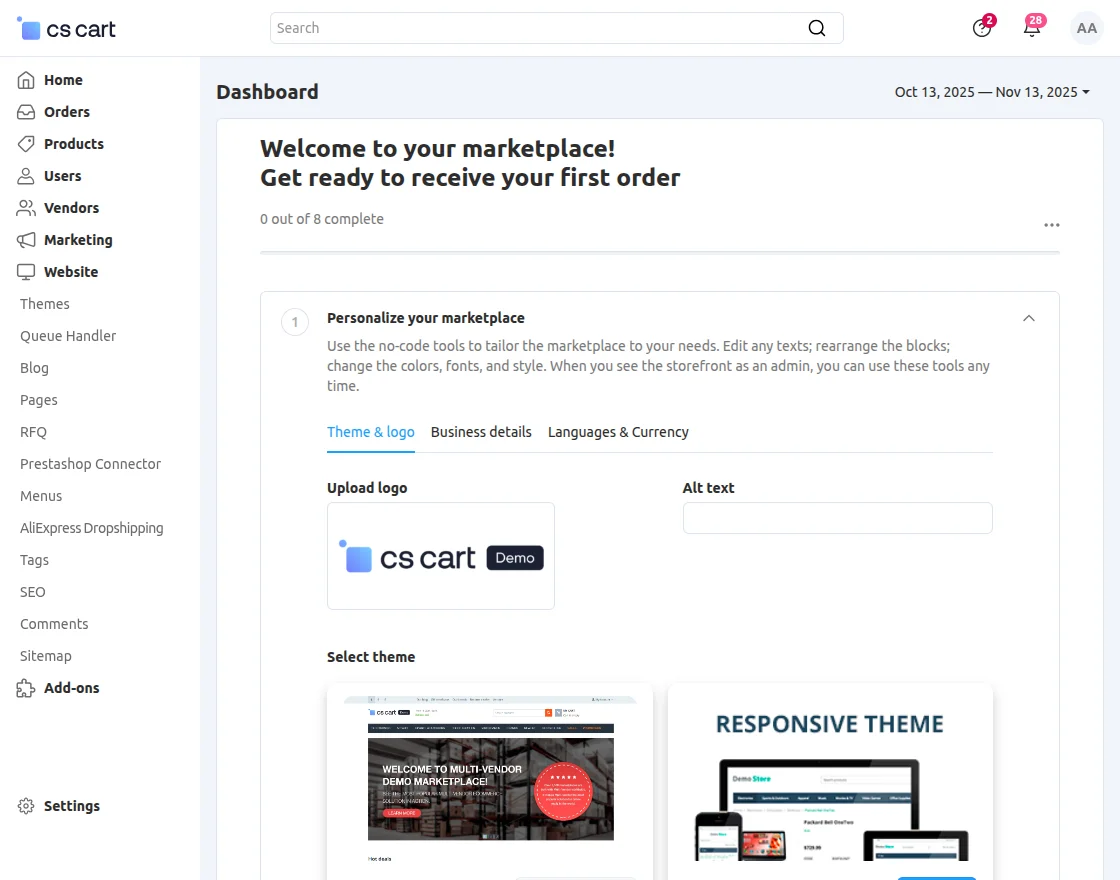
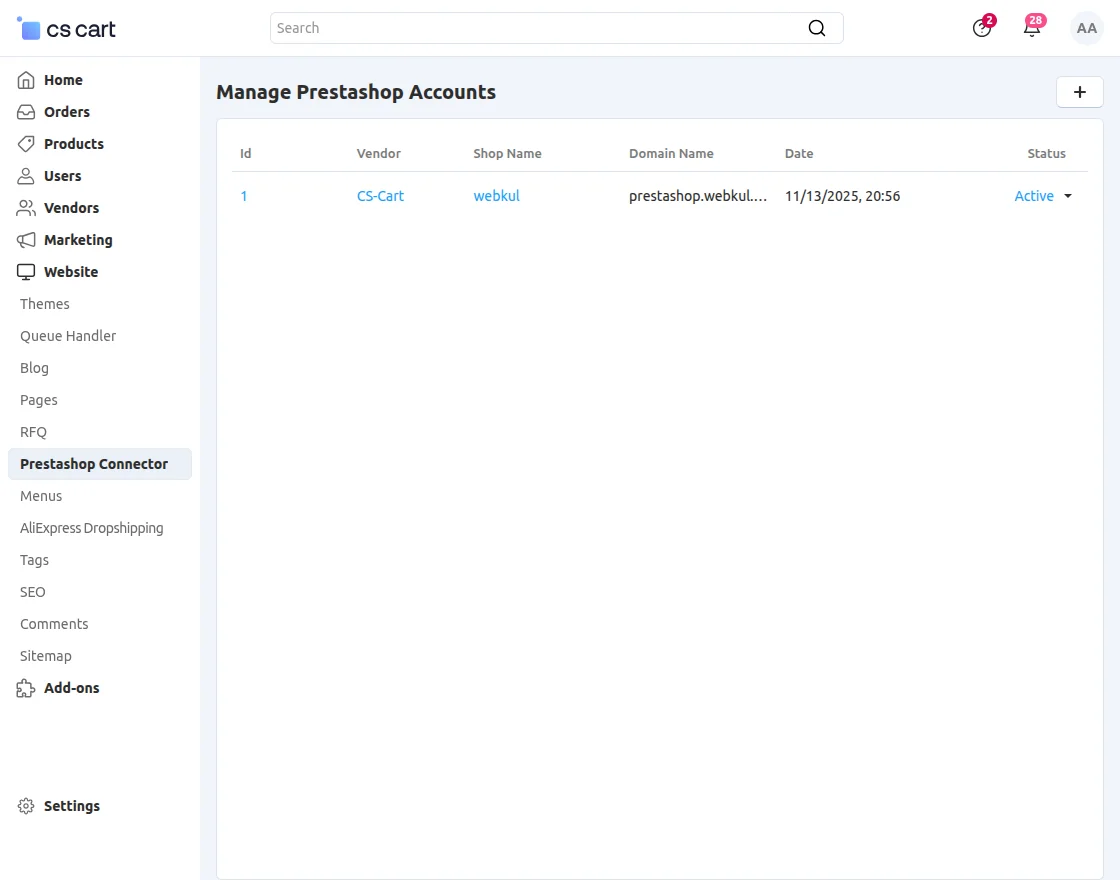
Now go to Website and click on PrestaShop Connector to add an account and configure.
After that, click on the plus icon to add a PrestaShop account.
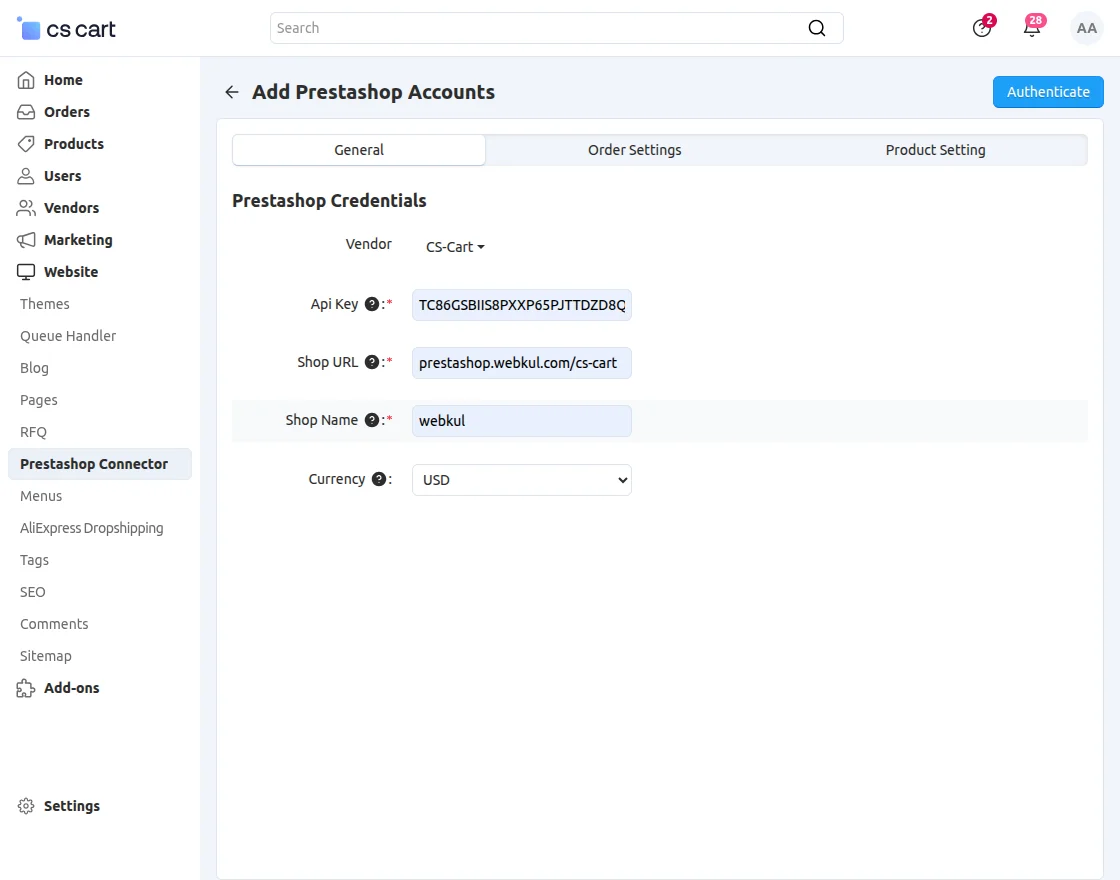
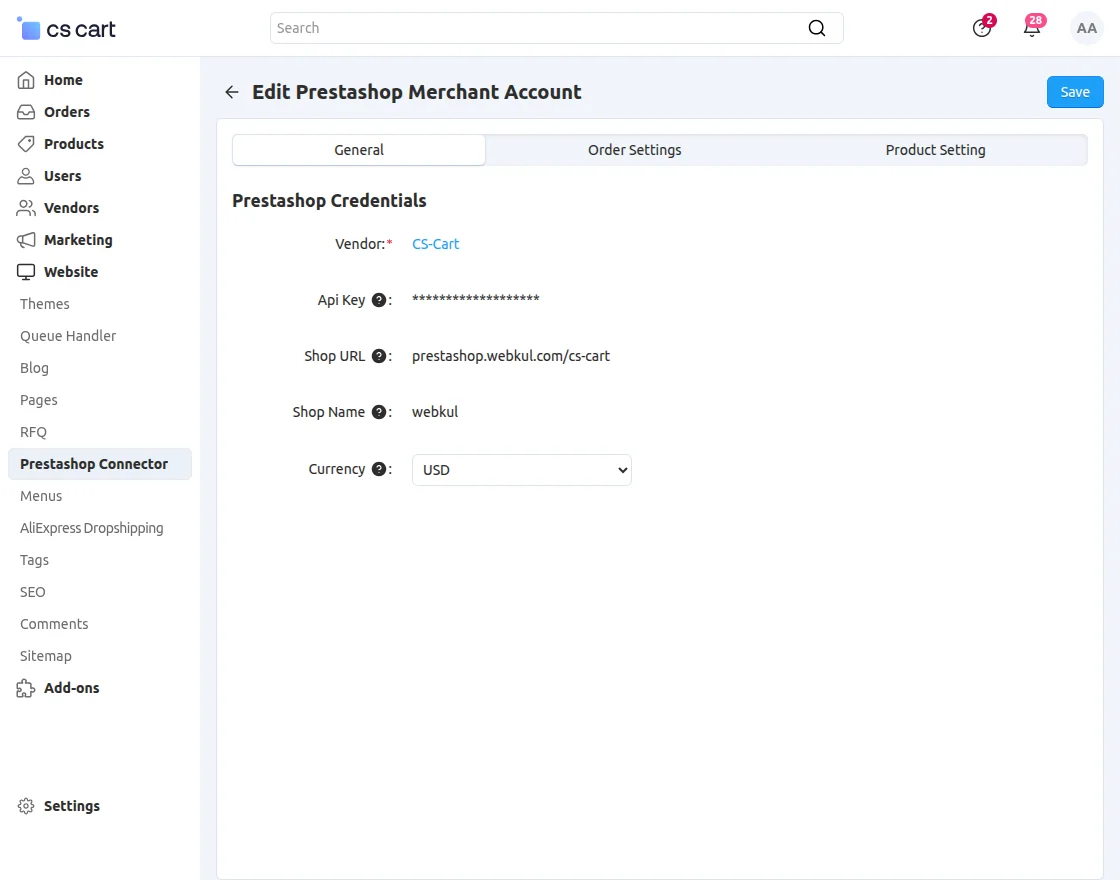
Now, in the General tab, you will need to provide the PrestaShop credentials.
- Vendor: The platform or seller providing the products (e.g., CS-Cart).
- API Key: A unique key used to authenticate and connect your store with PrestaShop.
- Shop URL: The web address of your PrestaShop store.
- Shop Name: The name of your PrestaShop store.
- Currency: The default currency used in the store for transactions.
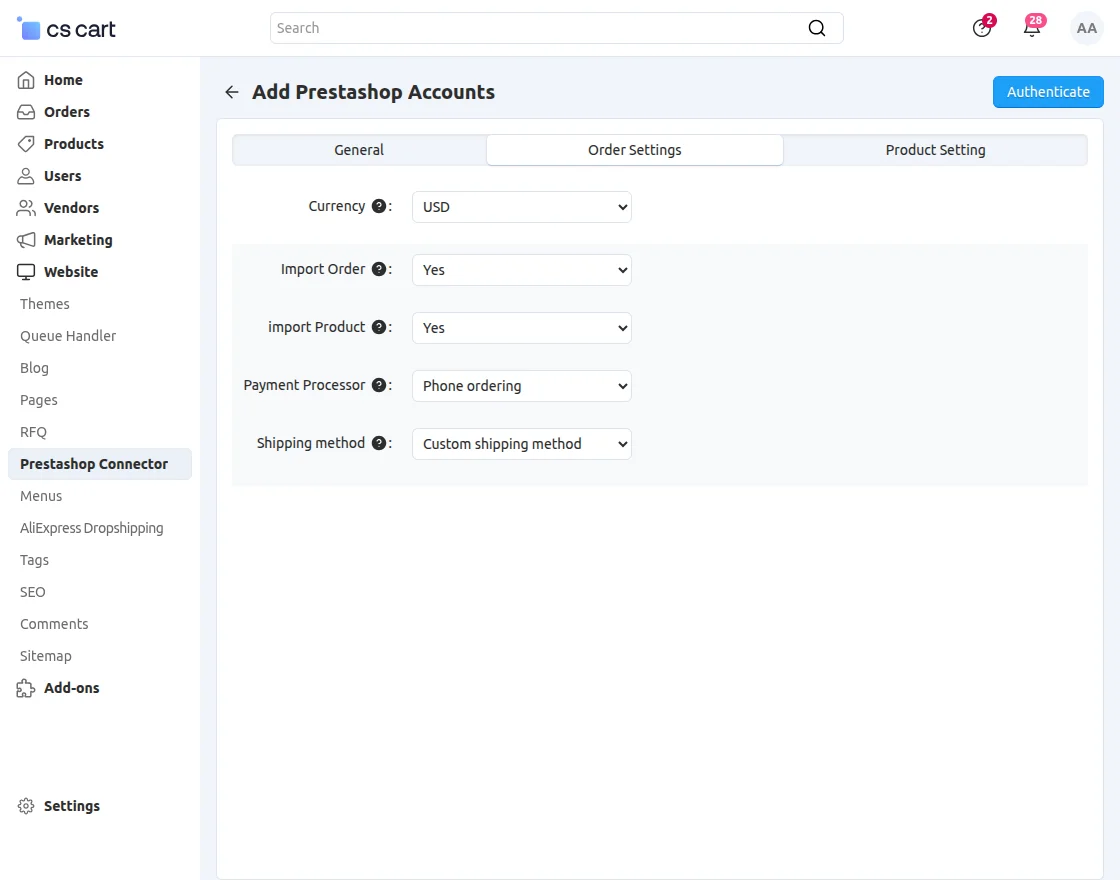
After the General Settings, configure the Order settings.
- Currency: The default currency used in the store for transactions (e.g., USD).
- Import Order: Determines whether orders from PrestaShop should be imported into CS-Cart (Yes/No).
- Import Product: Determines whether products from PrestaShop should be imported into CS-Cart (Yes/No).
- Payment Processor: The payment method used for orders, such as Credit Card, PayPal, etc.
- Shipping Method: The shipping method applied to imported orders, e.g., a custom shipping method defined in CS-Cart.
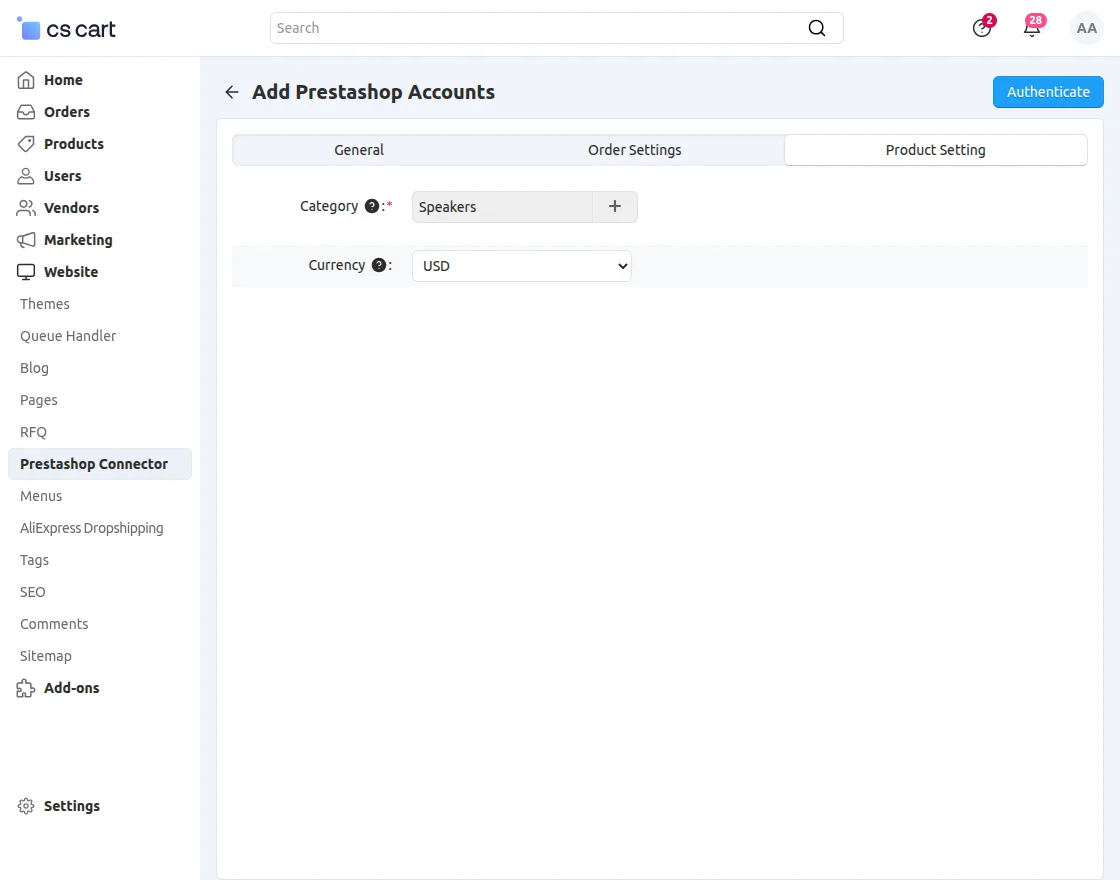
After the Order Settings, configure the Product setting.
- Category: The specific category in CS-Cart where the PrestaShop products will be imported.
- Currency: The currency in which the product prices will be displayed for this category.
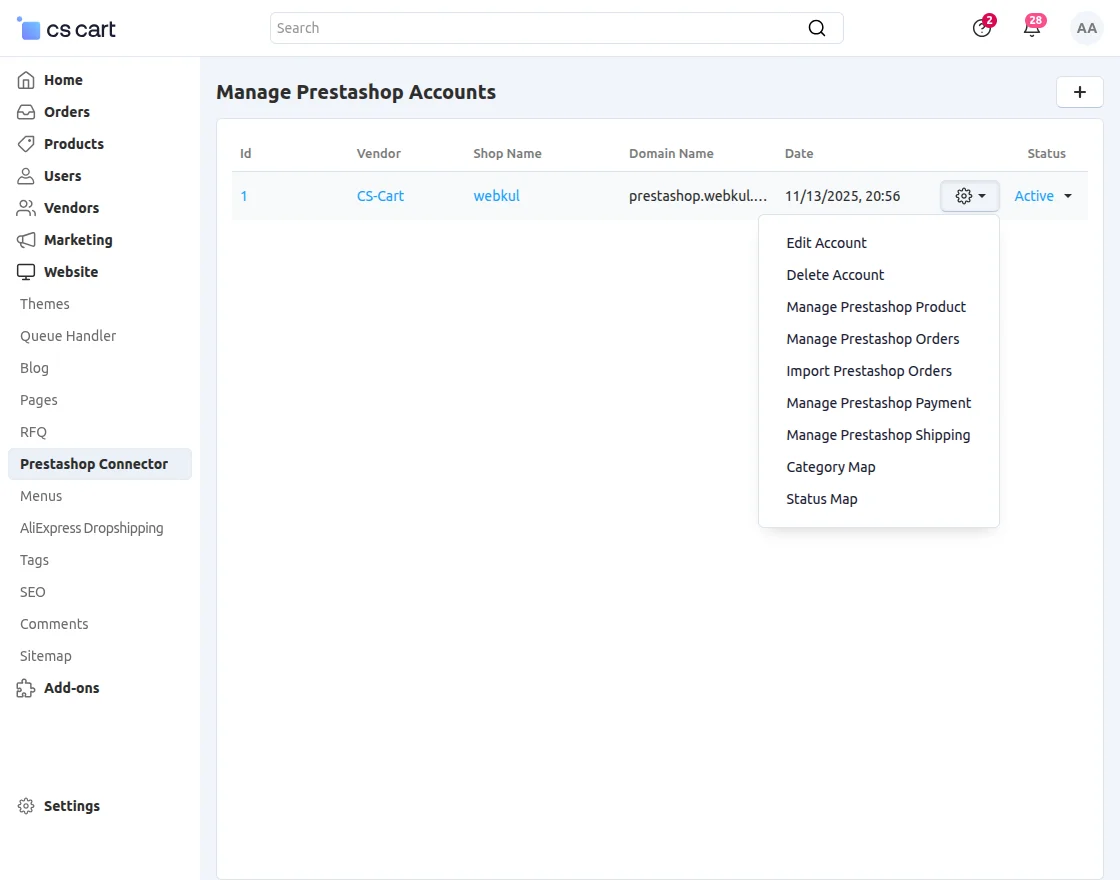
Once the account is created, you can perform several actions from the PrestaShop store to the CS-Cart store, such as Category mapping, Product management, and Order management.
You can also import PrestaShop orders, manage shipping and payment methods, and delete accounts.
Process for Setup in CS-Cart
1. Manage Prestashop Products:
In this section, to import products from PrestaShop you need to click on “Import Products”.
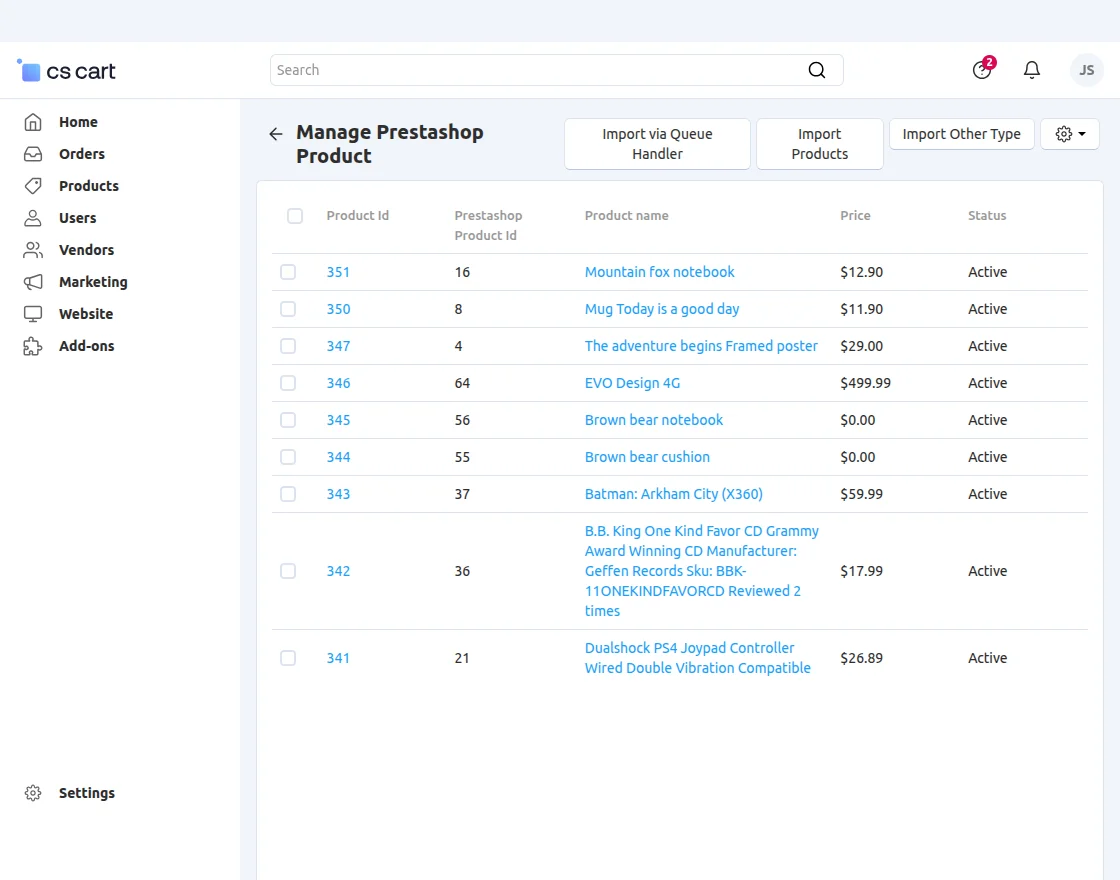
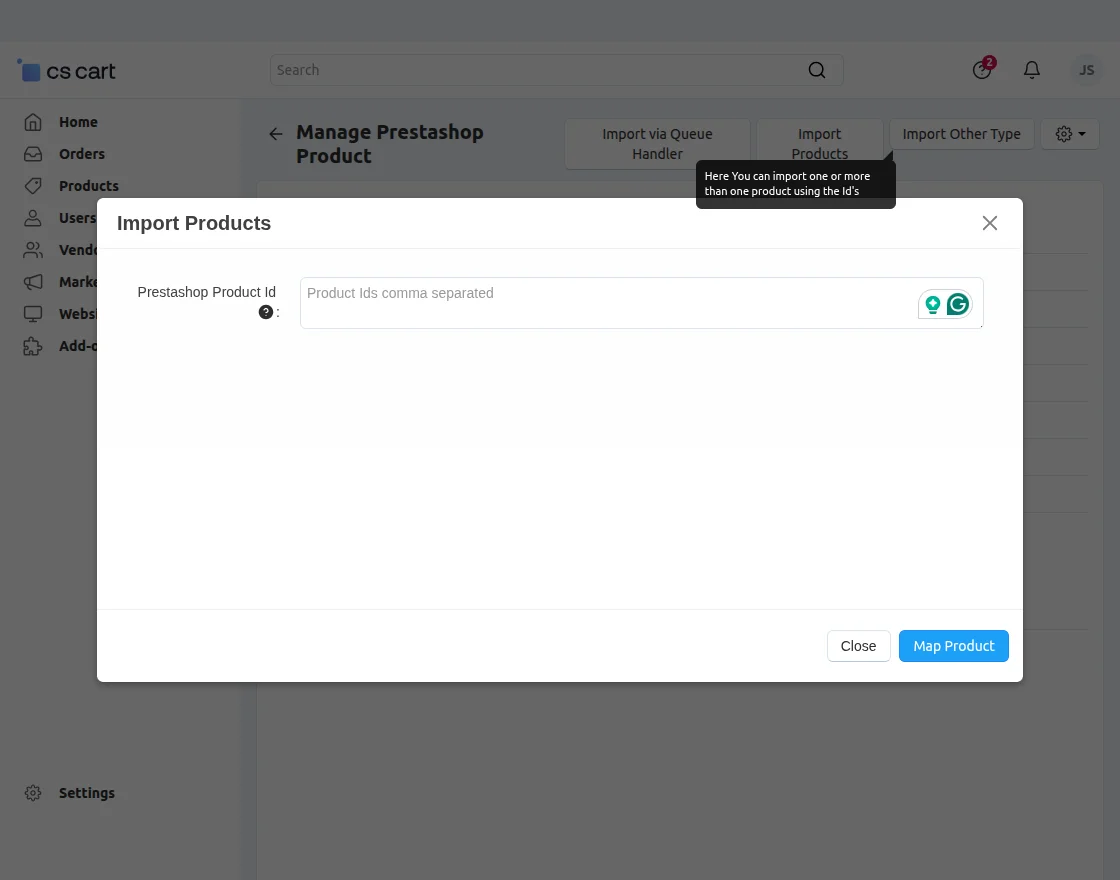
If you also want to import specific products based on the Product ID, then, you have to tap on Import Other Type button to do it.
After tapping on it, a pop-up will open in which the Prestashop Product ID can be input. It will be displayed as per the image below,
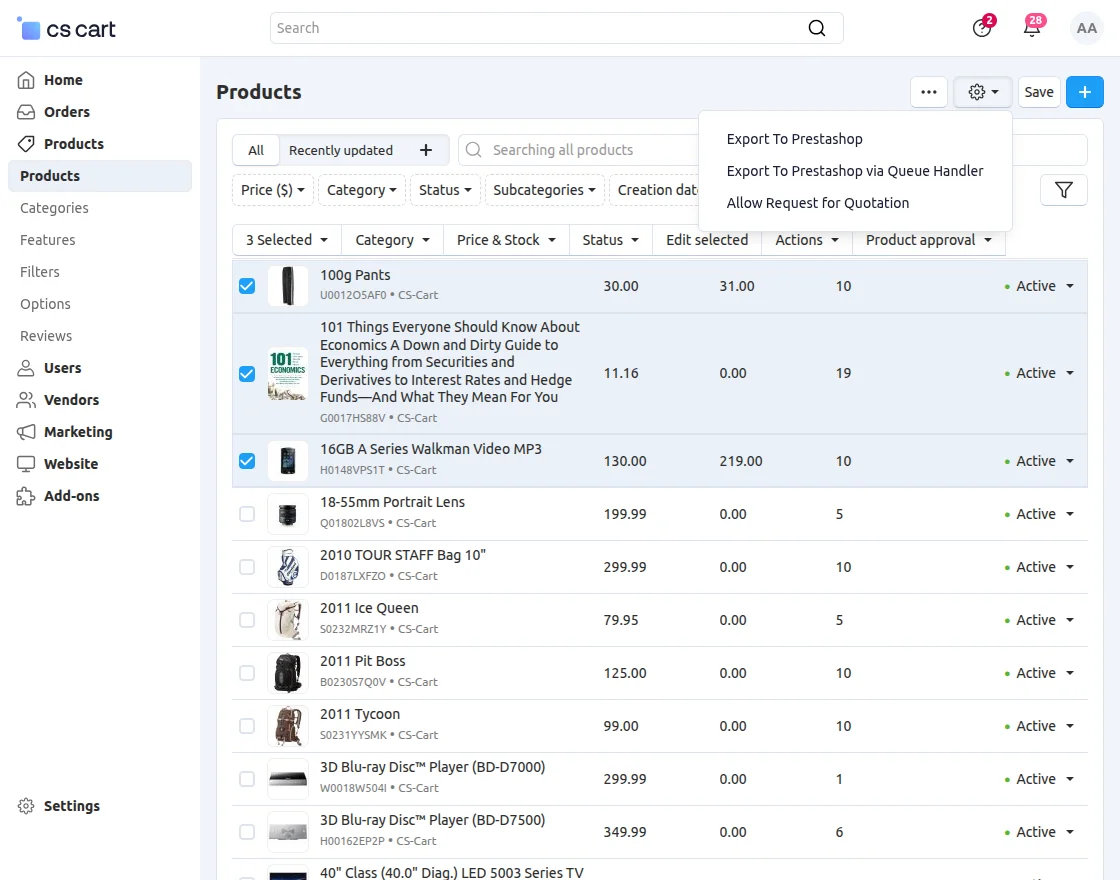
You can export the Product to the Prestashop store by clicking on “Export To Prestashop” from the settings icon as mentioned in the snapshot:
Import Products using Queue Handler
Firstly, you need to enable the queue handler from the Prestashop connector settings.
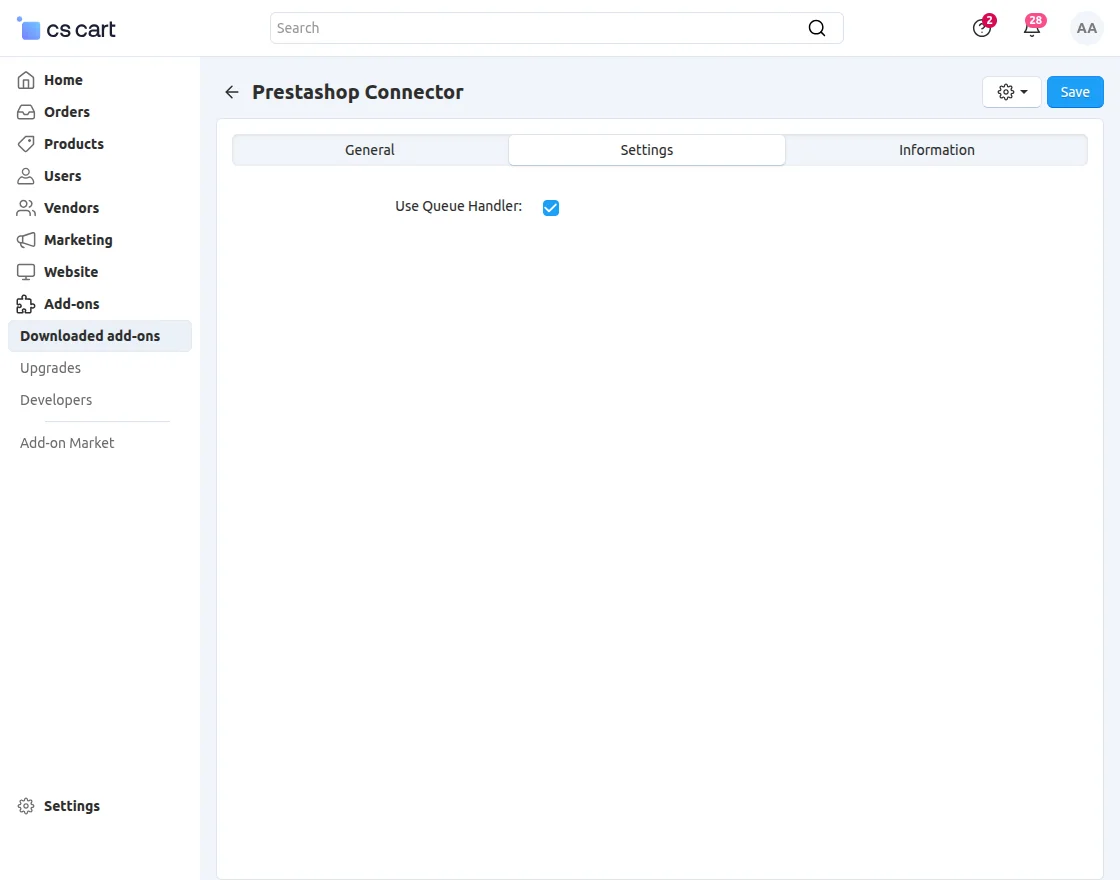
Now, moving back to manage the Prestashop products page, you will see the option of “Import via Queue Handler”.

Once you click on the import via queue handler button, you have to run the below-mentioned command in your terminal to import products successfully.
curl -k "BaseURL/index.php?dispatch=queue_handler.import_data"
Note – Queue handler add-on must be installed to use the functionality of importing the products via queue handler.
2. Manage Prestashop Orders:
In this section, you can see the list of orders made at the CS-Cart end for the products imported from Prestashop –

3. Import Prestashop Orders:
In this section, you can also import PrestaShop orders and can see the list of PrestaShop orders for the imported products as shown –
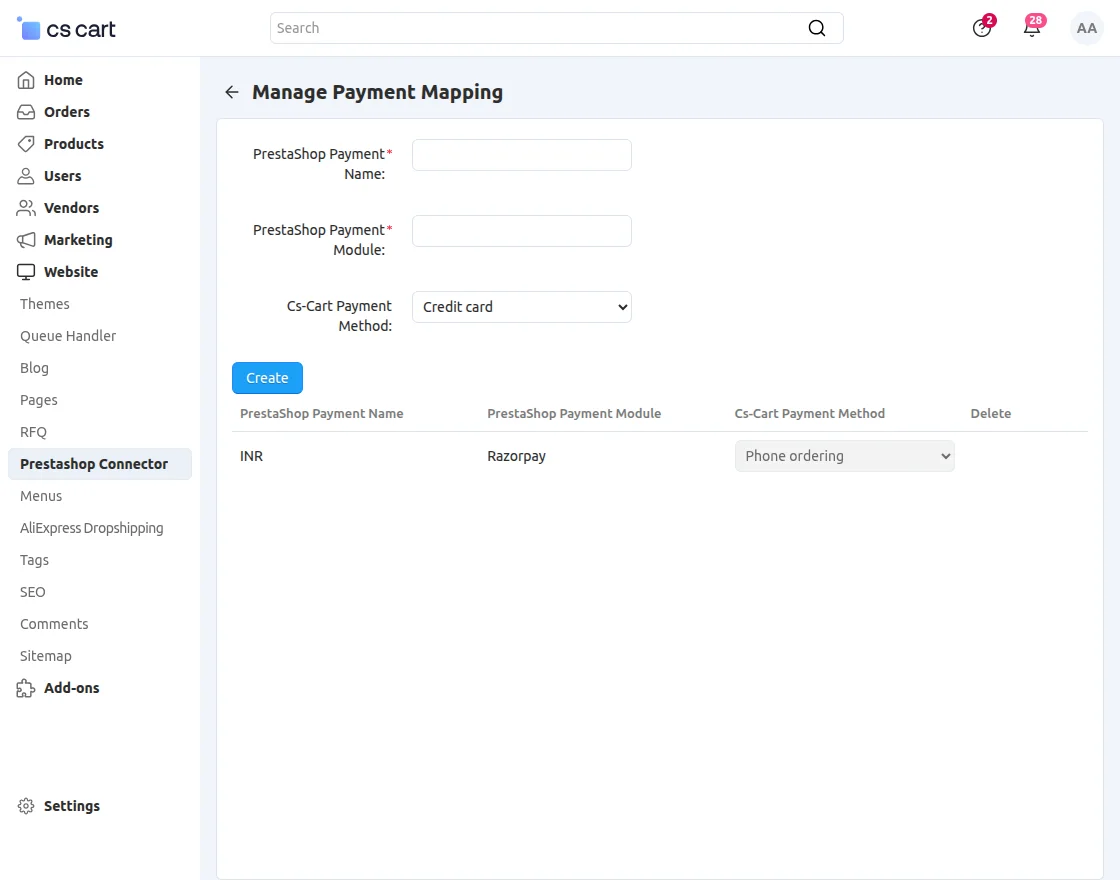
4. Manage Prestashop Payment:
In this section, you need to set the payment method.
So whichever payment method you will set here that payment method will use at the PrestaShop end to place the order
(those orders will generate at the CS-Cart end for the imported PrestaShop products).
Note: The customer needs to know the name of Prestashop’s payment gateway to map the payment. (https://prnt.sc/nH0F08ZPi23-)
5. Manage Prestashop Shipping:
In this section, you will also get the list of all the shipping methods of PrestaShop end.
You just need to activate the desired shipping method to use it for the PrestaShop orders, placed at the CS-Cart end.

6. Map New Category:
The admin/seller can also map PrestaShop categories to CS-Cart categories.

7. Status Map:
In this section, Also you can the status of the CS-Cart order and Prestashop order.

8. Delete Account:
In this section, you can also Delete the created account.

9. Edit Account:
In this section, you can edit the created account.
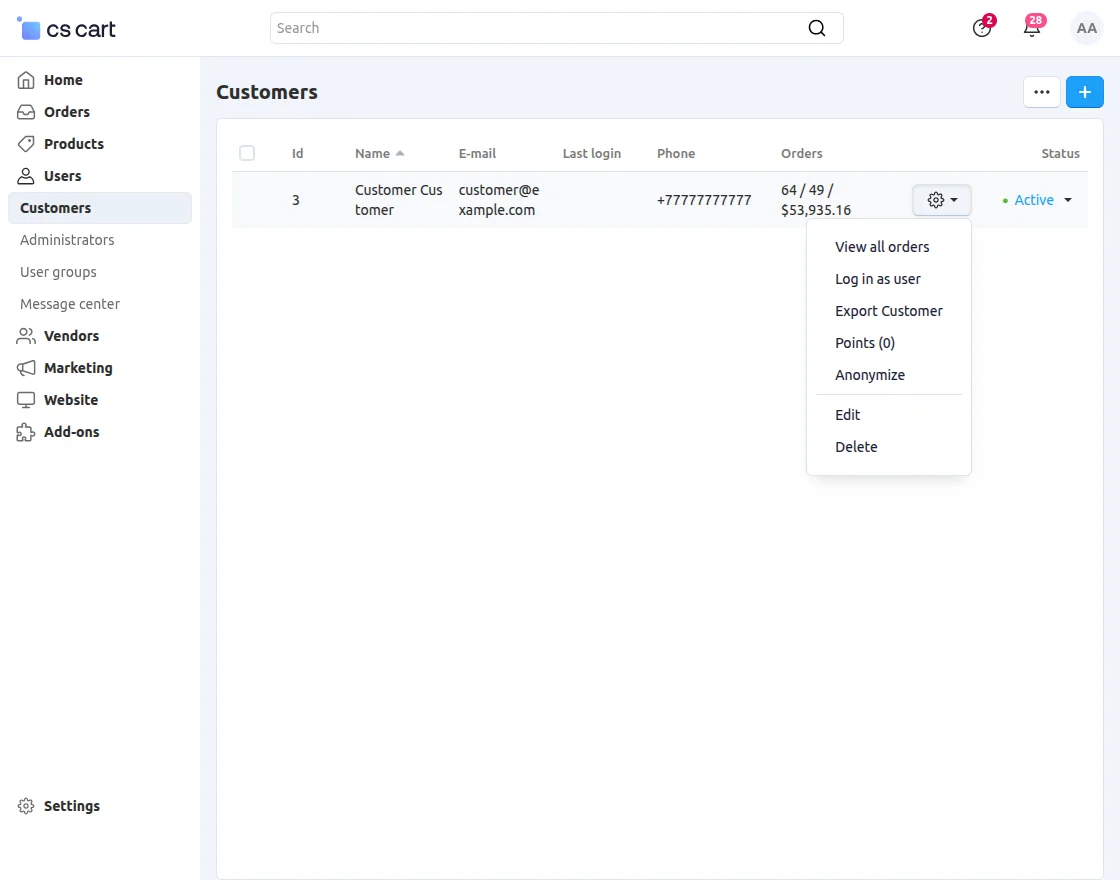
10. Export Customer:
Now, In this section, you can export the customer by clicking on the setting icon as mentioned in the snapshot:
Cron Job Setup
To update products and orders in real time the store owner or the admin needs to set up the Cron Job.
The URLs for the cron job are as follows,
Product update at CS-Cart end when updated at Prestashop :
BaseURL/?dispatch=wk_prestashop_product.webhookupdate
Order status update at CS-Cart end :
BaseURL/?dispatch=wk_prestashop_product.updateOrderStatus
Newly created order import from Prestashop end :
BaseURL/?dispatch=wk_prestashop_product.importNewOrder
Newly created product import from Prestashop end :
BaseURL/?dispatch=wk_prestashop_product.importNewProduct
Support
That’s all for the CS-Cart Prestashop Connector. Additionally, if you require further assistance, please raise a ticket through webkul.uvdesk.com and the concerned team shall assist you.
Current Product Version - 1.5
Supported Framework Version - 4.16.x to 4.19.x

Be the first to comment.