Multivendor Marketplace app for Shopify -Canada Post feature helps the sellers of Canada to ship their products worldwide
And sellers can also generate “shipping label” from their account on the Multivendor Marketplace App.
Important Note:- “This Shipping Feature is available only in the Multivendor PRO ($60/month) Plan + You need to enable the “Shipping’ Feature App, which is FREE of cost.”
This feature will have additional charges of USD 10 per month over and above your current multivendor plan.
Moreover, please Note:-
To make this shipping feature work, you need to choose the Shopify store plan which supports the “Real-Time Carrier-Calculated Shipping”.
So let’s understand its workflow:-
ADMIN END
Firstly enable the feature from the “FEATURE APPS” section on the top right-hand side of the main menu in your Marketplace App.

Once you will click on the Enable button, the Plan amount window will open and USD 10 will be added to your current payment.

Now you also have to enable this feature from the “shipping configuration” section of your Multivendor Marketplace app.
Note: Kindly choose only those shipping services which you need. Don’t keep all the services selected otherwise it creates delay to retrieve shipping rates at the storefront.
Configuration>>Shipping Configuration>> Select “Canada Post”>> Save changes

Hence a new menu name “Canada Post Configuration” will be added in the configuration section of your admin panel in your multivendor marketplace app
And here you need to configure the feature by entering the details of Canada post username, Canada post password, Canada post customer number.
Configuration>> Canada Post Configuration>> Enter Canada post username|password|customer number>>save
Further, you can allow your sellers to generate the shipping label automatically for the fulfilled orders.
You can also choose whether you want the admin or the seller to bear the extra Shipping charges (Shipping Label cost).
Once you select “Admin” to bear the Shipping Label cost, the same process will be applied(admin will pay the shipping label cost).
But if you want your sellers to bear the extra Shipping charges then the seller will pay the shipping label cost as per the shipping configured by the admin.

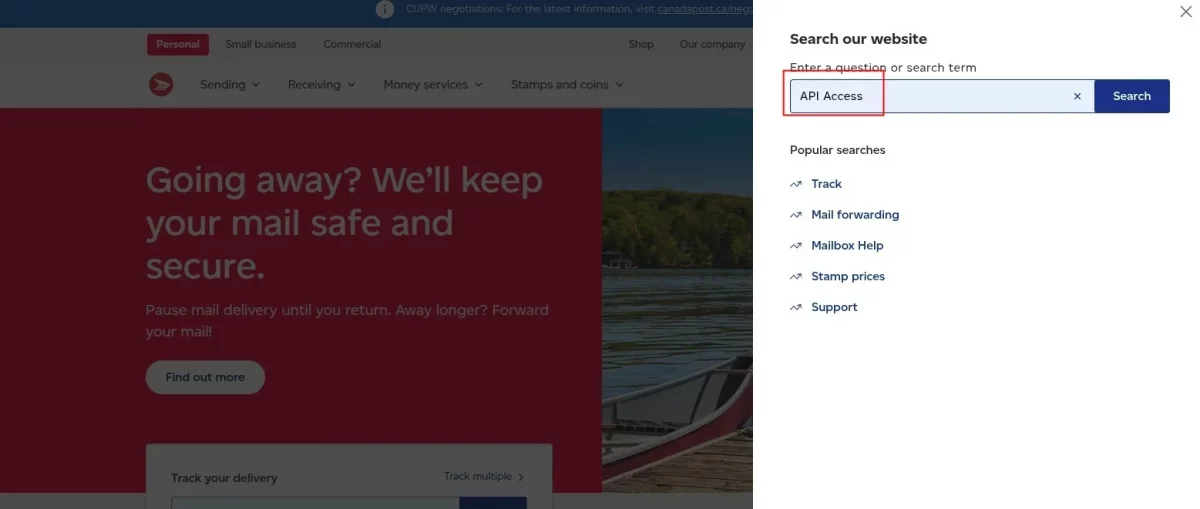
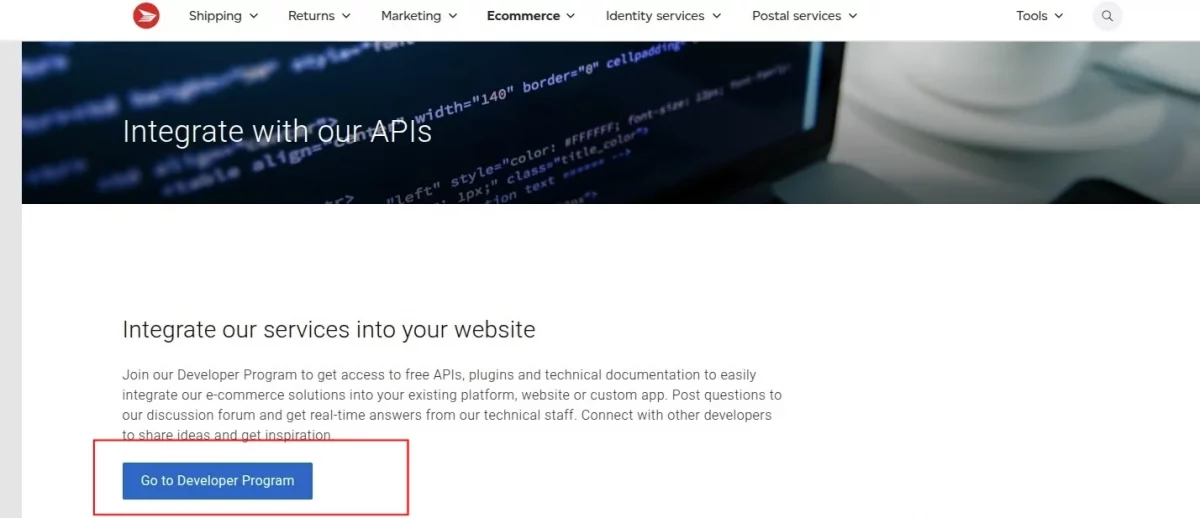
How to get credentials from Canada Post
To get the credential from Canada Post, you can visit https://www.canadapost-postescanada.ca/information/app/drc/registered?execution=e1s1

If the Admin wants his sellers to enter their own Shipping details, then he can enable the ‘Seller Canada Post Detail’ option.
This option will introduce a ‘Canada Post Configuration’ sub-menu on the Seller’s end.

In this way, you can configure your shipping details.
Add Shipping Method to Product
Once you configure the Canada post shipping details, you will have the option to choose a shipping method for each product while adding/editing a product.

Make Shipping Address Phone Number Mandatory
To use this feature add-on, the admin needs to make the Shipping address phone number mandatory at the time of checkout.
So, to do this, go to Shopify Backend > Settings > Checkout > Under Form Options, make Shipping address phone number as Required:

SELLER END
Further, on the seller end, Seller needs to select the “Canada Post” shipping feature from the “Shipping configuration” section from their account in the Multivendor Marketplace App.
Seller End>>Configuration>> Shipping Configuration>> select Canada Post>> Save Changes

After choosing the Canada Post shipping method, the Seller must configure the shipping details if these have been set up by the admin.
Go to Seller End>>Configuration>> Canada Post Configuration and configure the details.

Now, as soon as your buyer proceeds for checkout, he will get the shipping methods on the checkout page.
There will be two cases:
Case 1: A seller from Canada is shipping to a Canadian Address
In this case, domestic shipping is applied.
Case 2: A seller from Canada is shipping to an address outside Canada.
This is the case when international shipping is applied and buyers will get international shipping options to choose. Example: International Parcel Surface, International Parcel Air, etc.
Therefore, they can choose any of the shipping methods and can proceed to checkout.
CREATE PICKUP REQUEST
Your sellers can now create pickup requests for the Canada post shipping service providers.
The provider will come to pick up the orders from the specified seller location and deliver it to the customers.
Once an order is fulfilled, the seller can create a pickup request from the Action menu of the additional detail section of the Order detail page.
Steps to create a pickup request:
- Click the “Create Pickup Request” button in the Action menu.
- Check Pickup availability by entering the postal code.
- If available, select a pick-up date.
- Based on the selected date, the total pick up price will be shown.
- Now, select a Pickup time, enter packet volume & pick up instruction.

Clicking the Create Pickup Request button:

This way, you can create pick up requests using the Canada Post shipping feature app.
NOTE:- Once the order is delivered via the Canada Post shipping method,
the status gets auto-updated on the Seller panel of the multi-vendor app via auto-delivery status feature.
Order Tracking
The Seller, as well as the Admin, can track the order from the Fulfillment Details section of the Order Details Page.
Multi Vendor Marketplace Admin/Seller Panel > Orders > Order Listing > View (Action) > Fulfillment Details Section (refer the image given below):

SHIPPING Label
The seller can also generate the shipping label from the orders section of their account in the Multivendor marketplace app.
Seller end >>orders>>order listing>>click on view button in the “Action” section on the front of order ID>> Generate Shipping Label.

DEMO
Support
Furthermore, if you have any questions/issues, please raise a ticket at http://webkul.uvdesk.com
Or send an email at [email protected]. We would be very happy to assist you.

Be the first to comment.